

I used to think drawing angel wings was only for "real" artists. It's not. Anyone can do it with the right steps.
In this blog, I'll show you the exact tools you need, nine different wing outline ideas, and a clear five-step drawing guide.
I've kept everything simple and beginner-friendly. No confusing art terms. No overwhelm.
Just easy, honest guidance you can actually follow.
By the end, you'll know exactly how to draw angel wings that look clean and real.
What Makes Angel Wings Easy to Draw

Angel wings follow a simple structure. Two curved shapes, a few feather lines, and a clean outline to finish.
Most beginners overthink it. They expect perfection on the first try. That's not how drawing works.
You build wings step by step. Each step is small and manageable on its own.
There are also more styles than people expect. Minimal. Detailed. Geometric. Tribal. Each one suits a different skill level.
Pick a style that feels right for you right now. Start there. Everything else follows naturally.
Tools You Need to Draw Angel Wings
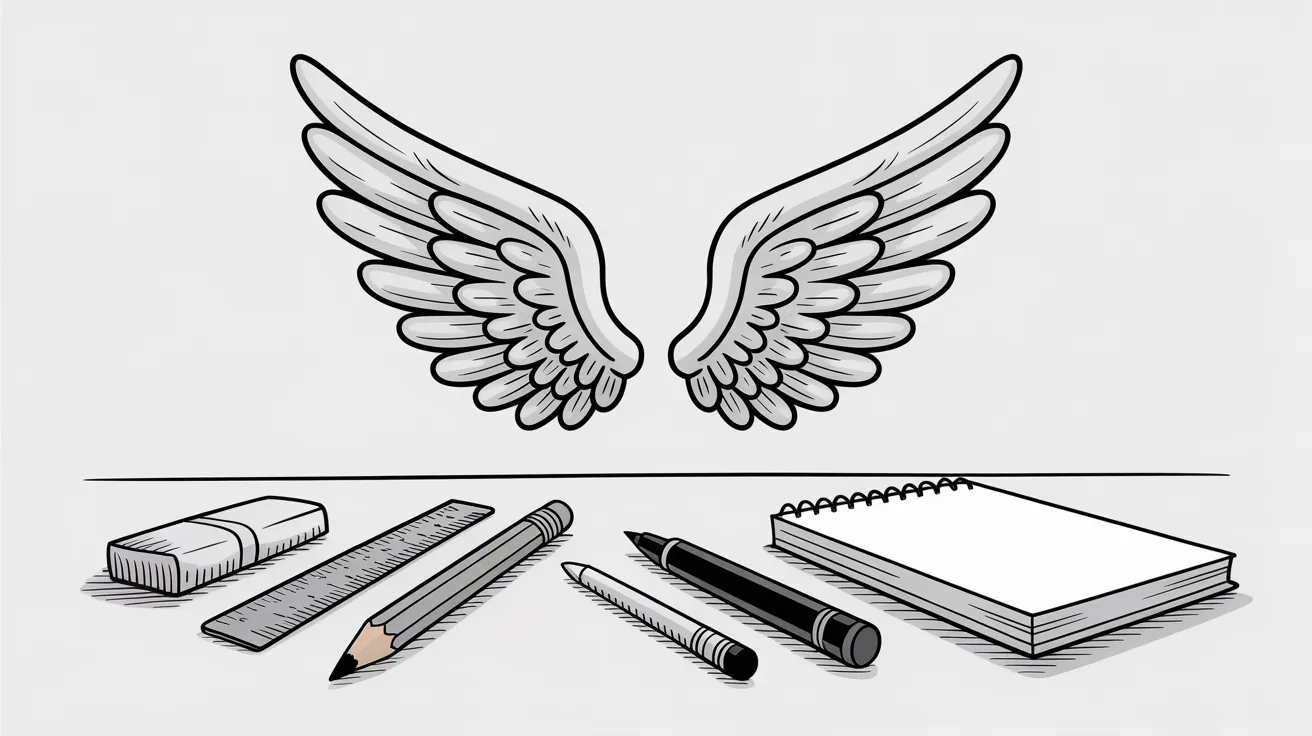
You don't need anything fancy to draw angel wings. Here's what works best:
Pencil: A light pencil helps you sketch and erase freely without leaving heavy marks behind.
Eraser: A clean eraser keeps your lines neat as you build the drawing bit by bit.
Black pen or marker: Use this to trace your final lines once you're satisfied with the sketch.
Ruler: Helps you keep both wings even and properly centered on the page.
Sketchbook or plain paper: Any smooth paper works. Nothing special is needed to get started.
These five tools are all you need to draw clean angel wings from scratch.
List of 9 Angel Wing Outline Ideas
Not sure which style to try first? Here are nine angel wing outlines to help you pick one that feels right.
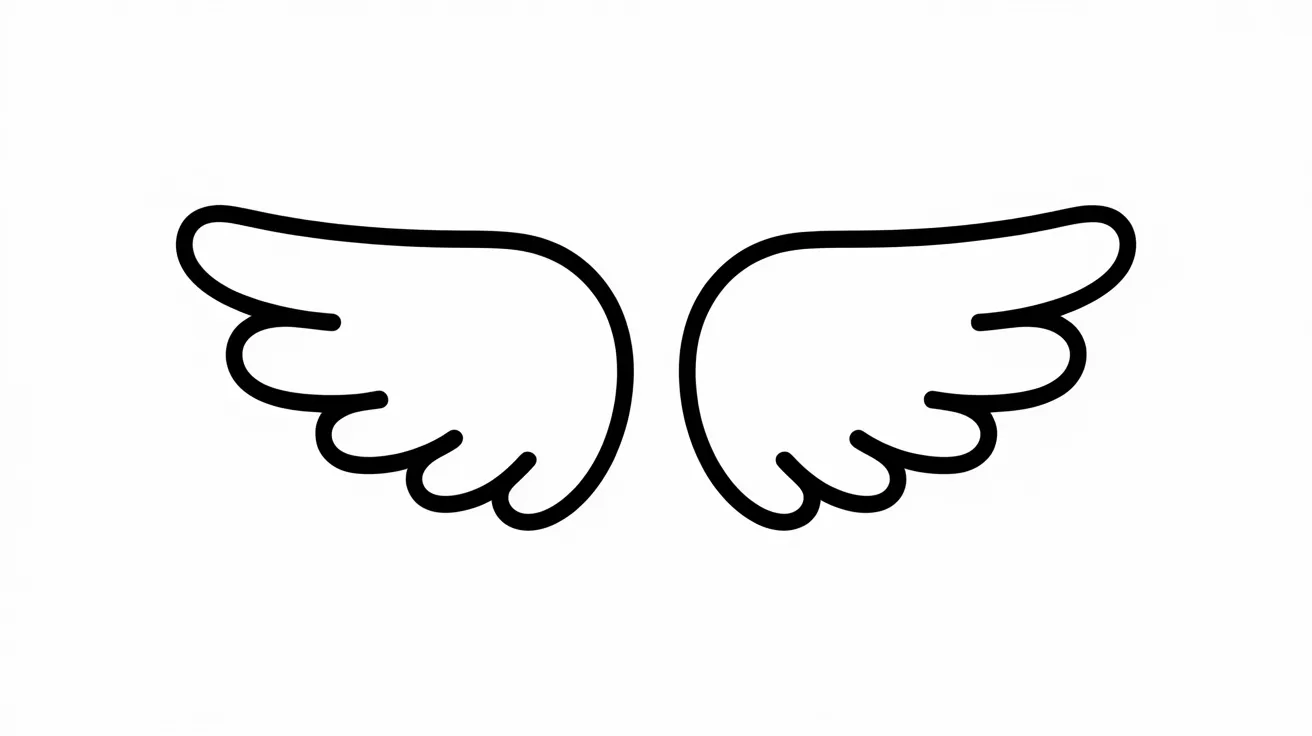
1. Simple Curved Angel Wings
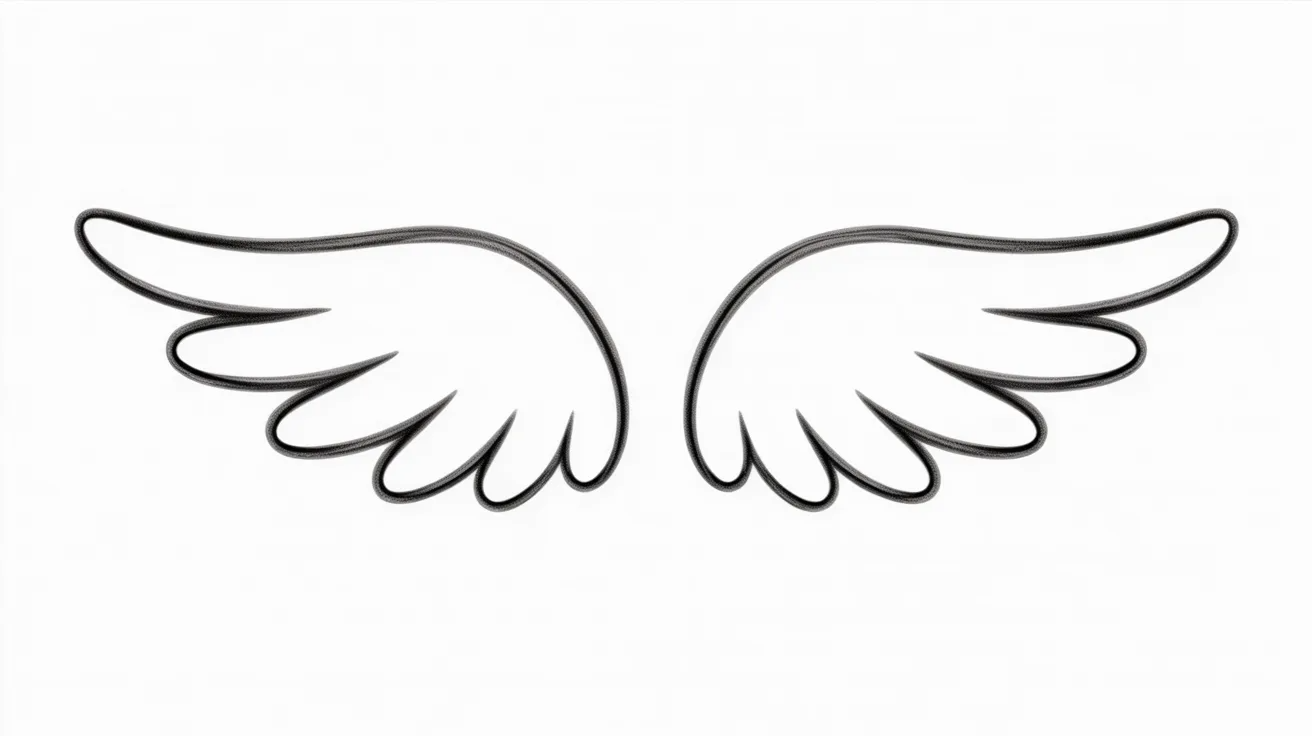
Simple curved wings are the easiest place to start. You draw two soft arcs on each side of the page.
The edges stay smooth with no heavy feather detail needed. This style works great for greeting cards, coloring sheets, or first-time practice. I started here too.
It looks clean and neat without asking too much of you. It's a solid choice for kids and anyone picking up a pencil for the first time.
2. Minimal Line Angel Wings
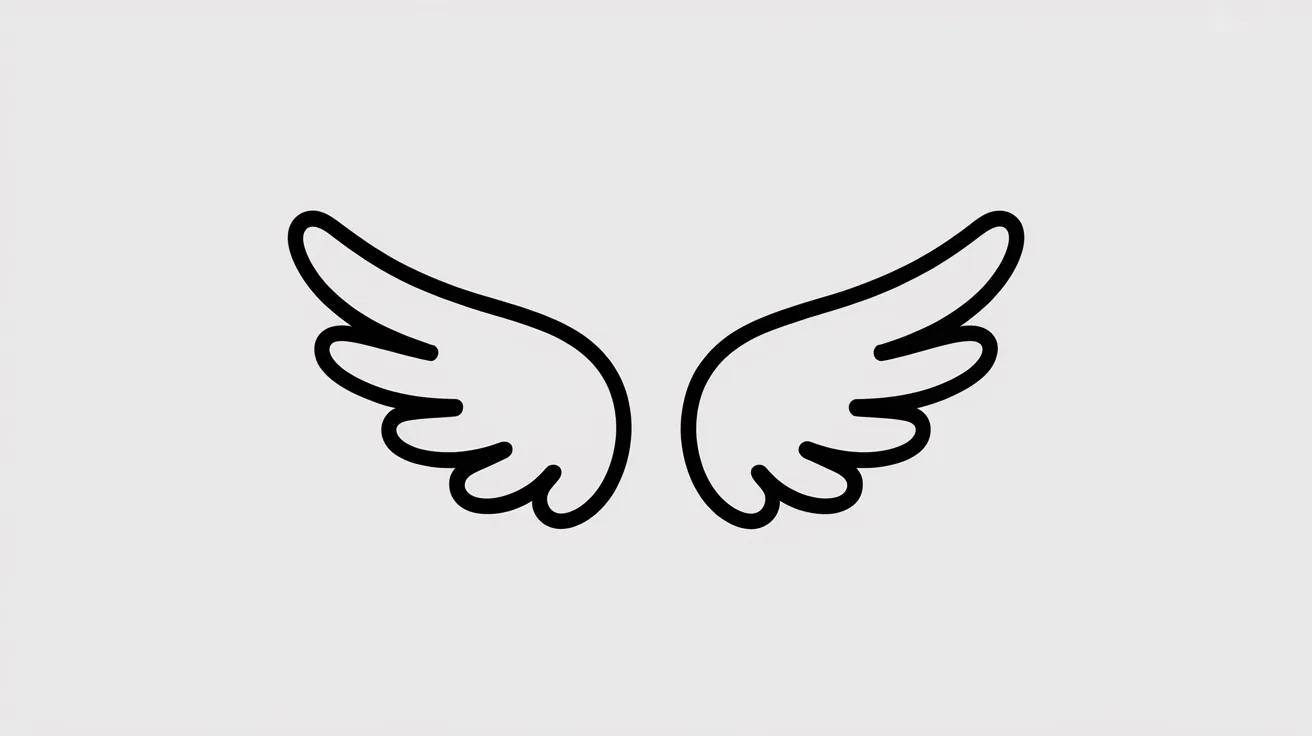
Minimal line wings use as few lines as possible. The outline stays thin and simple. No shading. No heavy detail.
Just a clean curved shape on each side. This style fits well in tattoo sketches and digital art projects.
I love how calm and neat it looks on paper. It shows that you don't need a lot of lines to make something that looks really good and intentional.
3. Small Tattoo-Style Wings
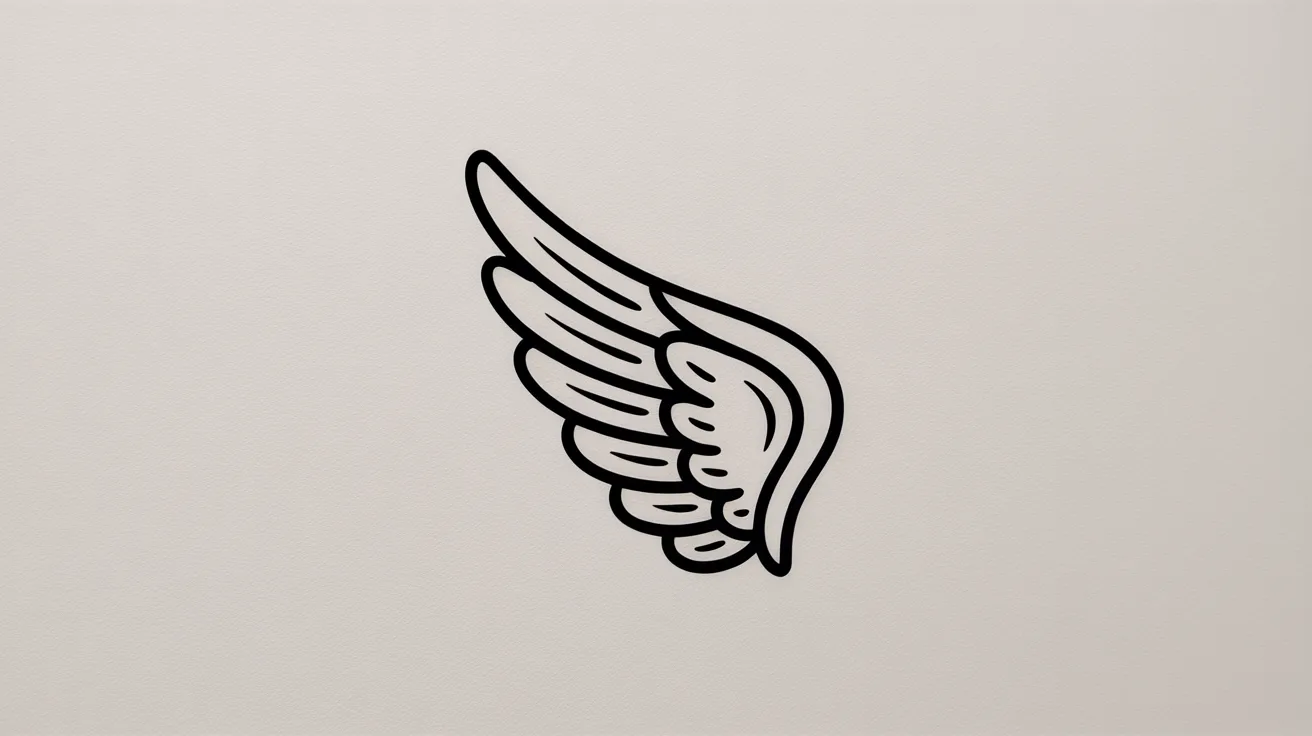
Small tattoo-style wings are compact and sharp. They sit well on wrists, ankles, or behind the ear in real tattoo art.
When drawing, keep the size tight and the lines firm. Add just a few feather lines for texture and depth.
This style gives a bold look with very little fuss. I find it satisfying to draw because the results look so clean and deliberate every single time.
4. Detailed Feathered Wings
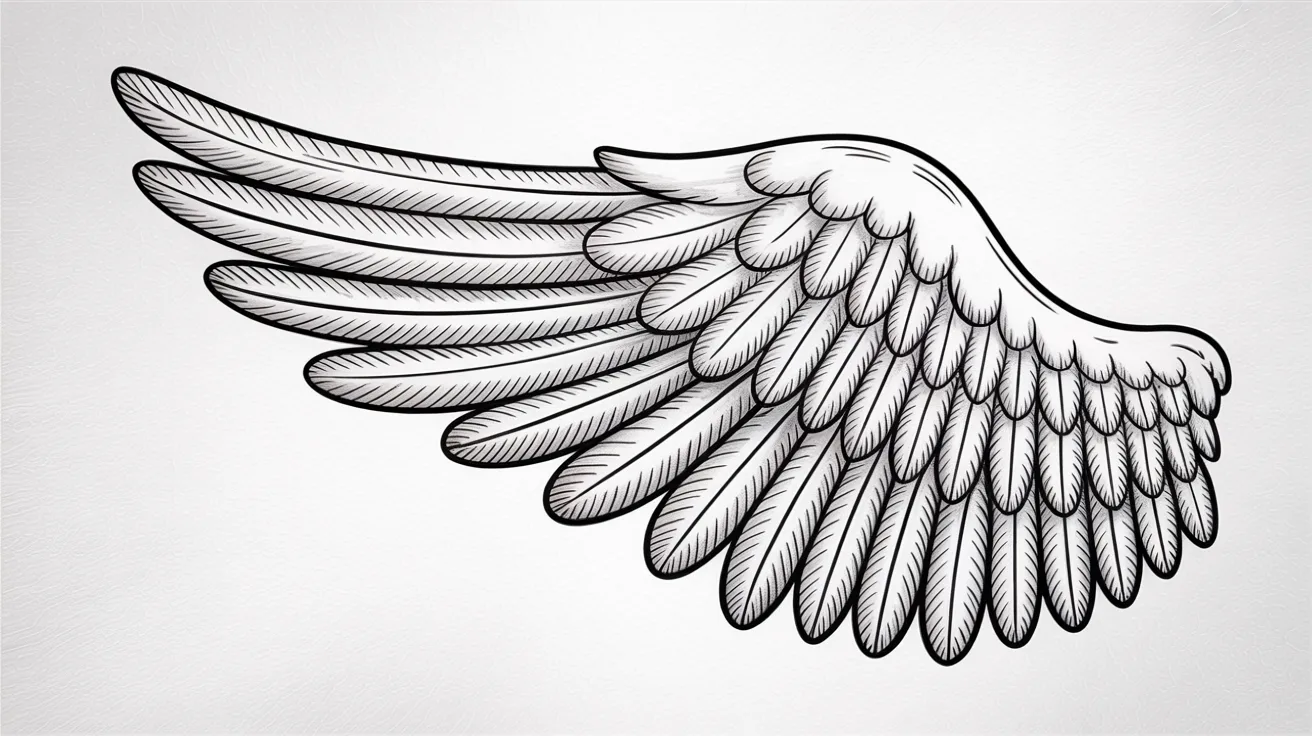
Detailed feathered wings take more time, but the result is worth it. You draw each feather row one by one, starting from the top and moving down.
Layer them so they slightly overlap each other. The finished wing looks full and realistic.
This is my favorite style when I want to slow down and really practice. Take your time on each row and the whole wing will come together really well.
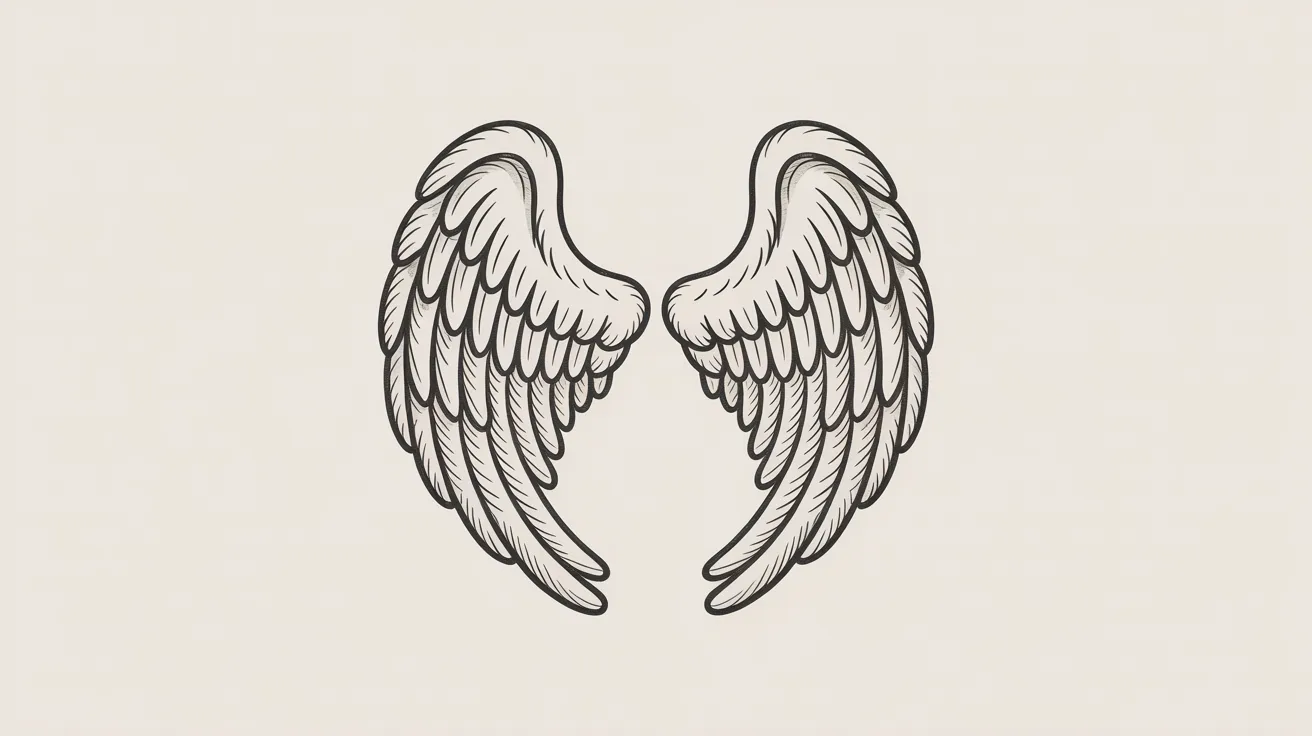
5. Symmetrical Open Wings
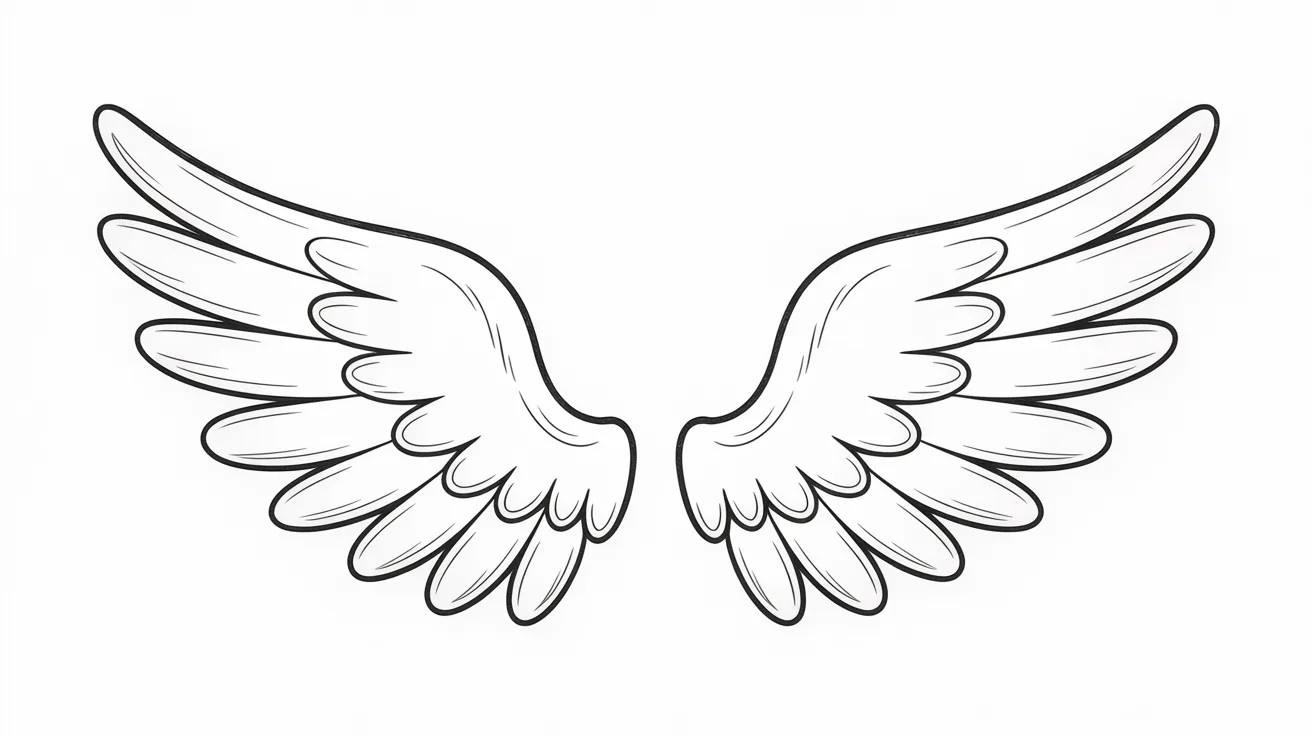
Symmetrical open wings spread wide on both sides of the drawing. The main goal is to keep both wings the same size and shape.
Use a center line as your guide before you start drawing. Open wings give a free, angelic feeling to the artwork.
I always sketch light guidelines first so both sides match up. Once you get the symmetry right, the drawing looks polished and well-planned.
6. Folded Angel Wings
Folded wings sit close to the body. They give the feel of a resting or calm angel. The shape is narrower and curves gently inward at the bottom.
Draw the top arc first, then fold the lower half toward the center line. Add layered feather lines to fill in the body of the wing.
I enjoy this style for quieter, more peaceful angel drawings that feel soft and still.
7. Tribal Style Wing Outline

Tribal wings use bold, sharp shapes instead of soft curves. Think thick black lines and pointed angles throughout the design. This style looks strong and graphic on paper.
Skip the soft feather detail here. Focus on solid patterns and clean edges instead. It's a great pick for bold artwork or large wall sketches.
Tribal wings give angel drawings a completely different energy. Try it once and you'll see exactly what I mean.
8. Geometric Angel Wings
Geometric wings replace soft curves with straight lines and sharp angles. You use triangles, diamonds, or similar shapes to form the full wing.
It looks modern and very structured on the page. This style works well in digital art and logo design.
I find it fun to plan out the shapes before I start drawing. It feels more like solving a puzzle than regular freehand art. Great if you love clean, sharp lines.
9. Heart-Shaped Wing Outline
Heart-shaped wings are sweet and fun to sketch. Instead of a traditional arc, each wing curves into a soft heart shape on the outside.
This style works great for Valentine's Day cards and cute character art. Keep the lines smooth and even on both sides so the balance feels right.
I've used this style for handmade cards and small gift tags. It adds a warm, caring feel to any angel drawing you make.
Step-by-Step Guide to Drawing Angel Wings
Follow these five steps and you'll have a clean, finished angel drawing in no time.
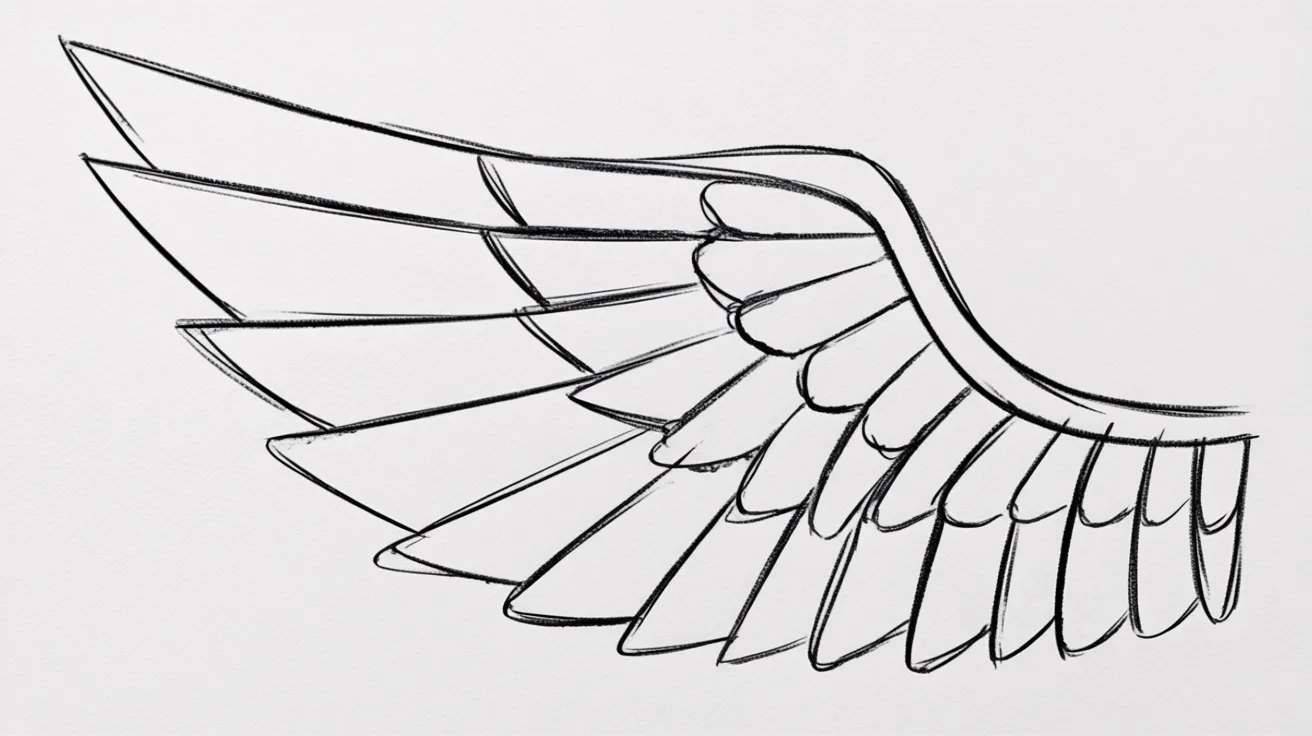
Step 1: Draw the Wings Shape First
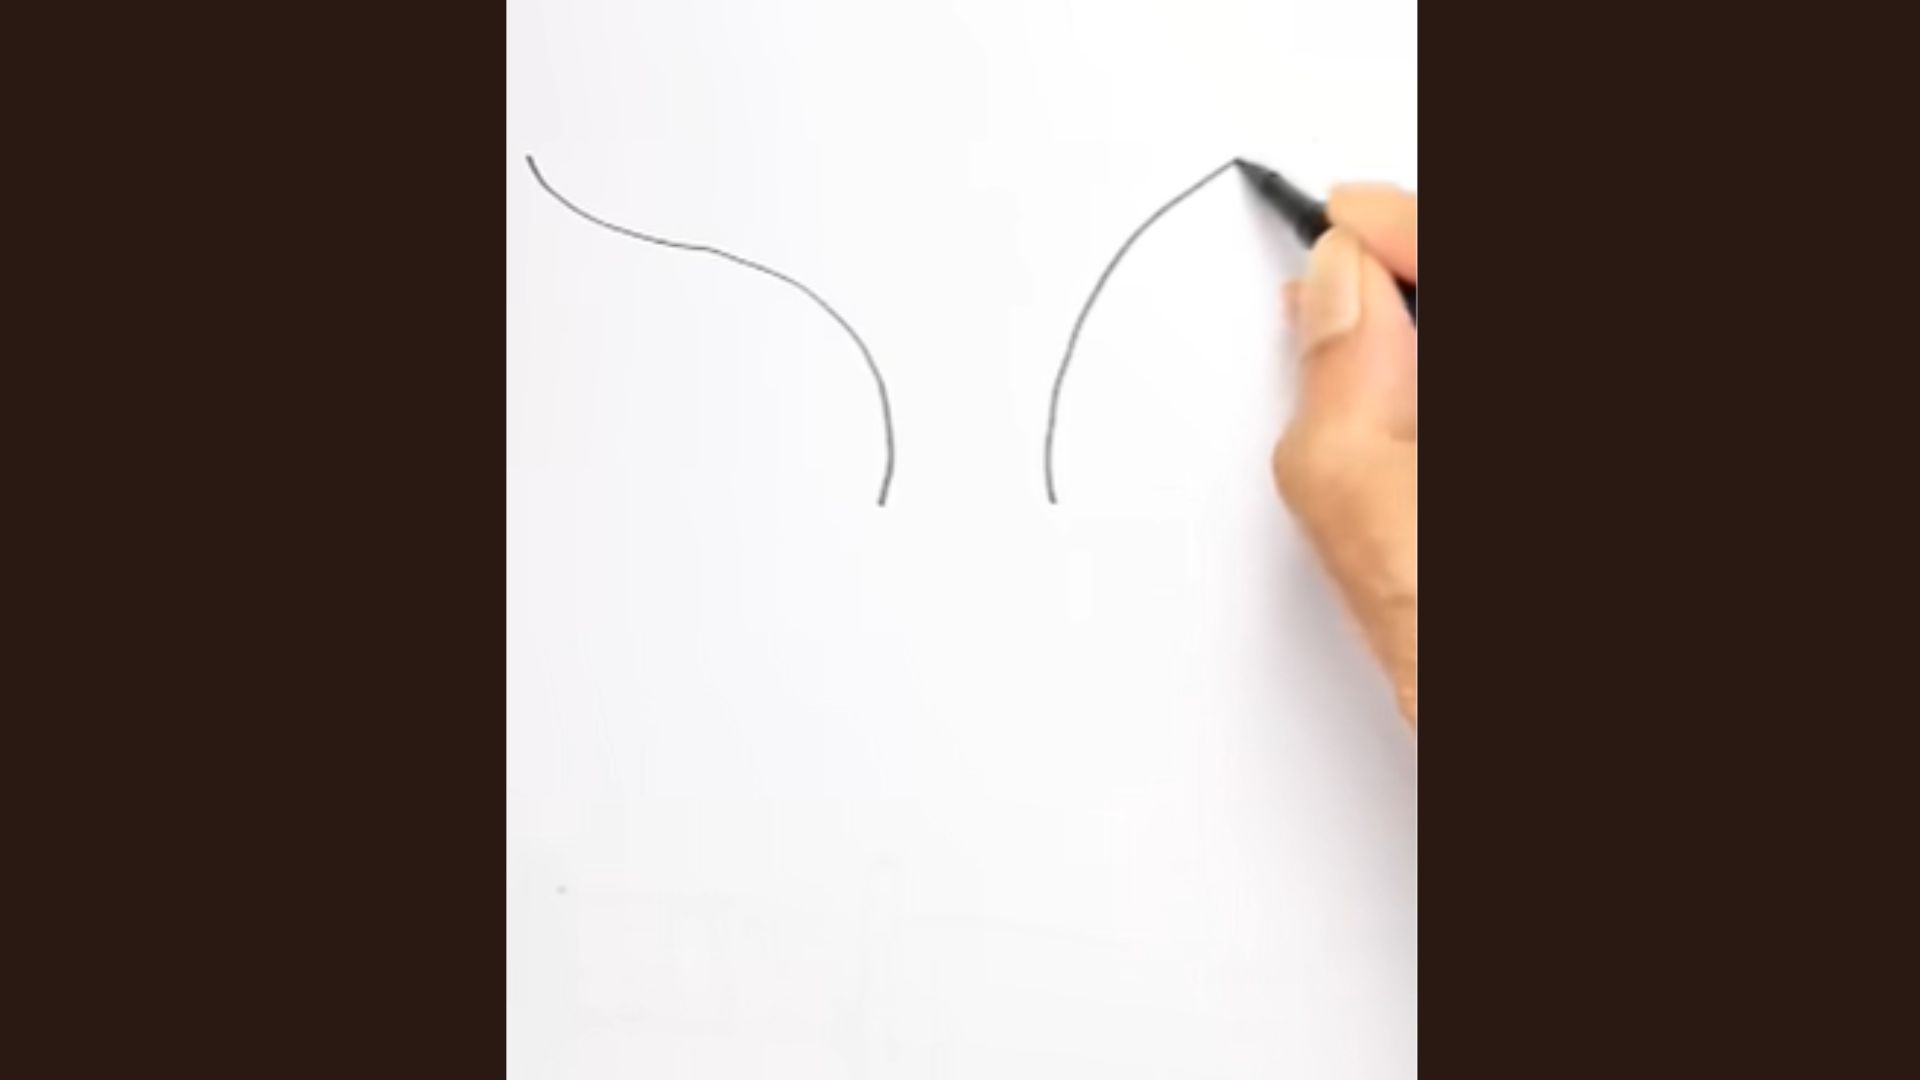
Start by drawing two large curved wing shapes on both sides. Each wing should look like a soft leaf with pointed feather edges.
Keep both wings equal in size and slightly curved inward. Leave space in the center for the angel’s face. Draw lightly so corrections are easy later.
Step 2: Add the Inner Wing Lines
Inside each wing, draw another curved line following the outer shape. This creates the inner wing section and makes the wings look fuller.
Keep the lines smooth and neat on both sides. Make sure both wings match in size and shape so the angel drawing looks balanced and clean.
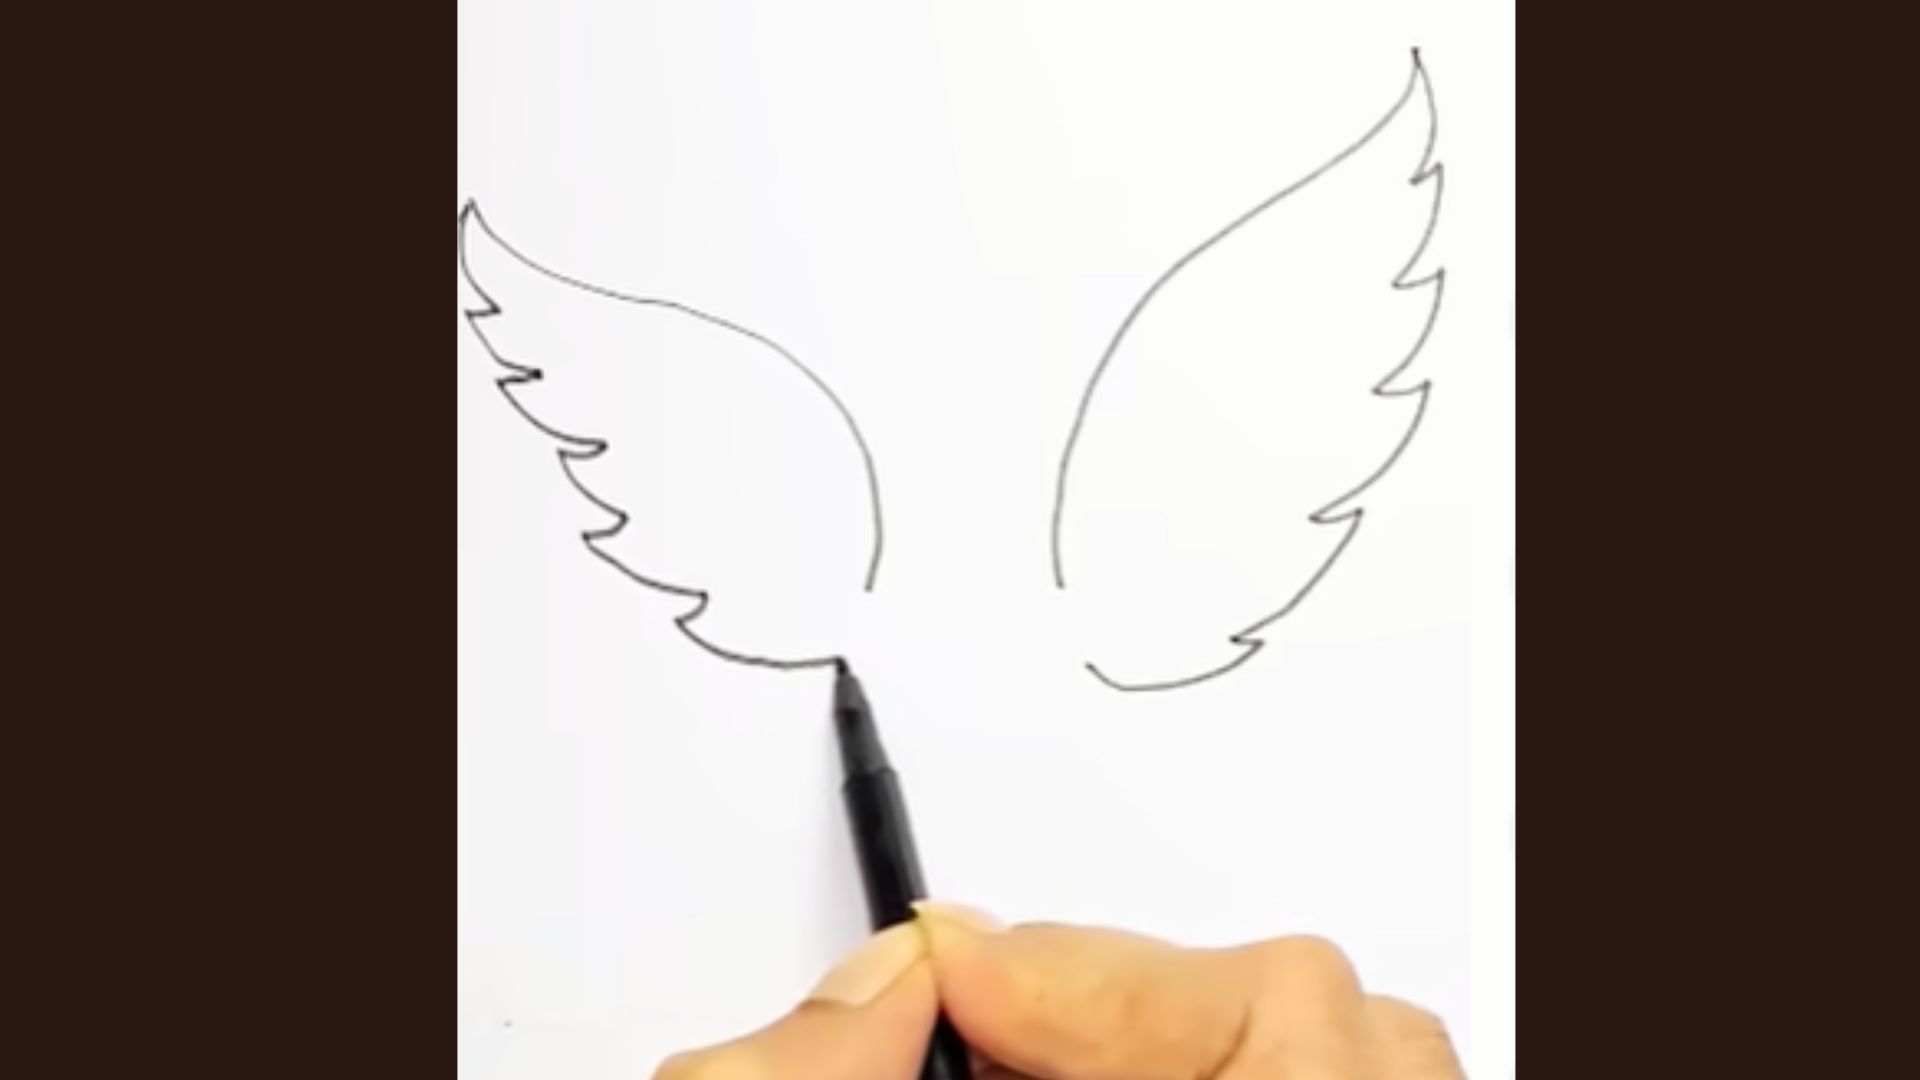
Step 3: Draw Feather Details
Now add small curved and zigzag feather lines along the edges of both wings. Start from the top and move downward carefully.
These lines help the wings look soft and realistic. Keep the feather details simple and neat so the drawing remains easy and beautiful for beginners.
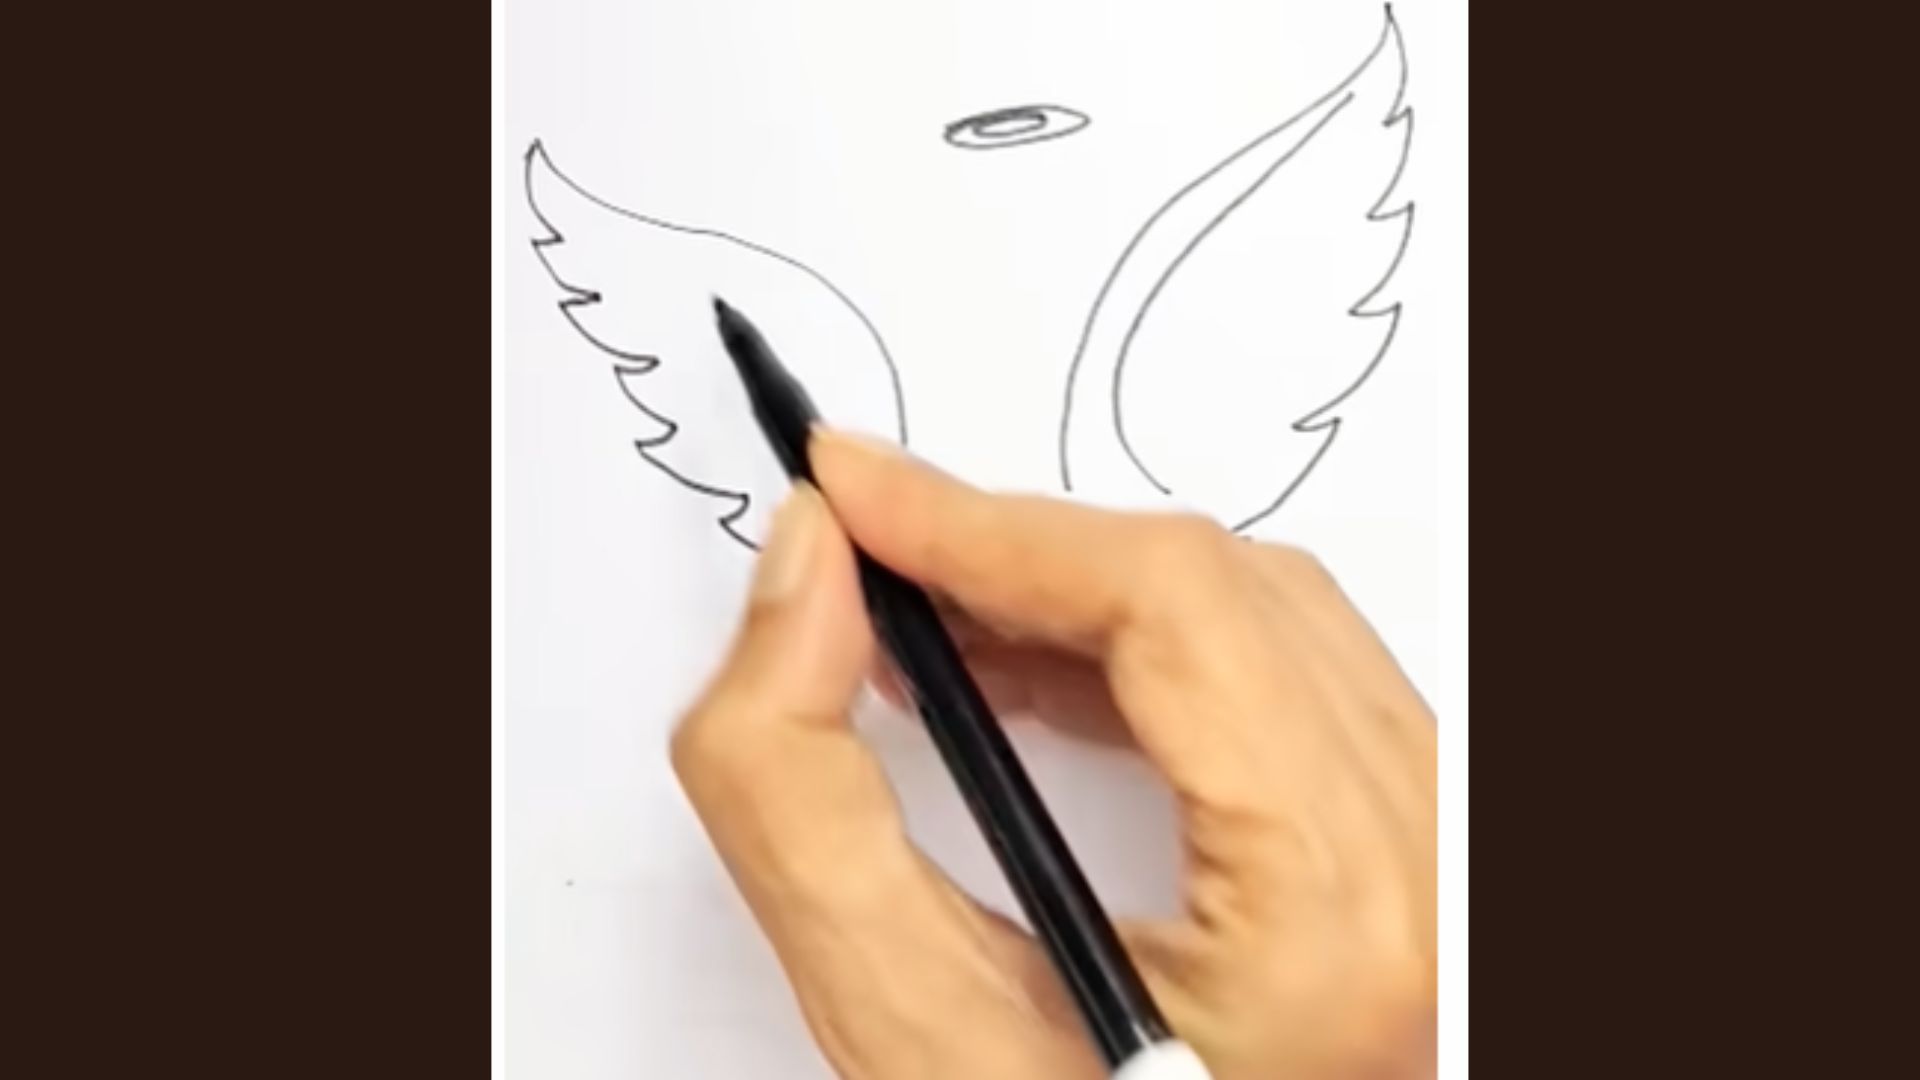
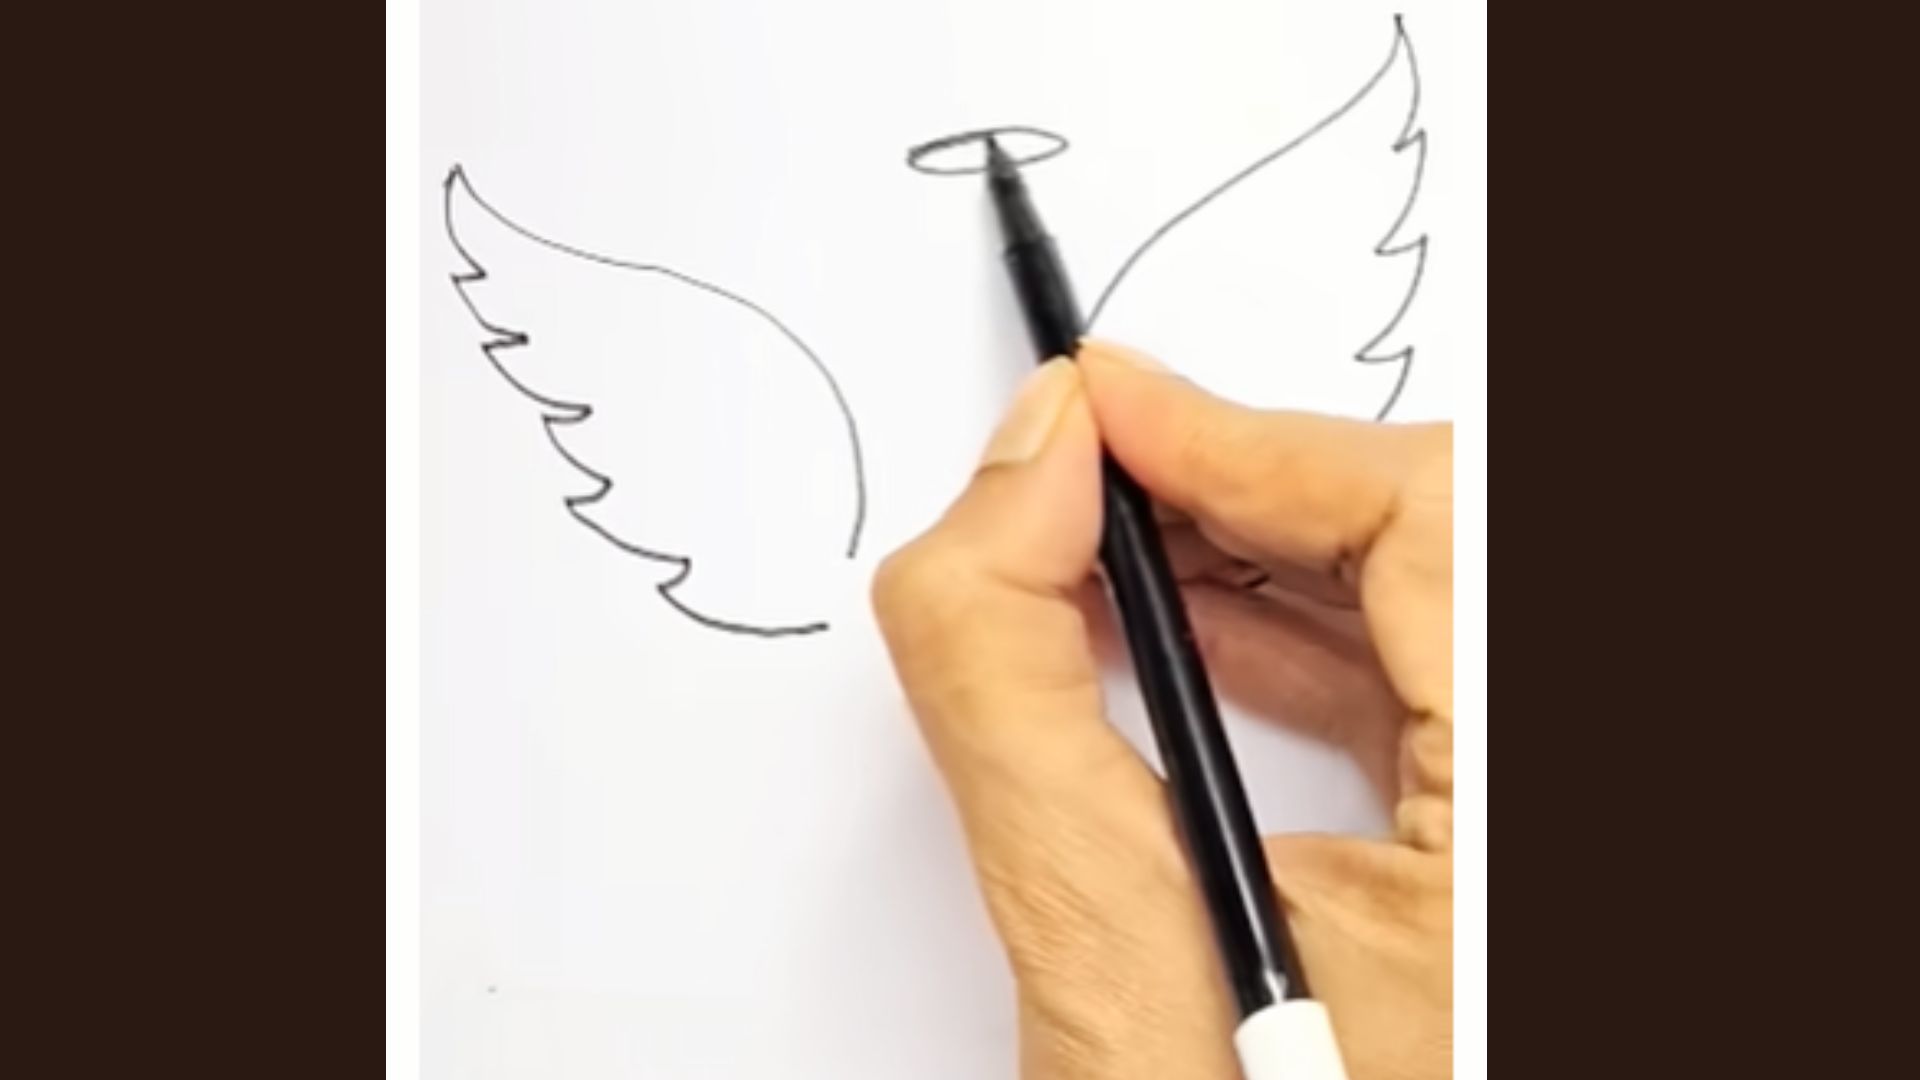
Step 4: Draw the Face and Halo
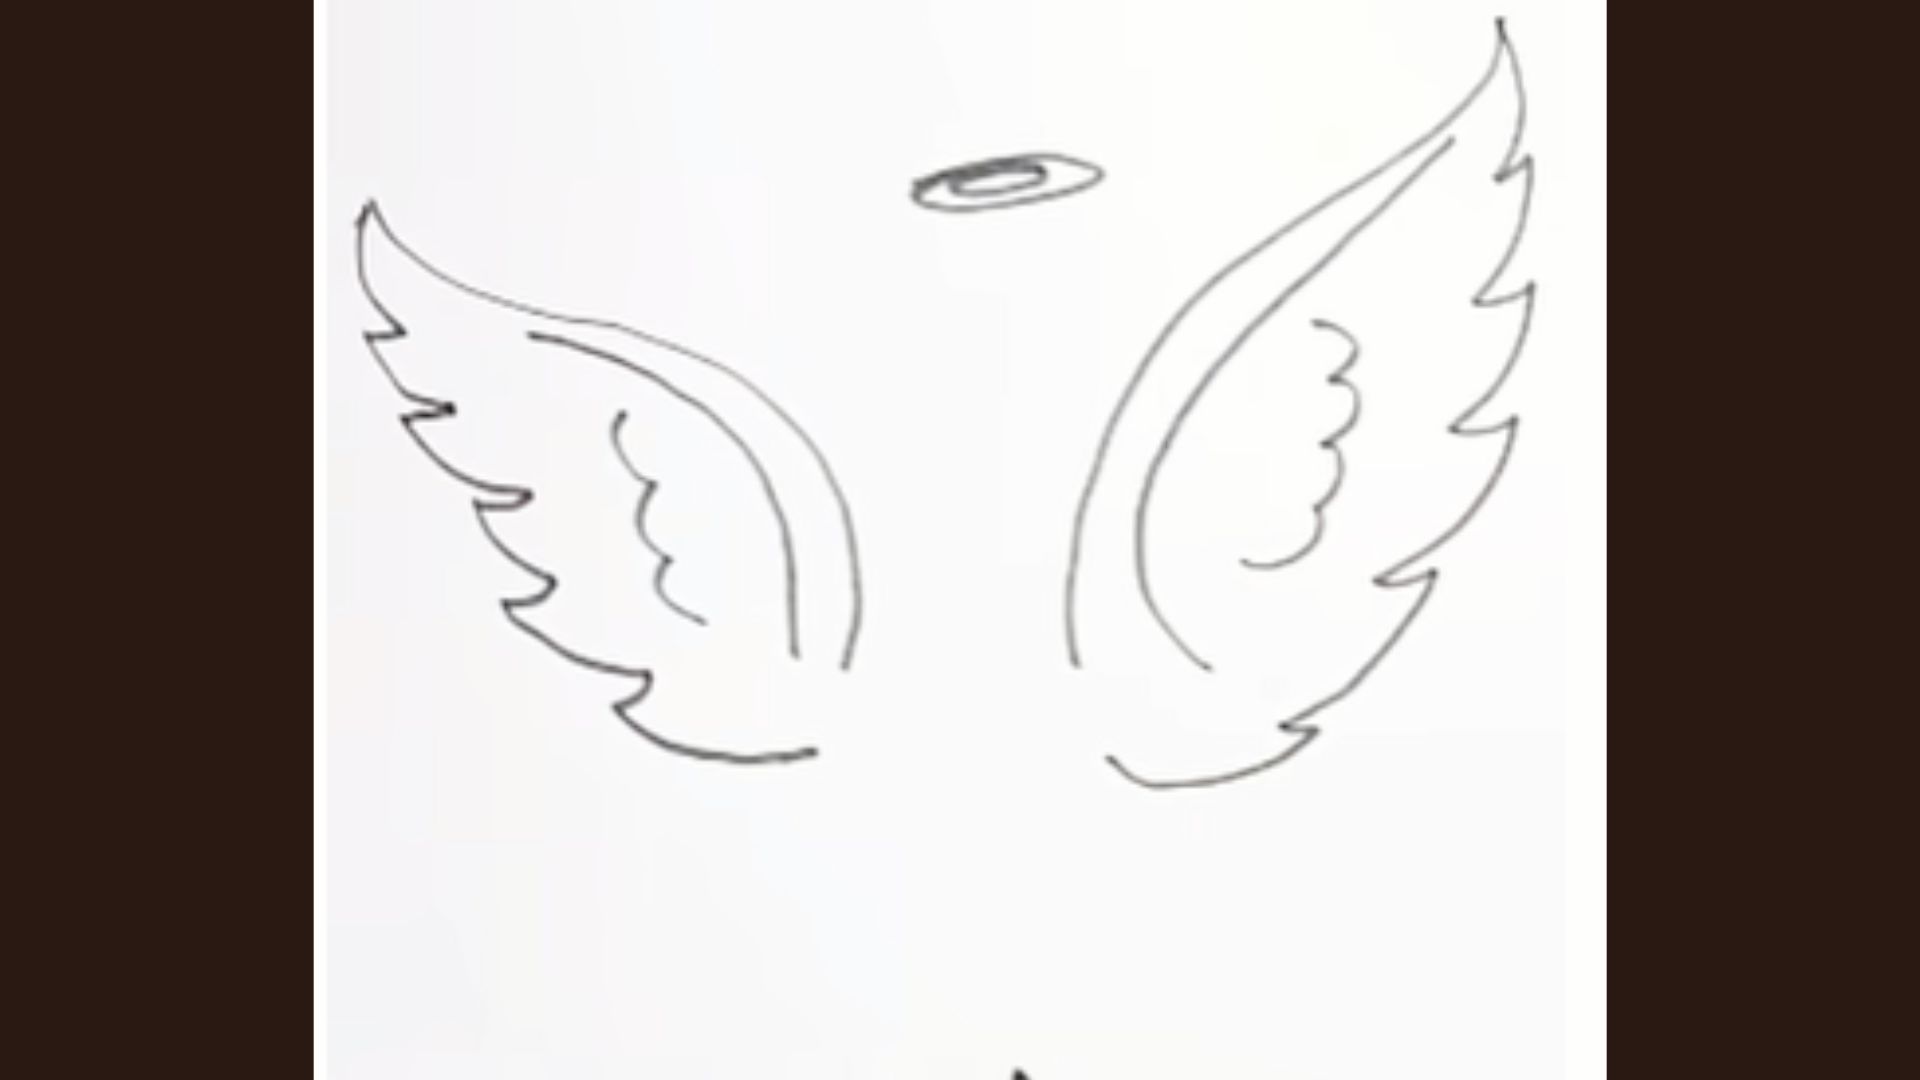
In the center space between the wings, draw a soft curved face outline. Above it, add a small horizontal oval shape for the halo.
Keep the halo floating slightly above the head. This makes the drawing clearly look like an angel and adds a sweet finishing touch.
Step 5: Final Outline and Clean Finish
Darken all final lines and erase extra pencil marks carefully. Smooth the edges of the wings and feathers so both sides look equal and neat.
Check the halo and face shape properly. Your easy outline angel drawing is now complete and ready for soft coloring if needed.
Tips to Make Your Angel Wings Look Better
Small tweaks in how you draw can make a really big difference. These tips help your wings look clean, even, and well-finished every time
- Always draw a center line first so both wings start from the same point.
- Keep your feather strokes going in the same direction for a clean, natural look.
- Use a light pencil sketch before going in with any dark or permanent lines.
- Work one section at a time instead of trying to finish the whole wing at once.
- Step back every few minutes and check that both sides still match each other.
Follow these tips with every drawing and your angel wings will keep getting noticeably better over time.
Conclusion
My first attempt at drawing angel wings looked more like a bird mid-sneeze. Not pretty.
But I kept at it, and slowly the lines started making sense. That's the thing about drawing. It rewards patience more than talent.
You now have the steps, the styles, and the tips. All that's left is picking up a pencil and starting.
Give it a try today. Drop a comment and show me which style you went with. I'd genuinely love to see your angel wings.
Frequently Asked Questions
What pencil should I use to draw angel wings?
A light HB or 2B pencil works best for sketching angel wings before you add your final lines.
How do I keep both wings the same size?
Draw a center line first and mirror each wing shape on both sides from that point outward.
Can beginners draw detailed feathered wings?
Yes. Start with a simple wing shape, then slowly add feather rows one layer at a time.
How long does it take to draw angel wings?
A simple outline takes about 10 to 15 minutes. Detailed feathered wings may take 30 minutes or more.
Do I need special paper to draw angel wings?
No. Any smooth white paper or sketchbook works. Rough paper makes clean, even lines harder to draw.