

A homemade wood mailbox can change your whole curb appeal. Store-bought options either cost too much or look cheap and boring. This guide gives you doable DIY mailbox ideas that make your home stand out without draining your wallet.
I’ve built over a dozen wood mailboxes for my own properties and neighbors. You’ll get designs that range from simple weekend projects to more detailed builds. Each one includes the materials you need, basic measurements, and tips.
Every design comes from real builds that actually work. You’ll learn which wood types last longest, how to protect your mailbox from rain and sun, and ways to customize the look for your home’s style.
If you have basic tools or a full workshop, there’s a project here that fits your skill level and gives you results worth showing off.
Planning Your DIY Wood Mailbox

I built my first wood mailbox without checking any rules. The mail carrier left a note saying it was too low. Don’t make my mistake, plan everything before you cut any wood.
The post office requires your mailbox to sit 41 to 45 inches from the ground and 6 to 8 inches back from the curb. These aren’t suggestions. Your mail won’t get delivered if you ignore it. Match your mailbox style to your house.
Traditional designs have peaked roofs while modern ones use flat tops. Add paint colors and house numbers to make it personal.
Pressure-treated wood lasts longest outdoors but costs more. Cedar resists rot naturally. Scrap wood works if you seal it against the weather. Add a metal insert inside to keep letters dry. Plan your height, style, and materials before you start building to save time and money.
Tools and Supplies You’ll Need

Building something from scratch sounds intimidating. But once you know what to grab, it gets easier.
- Get Your Materials: You’ll need wood boards, screws, hinges, and sandpaper. Add paint or stain to finish it off nicely.
- Essential Tools Required: A saw, drill, measuring tape, and level are must-haves. Wear safety glasses and gloves every single time.
- Smart Shortcuts Available: Buy pre-cut wood at the hardware store if you’re new. It saves time and reduces mistakes while you learn.
Three categories to check off. Gather these, and you’re ready to build without constant trips to the store.
11 Creative DIY Wood Mailbox Ideas
I’ve built seven different mailboxes over the years. Some were too complicated. Others were too plain. These 11 designs balance creativity with buildability.
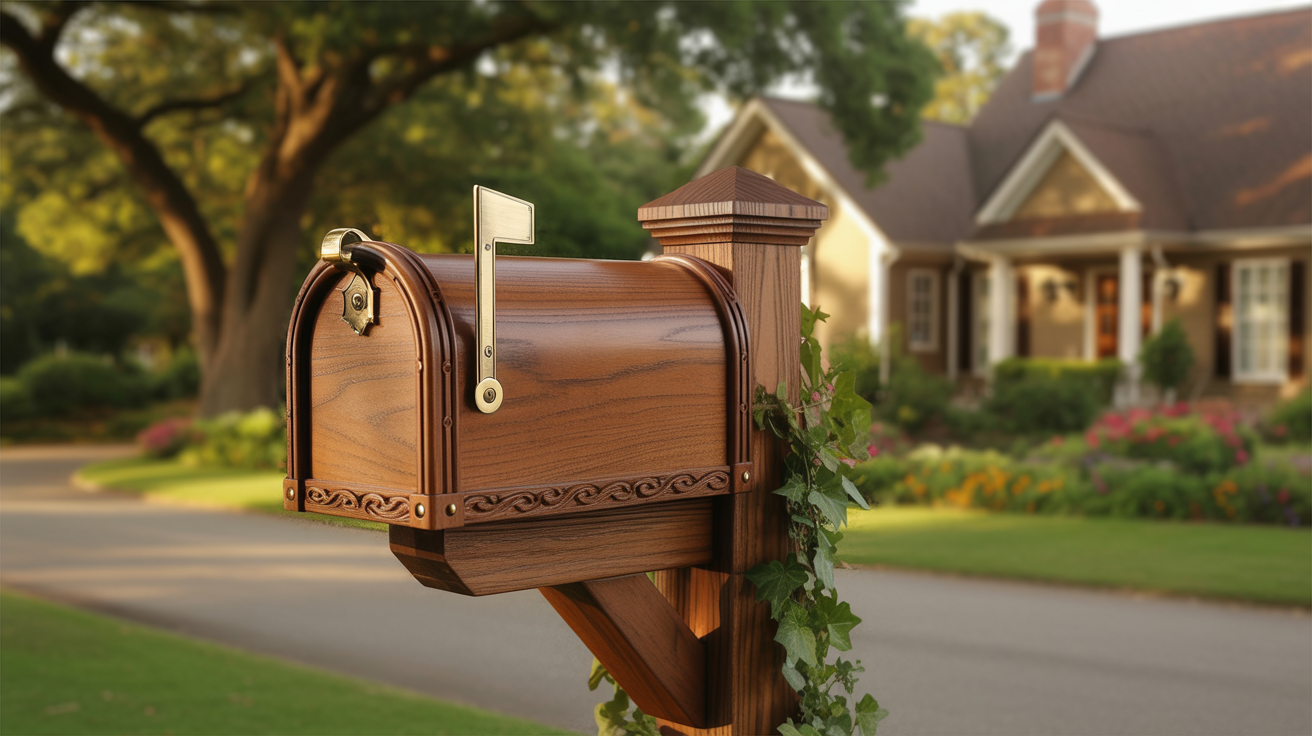
Miniature Wooden House Mailbox
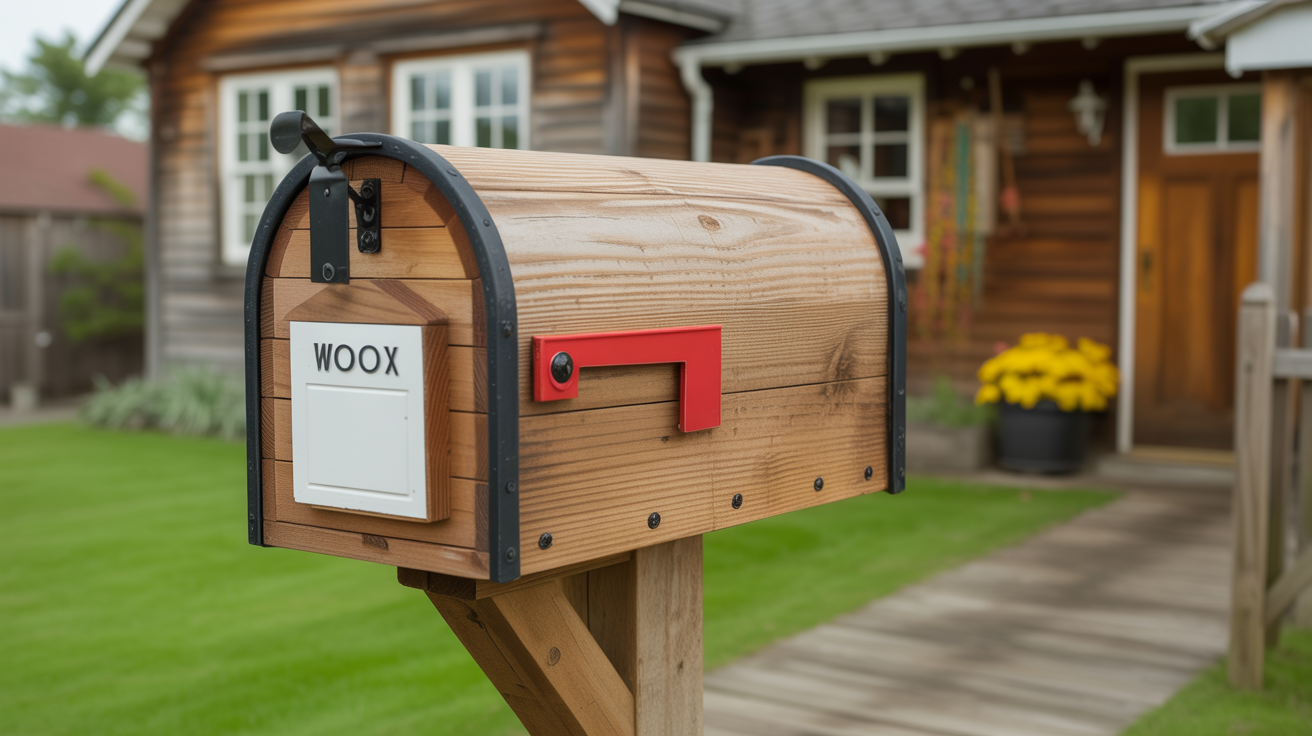
This design looks like a tiny house with a pitched roof and front door. It fits traditional or farmhouse-style homes.
Here’s how to build it:
- Make a rectangular box with angled roof boards that meet at a peak
- Attach a small decorative door on the front using hinges or just glue it on
- Use colors that match your actual house exterior for a cohesive look
Paint it to match your house exterior. The resemblance makes your mailbox feel like part of your home instead of an afterthought.
Modern Sleek Box Mailbox
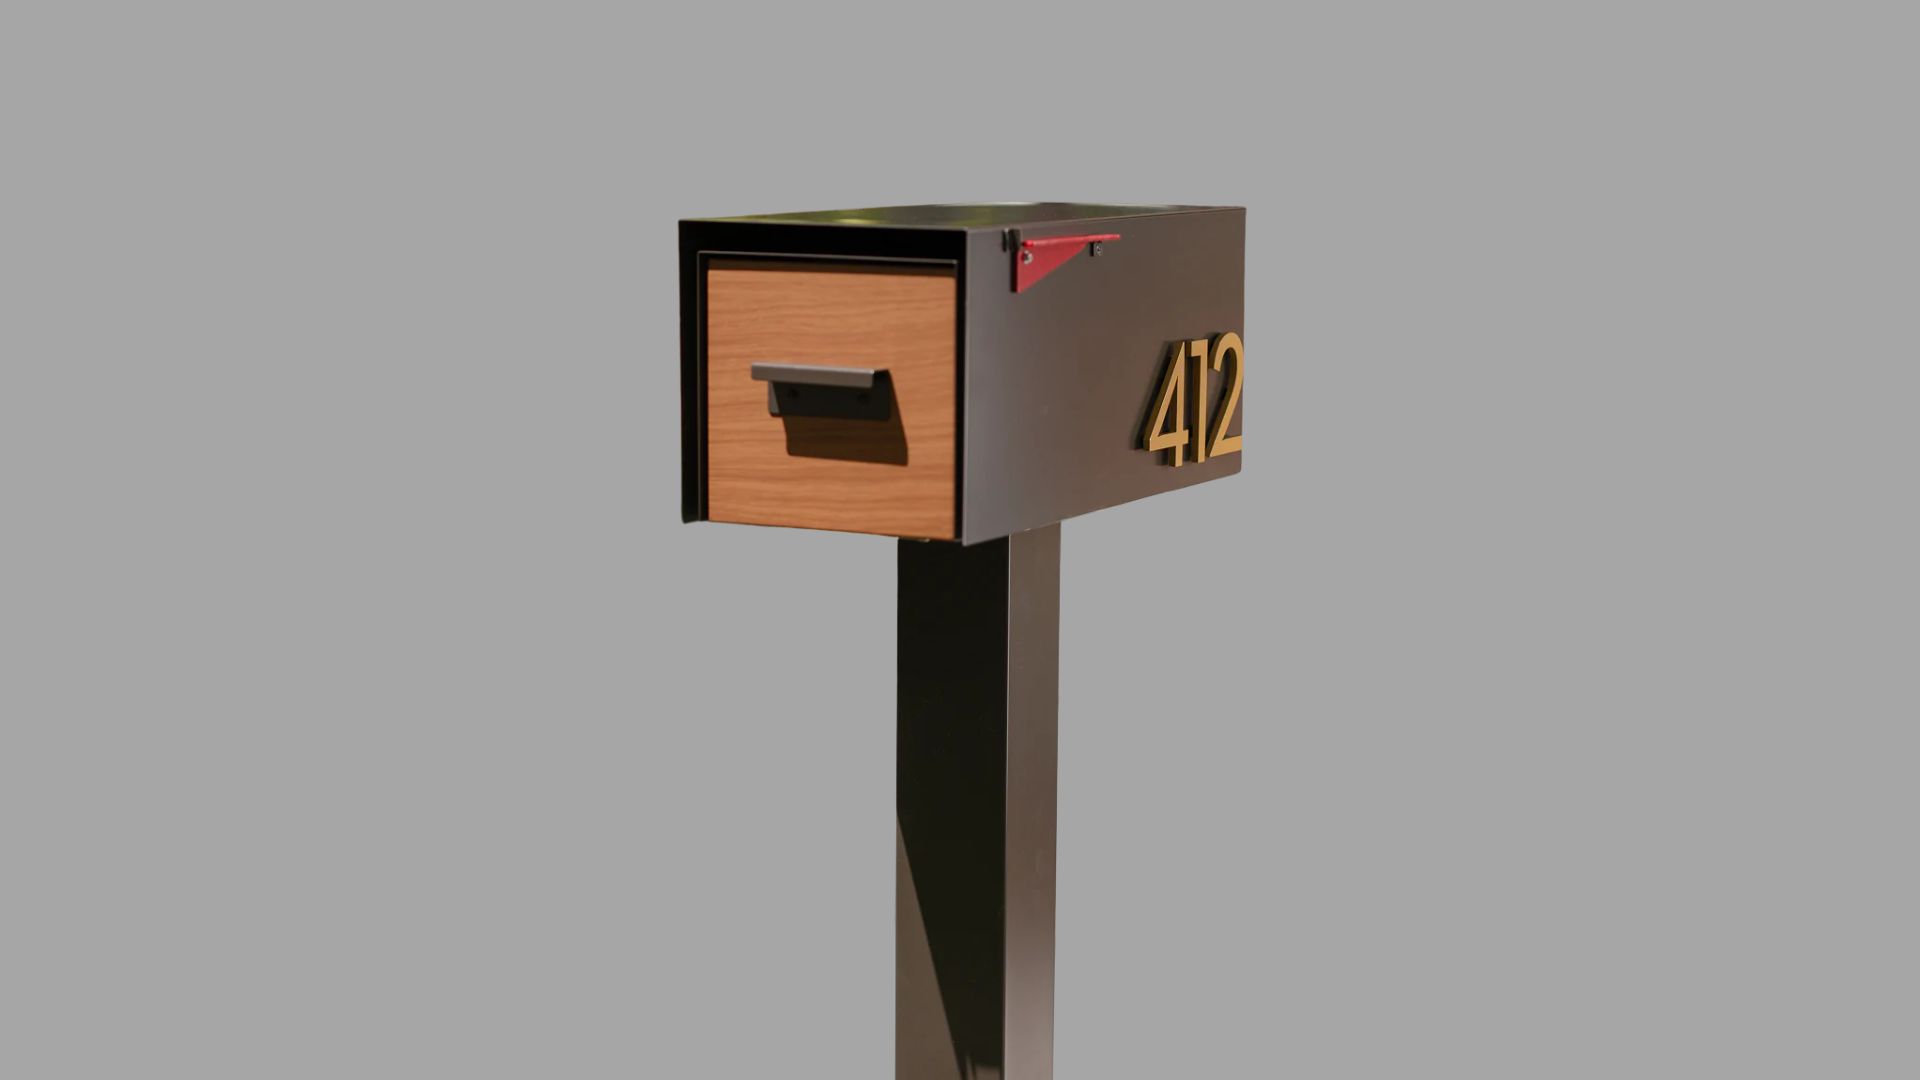
Clean lines and a simple rectangular shape define this style.
No curves or complicated cuts. Follow these steps:
- Cut six pieces of wood and assemble them into a basic box shape
- Remove all rough edges and corners for a clean, modern finish
- Stain or seal the wood to protect it and improve the grain
Contemporary homes need mailboxes that don’t compete with their clean architecture. This design takes less time to build than fancier options.
Rustic Log Cabin Mailbox
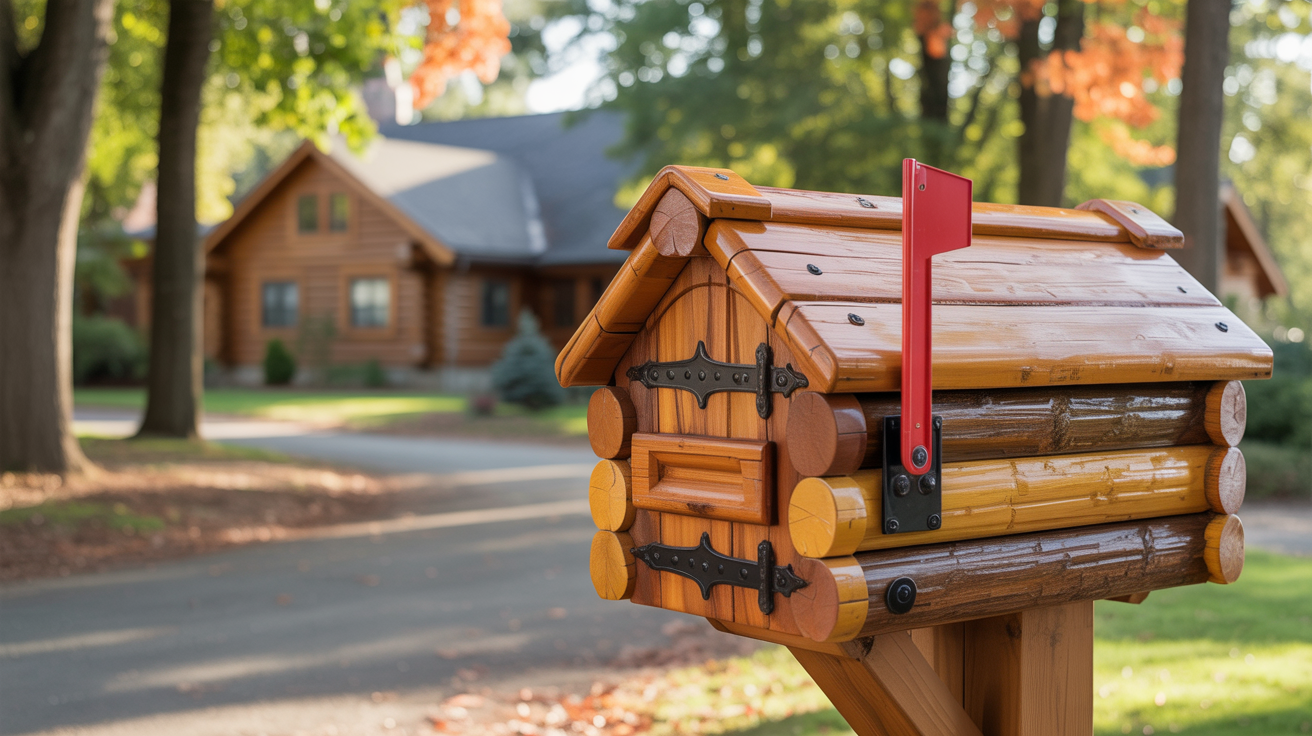
Build this from reclaimed wood or small logs for a weathered appearance. The natural, rustic charm works anywhere.
Start building:
- Find weathered boards or small logs from salvage yards or your property
- Layer the wood horizontally and secure it with screws from the inside
- Build a small box on top and line it with plastic for plants
The aged wood look means you don’t need to worry about making it look new. Imperfections actually make it better.
Cottage Garden Mailbox
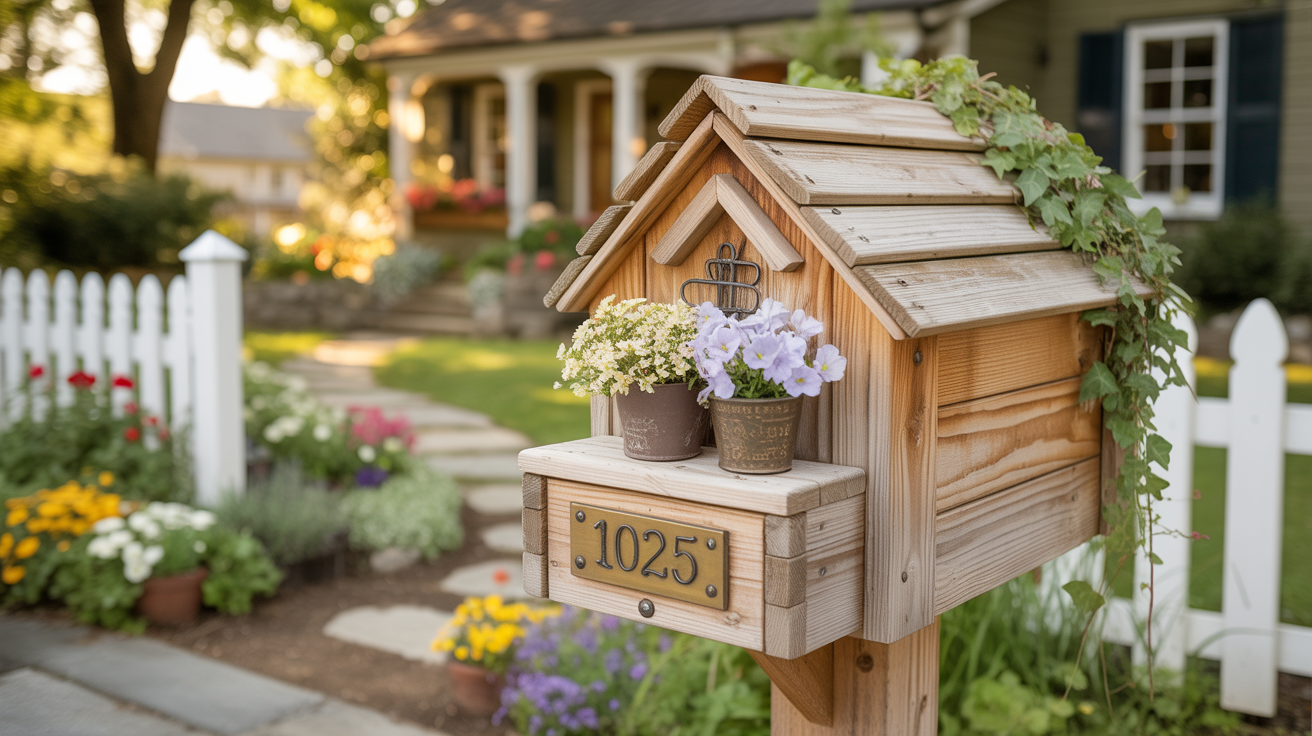
Start with a wooden base and add floral carvings or painted flower accents. This style belongs near gardens.
Create it this way:
- Create a simple rectangular mailbox as your foundation structure
- Add flower designs by carving into wood or painting colorful blooms
- Mount a small solar light on top for nighttime visibility
Homes with flower beds or cottage aesthetics need mailboxes that match their softness. Paint it in pastels or bright garden colors.
Two-Toned Modern Mailbox

Combine two colors or wood finishes that complement each other. White and natural wood work well.
Paint it like this:
- Decide which parts get which color before you start painting
- Apply your main color and let it dry completely overnight
- Use painter’s tape to protect edges and paint the contrast sections
Beginners can handle this because the assembly stays simple. The color contrast does all the work for you.
Decorative Post-Mount Mailbox
Focus your creativity on the post instead of the mailbox itself. Carve it, add slats, or reinforce it with decorative wood.
Build the post:
- Pick carved, slatted, or wrapped designs based on your skill level
- Dig deep and use concrete to anchor it firmly in the ground
- Attach small shelves, hooks, or carved details to the post
This works great for narrow driveways or small spaces where a large mailbox feels overwhelming. The post becomes the statement piece.
DIY Mailbox with Integrated Planter
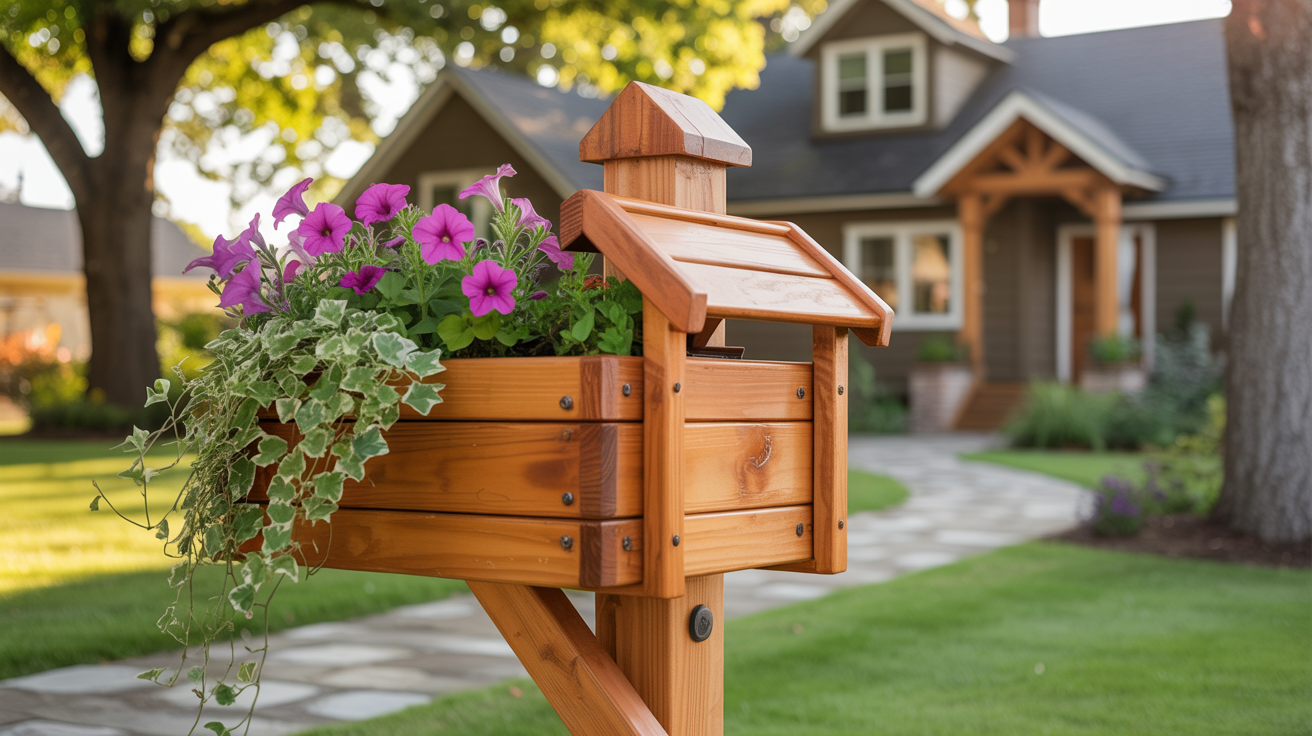
Build a planter box directly into your mailbox structure. Fill it with flowers that bloom all season.
Construct it step by step:
- Create a platform large enough to hold both the mailbox and the planter
- Attach a separate box next to the mailbox with drainage holes
- Use a plastic liner to protect the wood, then add soil and flowers
You’ll need a slightly larger base to keep everything stable and balanced. Water the plants regularly so they don’t dry out and look sad.
Barn-Style Mailbox
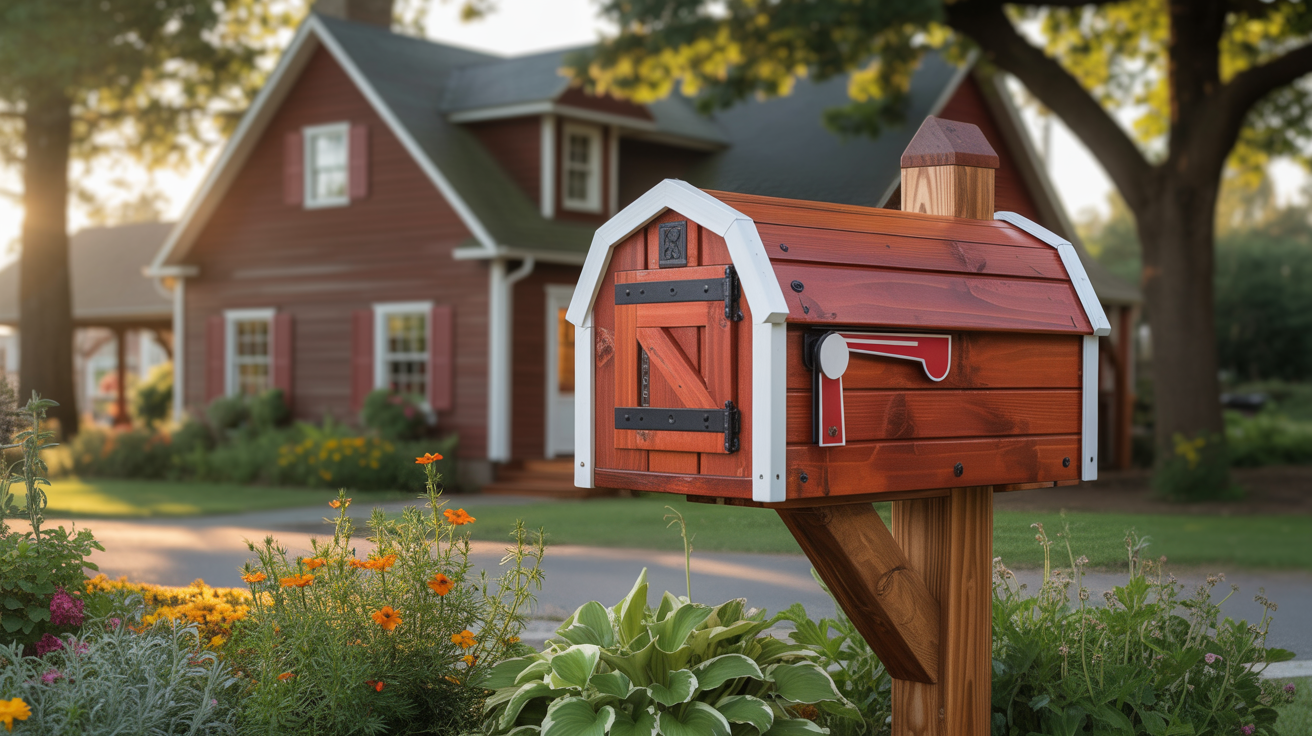
Shape the roof like a barn with two sloped sides meeting at a peak. Add a weathervane on top.
Build the barn shape:
- Make two identical roof pieces that slope up to meet at the center
- Secure them at an angle to create the classic barn shape
- Mount a small decorative weathervane at the roof peak for character
Rural homes and country properties suit this style. You can add small barn doors that actually open for extra detail.
Vertical Slot Mailbox
Design the mail slot vertically instead of horizontally. This creates a tall, narrow profile.
Create the vertical design:
- Make the mailbox taller than it is wide for vertical proportions
- Create a long, narrow opening from top to bottom on the front
- Use a strong post to support the unusual weight distribution
Modern homes appreciate the different look. It works well on skinny posts or in tight spaces between driveways.
Cedar Shake Mailbox
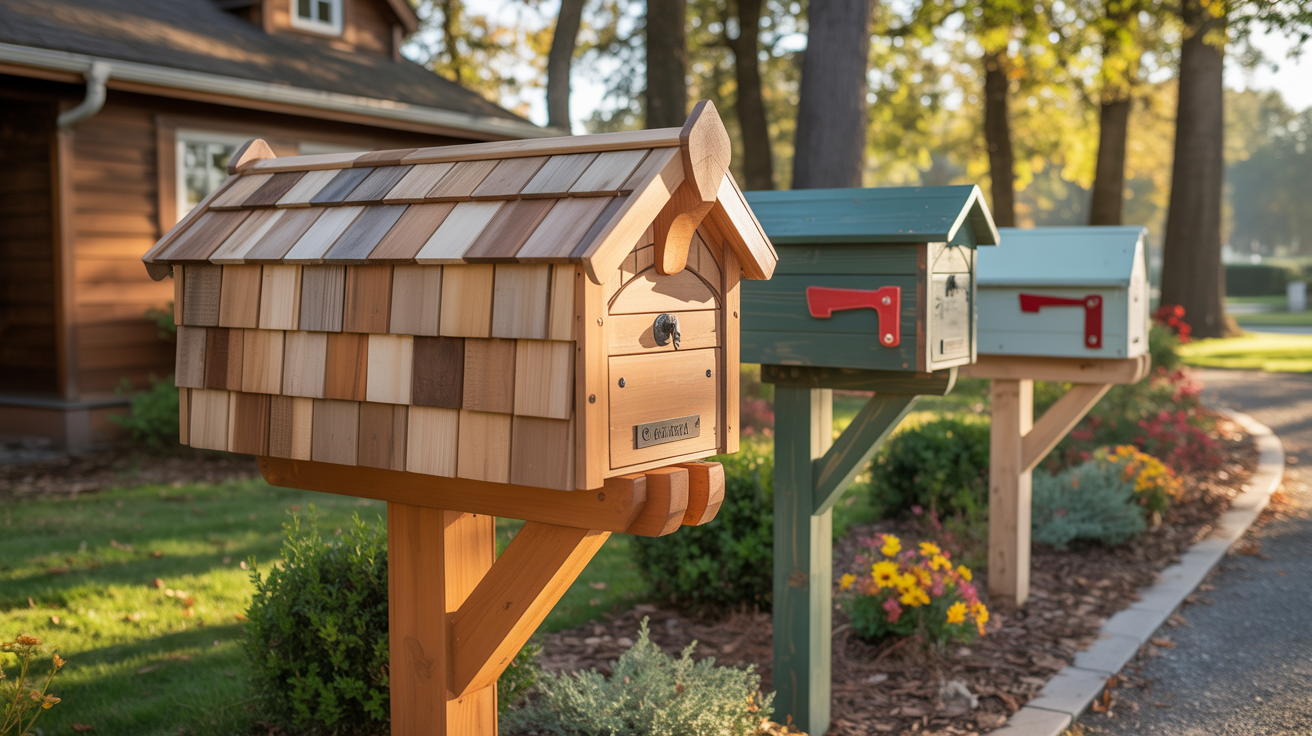
Cover the exterior with cedar shakes like a roof. This adds texture and a craftsman feel.
Apply the shakes:
- Create a simple box that will be covered by the shakes
- Glue and nail overlapping shakes starting from the bottom up
- Apply stain or sealer to protect the shakes from weather damage
The shakes protect the structure from weather while looking intentional and detailed. This style takes more work, but the result looks expensive.
Mailbox with Address Post
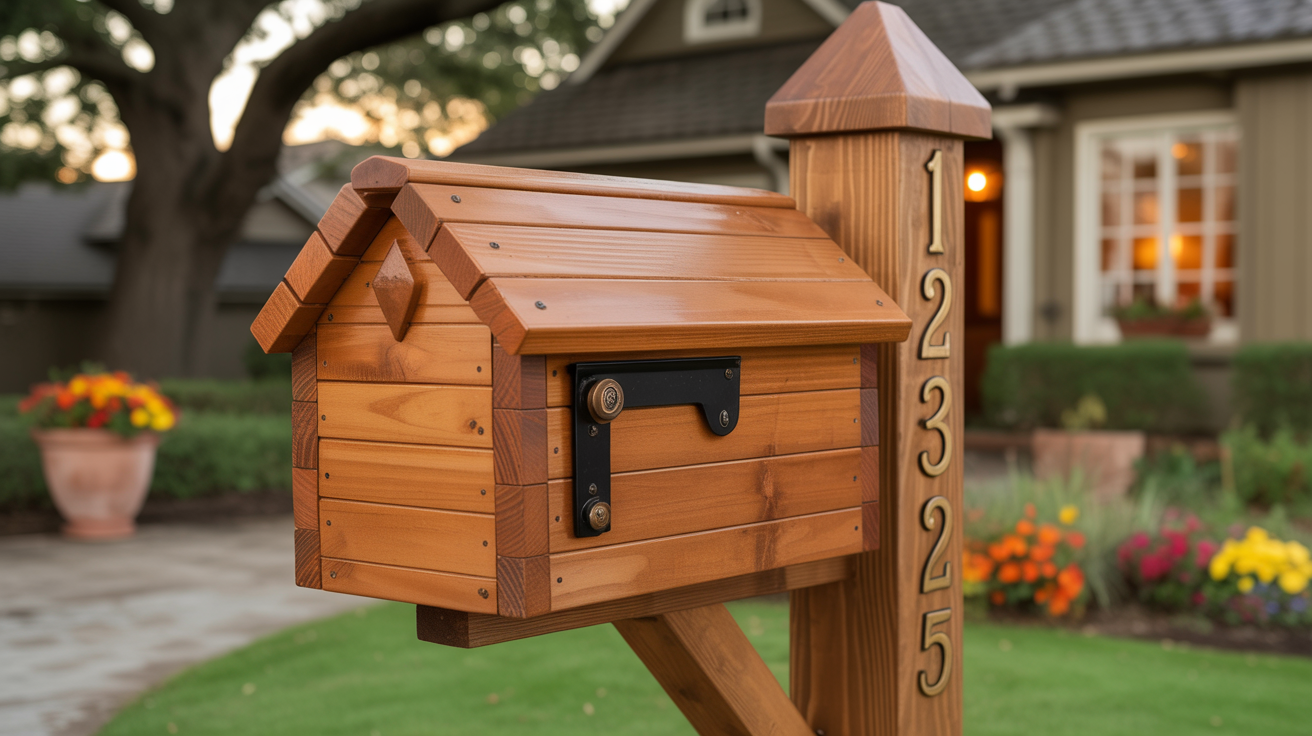
Build a tall post with large, clear house numbers below the mailbox. Make the numbers big enough to read from the street.
Set it up:
- Use a post at least 5 feet tall to make room for numbers
- Attach 6-inch or larger house numbers below the mailbox level
- Install a solar light to illuminate the numbers at night
This helps delivery drivers and emergency services find your home quickly. Functional designs don’t have to sacrifice style.
Tips for Beginners and Time-Saving Hacks
Your first DIY project will feel overwhelming. I get it. But these shortcuts make everything smoother and faster.
- Buy Pre-Cut Wood: Let the hardware store cut your boards to size. You’ll save hours and get straighter cuts than doing it yourself.
- Strengthen Weak Spots: Add extra screws or brackets at joints right away. Fixing wobbly spots later is way harder than doing it correctly now.
- Start with Simplicity: Choose basic designs without fancy angles or curves. You’ll finish faster and actually feel proud of what you built.
Conclusion
A DIY wood mailbox can seriously upgrade your home’s curb appeal without costing a fortune. You’ve got designs here that require different skill levels and styles, all using materials you can find at any hardware store. Building your own means you get exactly what you want at a fraction of the store price.
You now have everything you need to create a mailbox that lasts and looks great. No more settling for boring or overpriced options. Just pick your design, gather your supplies, and start building.
Choose a project that matches your skills and give it a shot this weekend. If you’re happy with how it turns out, share a photo with friends who might want to build one too. Already built a DIY wood mailbox? Tell us about it in the comments. We’d love to hear what worked for you.
Frequently Asked Questions
What type of wood is best for a DIY wood mailbox?
Cedar and redwood naturally resist rot and weather damage best. Pressure-treated pine works well and costs less. Avoid regular pine unless you seal it heavily. Marine-grade plywood holds up outdoors if properly finished. Whatever wood you choose, seal or paint it to protect against rain, sun, and temperature changes.
Do DIY wood mailboxes meet postal regulations?
Most do if built correctly. Mailboxes must be 41-45 inches from the ground to the bottom of the box. The opening faces the street with 6-8 inches of clearance from the curb. Size should fit standard mail. Check your local post office for specific requirements before building.
How do I weatherproof a DIY wood mailbox?
Apply exterior primer first, then two coats of outdoor paint or stain. Seal all joints with waterproof wood glue. Add a sloped roof so water runs off. Use exterior-grade screws that won’t rust. Coat the inside too. Reapply every 2-3 years to maintain protection.
How much does it cost to build a DIY wood mailbox?
Basic designs cost $30-50 for materials, including wood, screws, and paint. More detailed projects with decorative elements run $75-100. Cedar and redwood cost more than pine. You’ll save hundreds compared to buying pre-made designer mailboxes. Costs vary based on the size and finish quality you want.
What tools do I need to build a DIY wood mailbox?
Basic builds need a saw, drill, measuring tape, sandpaper, and paintbrush. A miter saw helps with angled cuts,t isn’t required. Wood glue, exterior screws, and clamps hold pieces together. Level ensures proper installation. Most people have these tools already or can borrow them from neighbors.