

I still remember the first time I picked up a needle and a handful of seed beads. I had no idea what I was doing. My first attempt looked nothing like the photo I was following.
If that sounds familiar, you’re in the right place.This bead embroidery tutorial walks you through everything, from picking the right materials to finishing your first piece.
I’ll cover basic stitches, design prep, and the small details that make a big difference.I’ve been doing bead embroidery for years.
I know exactly where beginners get stuck, so I built this guide to skip the confusion.
Let’s get into it.
Bead Embroidery Overview: How It Works

Bead embroidery is the art of sewing beads onto fabric to build patterns, textures, or pictures. You work on a stiff foundation fabric and use a beading needle and thread to attach beads one by one, or in strands.
The beads sit flat or raised depending on the stitch you use. Most pieces are then backed and finished into jewelry, wall art, or accessories.
It’s slow work, but deeply satisfying.
Materials for Bead Embroidery
Before you start stitching, gather the essential tools and materials that make bead embroidery easier and more precise.
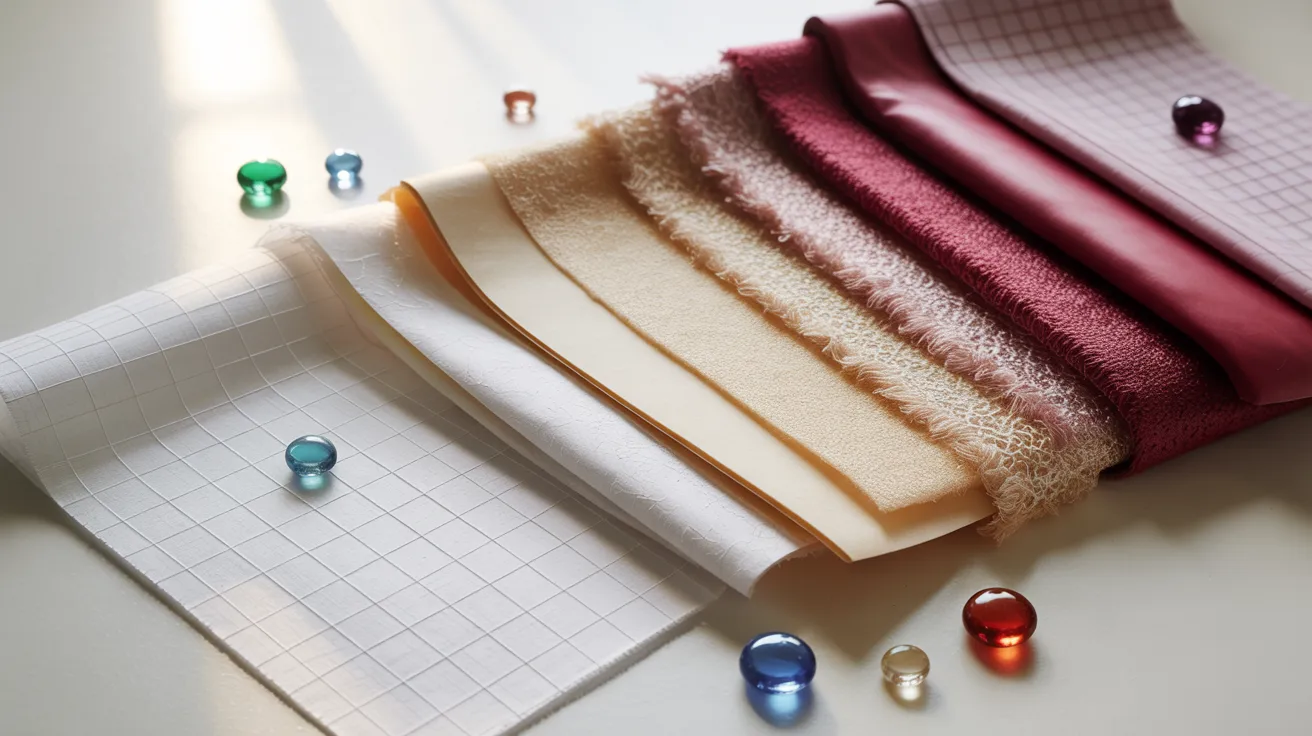
- Foundation fabric: Use Lacy’s Stiff Stuff, Pellon, or ultrasuede as your base. These hold beads firmly without buckling or warping.
- Beads: Seed beads in size 11 or 15 are the most common. Japanese brands like Miyuki or Toho give you consistent sizing.
- Beading needles: Size 10 or 12 work well. They’re thin enough to pass through tight bead holes without bending.
- Thread: Nymo, Fireline, or One-G are solid picks. Use a color that blends with your bead tones.
- Scissors: Sharp embroidery scissors help you cut close to the fabric without catching threads.
- Beeswax or thread conditioner: Run your thread through it before stitching to cut down on tangles.
- Backing material: Ultrasuede or leather gives your finished piece a clean, professional back.
- Cabochons or focal beads: Optional, but often used as a centerpiece to anchor your whole design.
Preparing Your Bead Embroidery Design

Proper preparation helps your design stay balanced, secure, and much easier to stitch.
Transferring or Sketching Your Pattern: Draw or trace your design onto the foundation fabric with a light pencil or chalk marker. Keep lines thin so beads cover them. A rough outline is all you need.
Attaching a Focal Element: Glue down your cabochon or focal bead with E6000 first. Let it dry fully before stitching around it. This anchors your design and gives you a fixed center to build from.
Securing the Foundation Before Stitching: Tape your foundation fabric onto cardstock or foam board before you start. It keeps the surface flat and firm, which makes bead placement cleaner and reduces hand fatigue.
Basic Bead Embroidery Stitches (Step-By-Step)
These core stitches form the foundation of most bead embroidery designs and are easy for beginners to learn.
Backstitch
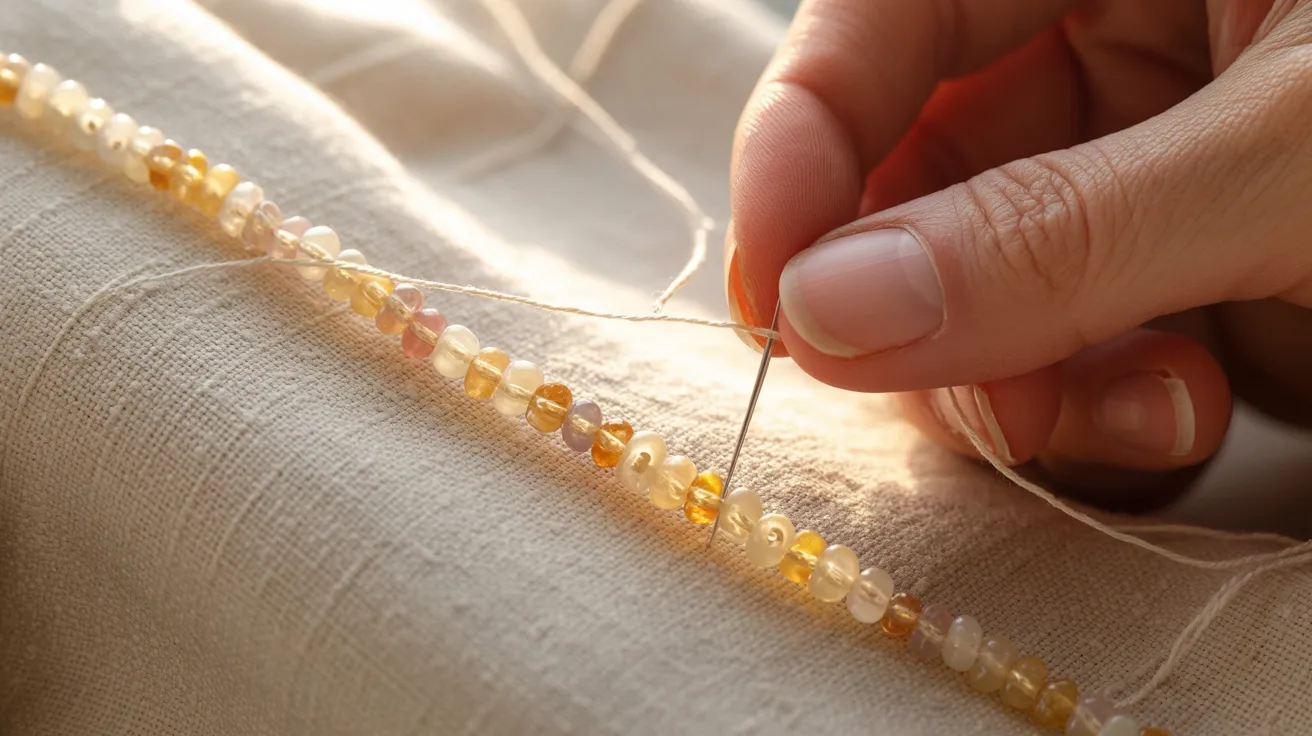
Pick up 2 to 3 beads, push the needle down through the fabric, then come back up one bead length behind.
Run the needle through the last bead again and repeat. It’s the go-to stitch for outlining shapes and filling areas.
Keep tension consistent so beads line up flat without bunching or gapping between them.
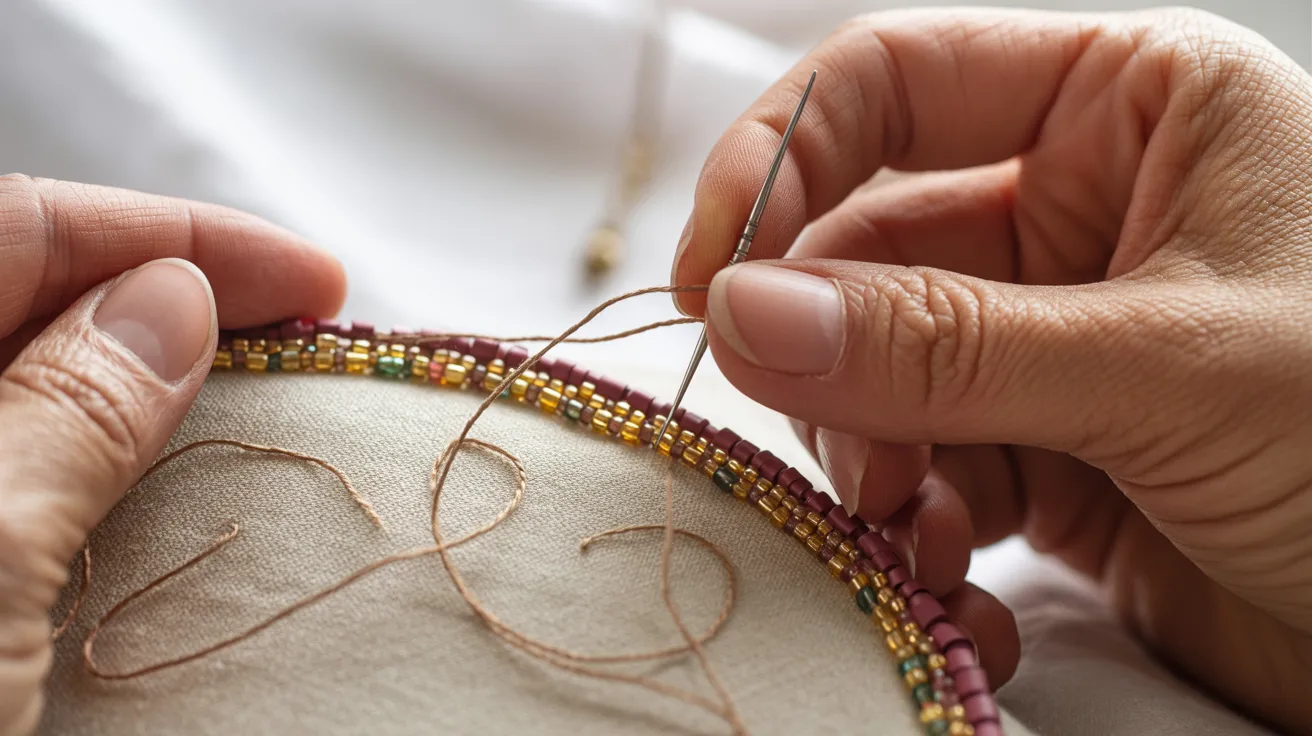
Couching Stitch

String a row of beads on a separate thread, lay it on the fabric, then use a second thread to tack it down between every bead or two.
It works great for long curved lines where backstitch feels too rigid or slow.
Couching gives smooth, flowing results and covers ground quickly on larger fill areas.
Stack Stitch

Thread a base bead, add a smaller one on top, then send the needle back down through only the base bead.
The top bead acts as a stop and creates a raised dot or texture.
Use it to add dimension to flower centers, borders, or any spot that needs a little lift off the flat fabric surface.
Edge Stitch (Brick Stitch Edge)
After trimming your piece, add a row of beads around the edge using brick stitch to cover the cut foundation and join the front to the backing.
Pick up two beads, pass through the fabric edge, and loop the thread back through the second bead.
Continue all the way around for a clean, finished border.
Finishing Your Bead Embroidery Project
Finishing techniques secure your work and give your bead embroidery a clean, professional look.
Trimming the Foundation

Once your beading is done, trim the foundation fabric as close to the outer beads as you can without cutting any threads.
Use small, sharp scissors. Leave about 1 to 2mm of fabric showing. That small margin keeps beads secure while giving you a clean edge to work with when adding the backing and border.
Adding Backing Material

Cut your backing, apply glue to both surfaces, press firmly, and let it dry. Good options include:
- Ultrasuede: Soft, easy to cut cleanly, and available in many colors. The most popular choice.
- Leather: Durable with a polished feel. Harder to trim but holds up well over time.
- Microsuede: A budget-friendly pick. Softer texture but holds firmly with the right adhesive.
Securing the Edges with Beaded Border

Use brick stitch or edge stitch to sew around the perimeter, covering the raw edge where the front and backing meet.
This step is what separates a finished piece from an unfinished one. Pick a bead color that either complements or contrasts your design to give it that clean, intentional final look.
Attaching Jewelry Findings
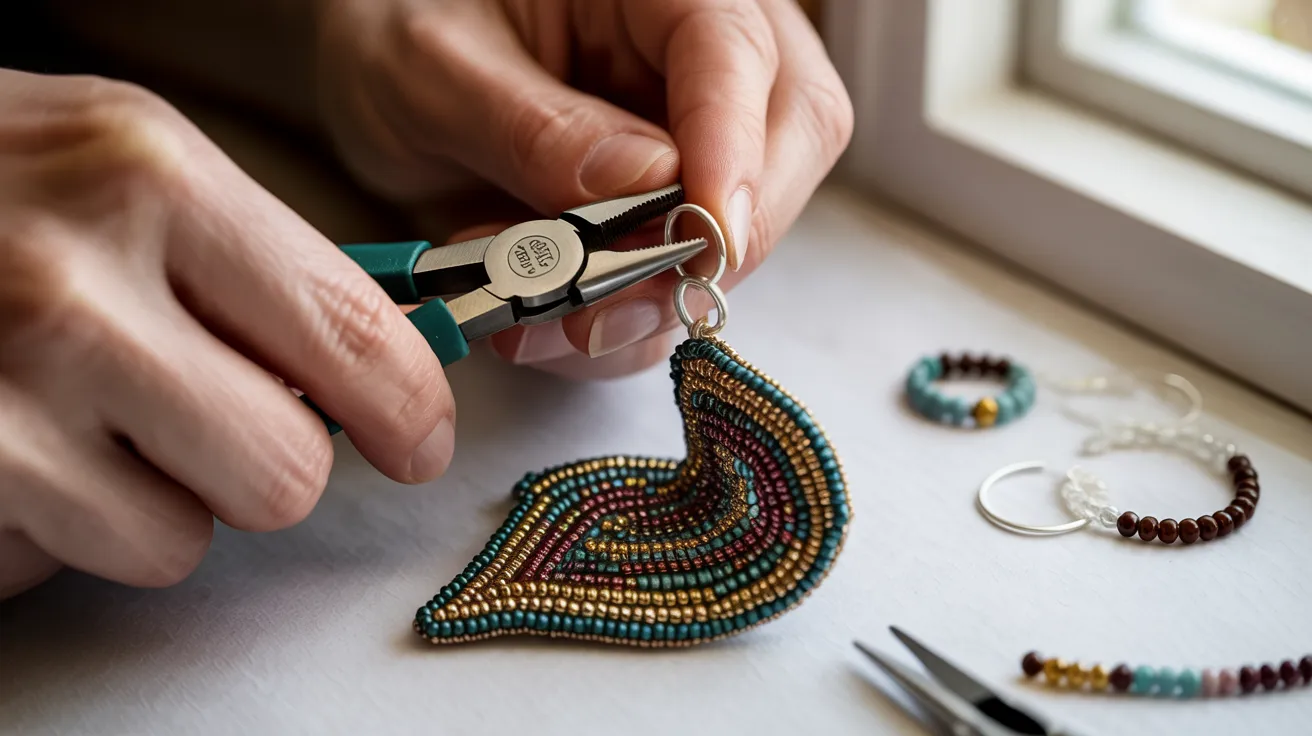
Once your piece is fully edged, attach findings so you can wear it. Common options include:
- Jump rings: Attach before edging or sew on afterward to connect chains or pendants.
- Bails: Glue or sew to the top center. Make sure it sits flush before it sets.
- Earring hooks: Attach via a jump ring at the top. Keep the design light so it hangs well.
Pro Tips to Improve Your Bead Embroidery
Small technique adjustments can dramatically improve the quality, durability, and appearance of your beadwork.
- Use a stop bead to keep beads from sliding off your strand while you work.
- Work in good lighting to cut down on mistakes and reduce eye strain during long sessions.
- Keep your tension even. Too tight puckers the fabric. Too loose and beads shift around.
- Use a bead mat to stop beads from rolling and make picking them up much easier.
- Plan your fill direction early so the texture stays even across the whole piece.
Conclusion
I won’t lie. My first bead embroidery piece had uneven lines, the wrong thread, and a backing that was slightly crooked.
But I still kept it. Because finishing something, even imperfectly, is how you actually get better.
This bead embroidery tutorial gives you the foundation. Now it’s your turn to pick up the needle and try it. Start with one stitch. One small piece. That’s all it takes.
If this helped you, leave a comment below and tell me what you’re working on. I’d love to hear about it.
Frequently Asked Questions
What fabric works best for bead embroidery beginners?
Lacy’s Stiff Stuff or firm Pellon interfacing works best. Both hold beads firmly without buckling. Soft fabrics make it hard to keep beads flat.
What size beads should I start with?
Size 11 seed beads are the best starting point. Miyuki or Toho are reliable brands that give you consistent sizing across a project.
How do I stop my thread from tangling while stitching?
Run your thread through beeswax before you start and keep your working length under 18 inches. Longer threads twist and weaken faster.
Can I do bead embroidery without following a pattern?
Yes. Glue down a focal bead and build outward from there. Free-form work helps you focus on technique without the pressure of following tight lines.
How long does a bead embroidery project take to finish?
A small pendant takes 2 to 6 hours. Larger pieces take much longer. Short, focused sessions give you better results overall.