


Looking for fun ways to reuse those empty Altoid tins? I’ve been crafting these little metal containers for years, and they’re perfect for so many projects.
In this guide, I’ll show you how to turn Altoid tins into decorative pieces, storage solutions, and even working gadgets.
You’ll learn about painting techniques, gift ideas, and mini electronics projects. I’ll walk you through each step with simple instructions.
I’ve tested these methods myself, so you can trust they actually work. If you need a small storage fix or want to make a thoughtful handmade gift, these tiny tins can do it all.
Let’s get crafting!
Why Altoid Tins Make Great Craft Projects?
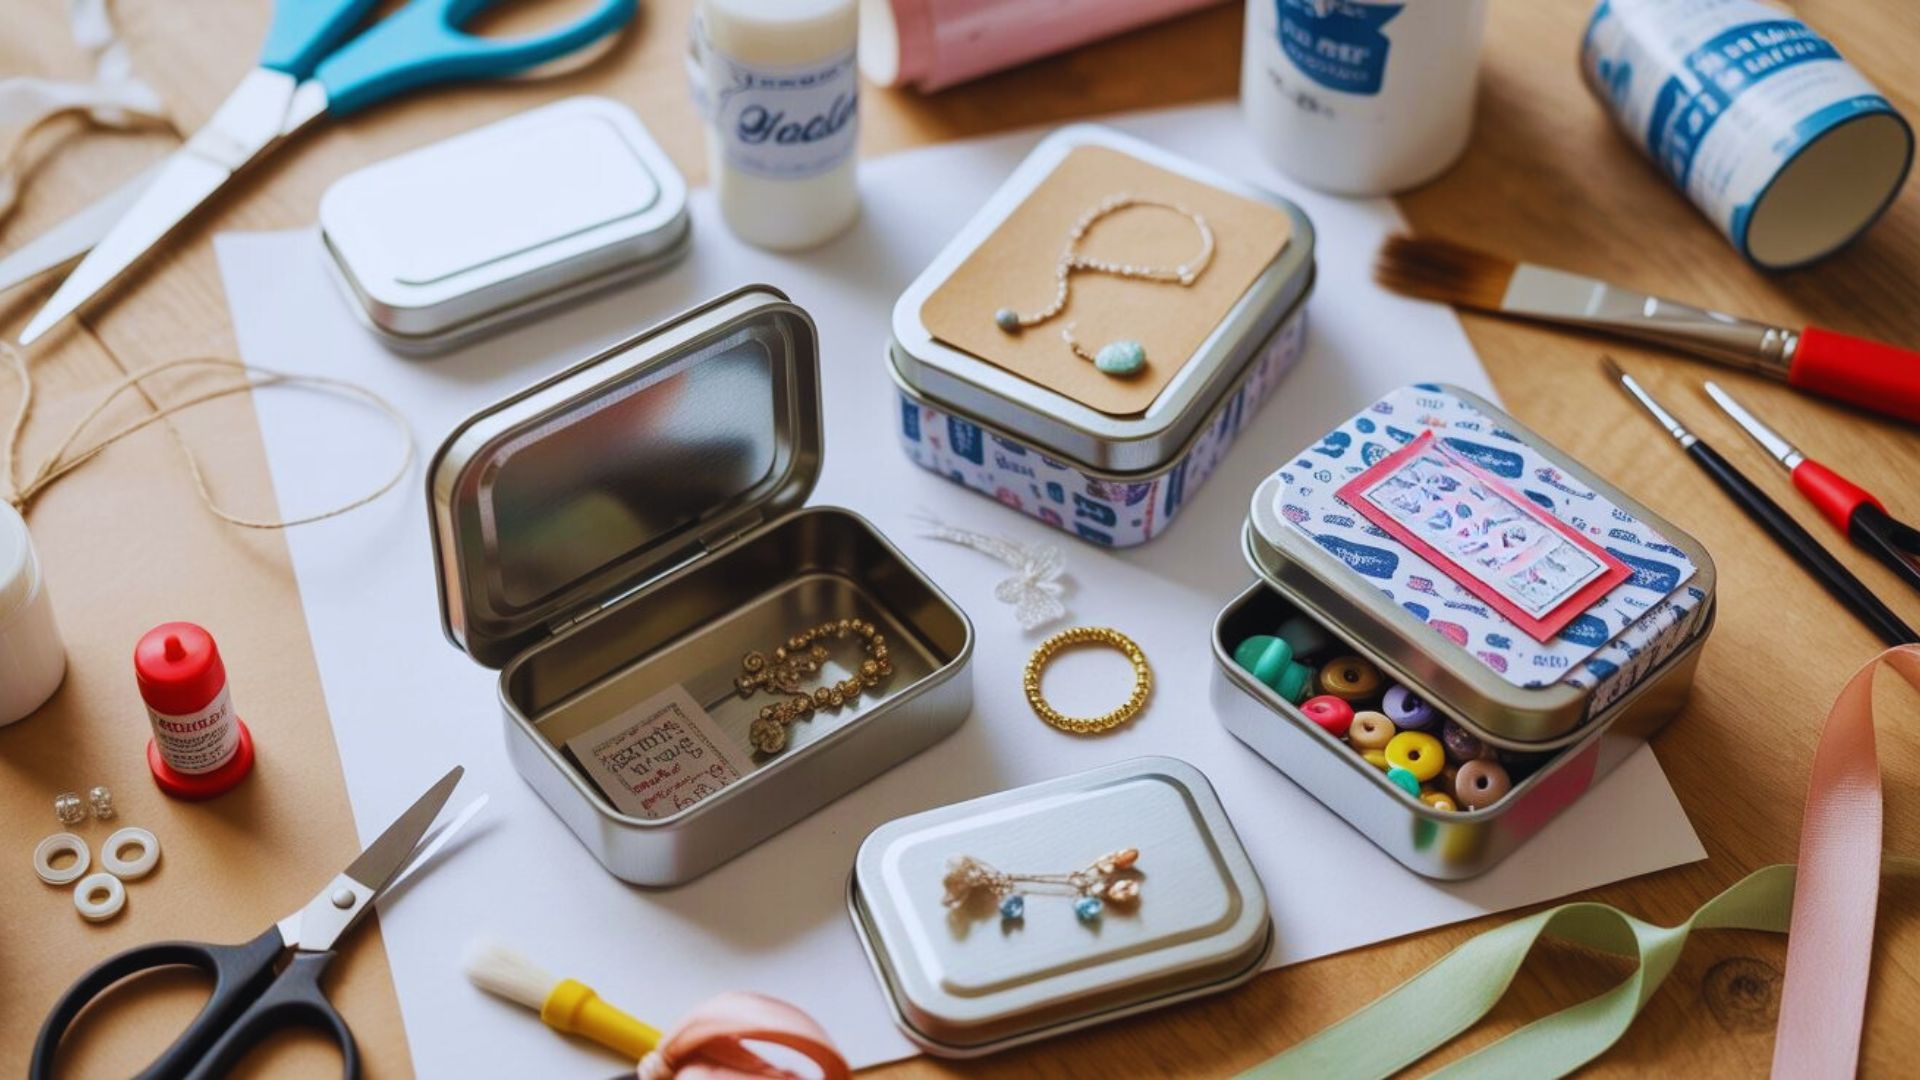
Altoid tins are tough, pocket-sized, and ready to customize for any creative project. These metal containers won’t crack or break like plastic.
The hinged lids stay secure, making them perfect for storing small items. You can paint them, glue paper to them, or add ribbons, beads, and stickers.
Kids, teens, and adults all love working with these tins. Make portable game sets, practical organizers, or tech projects.
The best part is that they serve a real purpose after decorating. Use them to hold bobby pins, earbuds, or tiny craft supplies.
They fit in your pocket, they’re waterproof when closed, and you can make dozens of different projects with the same basic tin.
Getting Started with Altoid Tin Crafts
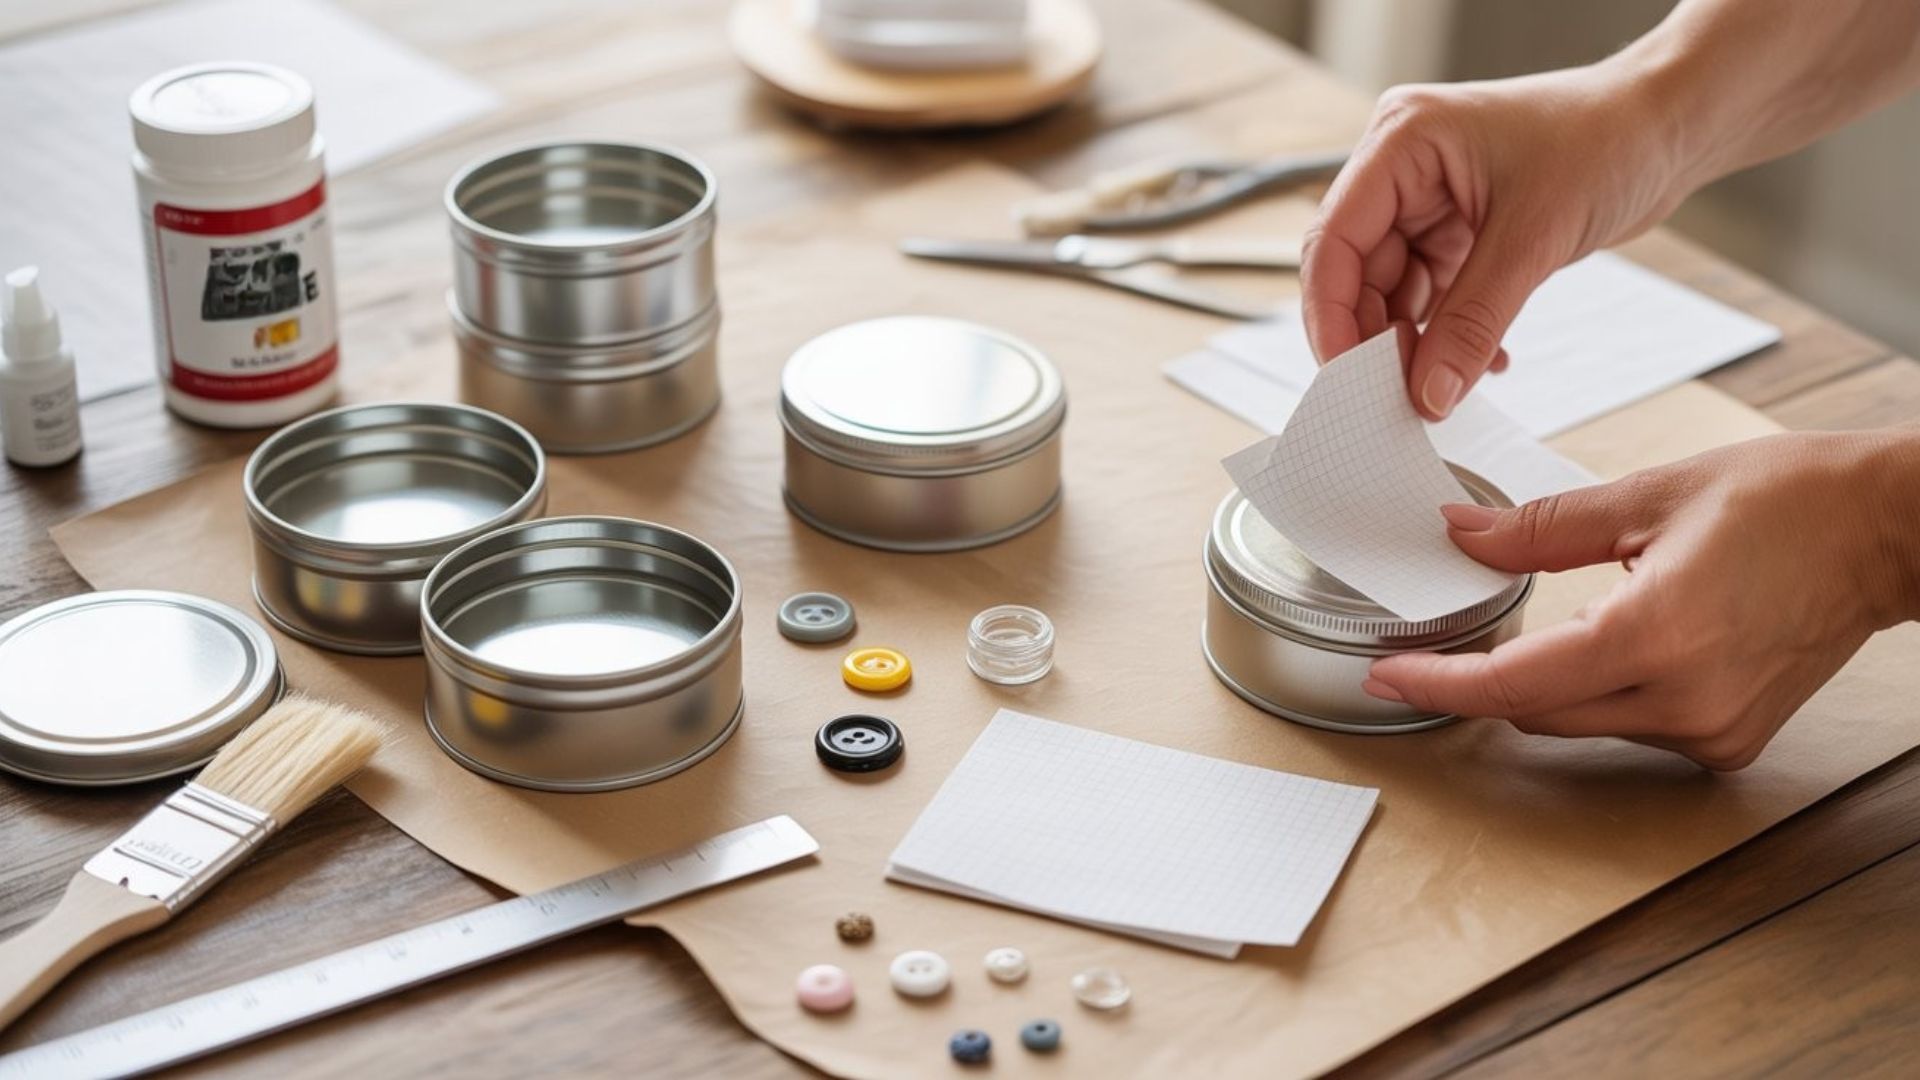
Gather your basic supplies before starting any project. You’ll need empty Altoid tins, scrapbook paper, Mod Podge or glue, scissors, and paintbrushes. Optional items include ribbons, beads, stickers, buttons, and paint pens.
Measure and cut the paper carefully since the tin surface is small. Trace the lid and base, then cut just inside your lines. Clean the tin with rubbing alcohol first so the glue sticks better.
Let each layer dry completely before adding more. Seal finished work with 2-3 thin coats of Mod Podge for protection.
Decorative Altoid Tin Projects
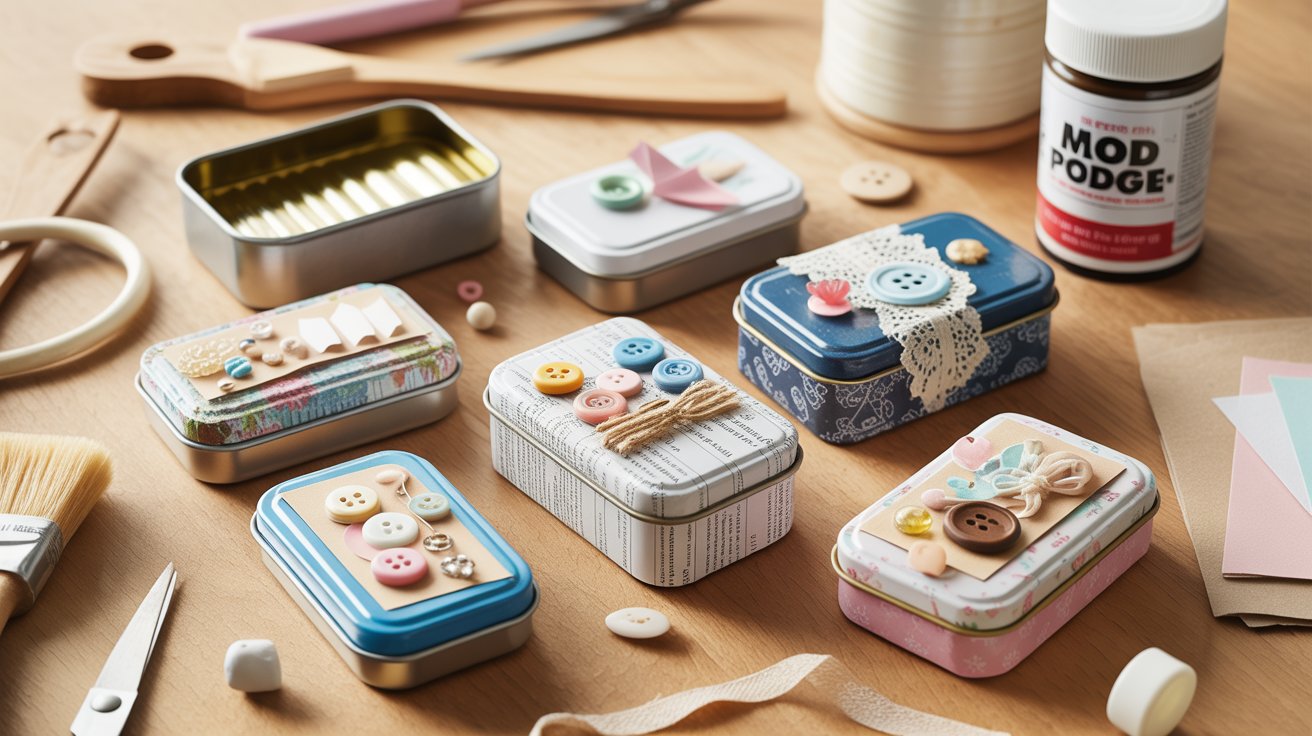
Turn plain mint tins into eye-catching decorative pieces using simple craft techniques and your favorite colors.
Decoupage Altoid Tins
Decoupage is super easy. Just glue paper to the tin and seal it. Cut scrapbook paper to fit your tin, apply Mod Podge, and press the paper down smoothly. Let it dry for 30 minutes, then apply more Mod Podge over the paper to seal it.
Want a glossy, resin-like finish? Use Dimensional Magic over dried Mod Podge. Pour it on, spread it with a brush, and let it cure for 24 hours. Add beads around the edges, glue a ribbon bow on top, or stick on tiny gems for extra personality.
Painted or Spray-Painted Tins
Paint gives you bright, solid colors that really pop. Sand the tin lightly first, then apply 2-3 thin coats of acrylic paint. Spray paint creates smooth, even coverage. Do this outside and hold the can 6-8 inches away.
Try two-tone color blocking, ombre fading, polka dots, stripes, neon colors, or metallic finishes. Seal painted tins with clear acrylic spray for extra protection.
Collage & Mixed Media Tins
Mix different materials for an artistic, layered look. Start with a base layer of patterned paper or paint, then add photos, magazine clippings, or vintage stamps.
Tear edges instead of cutting straight lines to create texture and depth.
Try fabric scraps, lace, sheet music, or tissue paper. Add ink stamps or hand-drawn doodles. The key is layering. Build up your design gradually, with each element overlapping slightly.
Functional DIY Altoid Tin Projects
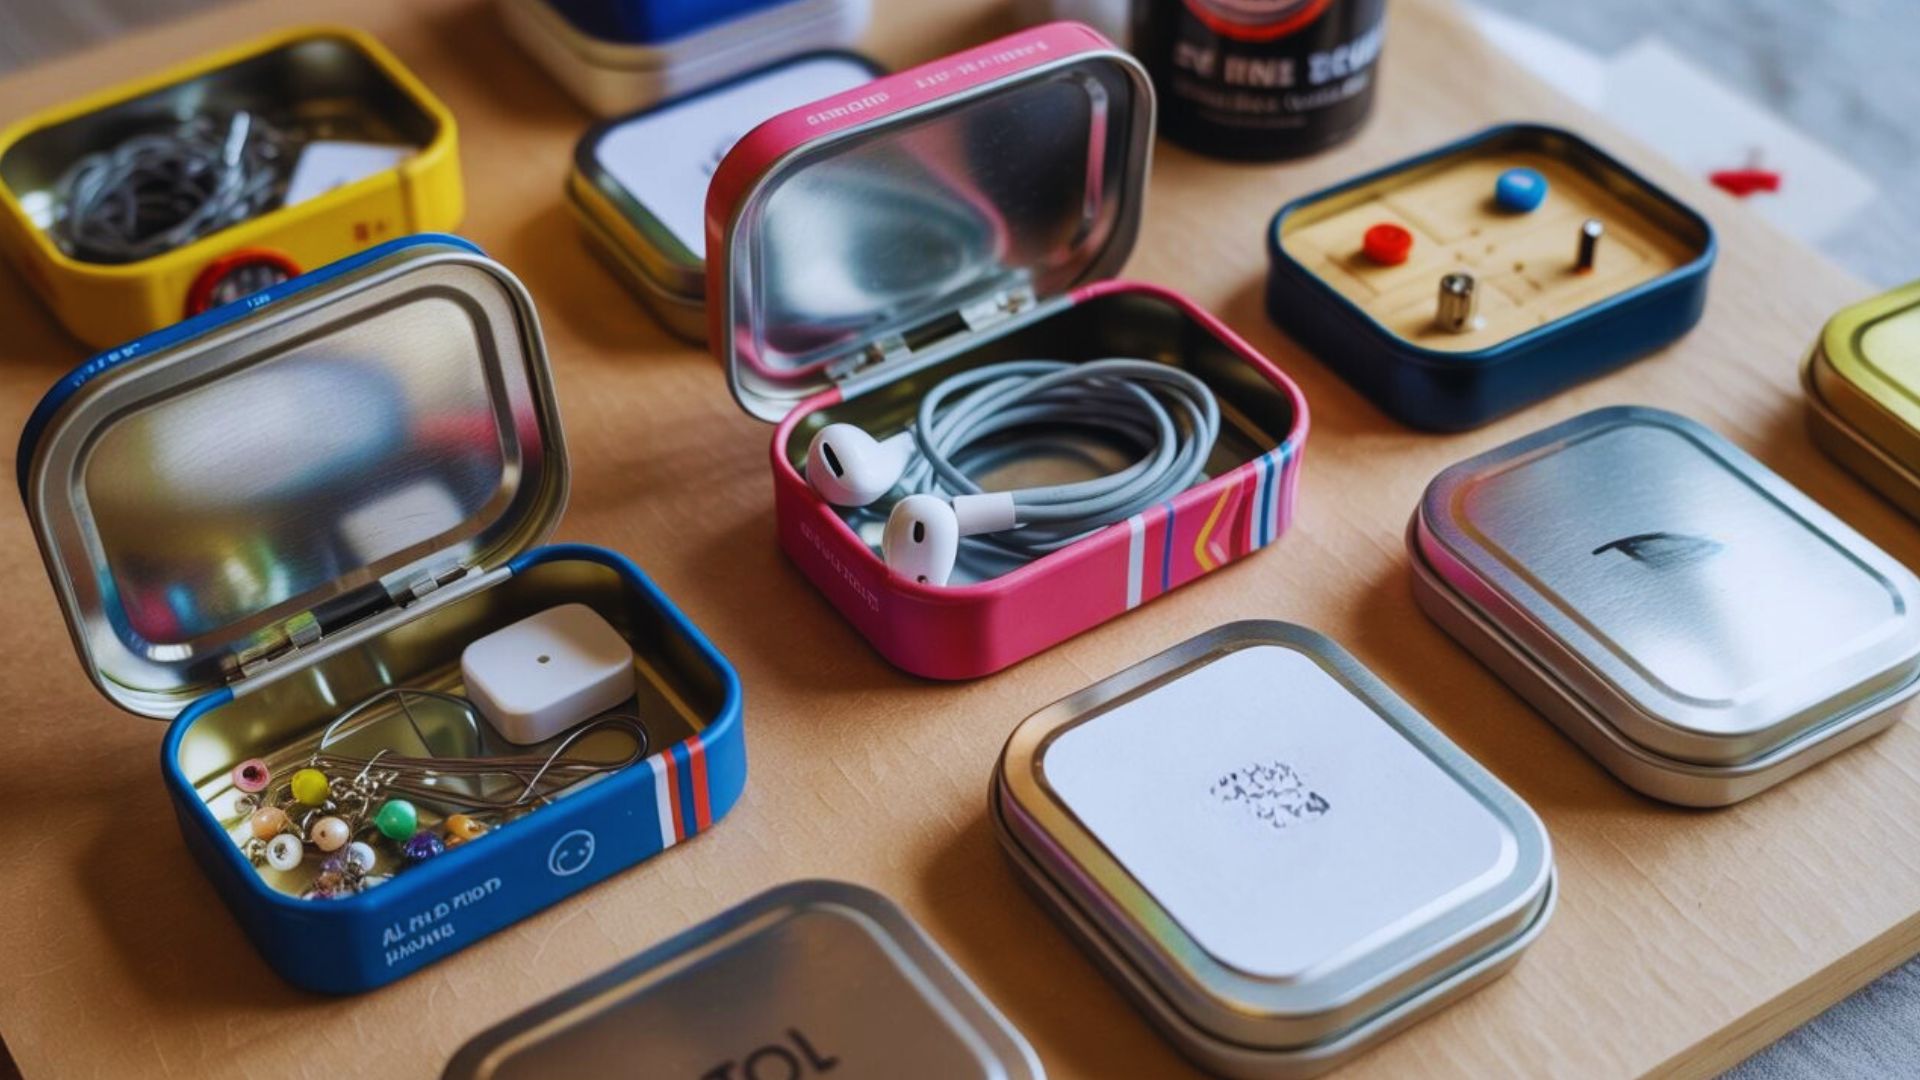
These practical projects turn Altoid tins into useful items you’ll actually use every day.
Mini Storage Containers
Altoid tins are perfect for organizing tiny things that get lost easily. Store bobby pins, hair ties, SD cards, USB drives, jewelry, earbuds, charging cables, safety pins, sewing needles, paper clips, or pushpins.
Make travel kits for vacations. Fill one tin with pain relievers, band-aids, and safety pins. Label each tin so you know what’s inside.
Office workers love these for desk organization with binder clips and rubber bands.
Pocket-Sized Games & Kits
Turn Altoid tins into portable entertainment. Make a tic-tac-toe set by gluing a game board inside the lid and using buttons as playing pieces.
Create a magnetic fishing game for kids with a magnet on a string and paper fish with paper clips.
Anti-boredom kits work great for restaurants or car rides. Fill a tin with mini coloring pages, a tiny pencil, stickers, and small toys. Travel checkers, dominoes, or card games fit perfectly inside.
DIY Electronics & Gadgets
Tech-savvy crafters can build working devices inside Altoid tins. Make a tiny speaker by installing a small amplifier and speaker inside.
The metal tin actually improves sound quality. Build a portable USB charger by wiring a USB port to a small battery pack.
Solar charging stations fit inside these tins, too. Add a small solar panel to the lid and connect it to a battery and charging port.
Other projects include survival kits with flashlights, emergency phone chargers, mini LED light boxes, and amplifiers. These require basic soldering skills.
Gift and Special Occasion Ideas
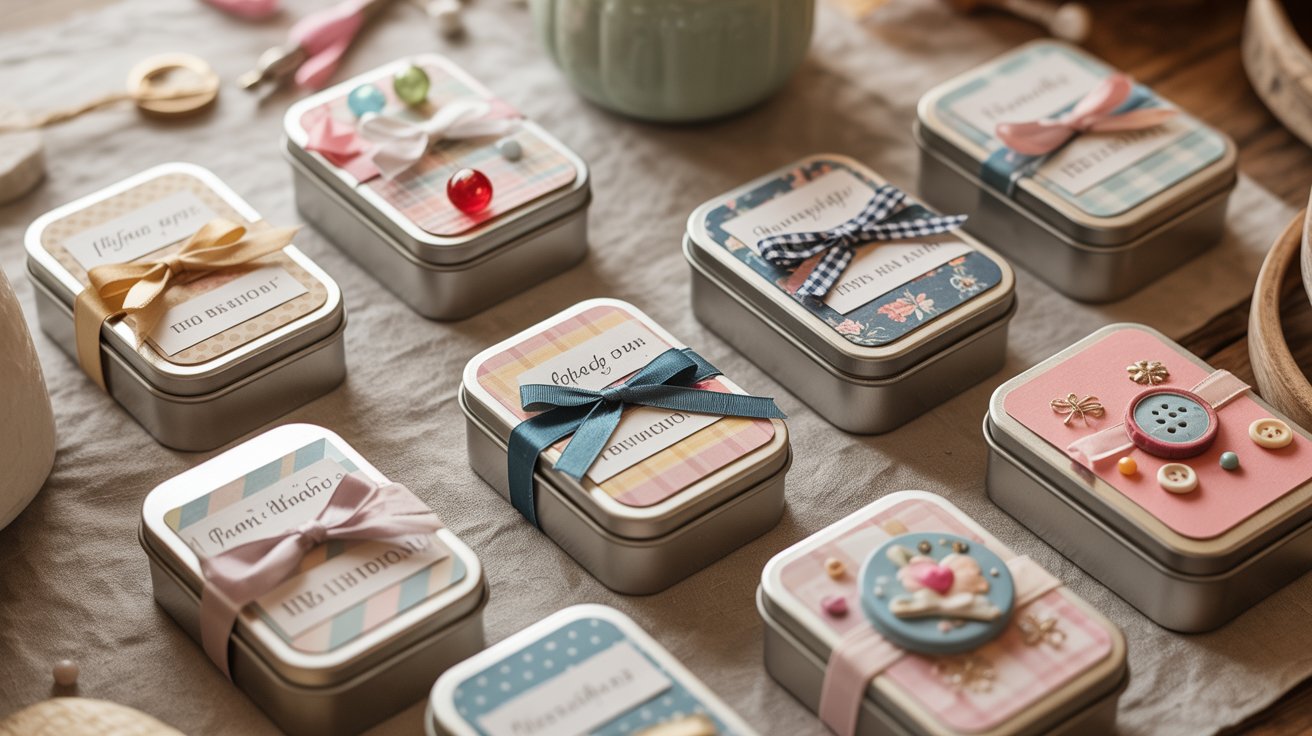
Altoid tins make thoughtful, personalized gifts that show you put real effort into creating something special.
Personalized Gift Containers
These tiny tins become extra special when you customize them for someone. Fill them with gift cards, homemade candies, small jewelry, love notes, friendship coupons, or tea bags and coffee samples.
Decorate the outside to match the occasion. Use wedding colors for bridal gifts, birthday wrapping paper for celebrations, or holiday stickers for seasonal presents. Write the recipient’s name on the lid with paint markers.
Teachers love these as end-of-year gifts, and coworkers appreciate them as secret Santa presents.
Fun or Novelty Projects
Get creative with silly or surprising Altoid tin projects. Build a miniature dollhouse kitchen inside a tin with tiny furniture, dishes, and food.
Kids love playing with these mini worlds. Make a working music box by installing a small music mechanism.
Proposal tins have become popular for hiding engagement rings. They’re smaller and less obvious than a ring box.
Create prank tins with spring-loaded snakes or confetti poppers. Just don’t give these to anyone who scares easily!
Tips for Long-Lasting Altoid Tin Crafts
Protect your finished projects so they stay beautiful and functional for years to come.
- Always seal decorated tins with 2-3 coats of Mod Podge, letting each coat dry completely. For extra protection, use Dimensional Magic for a thick, waterproof, glass-like finish or apply clear acrylic spray in light coats.
- Keep tins away from sinks and humid areas to avoid water damage. If they get wet, dry them immediately. Store craft tins in a safe spot where they won’t get scratched or crushed.
- Match your tin design to its purpose. Use calming colors for relaxation items, bright patterns for kids’ games, and metallic finishes for office supplies.
- Personalize tins for recipients by using their favorite colors or themes. Add old stamps for vintage lovers or match patterns to their home decor style.
- Add labels or tags so you remember what’s inside each tin. Tie a ribbon through the hinge as a decorative touch. Try new techniques with each project to improve your skills.
Conclusion
I’ve made dozens of Altoid tin crafts over the years, and I still find new ways to use them. These little containers are so versatile. They’re cheap, easy to find, and perfect for practicing new craft skills.
Start with a simple painted tin or decoupage project. Then try the electronics or game kits once you’re comfortable. Don’t worry about making mistakes. That’s how you learn.
Grab a few empty tins from your recycling bin and see what you can create. I’d love to hear what projects you try first!
Frequently Asked Questions
What type of glue works best for Altoid tin crafts?
Mod Podge is the top choice for paper projects. It works as both glue and sealer. For heavier items like beads or buttons, use E6000 or hot glue.
Can you paint Altoid tins without a primer?
Yes, but light sanding helps. Rough up the surface with fine sandpaper first. This helps paint stick better. Acrylic paint works well on metal without primer.
How do you remove the original label from an Altoid tin?
Soak the tin in warm, soapy water for 10 minutes. The label should peel off easily. Use rubbing alcohol to remove any sticky residue left behind.
Are Altoid tin crafts safe for kids to make?
Most projects are kid-friendly with adult supervision. Avoid hot glue guns for young children. Skip the electronics projects unless teens have soldering experience. Painting and paper crafts work great for all ages.
How long do decorated Altoid tins last?
With proper sealing, they last for years. Apply 2-3 coats of Mod Podge or clear sealer. Keep them away from water and rough handling. Mine from 5 years ago still looks great.
