

Want to learn how to do chain stitch embroidery from scratch?
You’re in the right place. I’ve helped thousands of beginners master this beautiful technique.
Here’s what you’ll find:
- Step-by-step chain stitch tutorial
- 7 creative variations to try
- Project ideas for every skill level
- Professional tips and tricks
Chain stitch creates those flowing, rope-like lines you see in stunning embroidery pieces. It’s perfect for outlining flowers, creating borders, and filling large areas.
The problem? Most tutorials skip important details. Not this one.
I’ll walk you through every step. You’ll avoid common mistakes that frustrate beginners. By the end, you’ll confidently create lovely chain stitch embroidery patterns.
Ready to start stitching?
What is Chain Stitch?

Chain stitch is a looping embroidery technique that creates connected links. Think of it like drawing with thread.
Each stitch connects to the next one. This forms a continuous chain pattern.
The result? Smooth, curved lines that follow any shape you want.
Here’s what makes chain stitch special:
- Creates thick, bold lines
- Perfect for outlining designs
- Great for filling large areas
- Works well for flowers and leaves
Materials You’ll Need
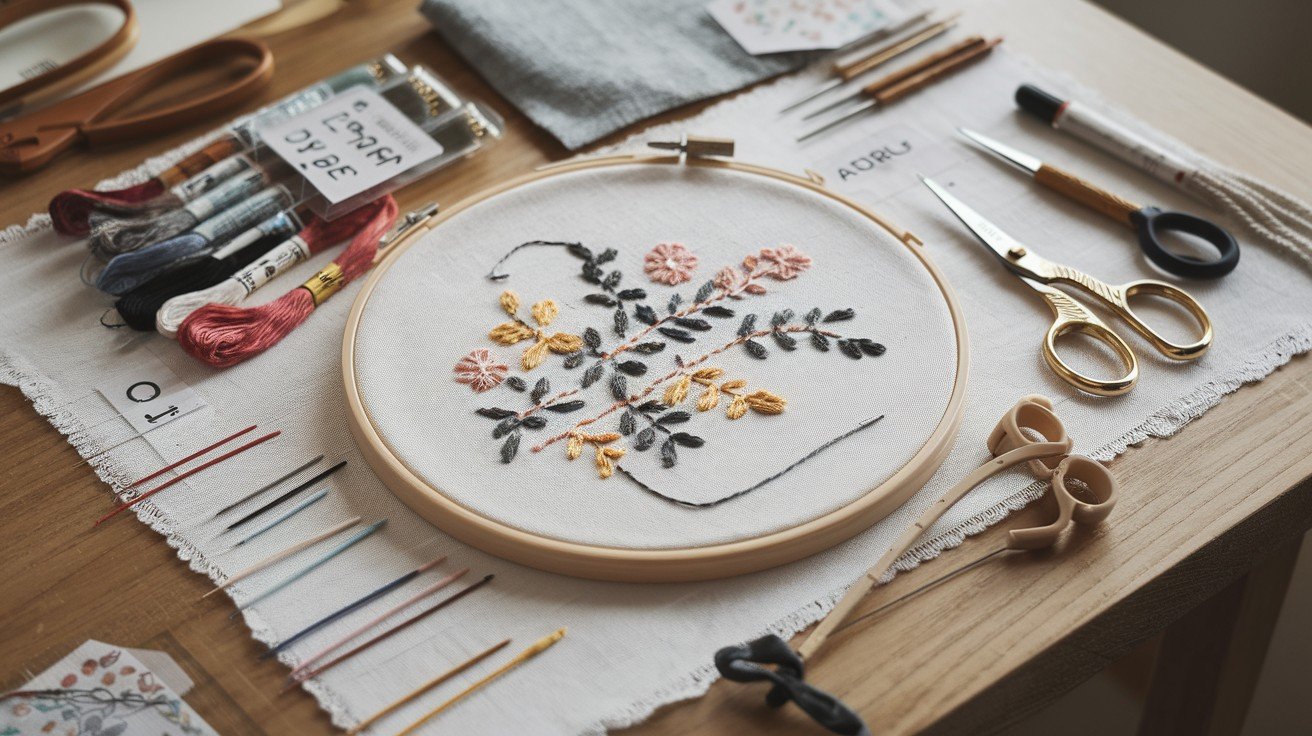
Getting started is simple. You need just a few basic supplies:
Essential Tools:
- Embroidery hoop (6-8 inches works best)
- Sharp embroidery needle
- Embroidery floss or thread
- Fabric (cotton or linen)
- Small scissors
- Pattern or design
Pro tip: Choose a needle with a larger eye for easier threading.
Your fabric should be medium-weight. Too thin and it might pucker. Too thick and the needle won’t glide smoothly.
How to Do Chain Stitch (Step-by-Step Tutorial)
Ready to learn how to do chain stitch embroidery? Follow these simple steps:
Step 1: Start Your First Stitch
- Bring your needle up from the back of the fabric
- Insert the needle back down in the same hole
- Don’t pull the thread tight yet
Step 2: Create the Loop
- Bring your needle up about 1/4 inch away
- Make sure the thread passes under your needle
- Pull gently to form your first chain link
Step 3: Continue the Chain
- Insert your needle back down where it just came up
- Bring it up 1/4 inch away again
- Keep the thread under the needle
- Pull to create the next link
Step 4: Finish Your Chain
To end your chain stitch:
- Make a small stitch over the last loop
- This anchors your final chain link
- Knot your thread on the back
Remember: Keep your stitches the same size for an even look.
Creative Chain Stitch Variations
Want to add variety to your embroidery? Try these chain stitch variations:
1. Detached Chain Stitch (Lazy Daisy)
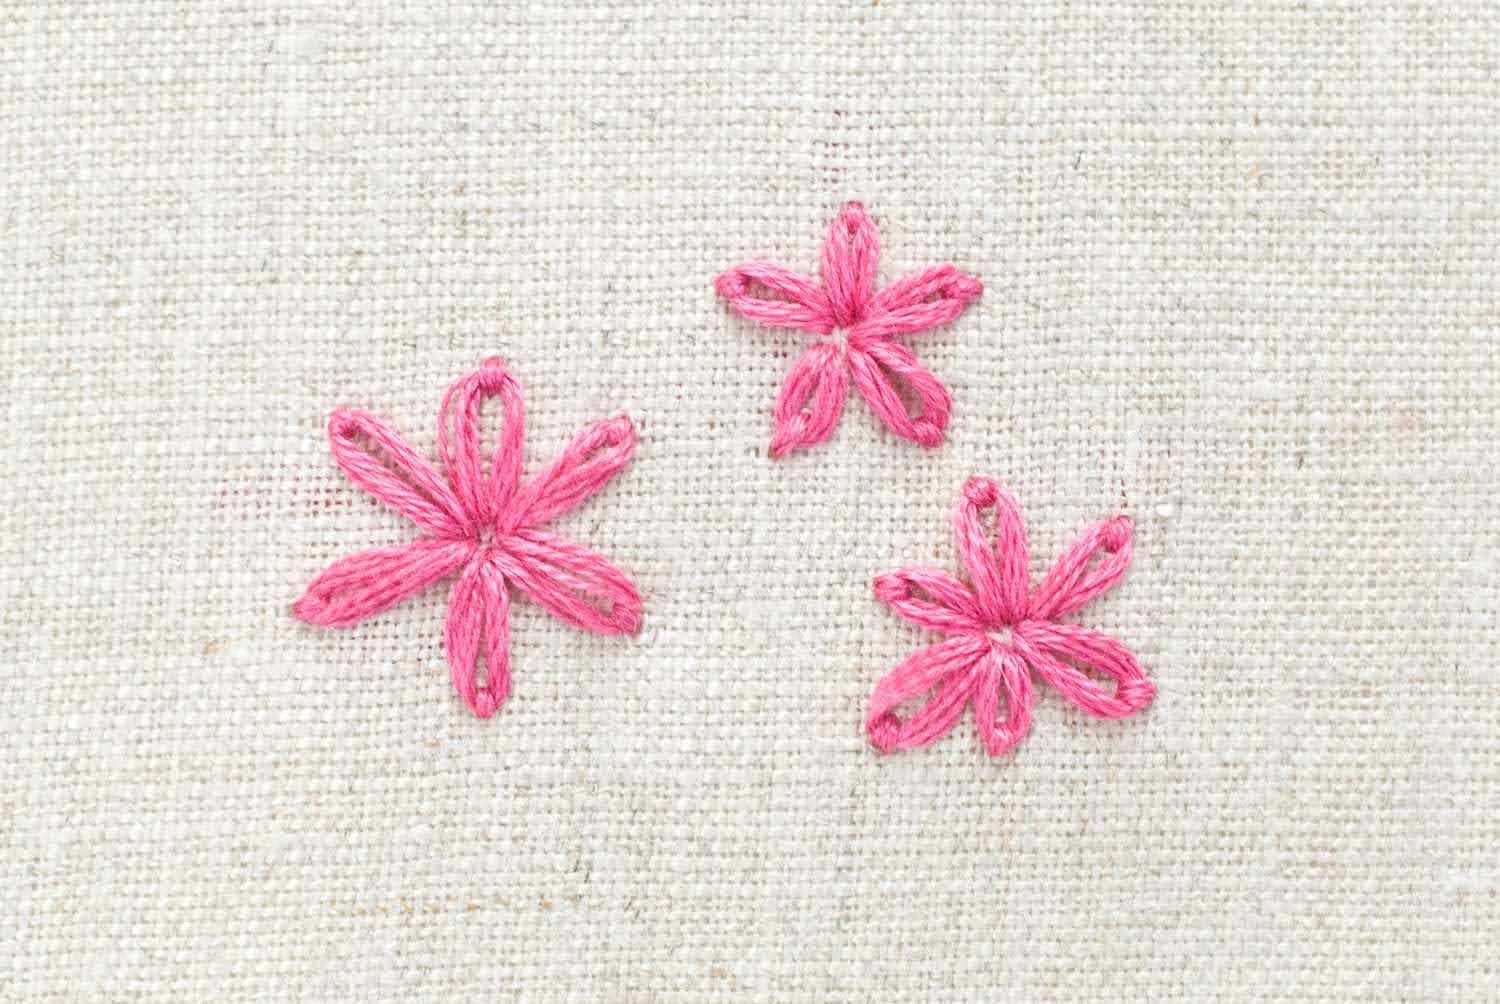
Also called lazy daisy stitch. Perfect for flower petals and leaves. This creates individual chain loops instead of connected ones. Each petal stands alone.
How to do it:
- Make a single chain stitch
- Anchor it with a small stitch at the tip
- Don’t connect to the next loop
2. Heavy Chain Stitch

Creates a thick, rope-like line. Great for borders and bold outlines. This variation uses a foundation line to make chains extra thick. Perfect for decorative edges.
How to do it:
- First, make a straight stitch line
- Work regular chain stitches over this foundation
- Keep chains close together for thickness
3. Open Chain Stitch (Ladder Stitch)
Forms a ladder pattern. Beautiful for stems, vines, and wide borders. The chains spread apart to create an open, airy look. Great for filling medium-sized areas.
How to do it:
- Start like regular chain stitch
- Instead of inserting needle in same hole, place it slightly to the side
- Create wider loops for the ladder effect
4. Twisted Chain Stitch

Adds texture with a spiral effect. Perfect for creating dimensional lines. This gives your embroidery a rope-like twist. The texture catches light nicely.
How to do it:
- Make your first stitch like regular chain
- Before making the loop, twist the thread once
- Pull through to create the twisted effect
5. Checkered Chain Stitch
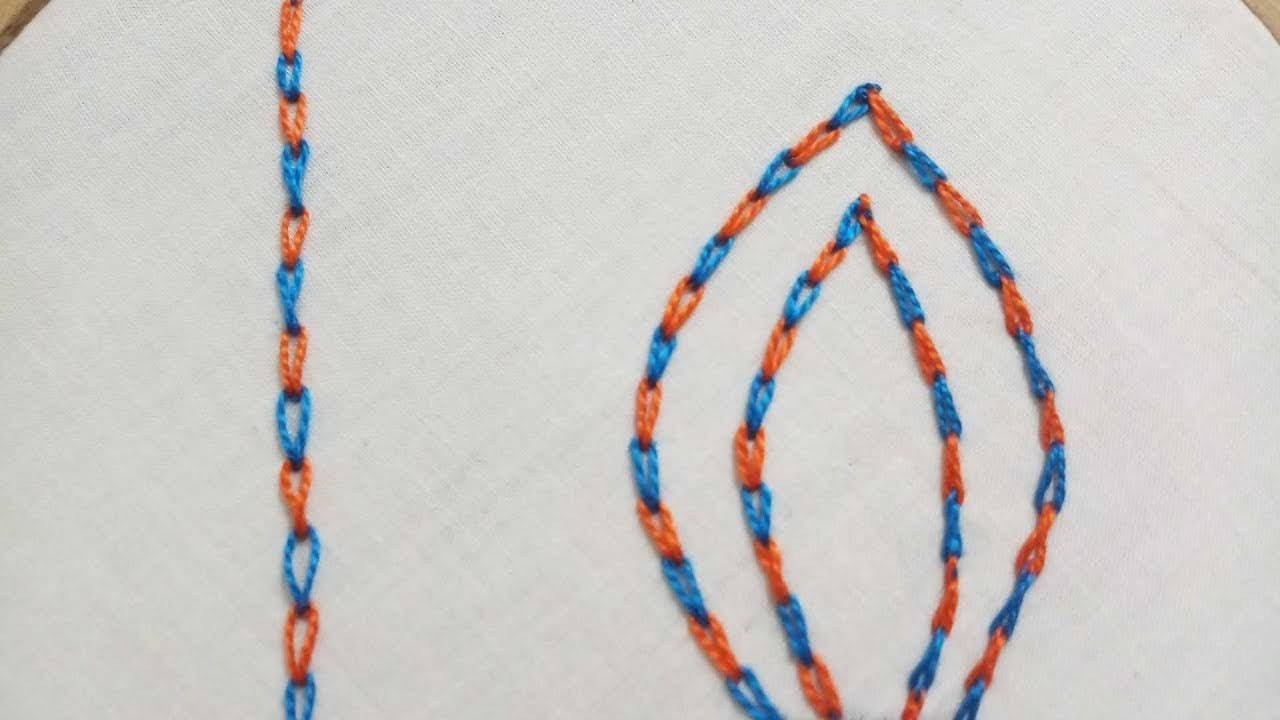
Uses two colors for a woven appearance. Creates stunning decorative effects. This technique alternates colors to make a checkerboard pattern. Very eye-catching for borders.
How to do it:
- Thread needle with two different colored threads
- Alternate which color goes under the needle
- Creates automatic color pattern
6. Cable Chain Stitch
Creates a link-like pattern. Perfect for jewelry designs and delicate details. This looks like tiny chain links. Great for creating realistic chain effects in embroidery.
How to do it:
- Make a small knot in your thread before each chain
- This creates the “link” appearance
- Keep stitches very small and even
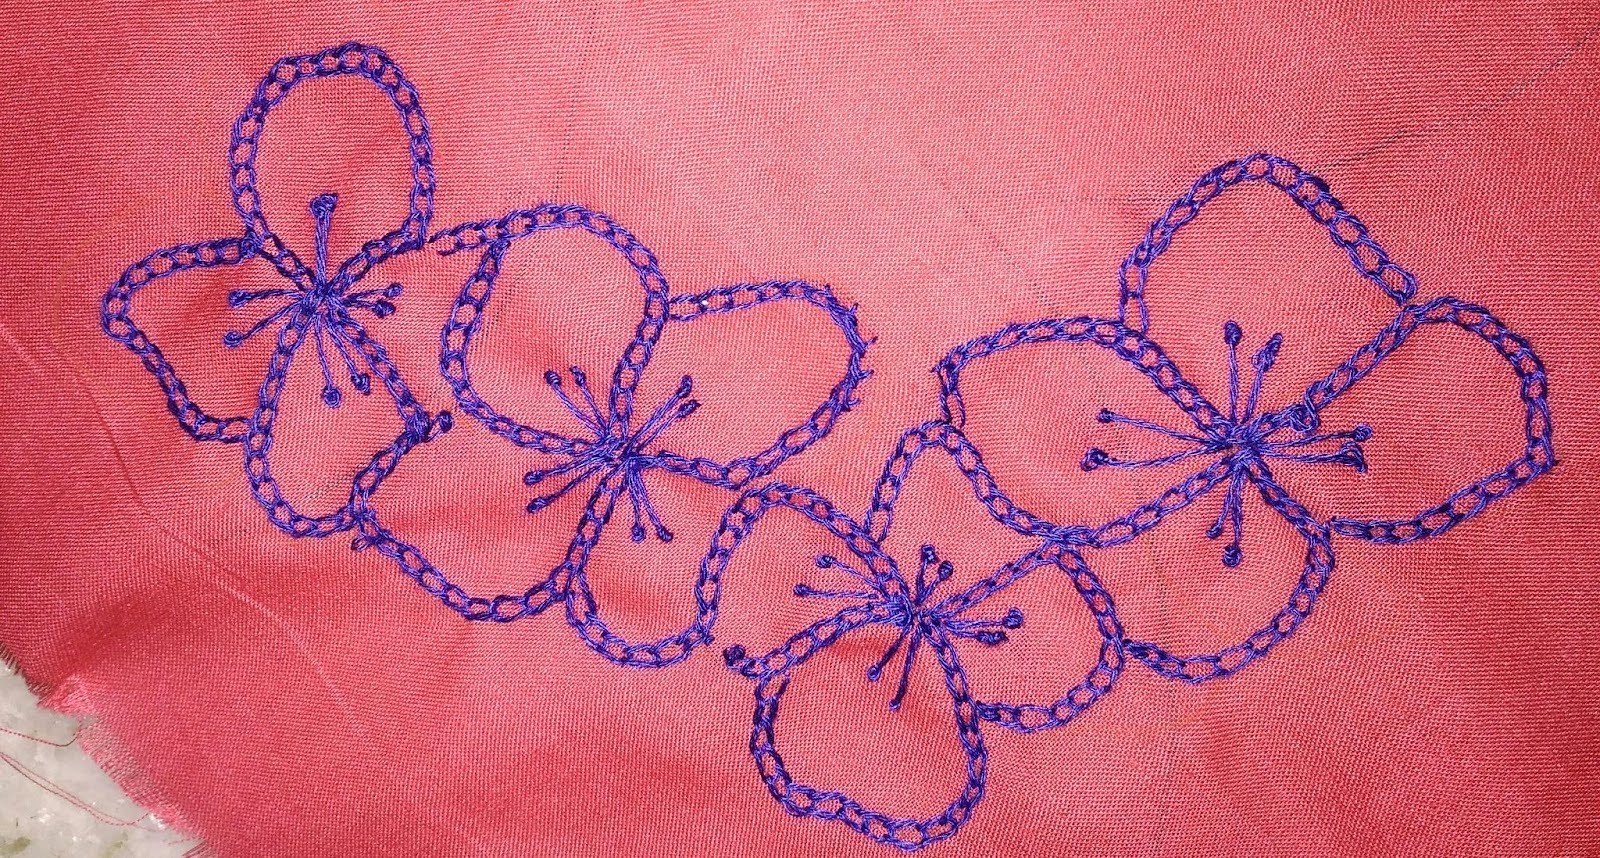
7. Rosette Chain Stitch
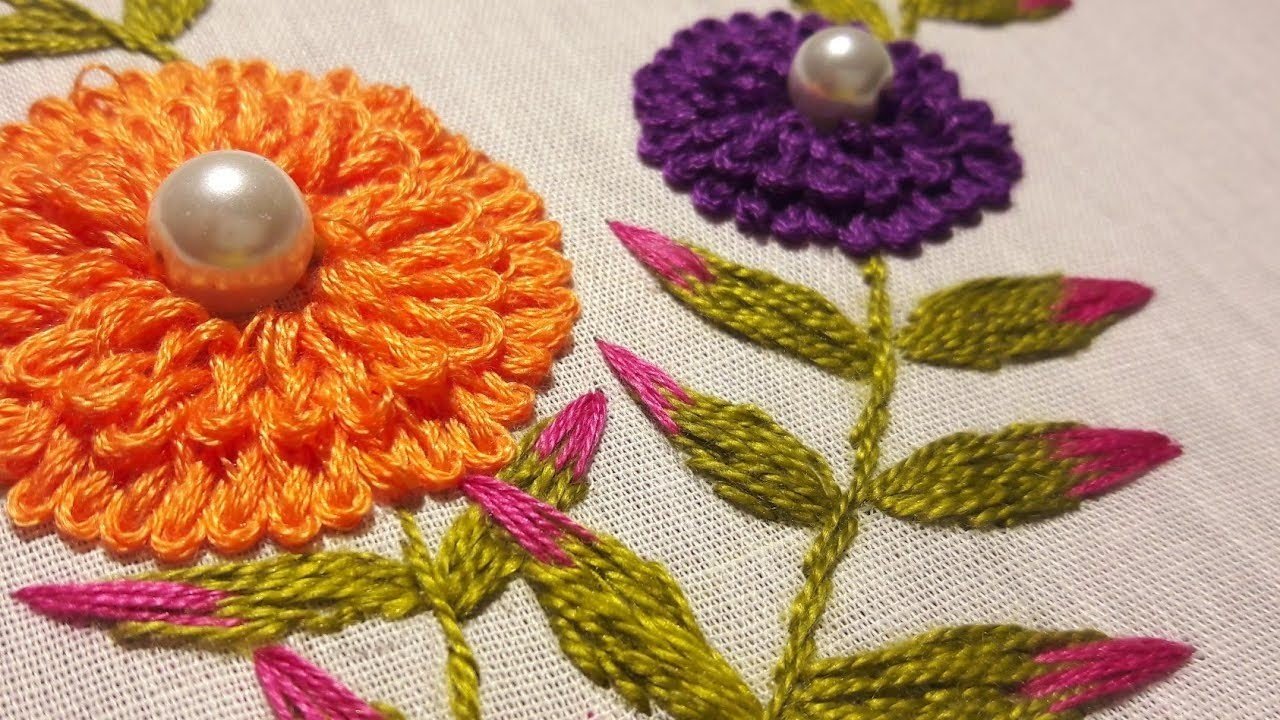
Forms flower-like shapes. Ideal for embroidery stitches for flowers and circular designs. This creates raised, dimensional flowers. Perfect for adding texture to your embroidery.
How to do it:
- Work chain stitches in a tight circle
- Start from the center and spiral outward
- Each chain stitch becomes a petal
Chain Stitch Project Ideas
Looking for inspiration? Here are beginner-friendly projects:
Simple Projects:
- Outline flower petals
- Create vine borders
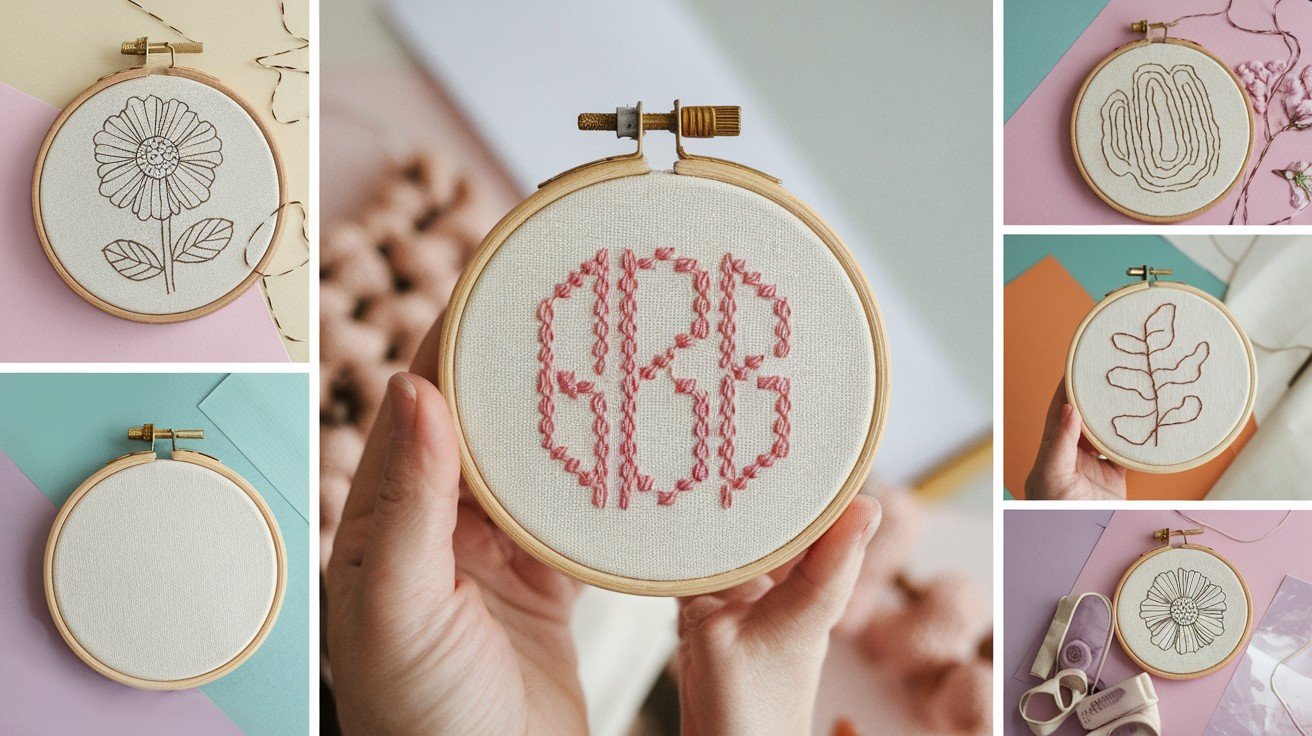
- Make monogram letters
- Add decorative edges to napkins
Intermediate Projects:
- Fill entire flower centers
- Create landscape designs
- Make textured tree branches
- Design abstract patterns
Advanced Projects:
- Combine multiple chain stitch variations
- Create realistic animal fur textures
- Design complex floral arrangements
Start small. Build your confidence with simple shapes first.
Chain Stitch Embroidery for Beginners
New to hand embroidery with chain stitch? Here’s what you need to know:
Choose the Right Thread
Cotton floss works best for beginners because it’s smooth and forgiving. Use 2-3 strands for thin, delicate lines that add subtle detail to your work. For bold, eye-catching lines that stand out, use 4-6 strands instead.
Practice Makes Perfect
Start with simple exercises to build your muscle memory. Make straight lines first to get comfortable with the basic motion. Then try gentle curves to learn how the stitch flows. Practice circles next to master turning corners smoothly. Finally, create simple flower shapes to combine everything you’ve learned.
Common Beginner Mistakes
Many beginners pull their thread too tight, which puckers the fabric and makes stitches look stiff. Making uneven stitch lengths creates a wobbly appearance instead of smooth lines. Forgetting to keep the thread under your needle breaks the chain pattern completely. Starting without securing your thread means your work can unravel easily.
Don’t worry if your first attempts look wobbly. Everyone starts somewhere, and even experienced embroiderers had messy beginnings.
Best Beginner Patterns
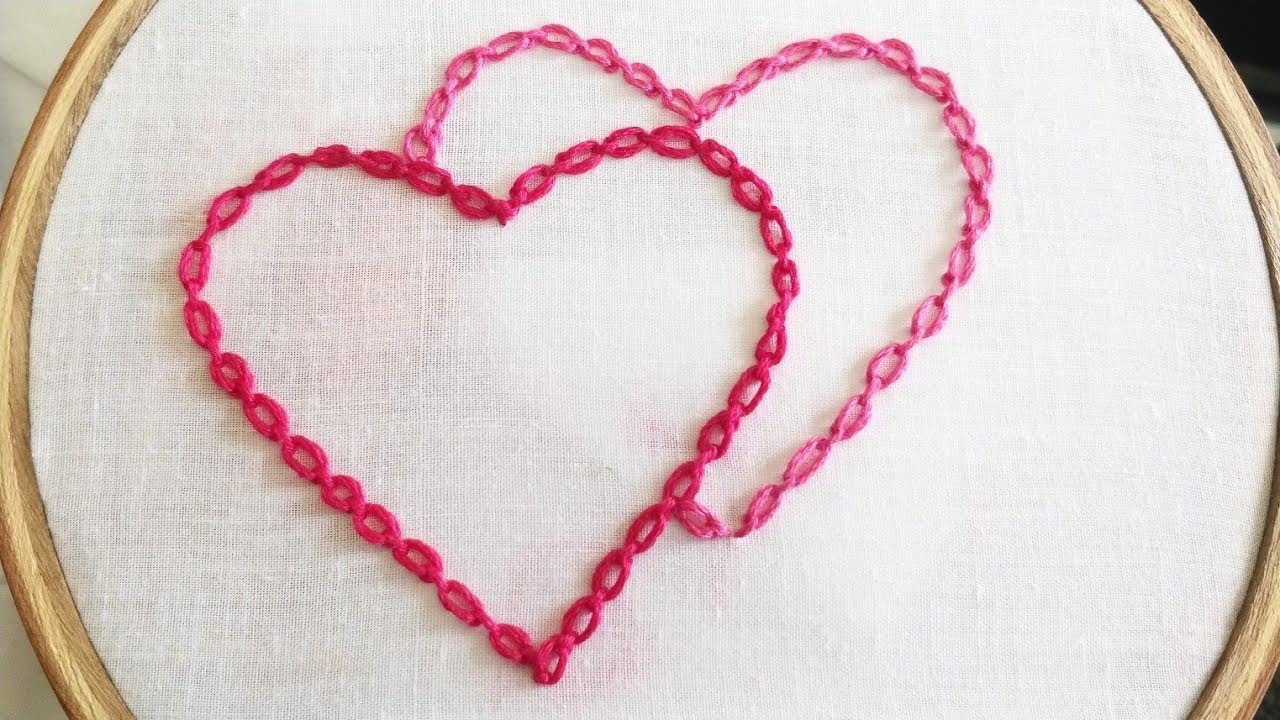
Look for embroidery chain stitch patterns that set you up for success. Choose designs with simple shapes like hearts, flowers, or geometric patterns. Clear outlines help you see exactly where to stitch without guessing. Avoid patterns with too many tiny details that can overwhelm beginners. Always pick patterns that include step-by-step instructions to guide you through each part.
Advanced Tips & Techniques
Ready to take your skills further? Try these professional techniques:
Tension Control
Keep consistent thread tension throughout your entire project for even, professional-looking results. Don’t pull too tight or your fabric will pucker and distort the design. Pulling too loose creates sloppy, uneven chains that lack definition. Practice on scrap fabric first to find the perfect tension before starting your main project.
Smooth Curves
Make smaller stitches on tight curves to follow the line smoothly without creating sharp angles. Use longer stitches on gentle curves where the thread can flow naturally without forcing direction changes. Keep your fabric taut in the hoop at all times, as loose fabric creates wobbly lines that look unprofessional.
Thread Management
Don’t use thread longer than 18 inches because longer lengths tangle easily and waste time. It tangles easily with longer lengths, creating frustrating knots that can ruin your rhythm. Change colors by finishing one chain completely rather than leaving loose ends, which creates a cleaner transition between color sections.
Combining Techniques
Mix chain stitch with other embroidery techniques for stunning results. Add French knots for texture and dimensional interest in flower centers or along stems. Use satin stitch for solid areas that need smooth, filled coverage. Include backstitch for fine details like flower stamens or delicate outlines that need precision.
Professional Finishing
Always secure thread ends properly by weaving them through existing stitches on the back rather than just knotting. Press finished embroidery gently with a warm iron over a pressing cloth to remove hoop marks without flattening your stitches. Store flat to prevent creasing and protect your hard work from damage over time.
Final Thoughts
You now know how to do chain stitch embroidery like a pro.
Here’s what you’ve mastered:
- Basic chain stitch technique
- Seven creative variations
- Beginner-friendly project ideas
- Professional finishing tips
Start with simple shapes today. Practice makes perfect.
Your first attempts might look wobbly. That’s completely normal. Every expert started exactly where you are now. The secret? Consistency and patience.
Keep your stitches even. Don’t rush the process. Soon you’ll create impressive embroidery chain stitch patterns that amaze everyone.
Your next step: Pick up your needle and thread. Choose a simple design. Start stitching. The beautiful world of hand embroidery with chain stitch awaits you.
Happy stitching!
Frequently Asked Questions
How long should my chain stitches be for best results?
For beginners, aim for 1/4 inch long stitches. You can make them shorter for tight curves or longer for straight lines as you gain experience.
What’s the difference between chain stitch and backstitch?
Chain stitch creates looped, connected links that form thick lines. Backstitch makes solid, thin lines by stitching backward to fill gaps.
Can I use regular sewing thread for chain stitch embroidery?
Cotton embroidery floss works much better than regular thread. It’s thicker, smoother, and creates more visible, beautiful stitches.
Why does my chain stitch keep getting tangled?
You’re probably using thread that’s too long or pulling too tightly. Cut your thread to 18 inches maximum and maintain gentle, even tension.
How do I make my chain stitch curves look smooth?
Make smaller stitches when turning corners or creating tight curves. Keep your fabric taut in the hoop and go slowly around bends.