

Drawing a waterfall may seem difficult at first, especially if you're not sure how to make flowing water look natural.
The good news is that it becomes much easier when you break the process into simple steps.
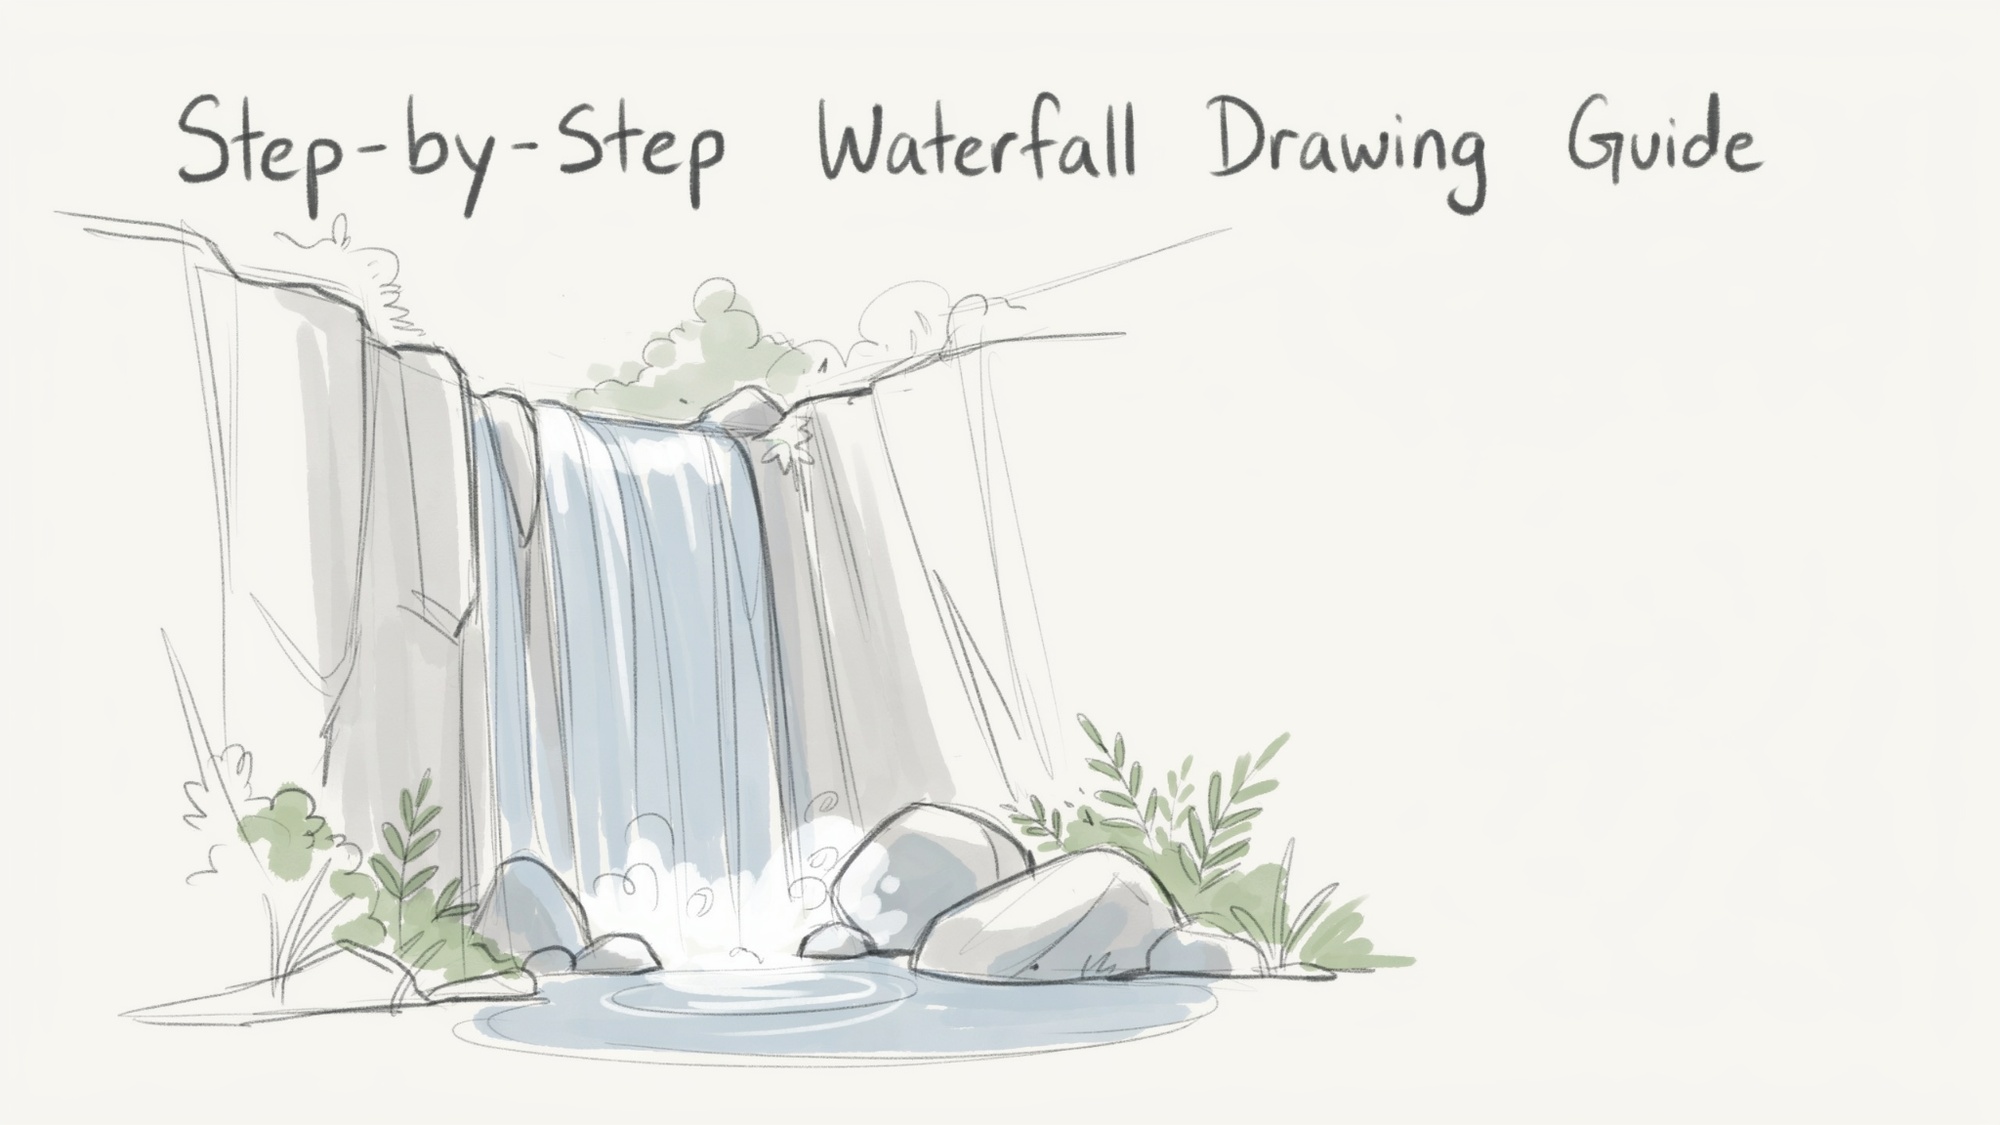
In this guide on how to draw a waterfall, you'll learn exactly how to sketch the cliff, draw flowing water, add rocks, create splash effects, and finish with realistic shading.
If you've been searching for a beginner-friendly tutorial, you're in the right place. This article is designed to solve that problem with clear instructions that are easy to follow.
By the end of this guide, you'll have the confidence to draw your own waterfall scene and improve your landscape drawing skills one step at a time.
Understanding the Shape and Flow of a Waterfall
Before you start drawing, it helps to understand how a waterfall naturally moves. Water begins at a higher point, flows over the edge of a cliff, and falls downward due to gravity.
As it drops, the water may spread out, create splashes, and form a pool at the bottom. Most waterfalls also include surrounding elements such as rocks, cliffs, trees, and mist.
Paying attention to these details can make your drawing look more realistic. One of the best ways to learn is by studying reference photos.
Look at how the water flows, where shadows appear, and how the rocks are shaped.
Observing real waterfalls helps you understand their structure and makes it easier to create a believable and attractive drawing.
Materials You Need to Draw a Waterfall
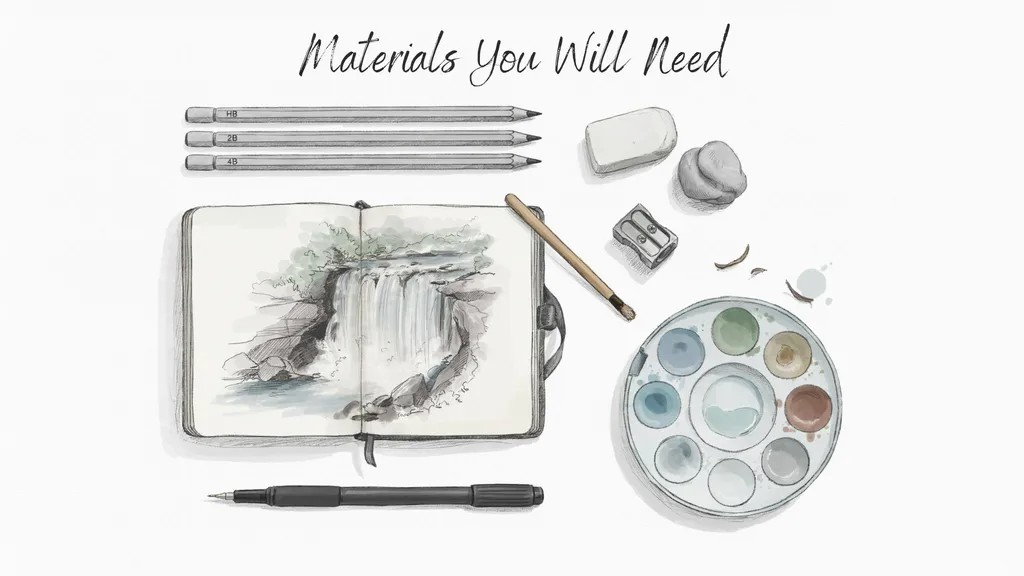
Gather a few simple supplies before you begin drawing.
- Pencil
- Eraser
- Drawing paper
- Sharpener
Step-by-Step Guide on How to Draw a Waterfall
Follow these simple steps to create a waterfall drawing from start to finish.
Step 1: Sketch the Outline of the Cliff

Start by lightly drawing the shape of the cliff where the waterfall will begin. Use simple lines and basic shapes to outline the rock formation.
Keep your pencil strokes light so you can easily make changes later. Focus on the overall structure rather than small details.
Step 2: Add the Waterfall Shape
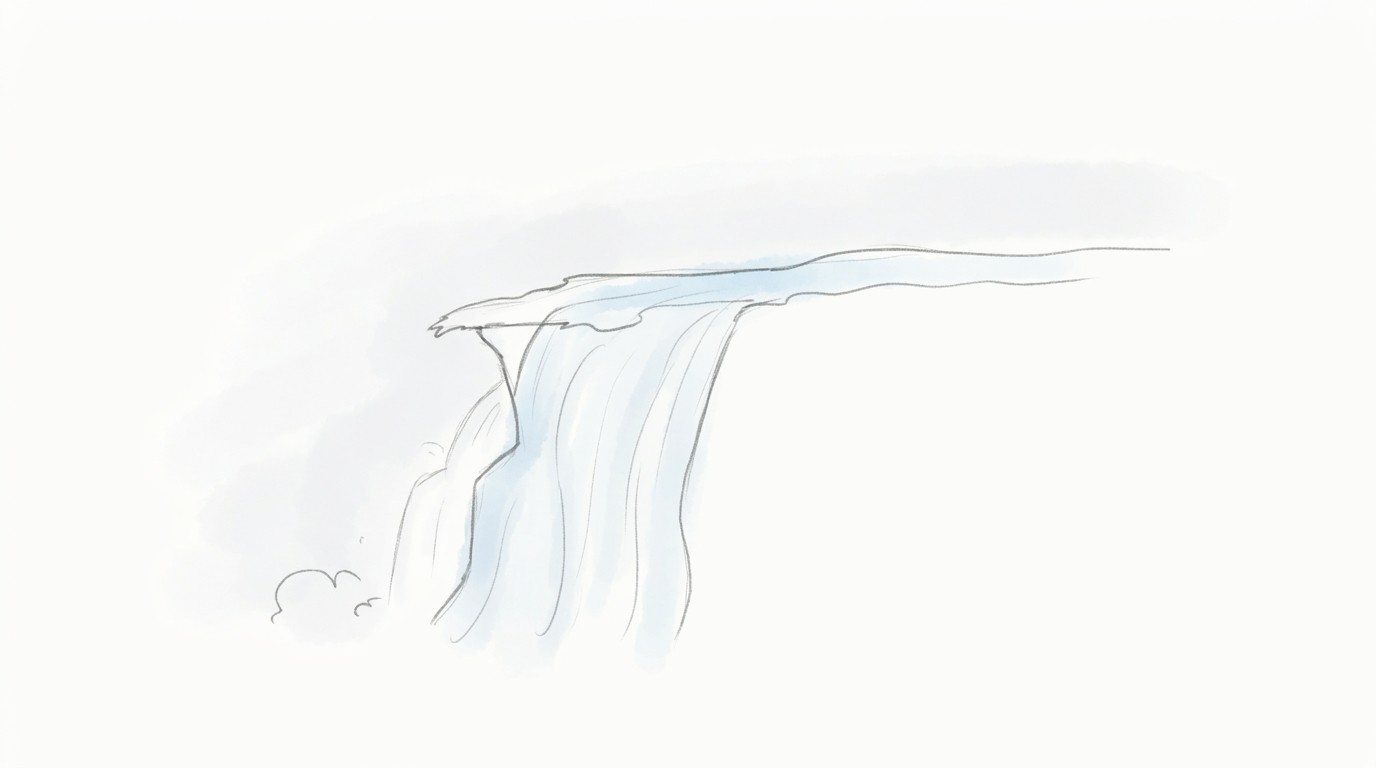
Draw the main path of the waterfall flowing from the top of the cliff. Let the water widen or narrow in different areas for a natural appearance.
Avoid making the edges perfectly straight. Soft, uneven lines help create the look of moving water.
Step 3: Draw the Surrounding Rocks
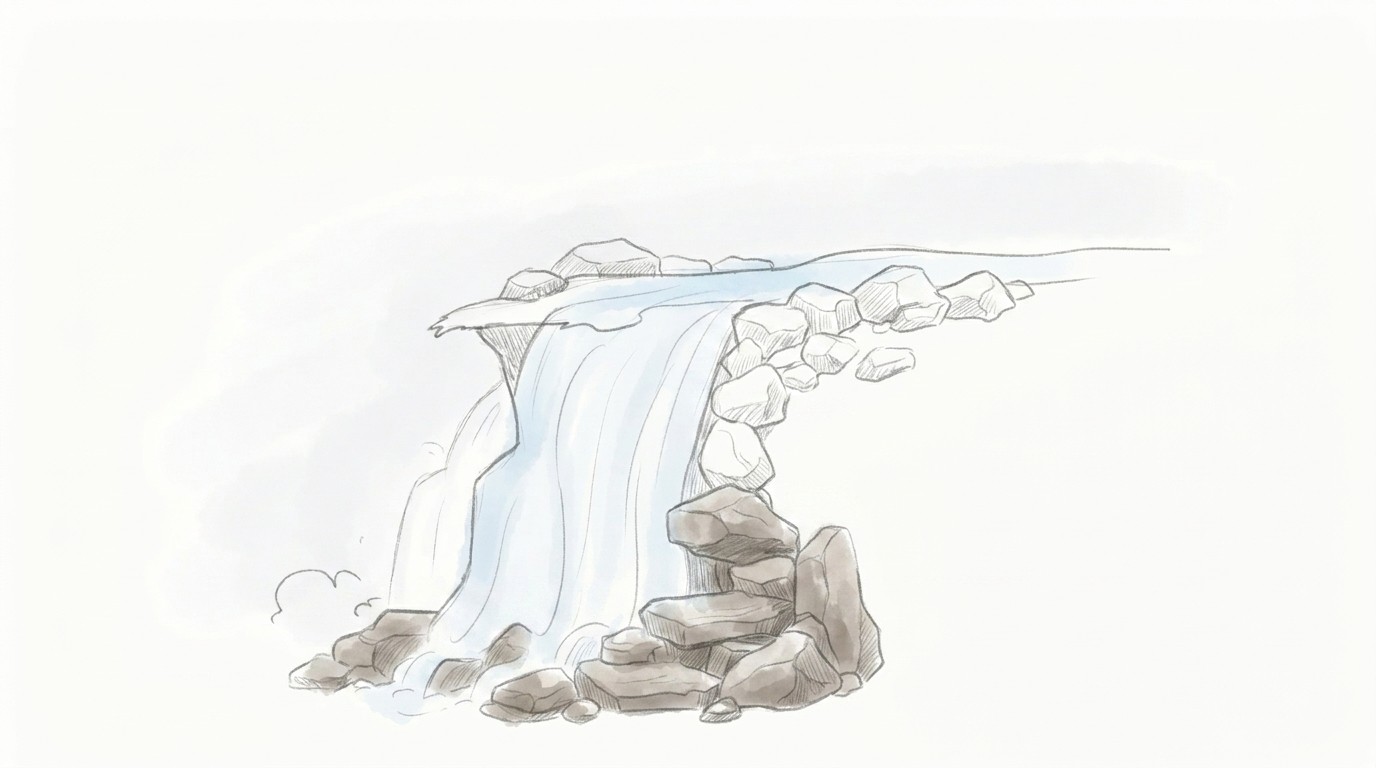
Add rocks around the waterfall and near the base of the cliff. Use a mix of large and small rock shapes to create variety.
Make the edges rough and uneven instead of perfectly smooth. This helps the landscape look more realistic and natural.
Step 4: Sketch the Water Pool Below
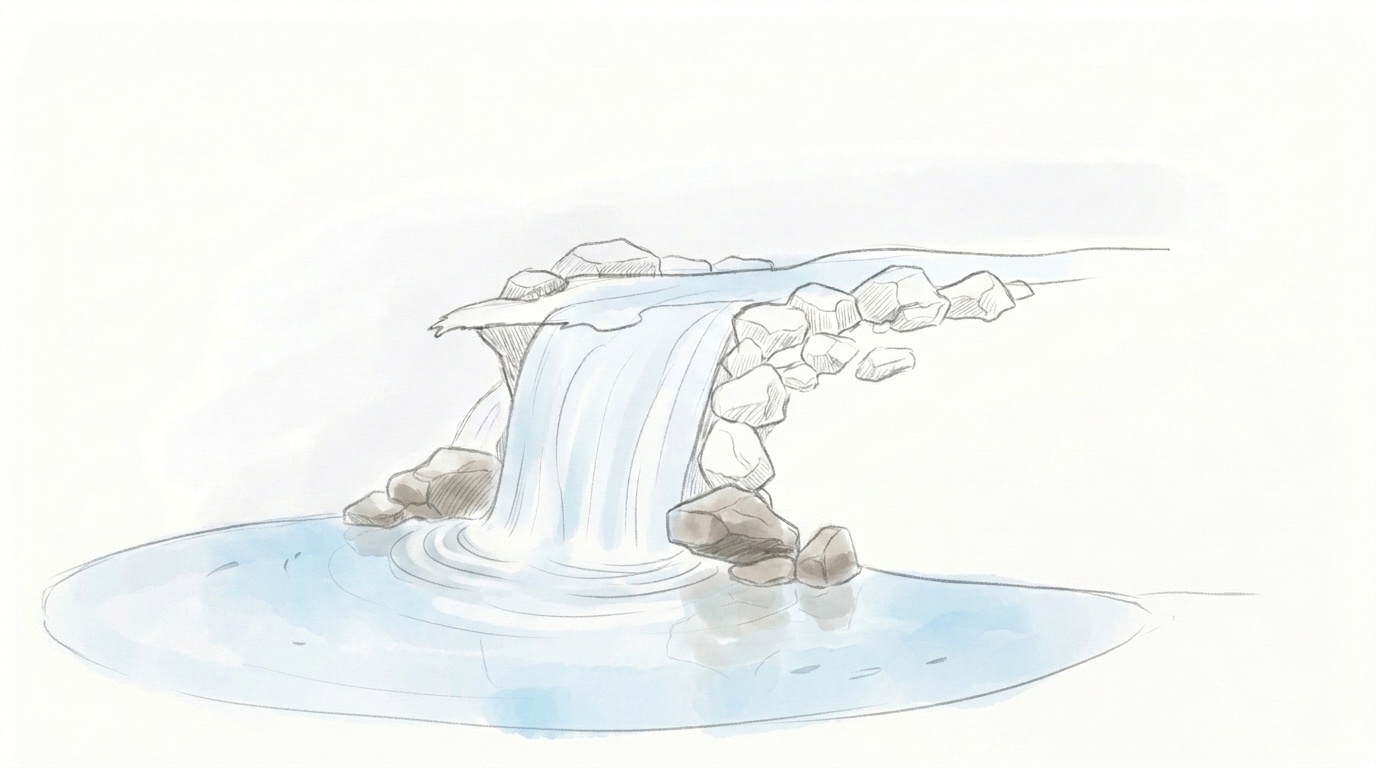
Draw a pool of water at the bottom where the waterfall lands. Use curved lines to show the shape of the water surface.
Add a few gentle ripples spreading outward from the impact area. This creates the impression of movement and energy.
Step 5: Add Trees and Plants

Sketch simple trees, bushes, grass, or other plants around the scene. Place them near rocks and along the edges of the water.
Keep the shapes basic if you are a beginner. These natural elements help frame the waterfall and add interest.
Step 6: Add Water Details
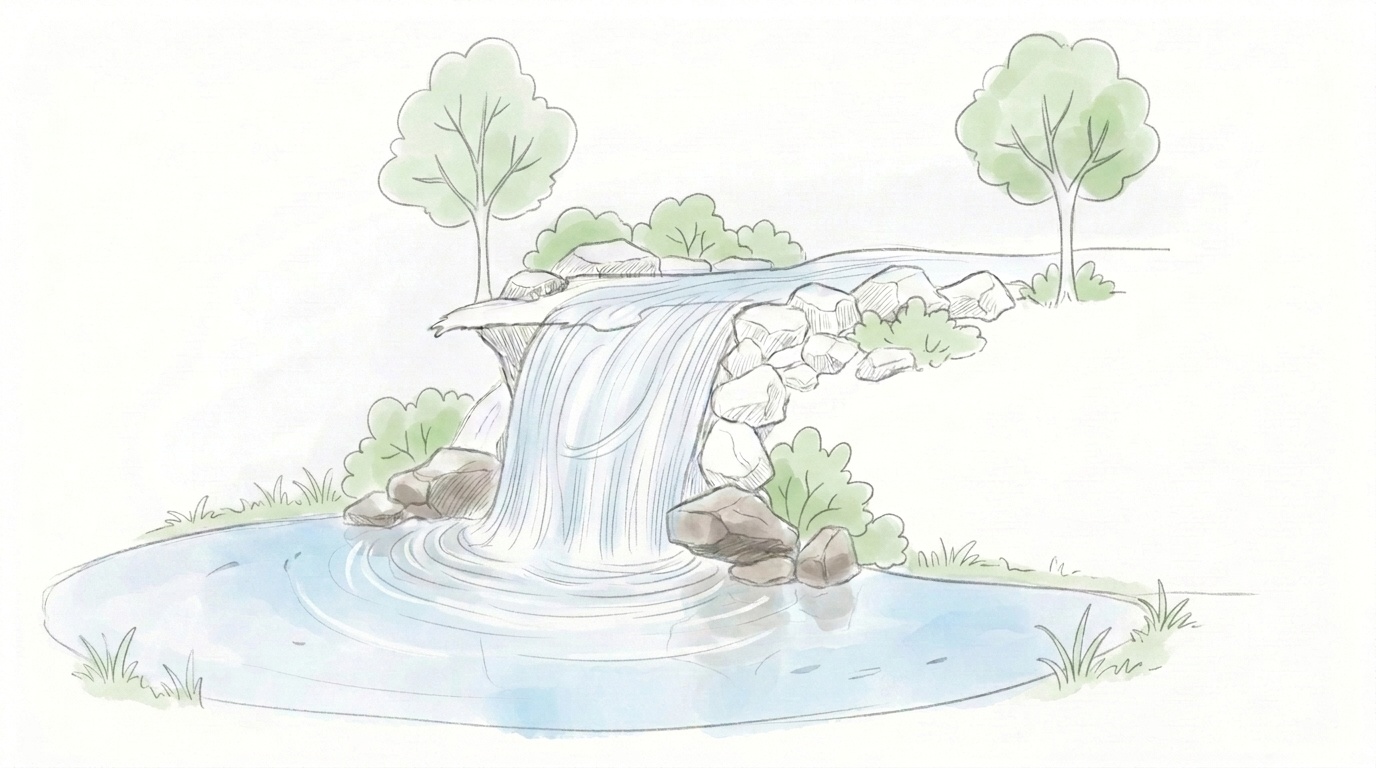
Use flowing vertical lines to show the direction of the falling water. Add a few curved lines to suggest texture and movement.
Leave some areas lighter to represent reflections and highlights. These details make the waterfall appear more dynamic.
Step 7: Refine the Drawing

Review your sketch and erase any unnecessary construction lines. Strengthen important outlines and improve rough areas.
Add extra texture to rocks, water, or plants if needed. Take your time to clean up the overall drawing.
Step 8: Finish with Final Touches
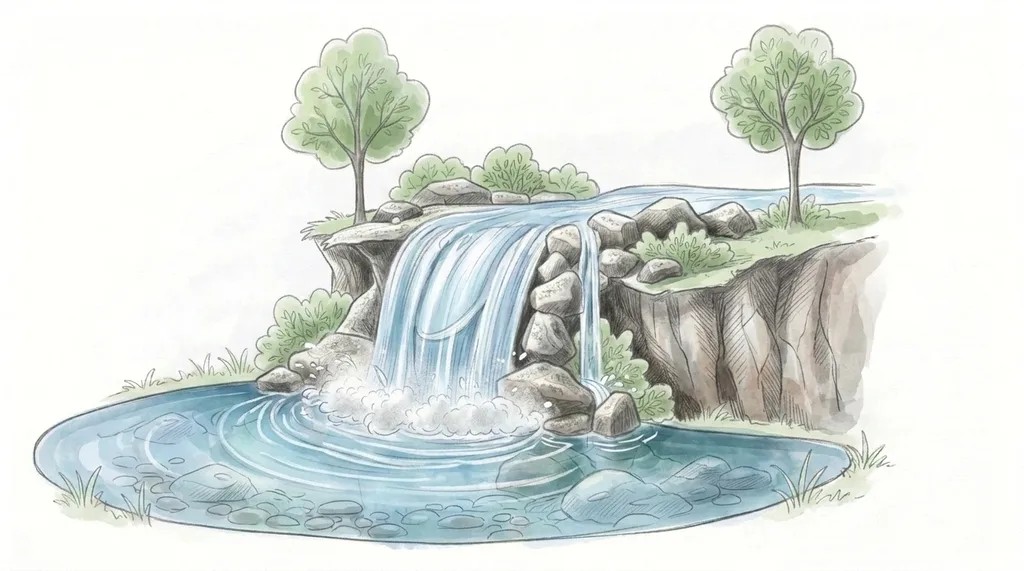
Add final highlights and darker shadows to increase contrast. Check that all elements work well together in the composition.
Make any last adjustments to balance the scene. Once satisfied, your waterfall drawing is complete.
Practice Exercises to Improve Your Waterfall Drawings
Regular practice helps you build confidence and improve your drawing skills over time.
- Create quick waterfall sketches in 5–10 minutes to improve observation and speed.
- Practice drawing different water textures to better capture movement and flow.
- Work on rock shading exercises to understand light, shadow, and depth.
- Experiment with landscape composition by arranging waterfalls, trees, and rocks in different scenes.
- Study reference photos and redraw small sections to improve accuracy.
- Try drawing waterfalls from different angles and perspectives for added variety.
Conclusion
Learning how to draw a waterfall is all about taking one step at a time and enjoying the process.
If you've followed along, you now have the basic skills to create a beautiful waterfall scene of your own.
I’ve found that drawing natural landscapes becomes much easier when I focus on simple shapes before adding details.
Imagine turning a blank page into a peaceful waterfall view with just a pencil and practice.
Give these steps a try, and let me know how your drawing turned out. Leave a comment, share this post, or try more drawing tutorials.
Frequently Asked Questions
Is it difficult to learn how to draw a waterfall?
Not at all. Breaking the drawing into simple steps makes it easier for beginners to follow and practice.
What is the best way to draw flowing water?
Use soft, curved lines and vary their length to show movement. Studying reference photos can also help.
How can I make my waterfall drawing look more realistic?
Add shading, highlights, rocks, and splash effects. These details create depth and make the scene feel natural.
Should I use a reference photo when drawing a waterfall?
Yes, reference photos help you understand water flow, rock shapes, and natural textures more accurately.
How often should I practice waterfall drawings?
Regular practice, even for a few minutes at a time, can improve your skills and build confidence over time.