


Bubbles look simple, but drawing them well is a real skill. I started with basic circles and kept wondering why they never looked right. Then I learned about highlights, blending, and color control. Everything clicked after that.
That's exactly what this guide covers.
Bubbles are one of the best things to practice as a beginner. They teach you light, reflection, and shading all at once. No complicated shapes. No hard rules.
By the end, you'll know how to make a bubble look round, glossy, and real. Let's get into it.
Understanding How Bubbles Look
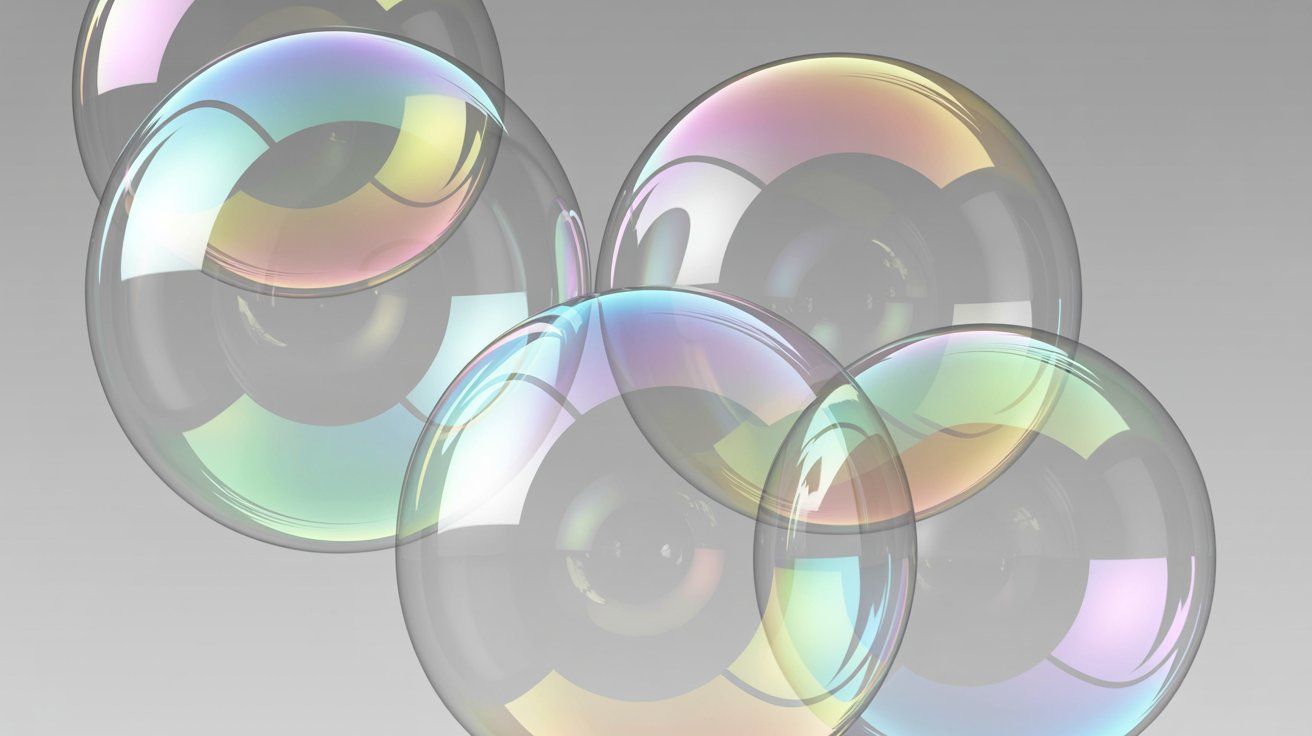
Bubbles don't have just one color. They reflect light from every direction, so you see blues, pinks, greens, purples, and yellows all at once. The colors shift depending on where the light hits.
That's what makes them tricky to draw.
Light also creates those bright white spots you see on a bubble. Those are highlights. They make the bubble look glossy and round.
Bubbles are transparent too. You can see through them slightly. Getting that see-through effect right is what makes a drawing look real.
Materials Needed for Bubbles Drawing
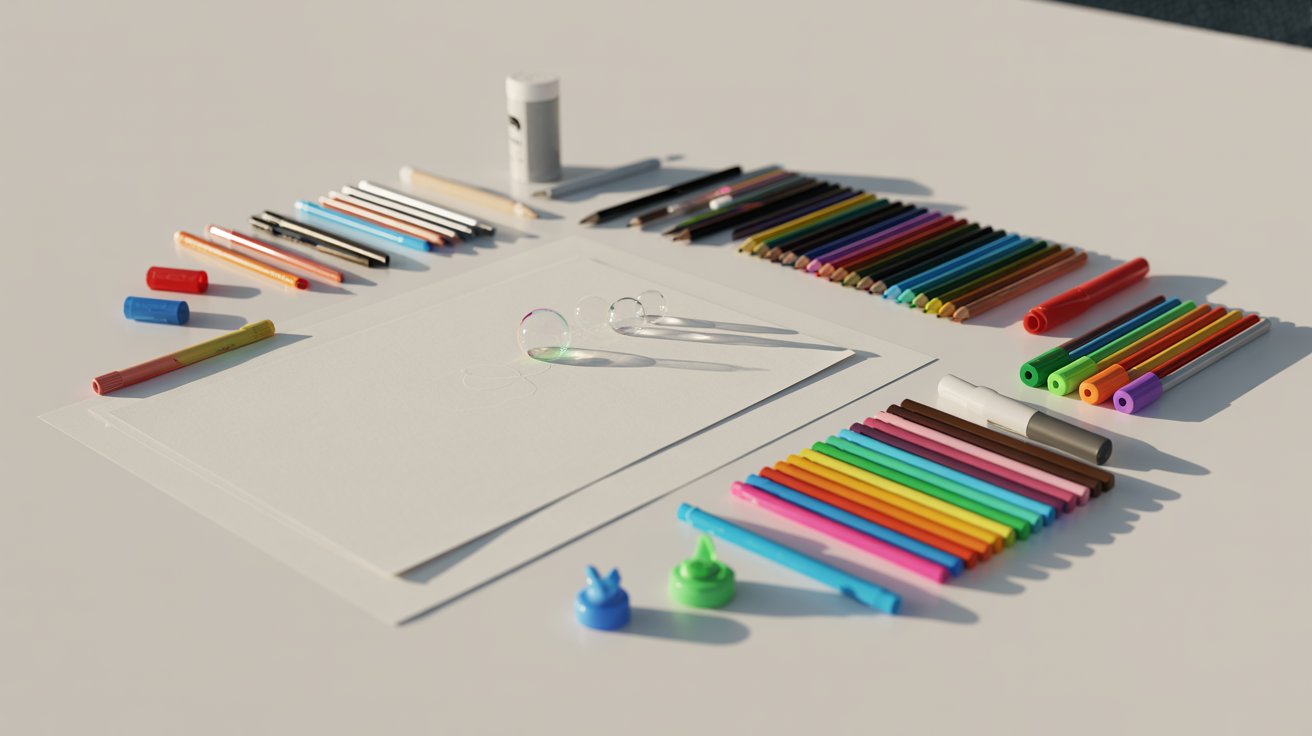
The right tools make a big difference when drawing bubbles. Here's what you need to get started.
Basic Supplies
- Black or white drawing paper
- Colored pencils or markers
- White gel pen or paint pen for highlights
Best Tools for Realistic Results
- Prismacolor pencils give the smoothest blending and the most realistic color layering
- Budget colored pencils work fine for practice but may not blend as smoothly
- Markers are better when you want bold, vibrant colors with less blending effort
- Use pencils when you want more control over shading and soft color transitions
Step-by-Step Bubbles Drawing Tutorial
Follow these six simple steps to draw a realistic bubble from scratch. No experience needed.
Step 1 – Draw a Perfect Circle
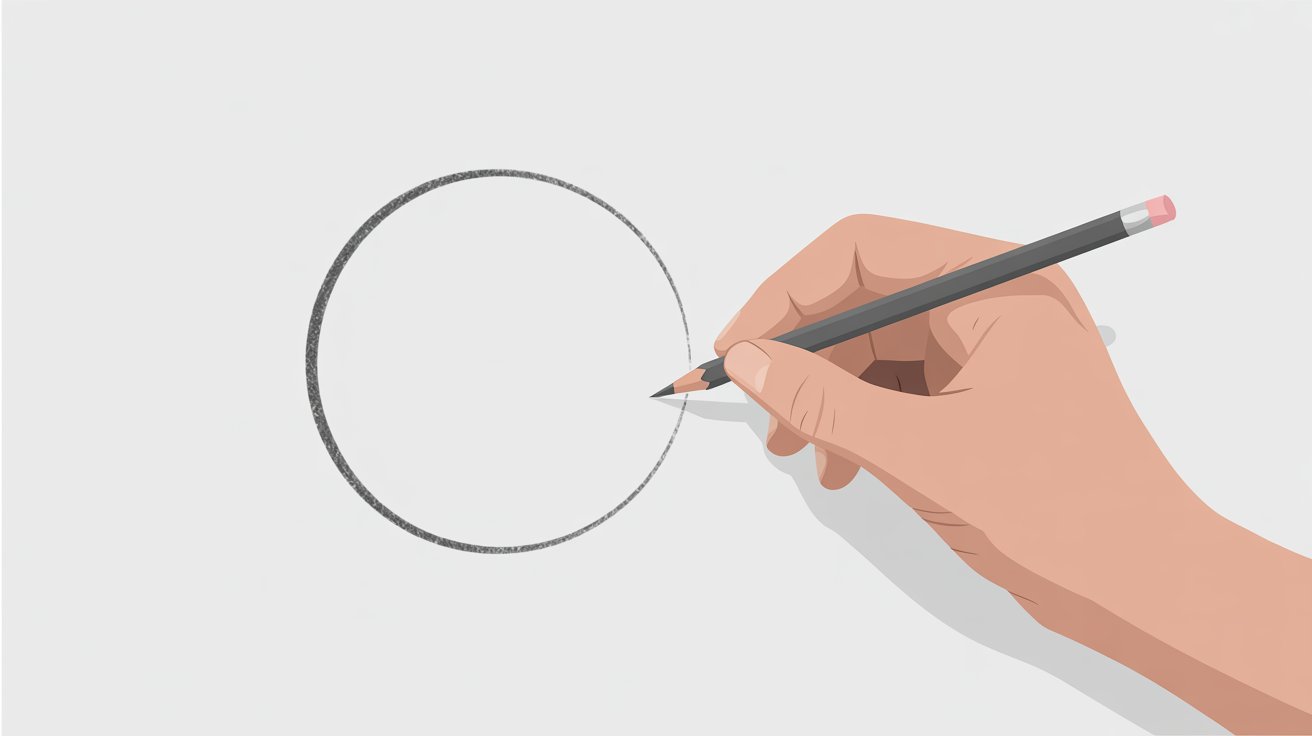
Start with light, loose strokes. Don't press too hard. Keep the shape simple and round. You can trace a circular object if needed. A clean circle is your base for everything that comes next. Get this right before moving forward.
Step 2 – Add Highlight Shapes
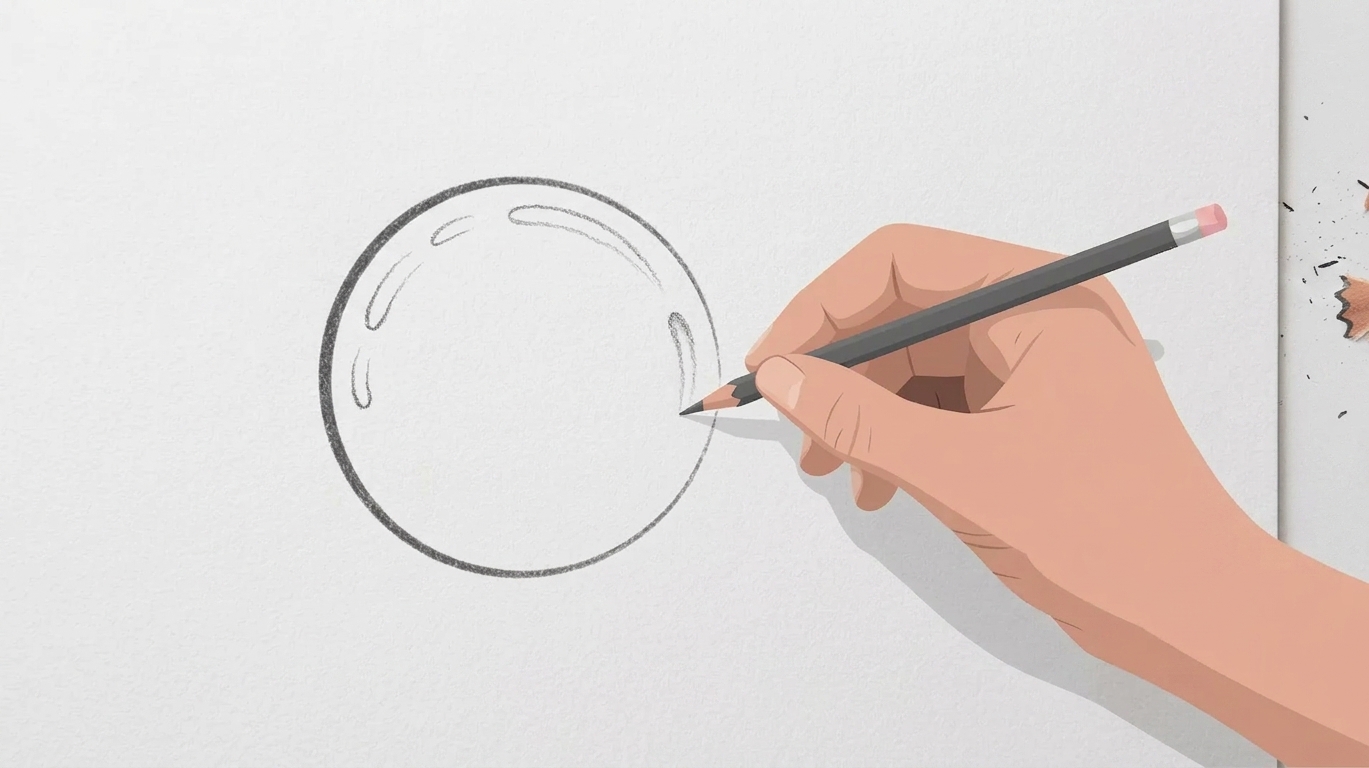
Draw small curved patches near the top and side edges of the circle. These shapes represent where light hits the bubble. Keep them away from the center. Two or three small curved shapes work well. This step sets up the glossy look.
Step 3 – Fill Highlights with White
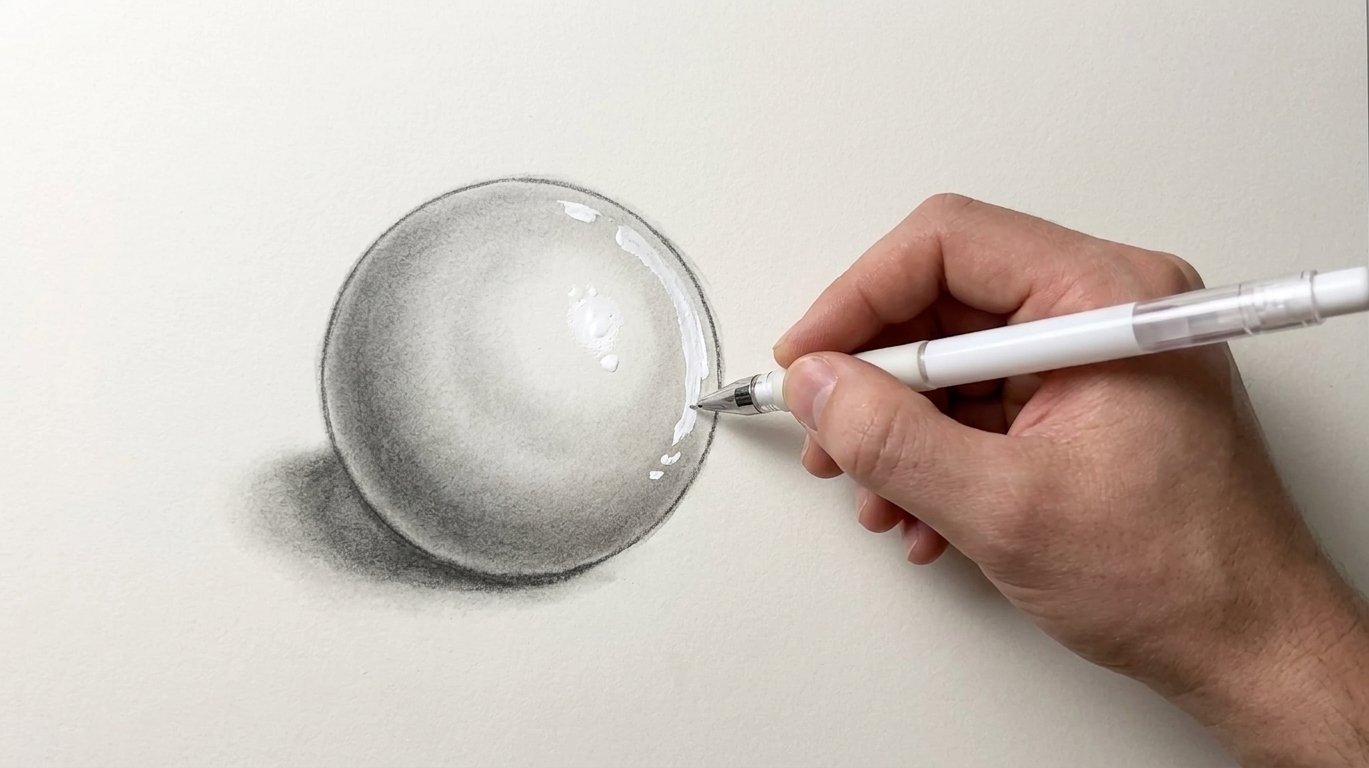
Fill those highlight shapes using a white pencil or white marker. Press firmly to build a solid base. The stronger your white layer, the better the shine looks later. This step is important. Don't skip it or rush through it.
Step 4 – Blend Colors Over Highlights
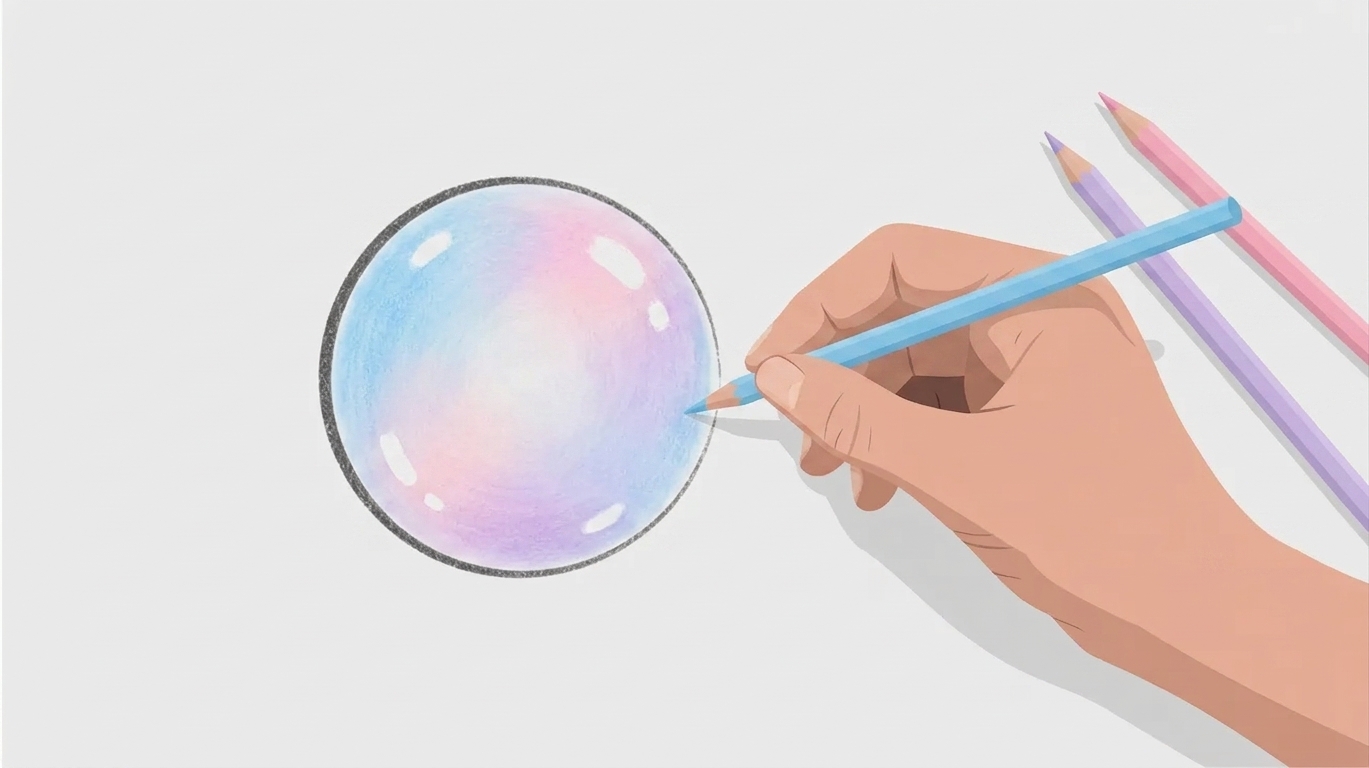
Pick soft colors like blue, purple, or pink. Lightly blend them over and around the highlight areas. Use gentle circular strokes. Don't cover the white completely. The goal is a smooth, soft color that makes the bubble look glossy and round.
Step 5 – Add Color Around the Edges
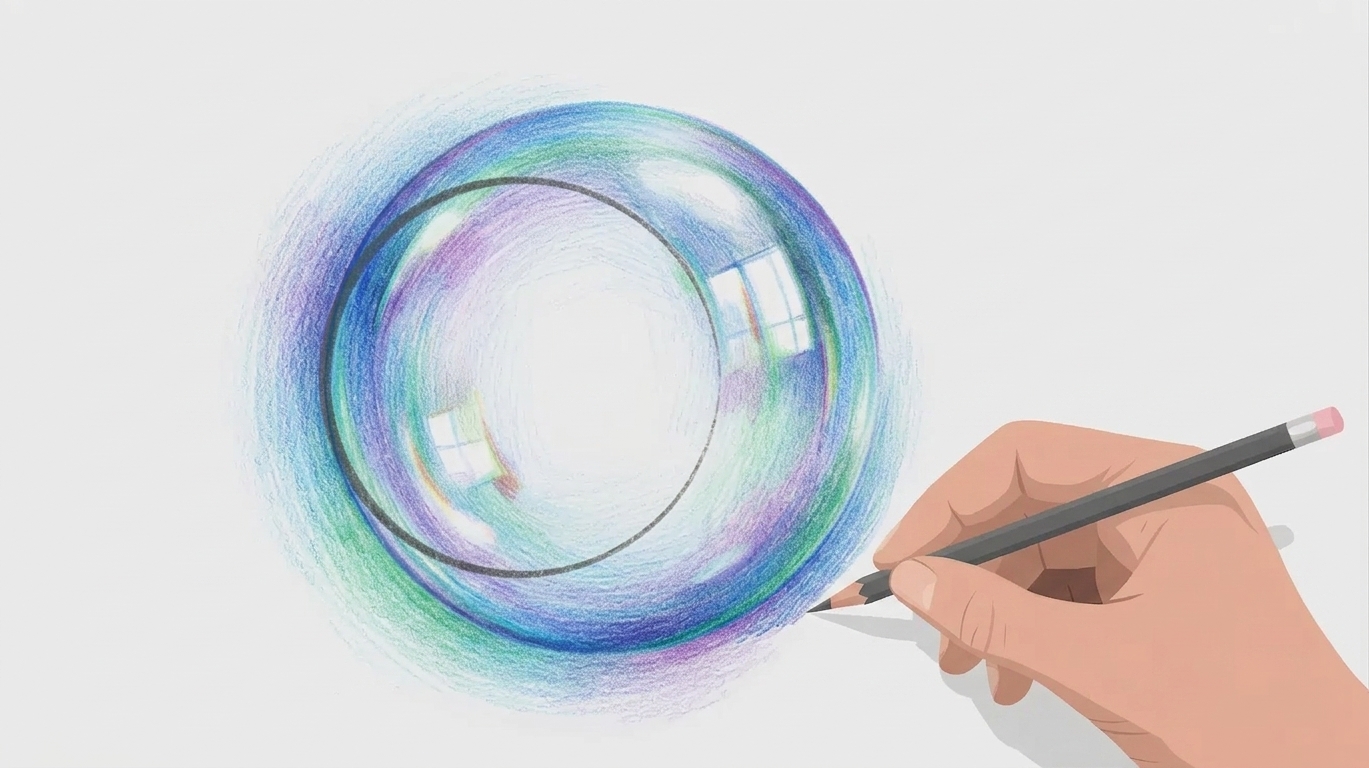
Use two or three colors along the outer edges of the bubble. Blues, greens, and purples work great together. Fade each color outward toward the edge. This gives the bubble a transparent, see-through look that feels realistic and natural.
Step 6 – Add Fine Details and Shine
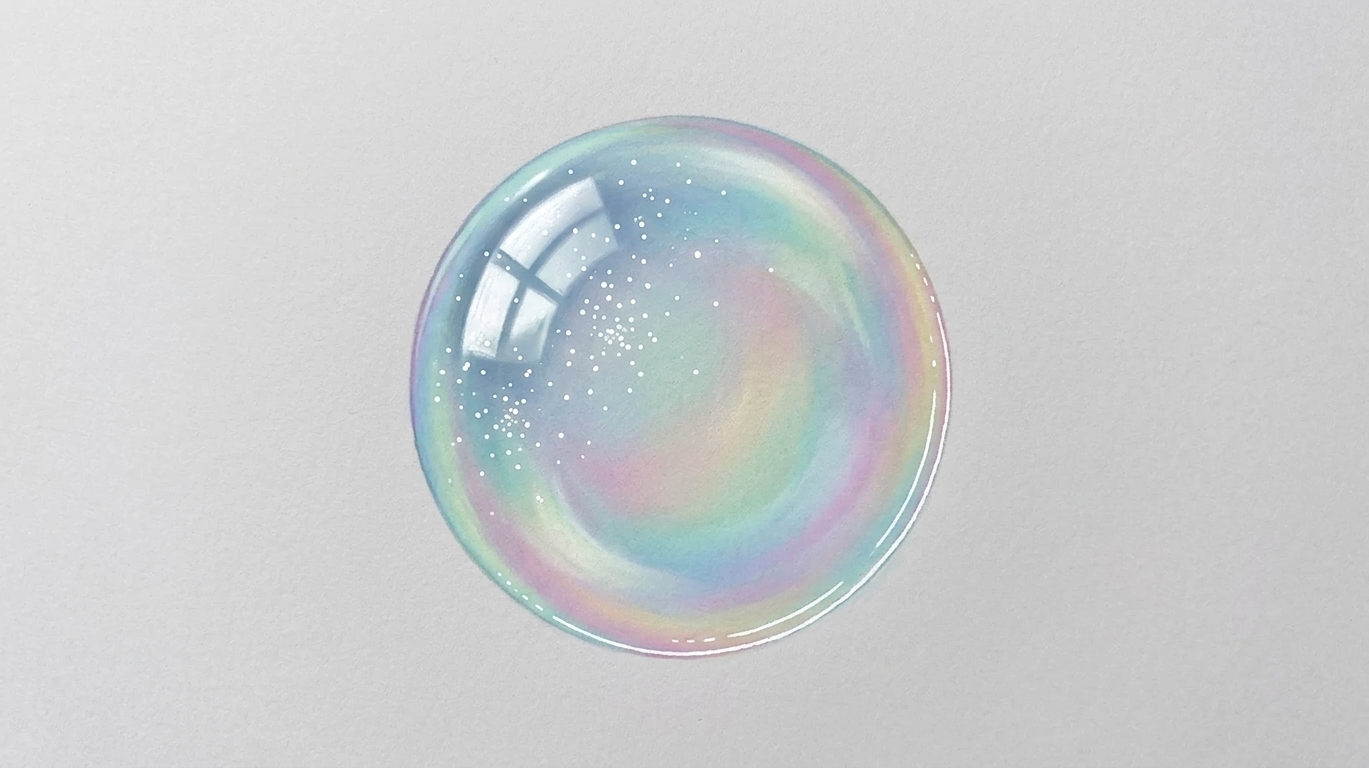
Use a white gel pen to add tiny dots and sparkle spots across the bubble. Lightly outline part of the bubble's edge, not the full circle. Partial outlines look more realistic. These small details bring the whole drawing together and add final polish.
Tips to Make Your Bubble Drawing Look Realistic
Small details make a big difference. Keep these tips in mind as you draw.
- Keep your highlights uneven and organic. Perfect symmetry actually makes bubbles look less real.
- Always use light pressure when blending colors. Heavy strokes break the smooth, glossy effect you want.
- Avoid outlining the full circle. A partial outline looks far more natural and transparent.
- Layer multiple colors around the edges. Blues, purples, and greens together add real depth.
- Step back and check your drawing often. It's easier to catch mistakes before adding more detail.
Conclusion
Drawing bubbles gets better every time you practice. I promise.
Each bubble you draw will look a little different, and that's a good thing. Try different tools, mix new colors, and see what works for you.
There's no wrong way to do this. Just keep going.
Grab your pencils, pick your colors, and start drawing today. Drop your results in the comments. I'd love to see what you create!
Frequently Asked Questions
What do I need to start bubbles drawing as a beginner?
All you need is colored pencils or markers, white gel pen, and black or white paper. Simple tools work just fine when you're starting out.
How do I make a bubble look shiny and glossy?
Add white highlights near the edges and blend soft colors around them. Light pressure and layering colors is what creates that glossy finish.
Which colors work best for drawing realistic bubbles?
Blues, purples, pinks, and greens work really well together. Layer them lightly around the edges to get that see-through, colorful effect.
Can I draw bubbles with regular colored pencils?
Yes, regular colored pencils work fine for practice. Prismacolor pencils blend smoother, but budget options get the job done when you're just starting out.
How long does it take to get good at drawing bubbles?
Most beginners start seeing good results after a few practice sessions. The more you draw, the faster you improve. Consistency matters more than speed.
