

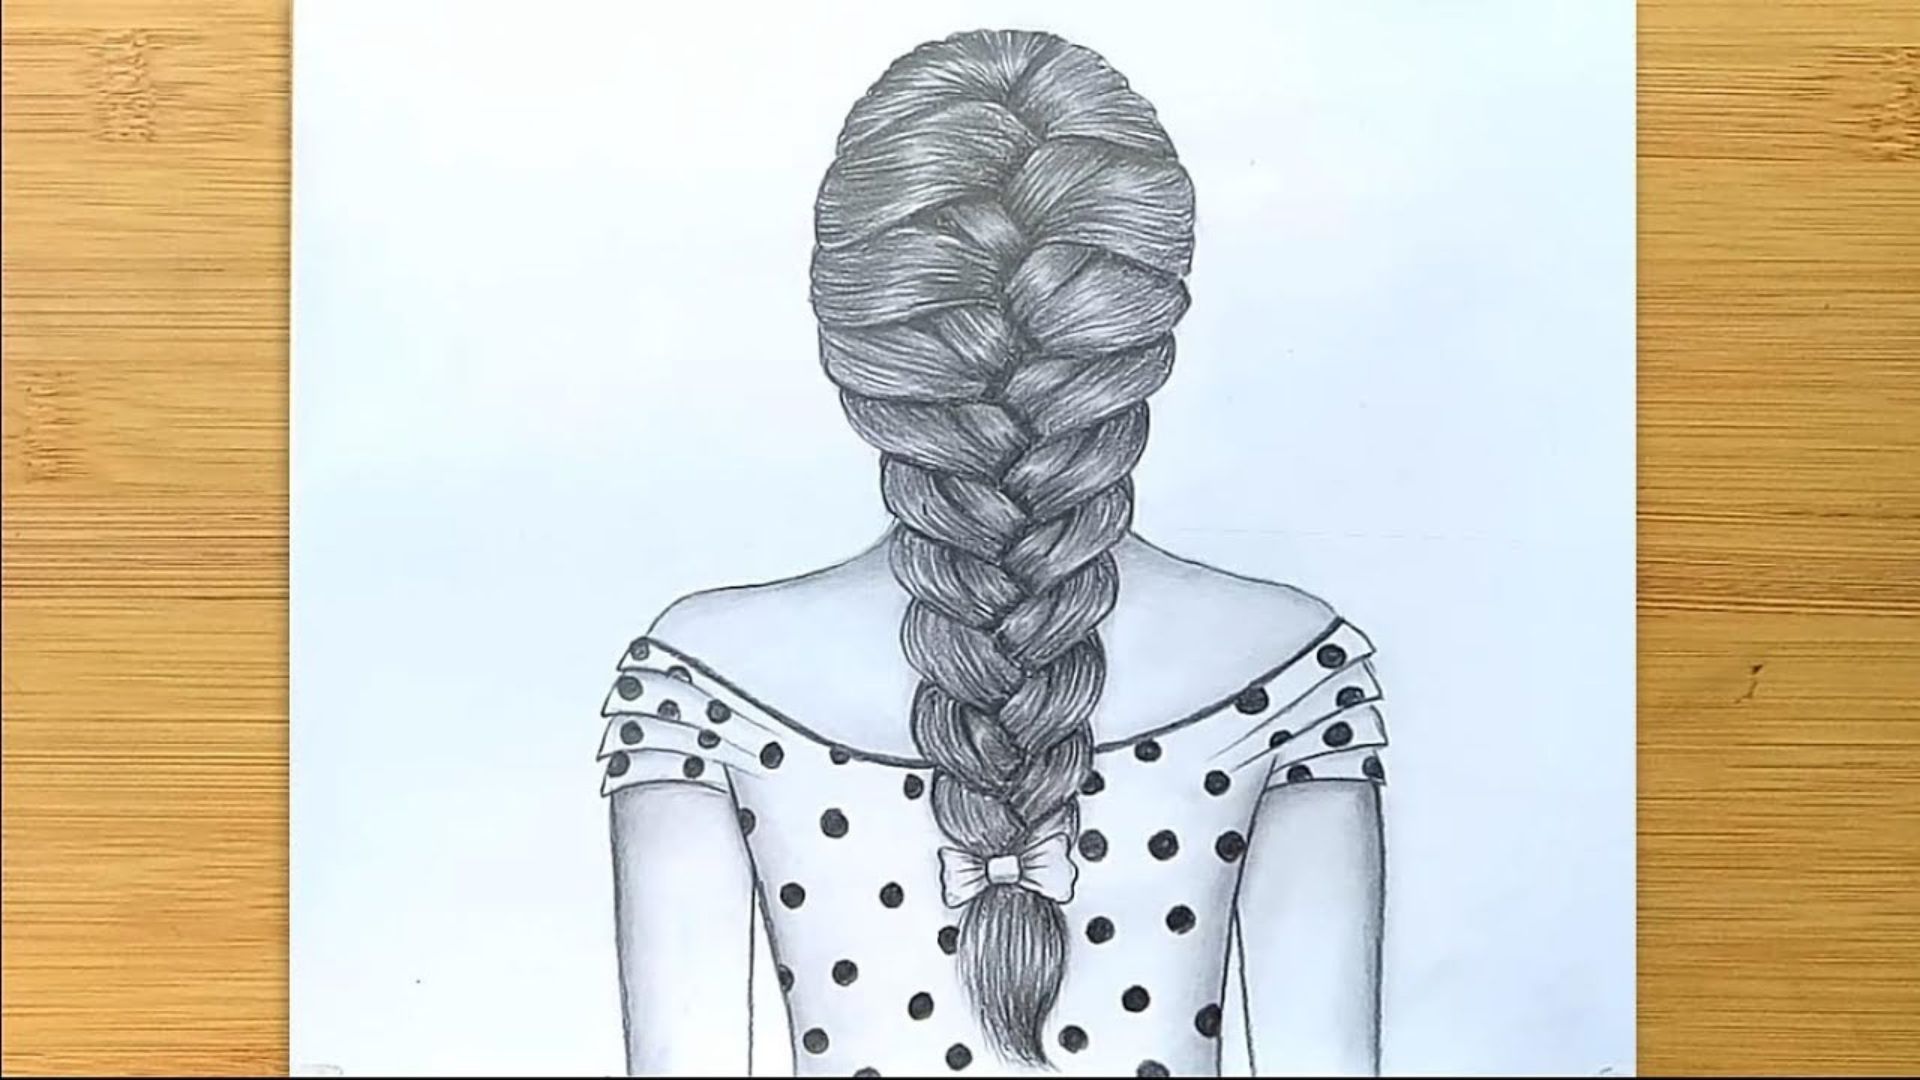
I remember staring at a blank page, pencil in hand, completely lost on where to even start with braids.
They looked too complex, too twisty, too much.
But here's the thing drawing braids is way simpler than it looks once you know the method.
In this guide, I'll walk you through every step, from the first pencil stroke to the final shading. You'll get clear steps, honest tips, and a process that actually works.
Let's get into it.
Why Drawing Braids Feels Difficult
Braids look complicated because of all the overlapping sections. Your eye sees a pattern, but your hand doesn't know where to start.
Most beginners try to draw every strand at once. That's where things fall apart. The trick is to break it down into simple shapes first.
No one gets it perfect on the first try. And that's completely fine. Once you understand the structure of a braid, the drawing part becomes much more manageable.
Materials Required

Getting the right tools makes a real difference. Here's what you'll need before you start.
- Pencil (HB or 2B): For light sketching and easy corrections.
- Eraser: Keeps your lines clean and neat.
- Drawing paper: Smooth paper or a basic sketch pad works fine.
- Fine liner or ink pen: For tracing your final lines cleanly.
- Shading pencils (4B or 6B): Adds depth where strands overlap.
Once you've got these ready, you're set to start drawing with ease.
Step-by-Step Guide to Drawing Braids
Here's your complete step-by-step braid drawing guide, all laid out in one clear format:
Step 1: Draw the Central Guideline and Basic Shape
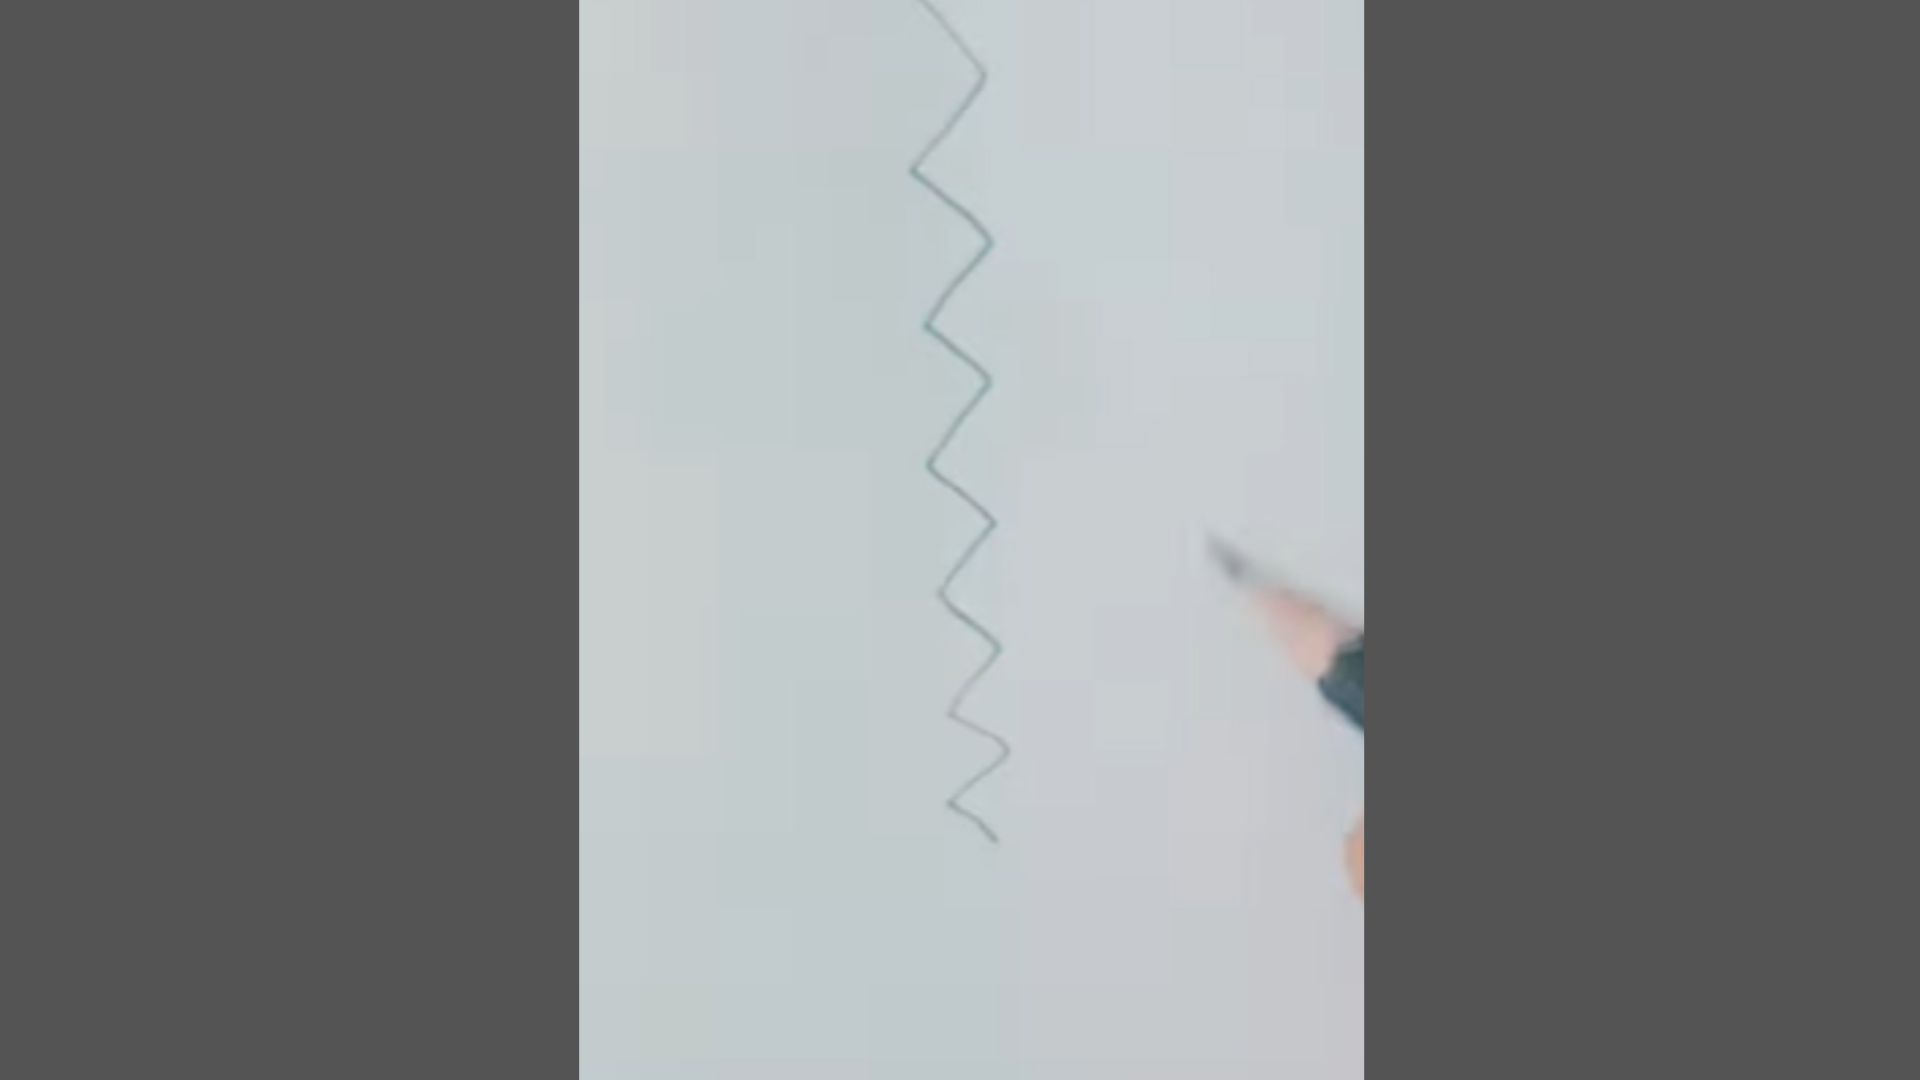
Begin by sketching a long vertical line that is slightly curved to show the natural fall of the braid. This line will guide the overall direction and keep your drawing aligned.
Now, lightly draw a repeating zigzag pattern crossing over this line from one side to the other.
Keep the zigzags smooth and evenly spaced so the braid looks balanced. Do not press too hard with your pencil, as these are just guiding lines for the structure.
Step 2: Form the Interlocking Braid Sections
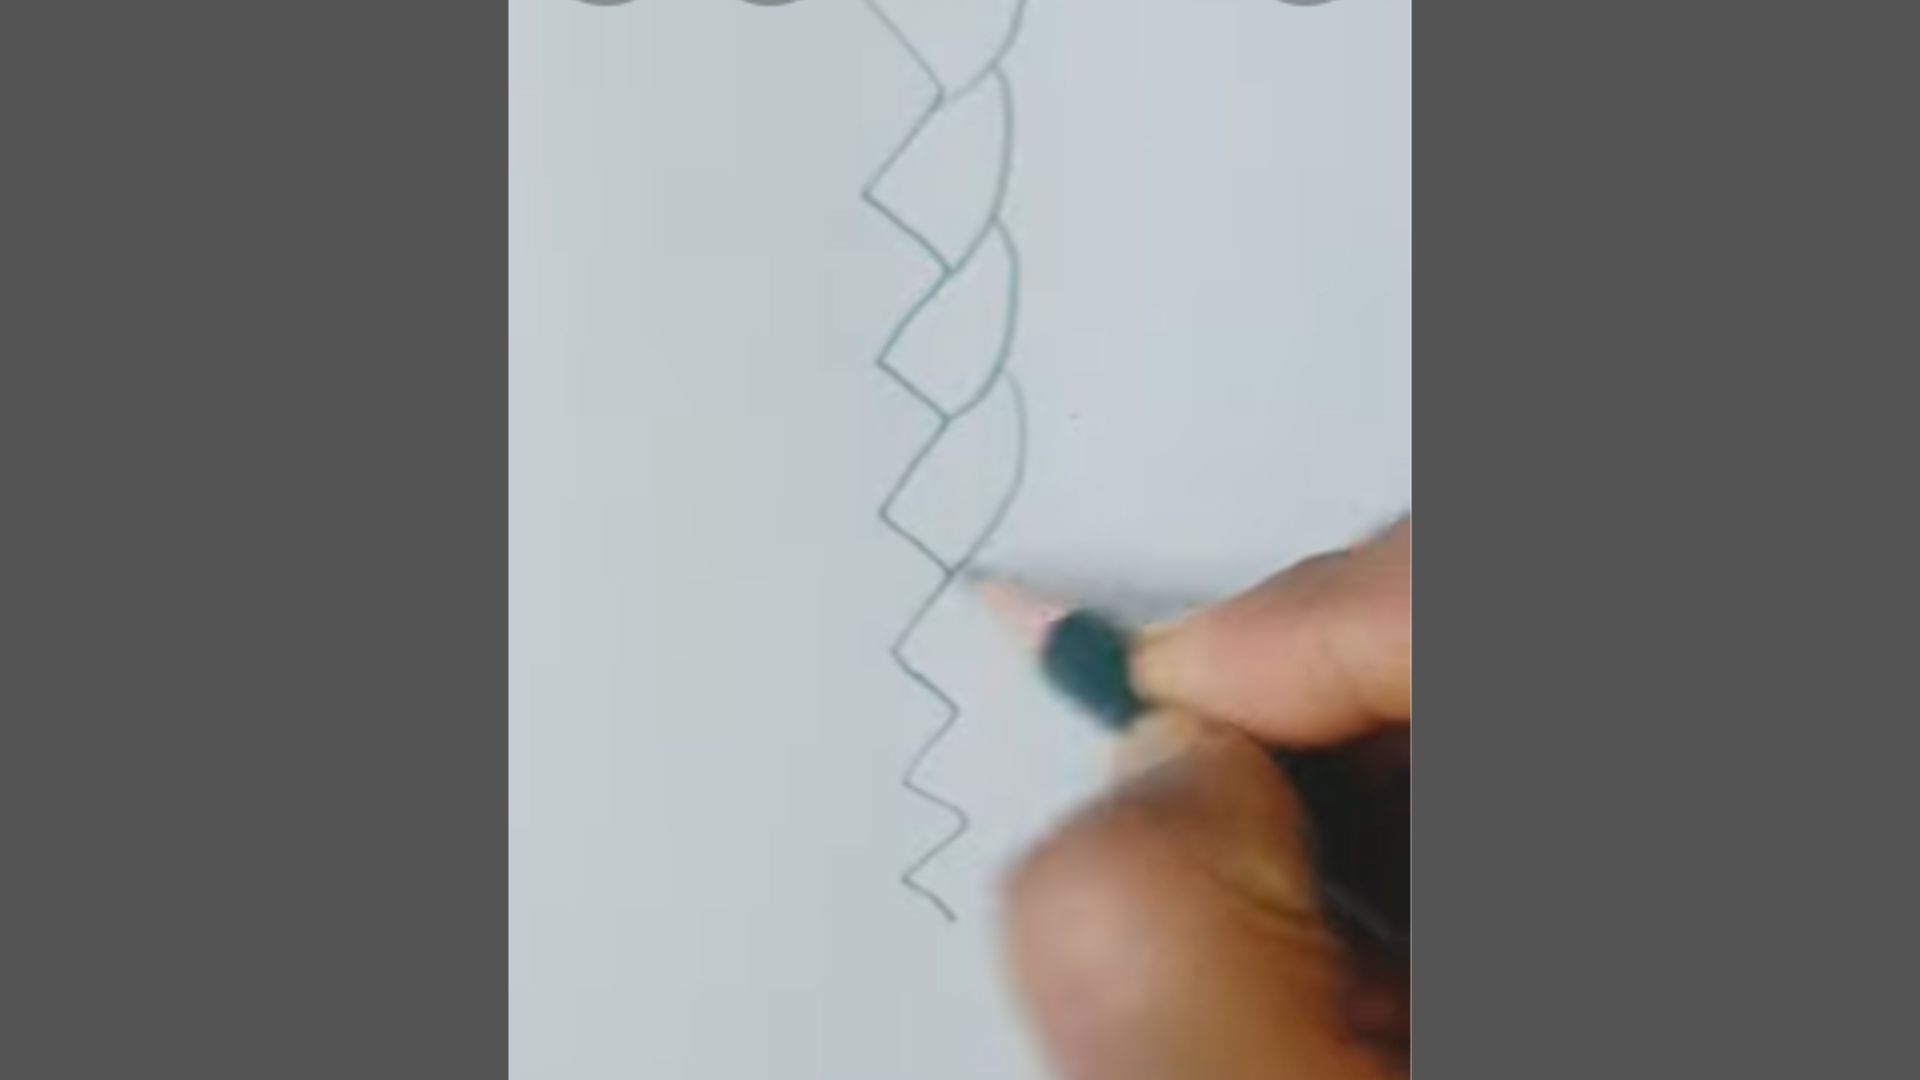
Using the zigzag as a base, start shaping each section into smooth, curved forms. Round off the sharp angles so they look like soft loops of hair crossing over one another.
Each section should overlap the center line and connect naturally with the next. Work carefully on both sides to keep the braid even and symmetrical.
This step is important because it turns the rough structure into a recognizable braid pattern with a flowing and woven appearance.
Step 3: Refine the Shape and Add Depth
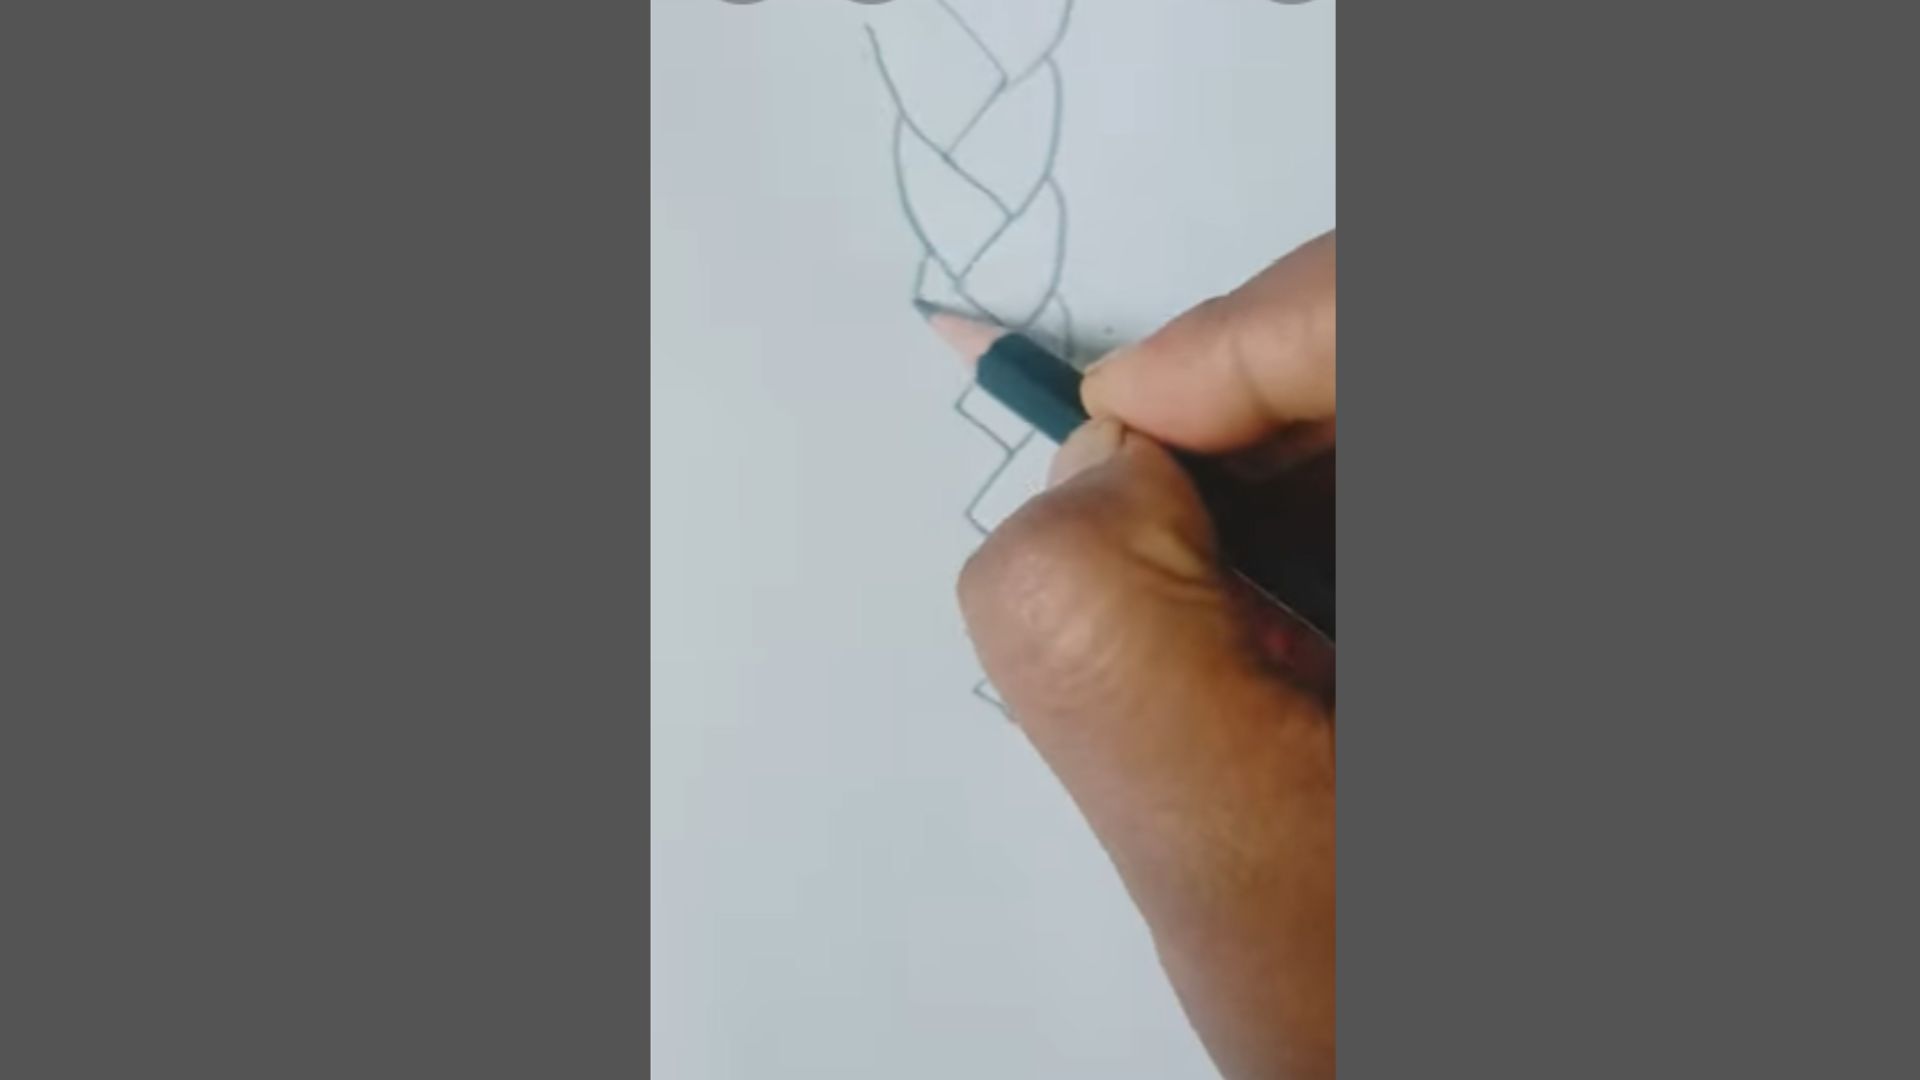
Now clean up your drawing by erasing the extra guideline and fixing any uneven lines. Add slight thickness to each braid section by drawing parallel curves along the shapes.
This will give the braid a fuller and more realistic look. Lightly shade the areas where strands overlap to create depth and dimension.
You can also add a few fine strokes inside each section to suggest hair texture, making the braid appear more natural and detailed.
Step 4: Refine the Upper Braid Sections
Start refining the top part of the braid by smoothing the curves of each section. Adjust the lines so they look soft and natural instead of rough or sketchy.
Focus on making each overlapping strand clear and well-defined. Make sure both sides are balanced and symmetrical.
Lightly erase any extra or messy lines. This step helps make the braid structure more neat and polished, preparing it for detailing and final touches in the next steps.
Step 5: Add Hair Texture and Flow

Now begin adding fine lines inside each braid section to show hair strands. These strokes should follow the direction of the curves to show natural flow.
Keep the lines light and not too crowded. This will give the braid a realistic hair-like appearance. You can also slightly darken some inner areas to add depth.
This step makes the braid look less flat and more detailed, improving its overall visual quality.
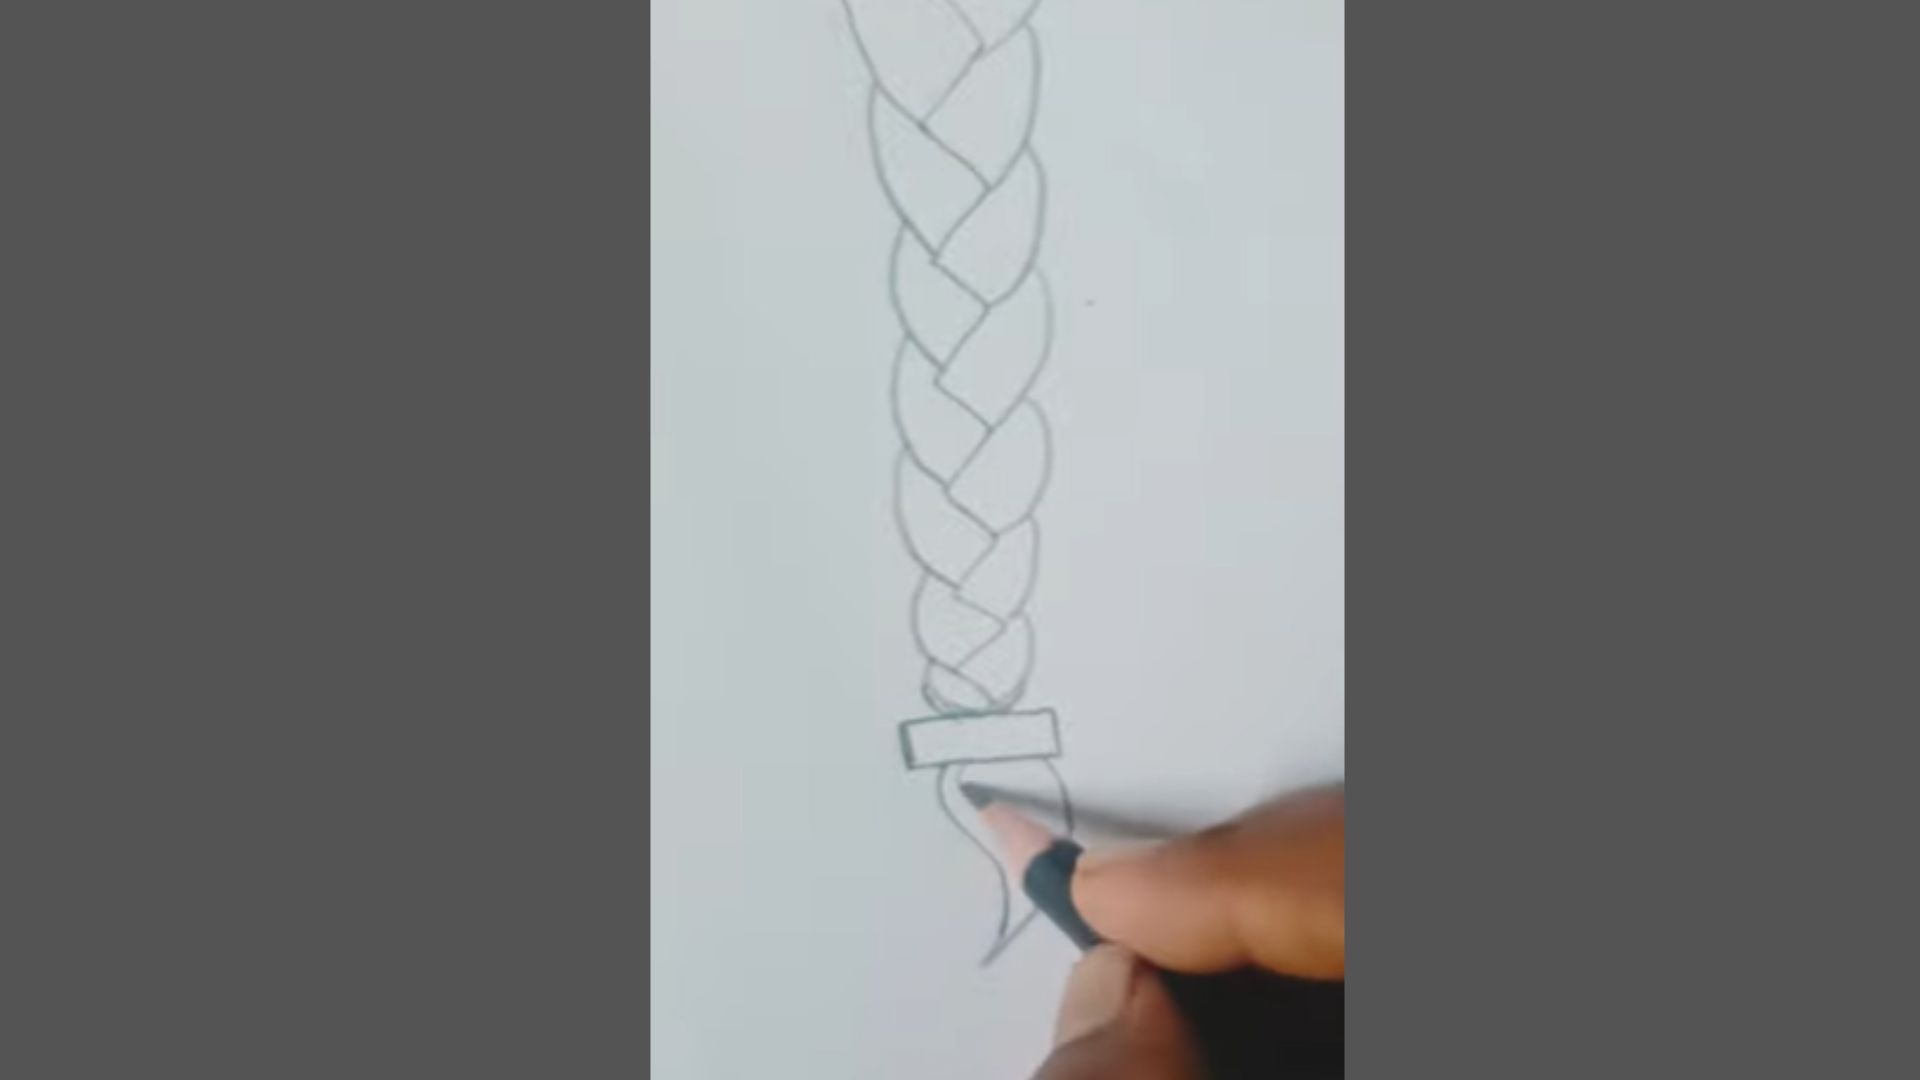
Step 6: Draw the Hair Tie at the Bottom
At the lower end of the braid, draw a small hair tie or band. It can be a simple rectangular or oval shape wrapping around the braid.
Make sure it fits naturally and holds the strands together visually. Add a few lines around it to show folds or tightness.
This detail completes the structure of the braid and gives it a finished look, just like a real tied braid at the end.
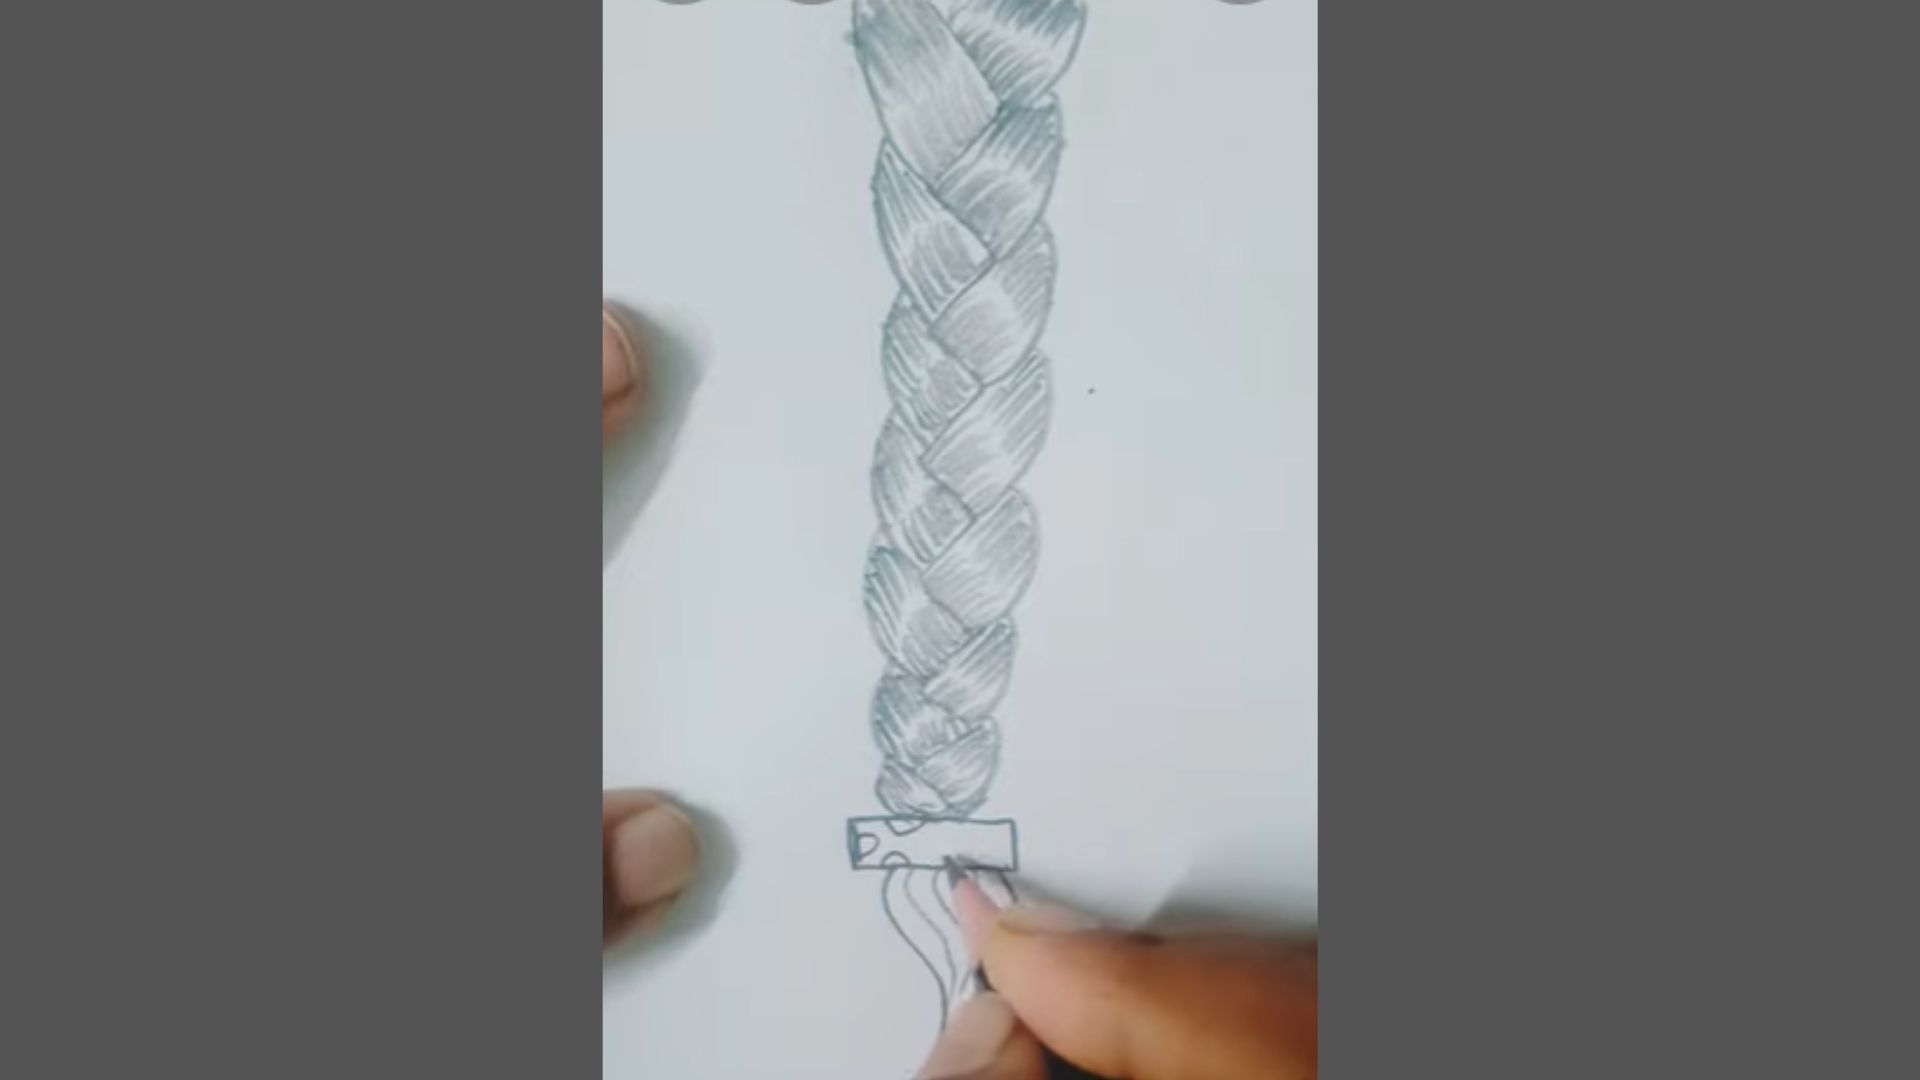
Step 7: Add Loose Ends and Final Shading

Below the hair tie, draw a few loose strands hanging down to show the natural end of the braid. Keep them slightly uneven and curved for a realistic touch.
Now go over the entire braid and add final shading, especially where strands overlap. Darken those areas slightly to create depth.
Clean up all extra lines and smooth the drawing. Your braid should now look complete, neat, and realistic.
Practice Tips
These tips have helped me improve faster. I hope they do the same for you.
- Start with loose, light pencil strokes so you can fix mistakes without ruining the paper or leaving dark marks that are hard to erase.
- Practice the zigzag guideline separately before you start a full braid. Getting that base right makes every step after it much easier.
- Draw small braids first to get comfortable with the structure before moving on to longer or more complex styles.
- Study real braids or photos to understand how the strands actually fall and overlap, then use that as a reference while you draw.
- Repeat the same braid multiple times on one page so you can see your own progress and figure out what needs more attention.
The more you practice, the faster your hand learns to follow what your eye sees.
Conclusion
I won't lie. My first braid drawing looked more like a pretzel than actual hair.
But I kept going, and it finally clicked. You'll get there too. Just follow the steps, be patient with yourself, and keep practicing.
If this helped you, drop a comment below and share how your braid turned out.
Share this post with a friend who loves to draw. I'd love to see your progress!
Frequently Asked Questions
What is the easiest way to start drawing a braid?
Start with a curved vertical line and a simple zigzag pattern on top.
Do I need special pencils to draw braids?
No, a regular HB pencil for sketching and a 4B or 6B for shading is all you need.
How do I make my braid drawing look three-dimensional?
Shade the areas where strands overlap to create depth.
How long does it take to learn how to draw braids?
Most beginners see clear improvement within one to two weeks of regular practice.
Can I draw braids digitally using the same steps?
Yes, the same steps work on any digital drawing app.