

I still remember the first time I tried drawing a brick wall. It looked more like a broken grid than an actual wall.
Spacing was off, the rows felt flat, and I had no idea where to even begin with shading.
That frustration pushed me to actually study how brick wall drawing works from the ground up.
What I found surprised me. It is simpler than it looks, and the techniques carry into so many other areas of art.
Curious how seven sketch ideas can completely change the way you draw walls? Let me show you.
Understanding Brick Wall Drawing Basics
Before you draw a single brick, you need to understand how a wall is visually built. Bricks follow a staggered pattern, where each row offsets from the one above it. That offset is what makes a wall look real.
Not all brick walls look the same. Some have clean, uniform layouts. Others are irregular, with uneven gaps and rough edges. Knowing which type you are drawing helps you plan your lines before putting pencil to paper.
Perspective matters a lot here. A flat brick wall drawn straight on looks very different from one drawn at an angle. Without basic perspective knowledge, your wall will look pasted onto the page instead of part of the scene.
Spacing between bricks is called mortar. Getting those gaps consistent makes your drawing look polished. Too wide and the wall looks fake. Too narrow and the bricks disappear. Pay attention to this from the very first line.
Step-by-Step Brick Wall Drawing (7 Easy Sketch Ideas)
These seven approaches go from beginner-friendly to more detailed and stylized. Start where you feel comfortable and work your way up as your confidence grows.
1. Simple Flat Brick Pattern Sketch
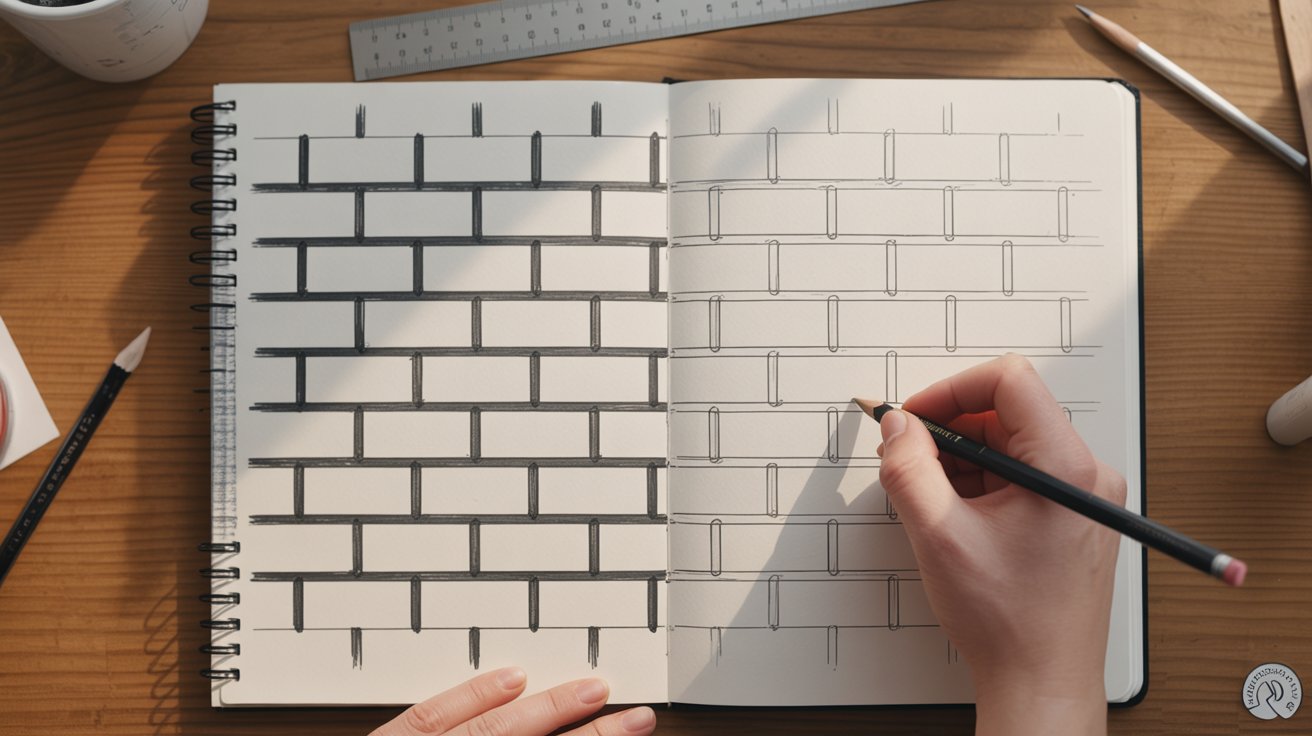
Start by drawing two horizontal lines to mark the height of your first row of bricks. Then add vertical lines inside to divide the row into individual bricks. Keep the spacing even.
Move to the next row and shift your vertical lines slightly to the right. This staggered offset is the defining feature of any brick wall drawing. It is small but it changes everything.
Repeat this process for five or six rows. Do not worry about perfection. This first sketch is about training your eye to see the pattern and your hand to follow it consistently.
2. Perspective Brick Wall Drawing
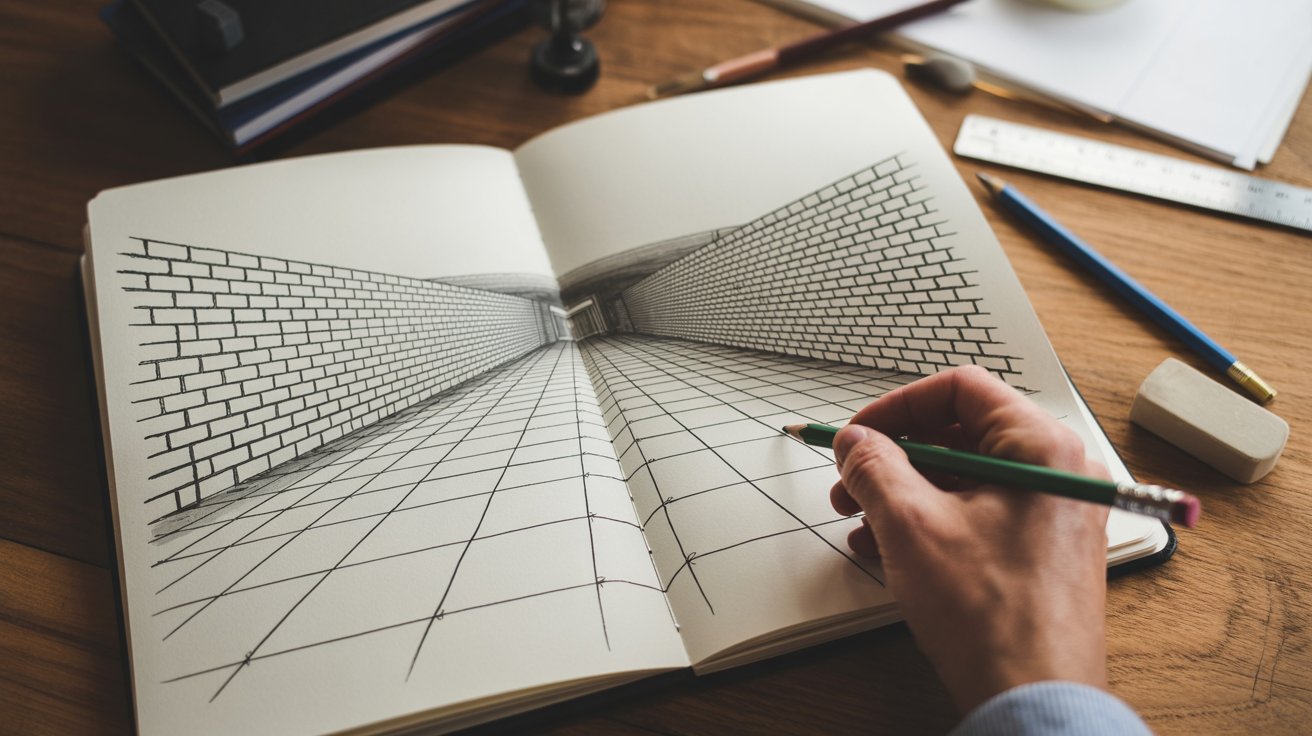
Pick a vanishing point on your horizon line. Draw two lines extending from that point outward. These become the top and bottom edges of your wall.
Now draw your horizontal rows so they follow those perspective lines. The rows will appear closer together as they move toward the vanishing point. That compression is what creates the illusion of depth.
Add your vertical brick divisions next. These stay mostly vertical but tilt slightly as they get closer to the vanishing point. This type of brick wall drawing is one of the most useful skills for background and environment work.
3. Brick Wall Drawing Easy for Beginners
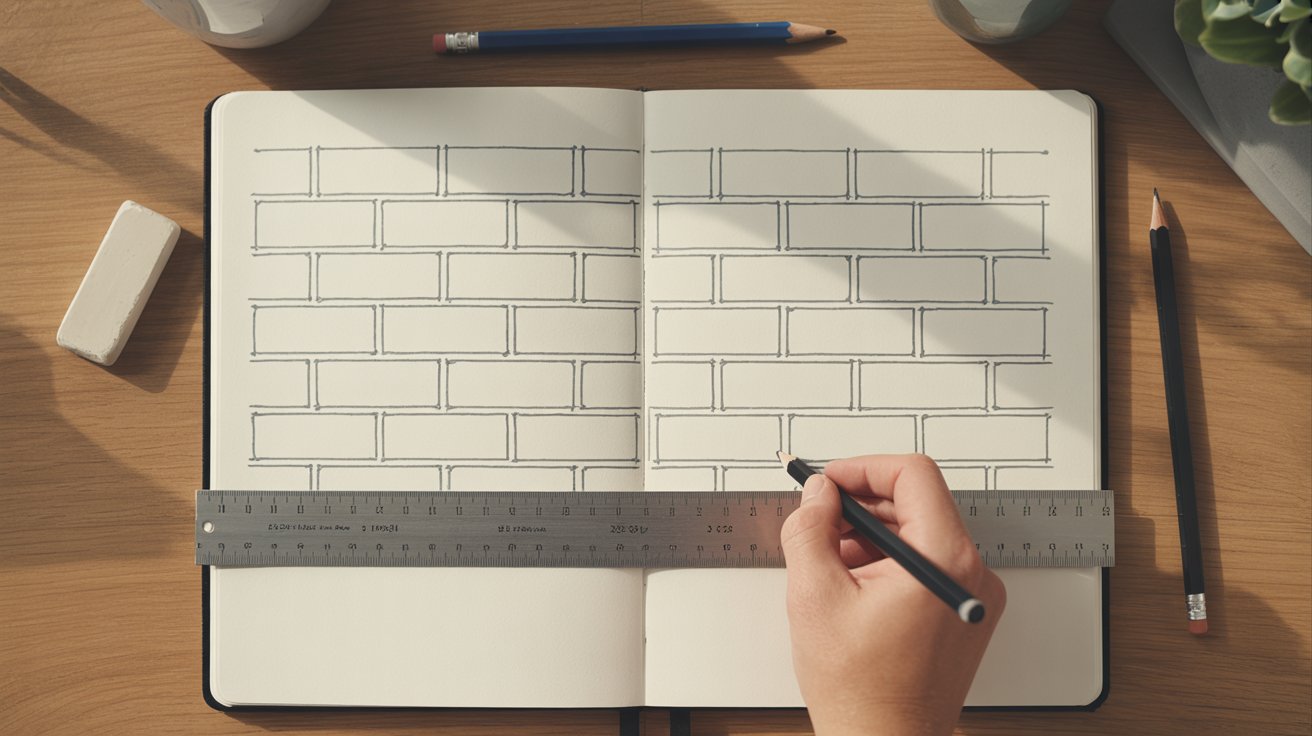
Use a ruler for this one. Draw a series of clean horizontal lines across your page, evenly spaced. These are your row guidelines.
Inside each row, draw small rectangles using simple vertical lines. Keep them roughly the same size. Alternate the position of those lines from row to row so the bricks stagger.
That is really all there is to this version. No shading, no texture, no complicated perspective. Just clean lines and repetition. This brick wall drawing easy method builds your muscle memory for the pattern before you add any complexity.
4. Cracked Brick Wall Texture Drawing
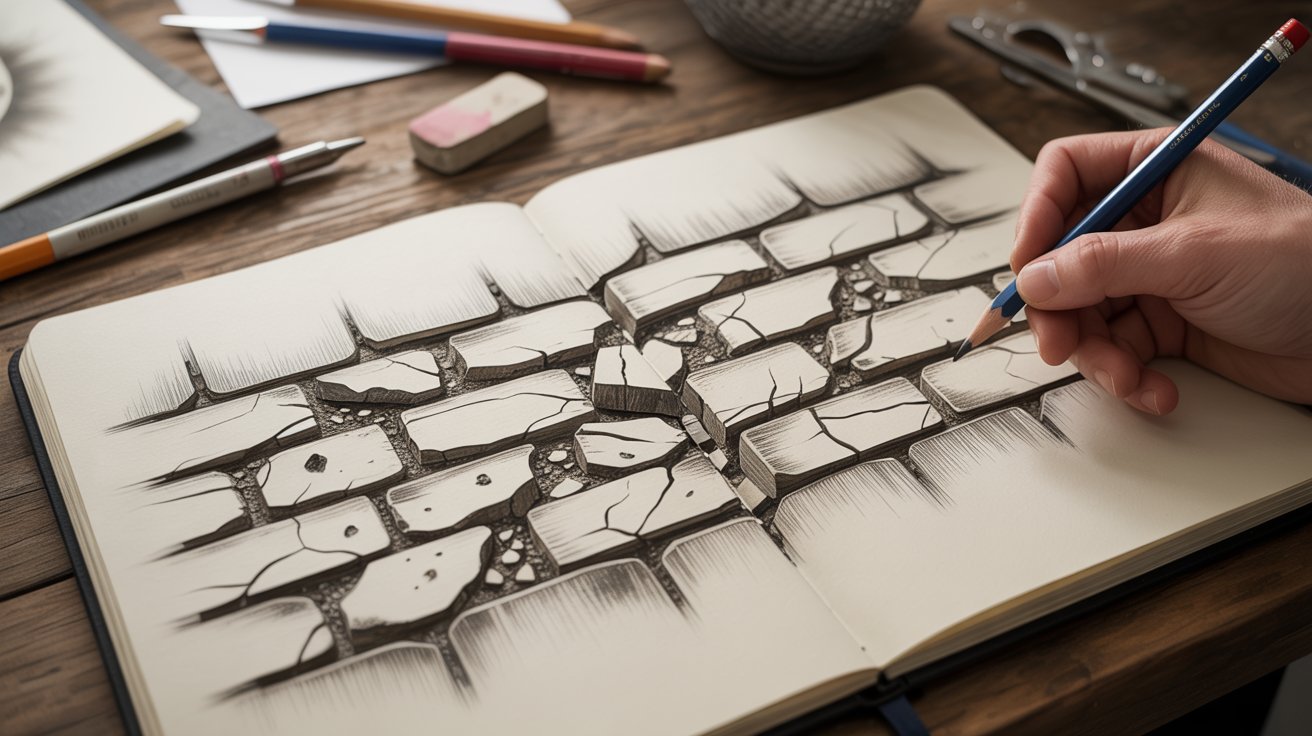
Start with your basic brick pattern from sketch one. Once the main structure is in place, you can start adding character through damage and age.
Add small irregular lines running through individual bricks. These cracks do not follow straight paths. They branch slightly and taper off. That imperfection is exactly what makes them look real.
Chip the edges of a few bricks by drawing small broken pieces at their corners. Add missing chunks in the mortar lines. These details take very little time but dramatically shift the feel of your drawing from clean to aged.
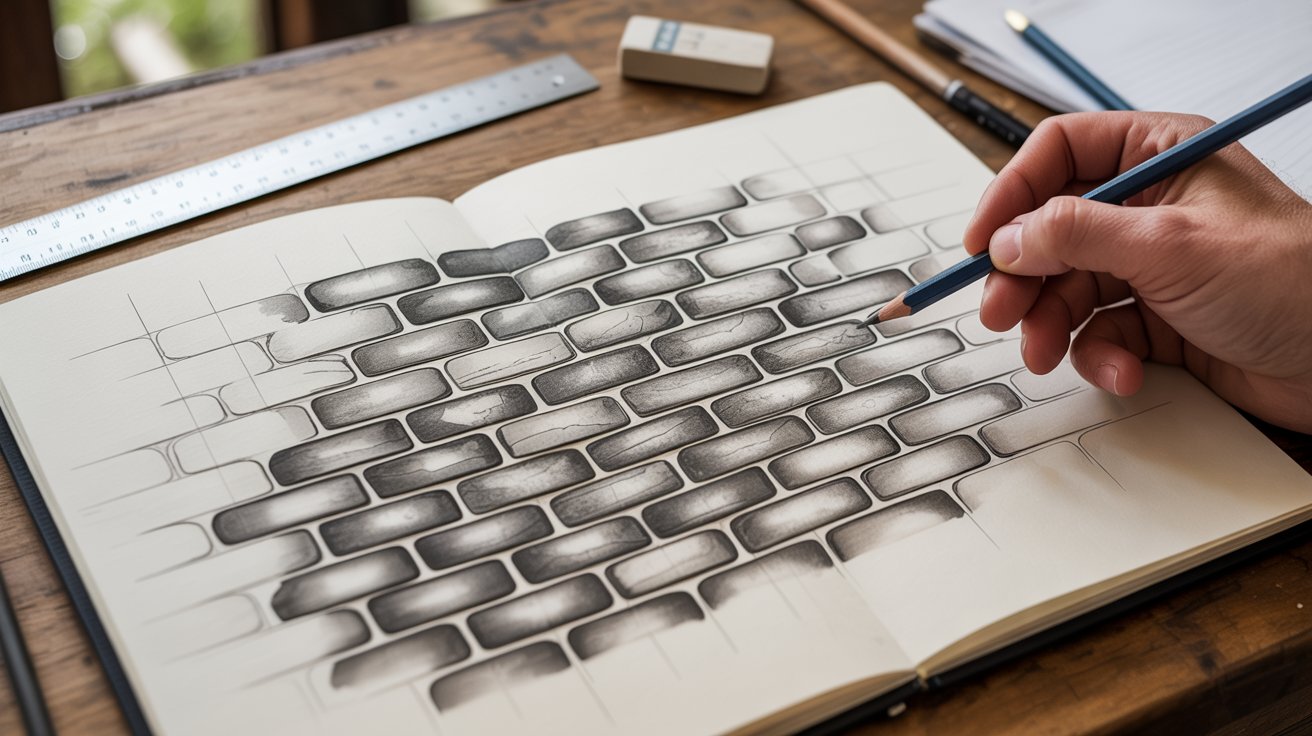
5. Shaded Brick Wall Drawing
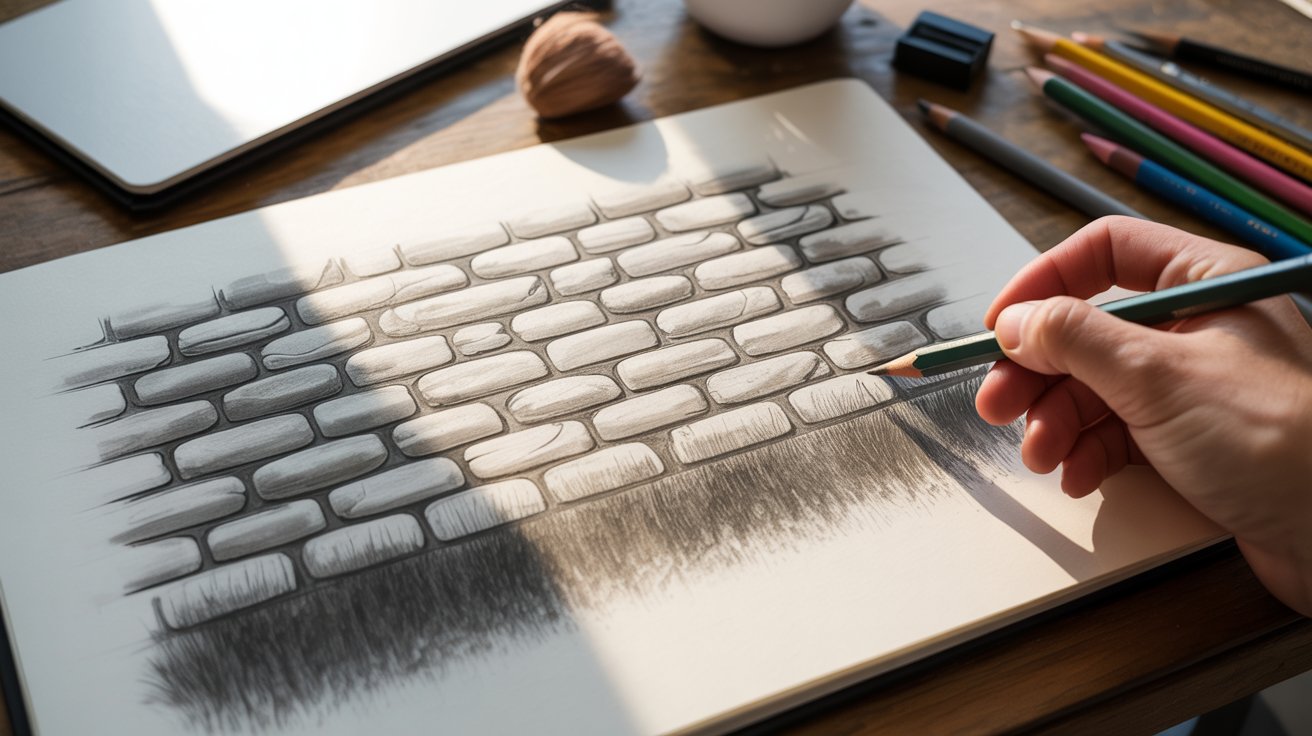
Decide where your light source is before you pick up your shading pencil. This is the step most beginners skip, and it is why their shading looks flat.
Apply light shading to the top surface of each brick if the light comes from above. Leave the front face lighter and darken the bottom edges and mortar lines. This contrast is what pushes individual bricks forward visually.
Use a 2B or 4B pencil for the darker mortar areas. A light HB pass over the brick faces adds a soft mid-tone. Blend gently with your finger or a blending stump to smooth the transitions.
6. Realistic 3D Brick Wall Illustration

This version combines perspective lines with careful shading. Start with your vanishing point and build the wall structure using the perspective method from sketch two.
Once the structure is done, treat each brick as a small three-dimensional object. The face catches the light. The top catches some. The bottom edge falls into shadow. Apply shading with that in mind across every single brick.
This is the most time-consuming version, but it produces the most satisfying result. A finished realistic brick wall drawing in this style can work as a standalone piece or as a strong background element in any larger composition.
7. Artistic Stylized Brick Wall Sketch
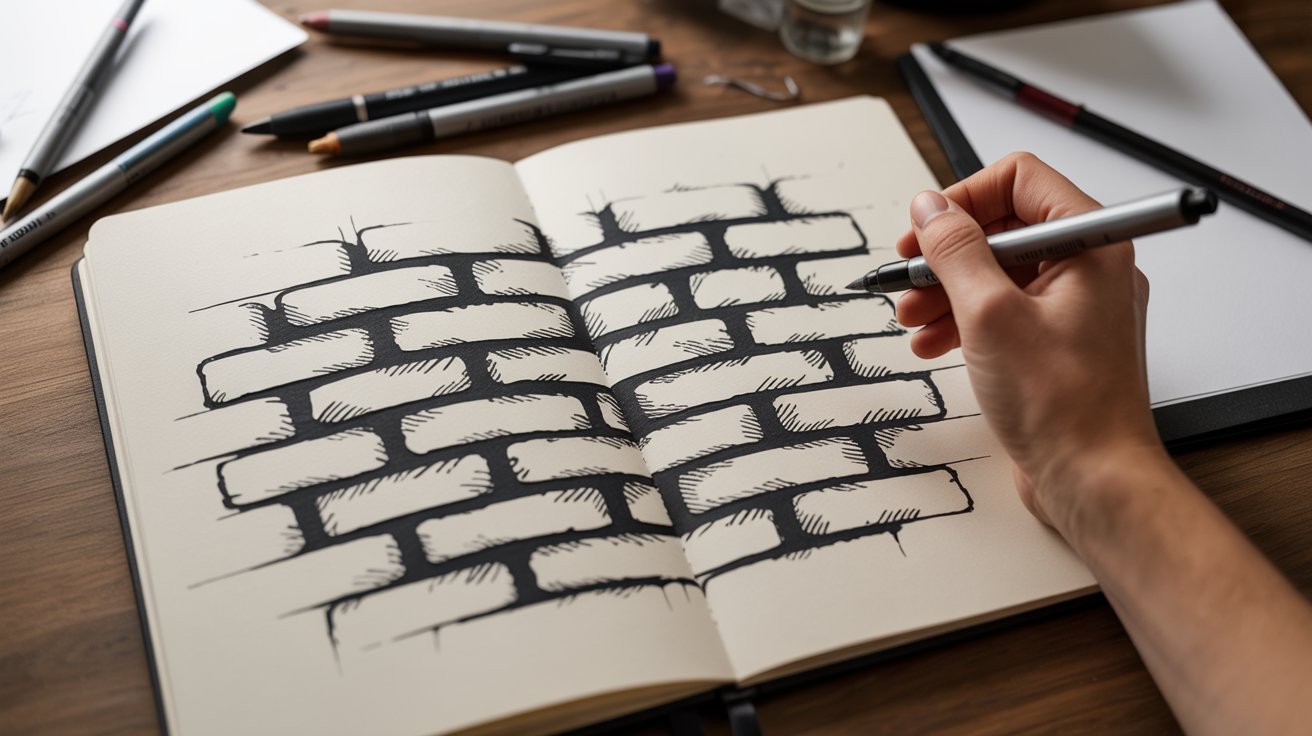
This version is where you get to break the rules you just learned. Exaggerate the brick sizes. Make some huge and others tiny. Add bold outlines with a fine liner for a comic or graphic novel look.
Try mixing straight lines with slightly wobbly ones to give the wall a hand-drawn character. Crosshatch the mortar spaces with rough marks instead of smooth shading.
You can also go in a completely abstract direction. Curved bricks, irregular shapes, or repeated patterns that suggest a wall without literally drawing one. Stylized brick wall drawing is less about accuracy and more about expressing a mood or visual style.
Tools Required for Brick Wall Drawing
You do not need a large collection of supplies to get started. A few well-chosen tools make the whole process smoother and the results noticeably better.
Here is what I recommend keeping on hand:
- HB pencil for initial guidelines and outlines
- 2B or 4B pencil for shading and dark mortar lines
- Ruler for clean horizontal lines and perspective guides
- Eraser for fixing mistakes and lifting highlights in shaded areas
- Fine liners for bold outlines in stylized or comic-style versions
- Sketchbook or textured paper for better pencil grip and shading results
Starting with even just the pencils, a ruler, and a basic sketchbook is enough. As you get comfortable with the techniques, you can add fine liners and different paper types to see how they change your results.
Creative Uses of Brick Wall Drawing
A brick wall sketch is rarely just a wall. Once you build this skill, it starts showing up across many different types of art and design work.
Here are some of the most common places artists use this skill:
- Architectural design concepts where structure and detail need to be visualized on paper
- Urban sketching backgrounds to frame street scenes or portraits with a gritty, real-world setting
- Comic and manga settings where brick walls add a strong sense of place and atmosphere
- Game environment design for texture references and visual development of game worlds
- Interior design visualization to communicate the look of exposed brick in a room concept
Once brick wall drawing feels natural, you will start seeing opportunities to use it everywhere. It is one of those foundational skills that quietly improves the overall quality of your work.
Tips to Make Your Brick Wall Drawing Stand Out
Most brick wall sketches look decent. A few small choices push them from decent to genuinely impressive. These tips make a real difference without adding much extra time.
Try these when you sit down for your next sketch:
- Add moss patches, water stains, or vine details to give the wall a lived-in feel
- Keep strong contrast between the brick faces and the mortar gaps so the structure reads clearly
- Mix clean, smooth bricks with rough, worn ones in the same drawing for visual interest
- Experiment with light coming from the side instead of above for a more dramatic shadow effect
- Combine a realistic section with a looser, more stylized area in the same piece to show range
These are not complicated changes. But they show intentionality. And that is what separates a drawing that feels practiced from one that feels professional.
Conclusion
Every artist I know who practiced brick wall drawing regularly saw it change their overall sketching. Not just walls. Everything.
The way you see structure, light, and space shifts when you train your eye this way.
So pick one sketch from this guide and start today. Do not wait for the perfect sketchbook or the right pencil set. Just start.
Drop your finished sketch in the comments below. I read every single one. And if this guide helped you, share it with someone who is learning to draw right now.
Frequently Asked Questions
How Do I Start Brick Wall Drawing as a Beginner?
Begin with a simple grid layout using evenly spaced horizontal lines and repeating rectangles. Focus on getting the staggered pattern right before adding any texture or shading.
What Is the Easiest Way to Draw a Brick Wall?
Use a ruler to draw straight horizontal lines, then divide each row into rectangles with vertical marks. This brick wall drawing easy method builds your pattern recognition before you try anything more complex.
How Can I Make My Brick Wall Drawing Look Realistic?
Add consistent shading based on a fixed light source and include small imperfections like cracks and uneven mortar lines. Those small details are what separate a flat sketch from something that looks genuinely three-dimensional.
Which Pencil Is Best for Brick Wall Drawing?
An HB pencil works well for outlines and initial structure. Use a 2B or 4B for shading the mortar lines and darker shadow areas.
Why Is Perspective Important in Brick Wall Drawing?
Perspective gives the wall depth and makes it look like part of a real space rather than a flat pattern. Without it, even a detailed brick sketch can end up looking pasted and unconvincing.