

Looking for fresh scratch art ideas? You’re in the right place.
This article contains unique scratch art projects for every skill level. From simple designs for kids to complex art for adults.
Here’s what you’ll find:
- Step-by-step DIY scratch art paper instructions
- Age-specific project ideas (kids, teens, adults)
- Themed seasonal and holiday designs
- Creative techniques and advanced tips
- Therapeutic benefits and mindfulness applications
I’ve seen thousands of students create amazing scratch art pieces. These aren’t random ideas – they’re tested projects that actually work. You want scratch art ideas that inspire. Not boring circles and basic shapes.
The problem? Most scratch art guides give you the same tired suggestions. Generic flowers. Simple rainbows. Nothing exciting. I’m solving that problem today. You’ll get unique, engaging ideas that make scratch art fun again.
If you’re planning a kids’ party activity or want a relaxing hobby for yourself, these ideas will spark your creativity.
Ready to find your next favorite art project?
Scratch Art Basics
What You Need to Get Started
You don’t need expensive supplies to create amazing scratch art.
Essential tools: Scratch art paper, wooden stylus or toothpick, pencil, and eraser.
Optional extras include different sized styluses and templates. You can start with just paper and a toothpick.
How to Make DIY Scratch Art Paper (Step-by-Step)
- Step 1: Cover white paper with bright crayons. Press hard. Make it thick.
- Step 2: Mix black paint with dish soap (1:1 ratio).
- Step 3: Paint over the crayon layer completely.
- Step 4: Let it dry for 2 hours.
- Step 5: Start scratching!
Pro tip: The soap helps the paint stick to waxy crayons.
Best Surfaces & Materials to Use
Pre-made scratch boards give you the easiest start – they’re ready to use right out of the package. Cardstock with a crayon base works well for homemade projects and costs less.
Canvas boards handle larger projects beautifully and create professional results. Wood panels offer permanent surfaces that last for years. However, avoid thin copy paper because it tears easily under scratching pressure. Glossy surfaces cause problems too – paint won’t stick properly.
Scratch Art Ideas for Kids (Ages 4–10)
1. Rainbow Animals
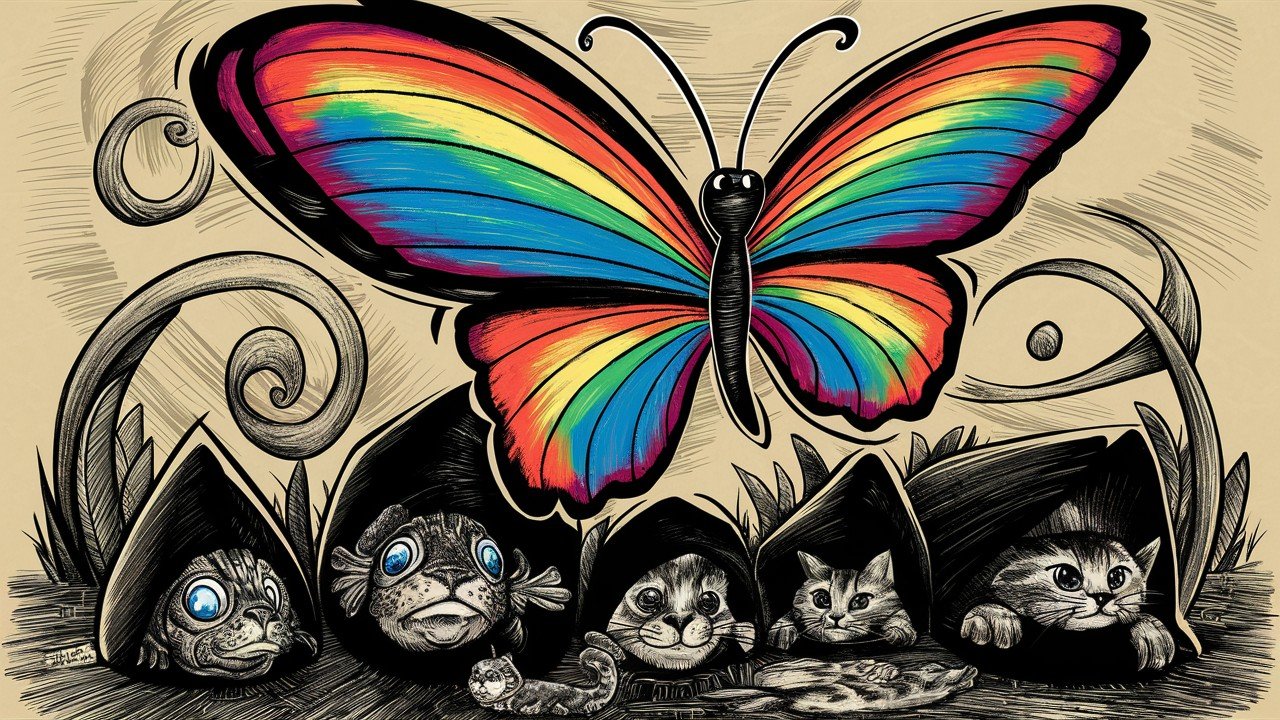
How to do it: Sketch your animal shape lightly with pencil first. Then scratch along the outline and fill in details like wings, scales, or fur patterns.
Popular choices include butterflies with rainbow wings, fish with colorful scales, and cats with striped patterns.
2. Night Sky with Stars & Planets

How to do it: Start by scratching small dots for distant stars, then larger ones for closer stars to create depth. Add shooting stars with long diagonal lines and include a crescent moon with crater details.
Space themes capture young imaginations perfectly.
3. Under the Sea Scene
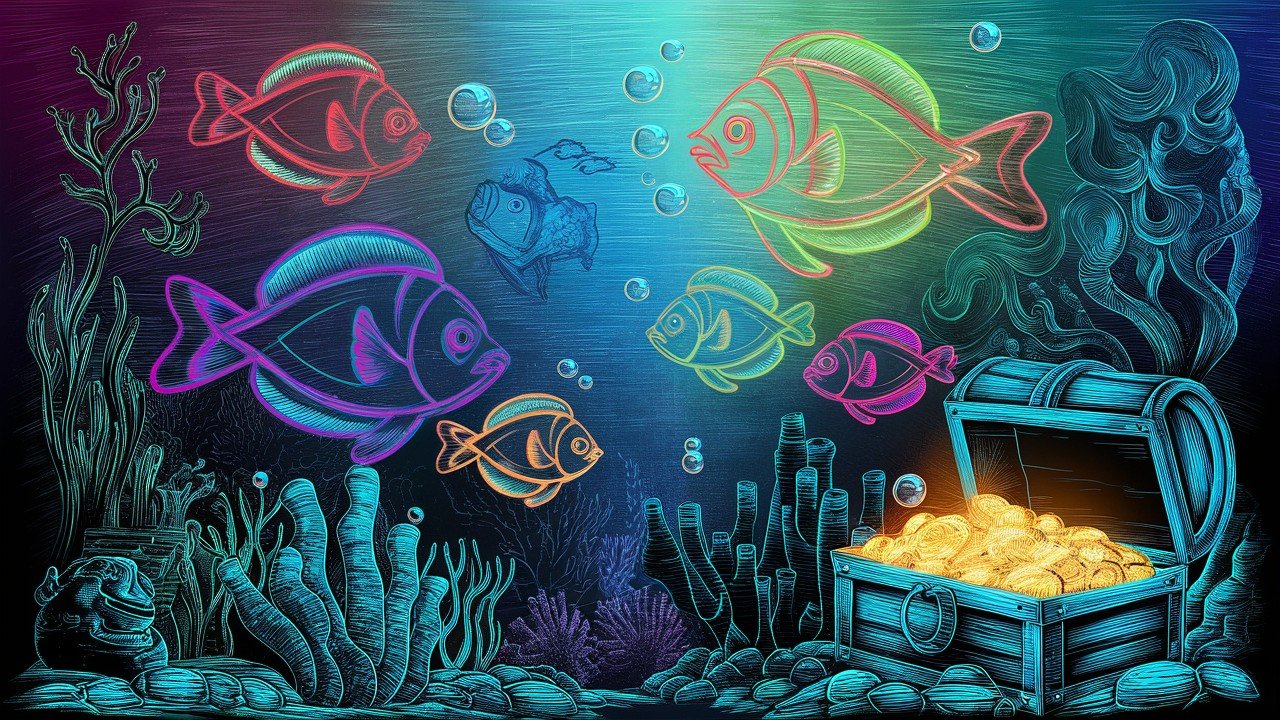
How to do it: Layer your design from bottom to top – scratch seaweed and coral at the bottom, swimming fish in the middle, and rising bubbles at the top.
Add exciting details like treasure chests and jellyfish with flowing tentacles.
4. Dinosaur Silhouettes
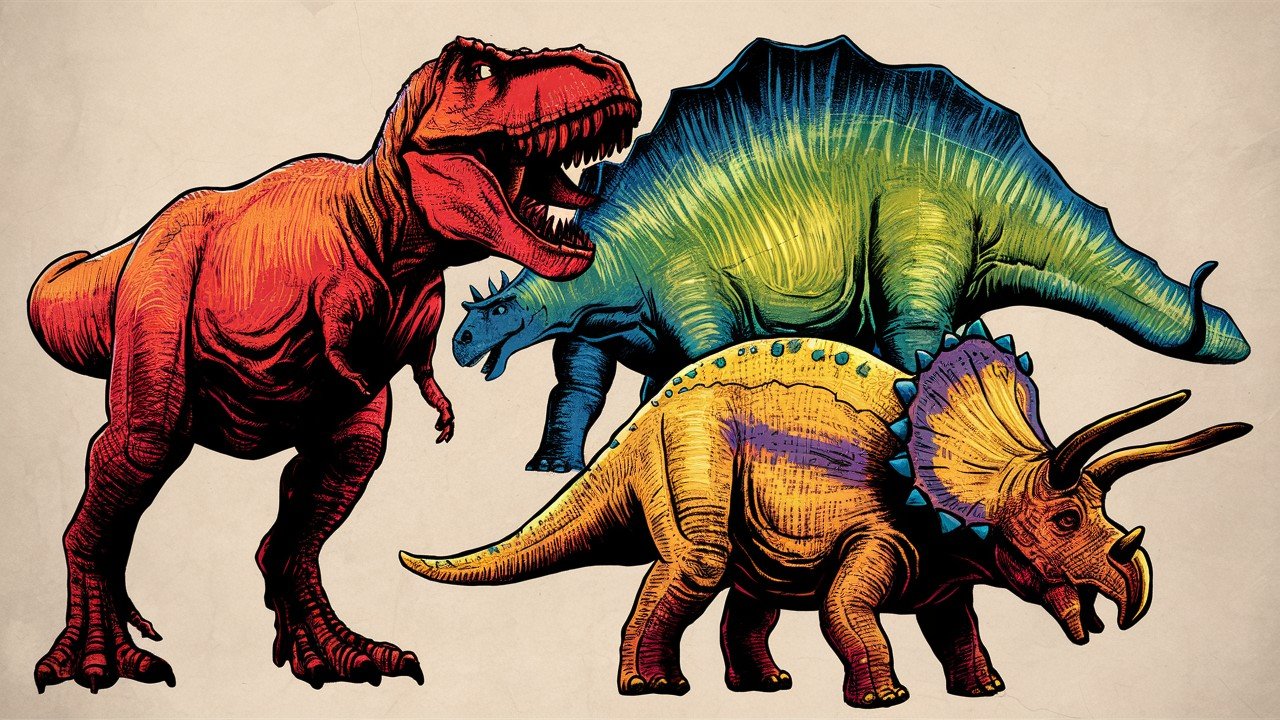
How to do it: Keep shapes simple and recognizable – T-Rex with tiny arms, long-necked Brontosaurus, or spiky Triceratops work best.
Add texture with different scratch patterns for dinosaur skin.
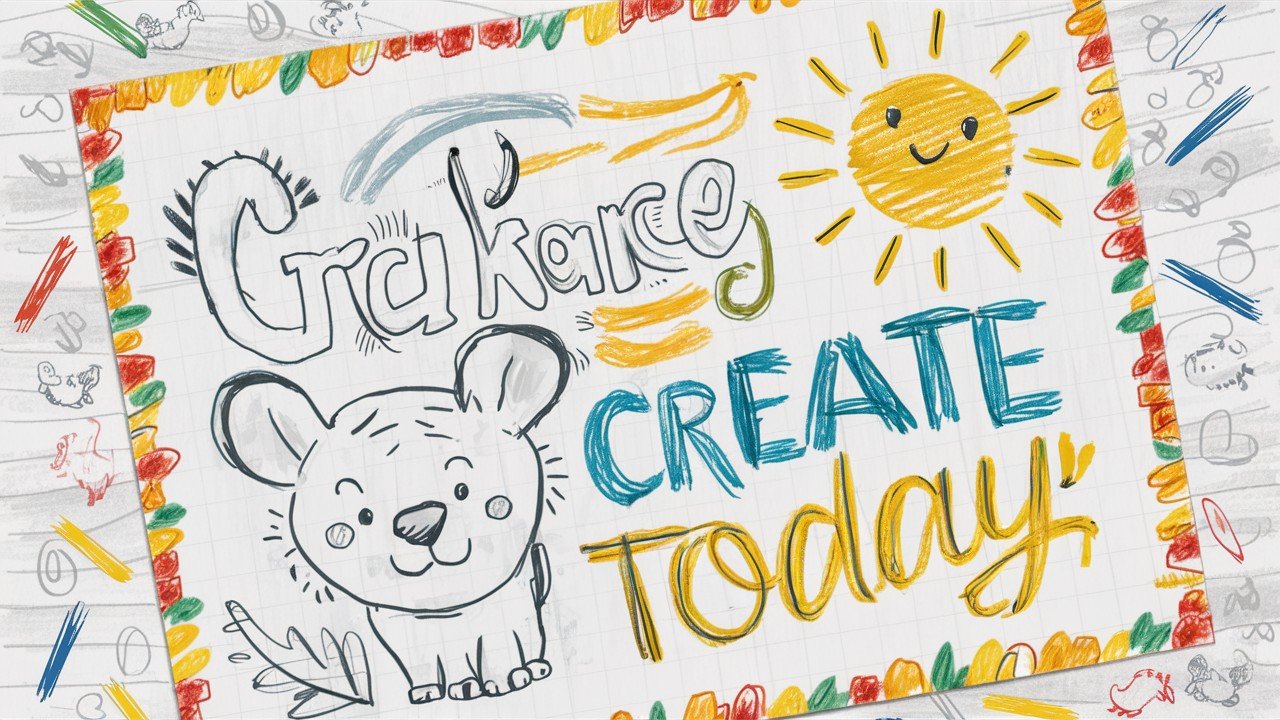
5. Fun Name Designs
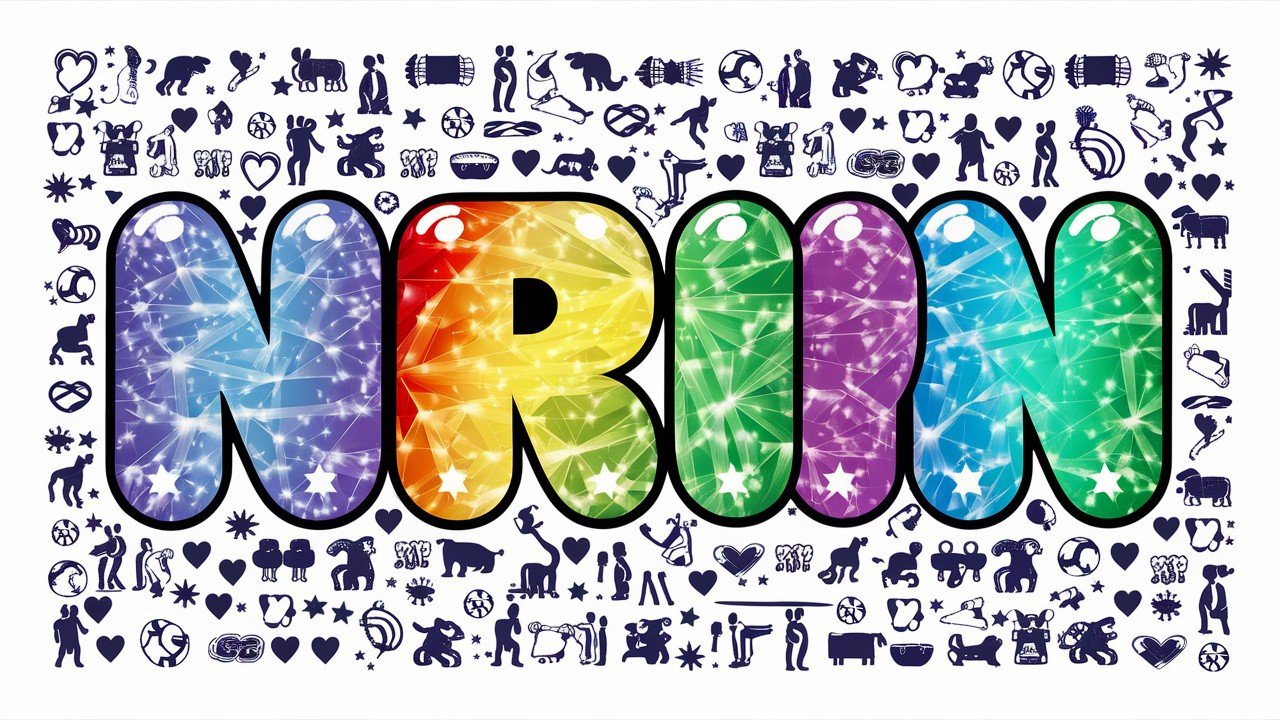
How to do it: Start with bubble letters or block letters, then fill them with patterns or rainbow colors. Surround names with favorite things like sports, animals, or hobbies.
Personal touches make art special.
6. Superhero Logos
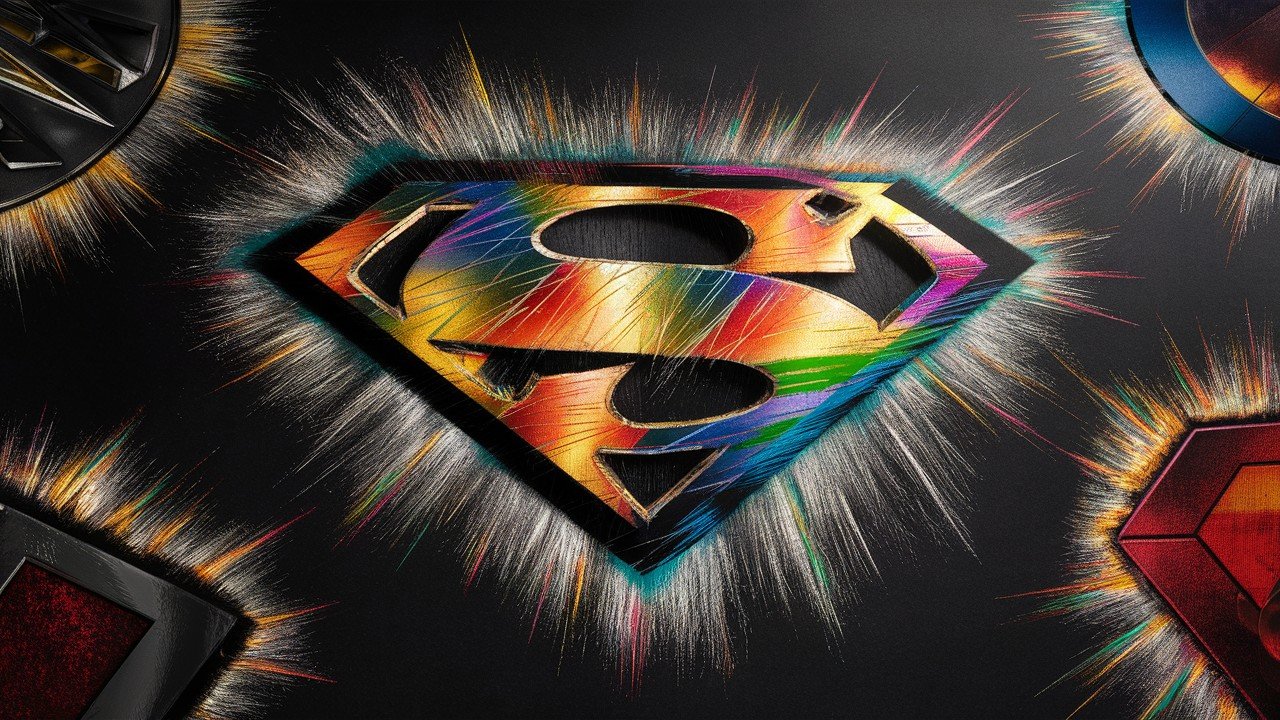
How to do it: Create simple superhero symbols like lightning bolts, stars, or shield shapes. Keep designs bold and easy to recognize.
Kids love creating their own superhero identities with unique logos.
7. Farm Animals
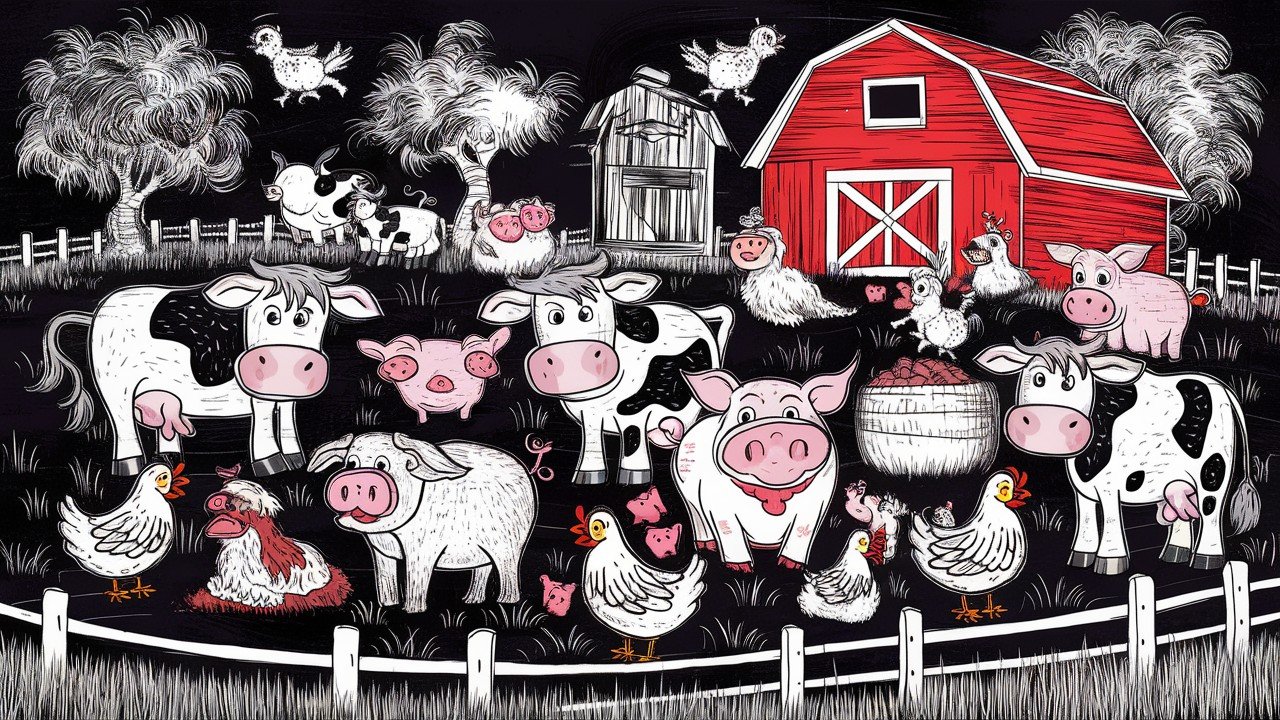
How to do it: Draw basic farm animal shapes like cows with spots, pigs with curly tails, or chickens with feathered textures.
Add barn backgrounds and fence details for complete farm scenes.
Scratch Art Ideas for Tweens & Teens
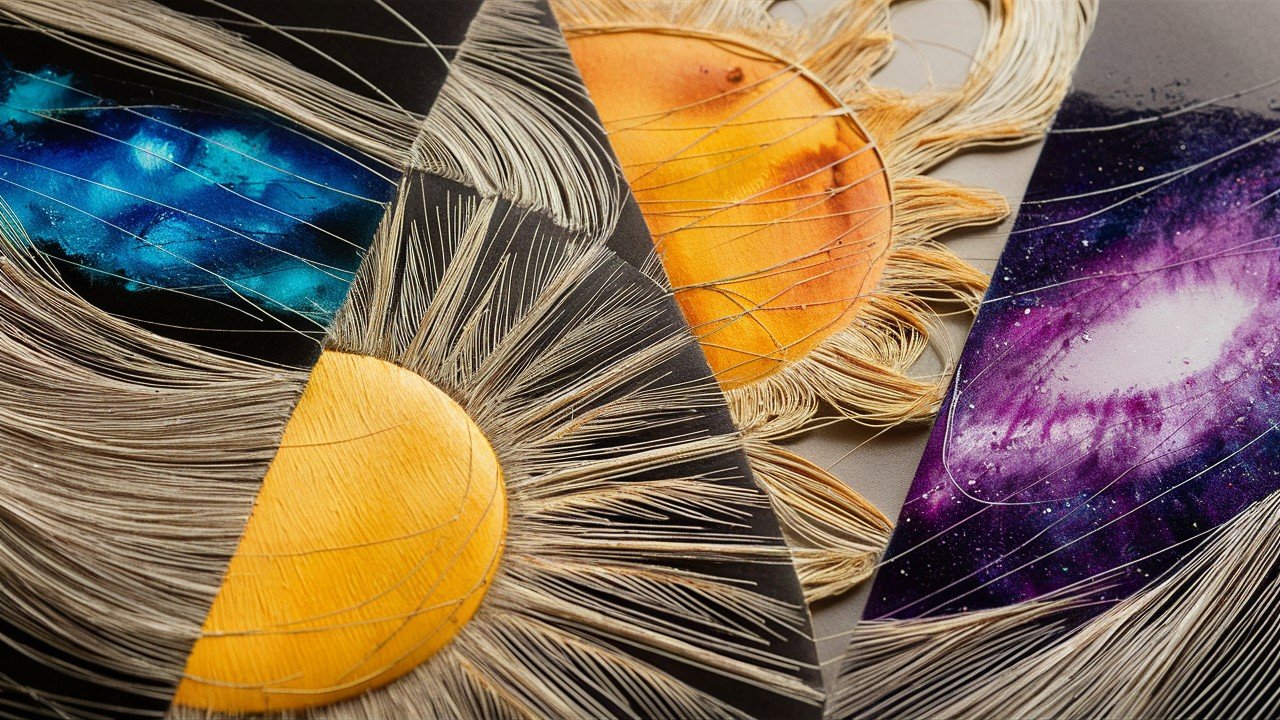
8. Galaxy-Themed Art
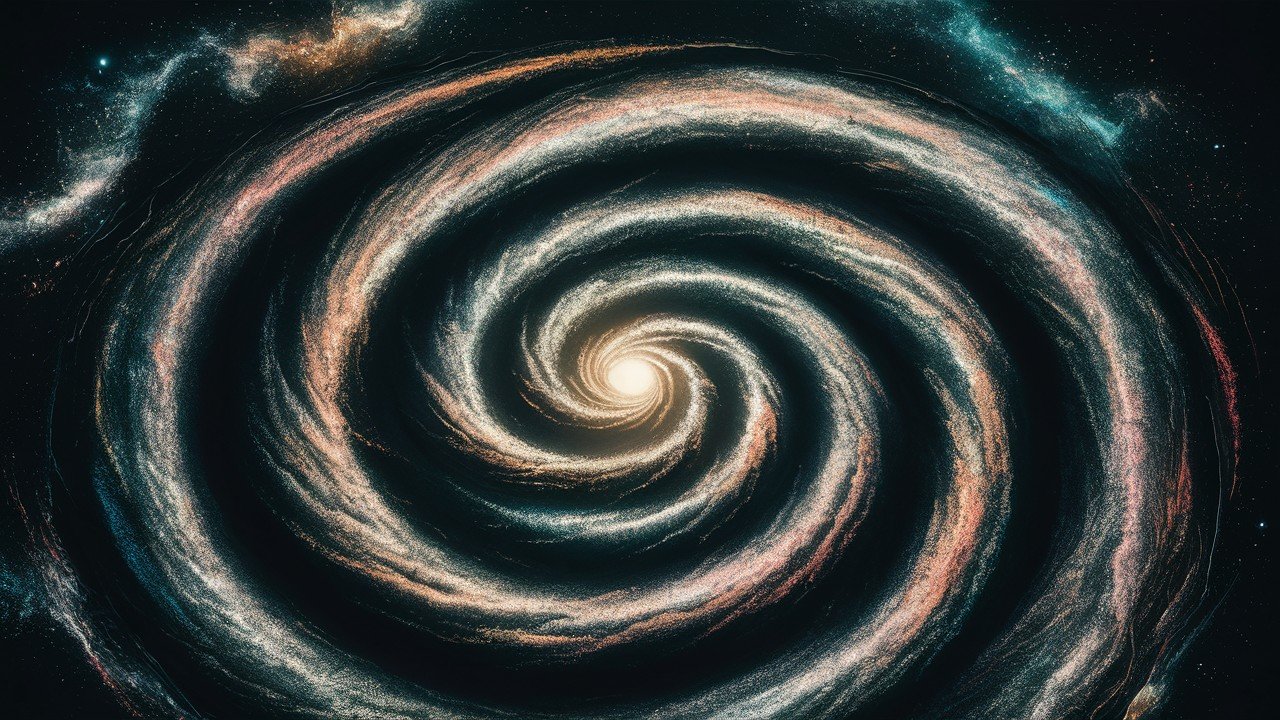
How to do it: Start with spiral arms from the center, then add star clusters and nebula clouds using circular motions. Finish with a bright center point.
Use purple and blue backgrounds with gold and white scratches.
9. Patterned Mandalas
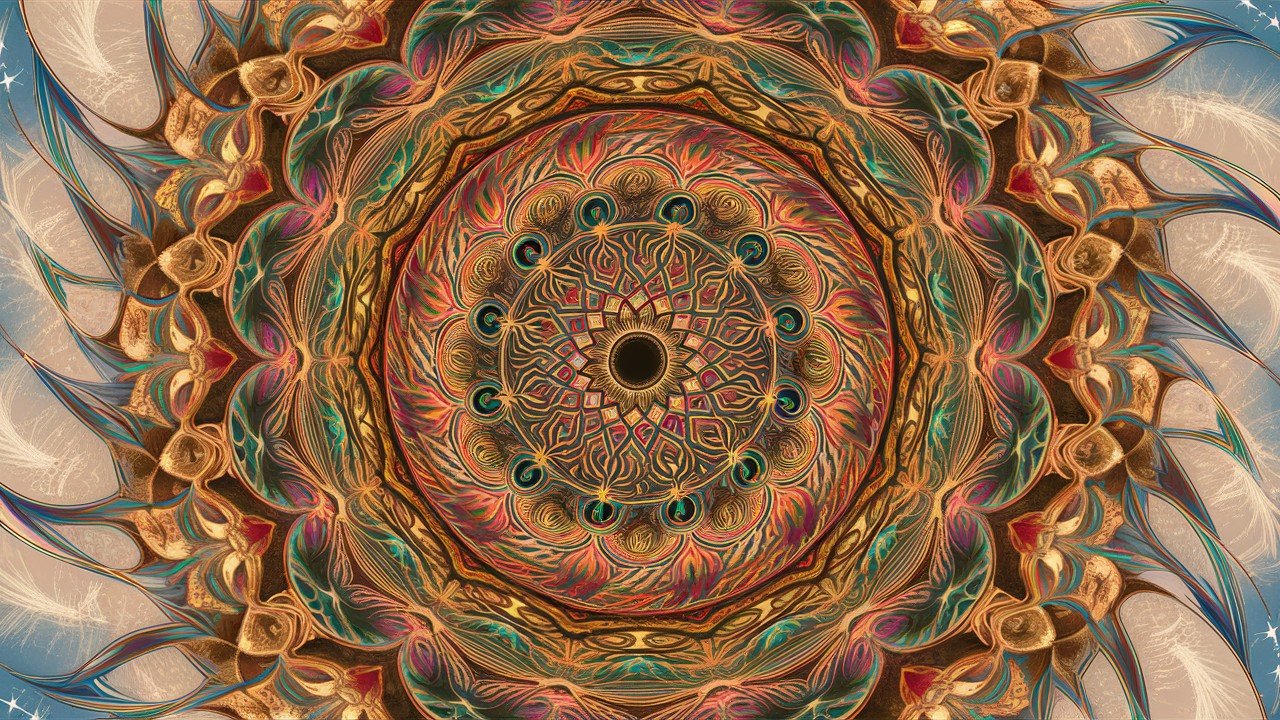
How to do it: Begin at the center point and work outward in expanding circles. Create repeating patterns like geometric shapes, flower petals, or abstract flowing designs in each ring.
Each ring should connect smoothly to the next.
10. Inspirational Quote Posters
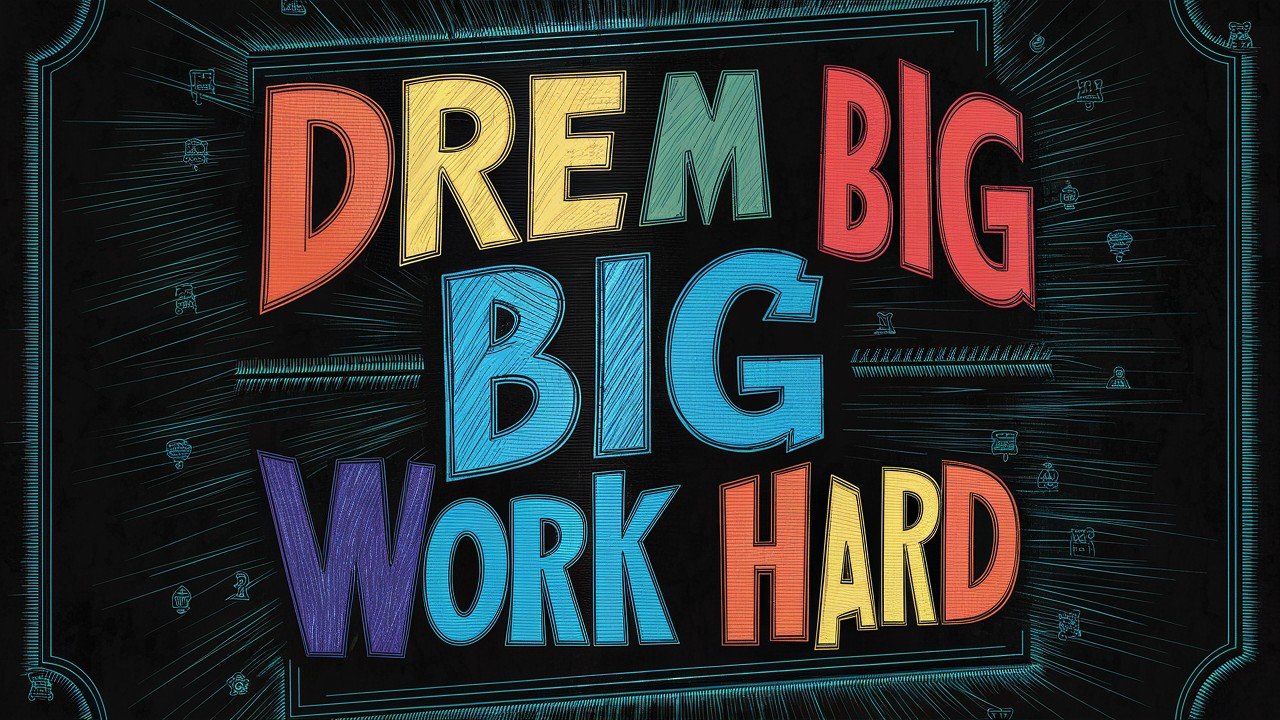
How to do it: Choose meaningful quotes like “Dream big, work hard” or “Be the change you wish to see.” Vary letter sizes for emphasis, add decorative borders, and include small illustrations around the text.
Use different fonts for visual contrast.
11. Optical Illusions
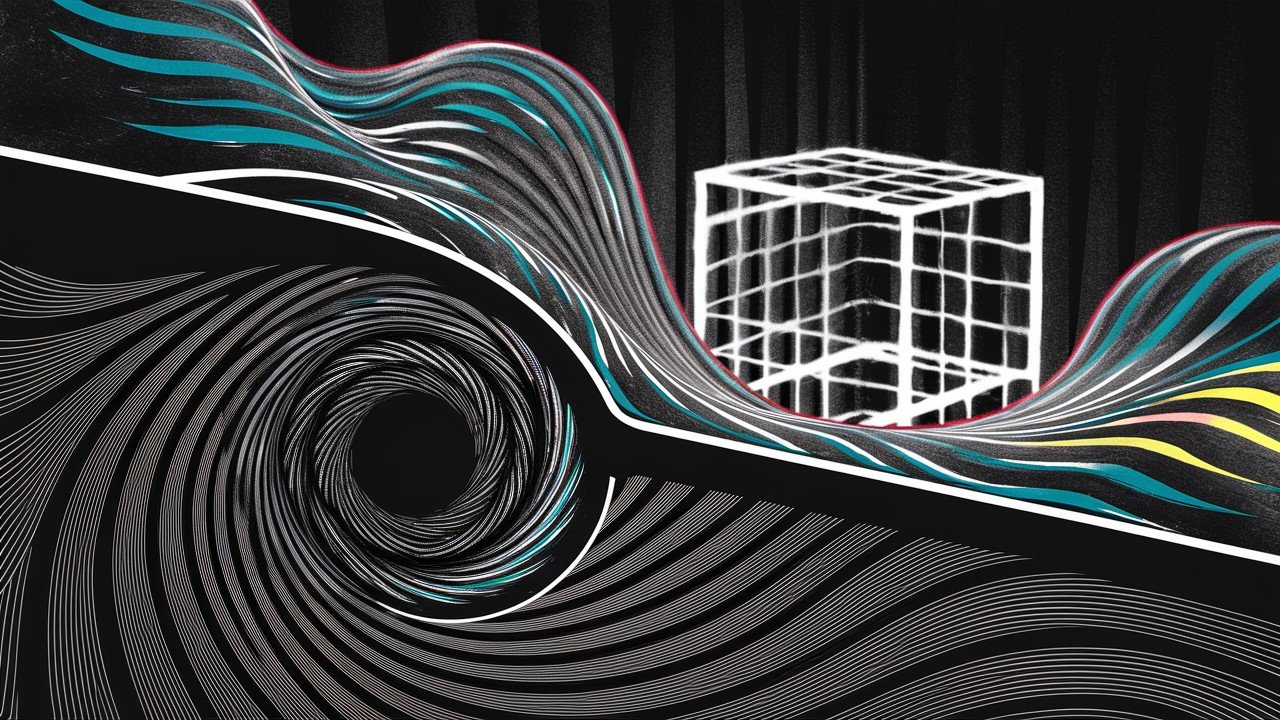
How to do it: Create consistent line spacing and careful shading for mind-bending effects. Try spiral tunnels that seem to move, impossible cube shapes, or wavy lines that appear to vibrate.
12. Fan Art (Anime, Movies, Games)
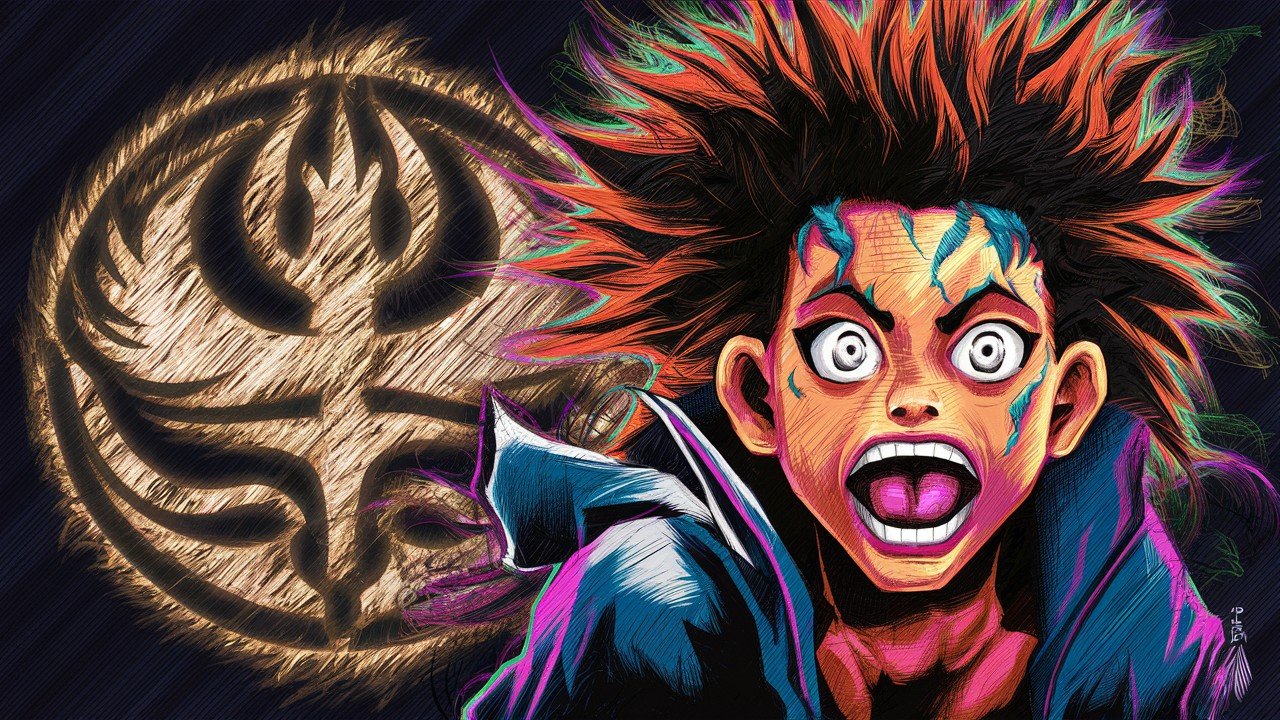
How to do it: Focus on inspired-by designs rather than exact copies to stay legal. Popular subjects include anime character faces, movie logo recreations, and video game symbols.
13. Dream Catchers
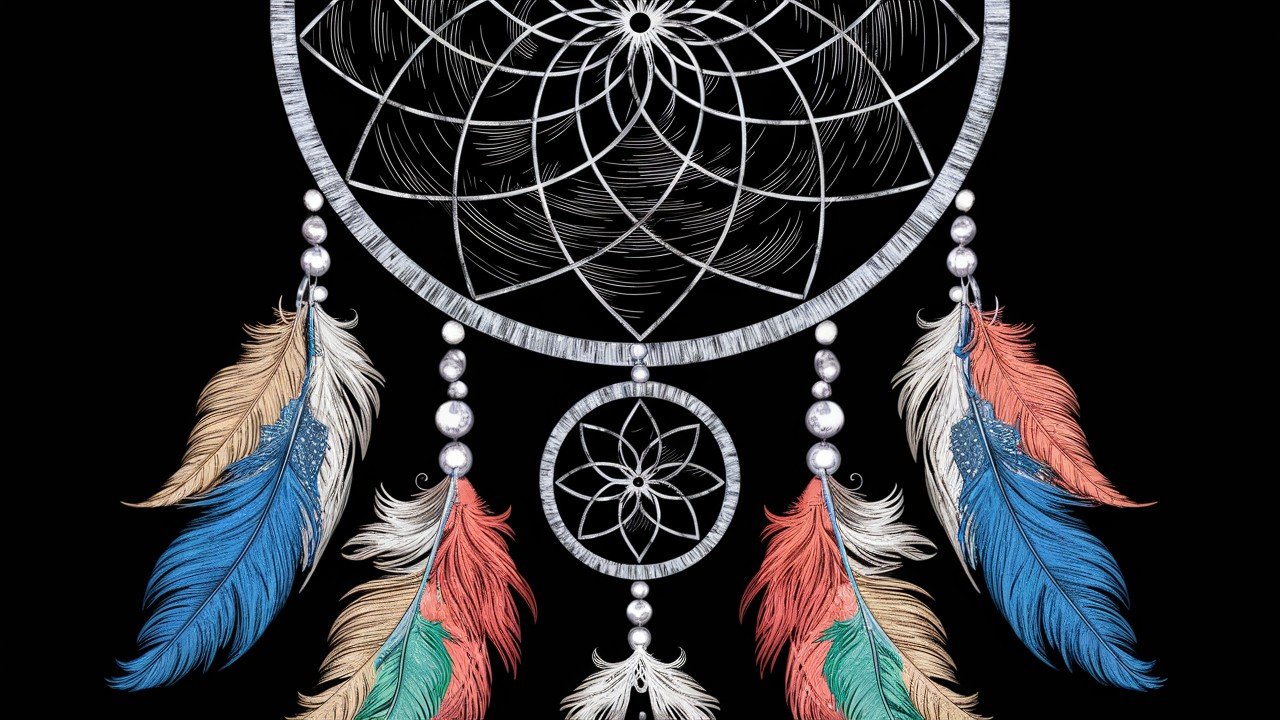
How to do it: Draw circular frames with intricate web patterns inside and feathers hanging below. Add beads and decorative elements throughout the design. Create your own protective symbols with personal meaning.
14. Music Note Compositions

How to do it: Arrange musical notes, treble clefs, and staff lines in flowing compositions. Add instruments like guitars or pianos around the notes. Perfect for music lovers who want to express their passion.
Scratch Art Ideas for Adults & Hobbyists
Adult scratch artists want sophisticated challenges. These projects require patience but deliver stunning results.
15. Botanical Illustrations
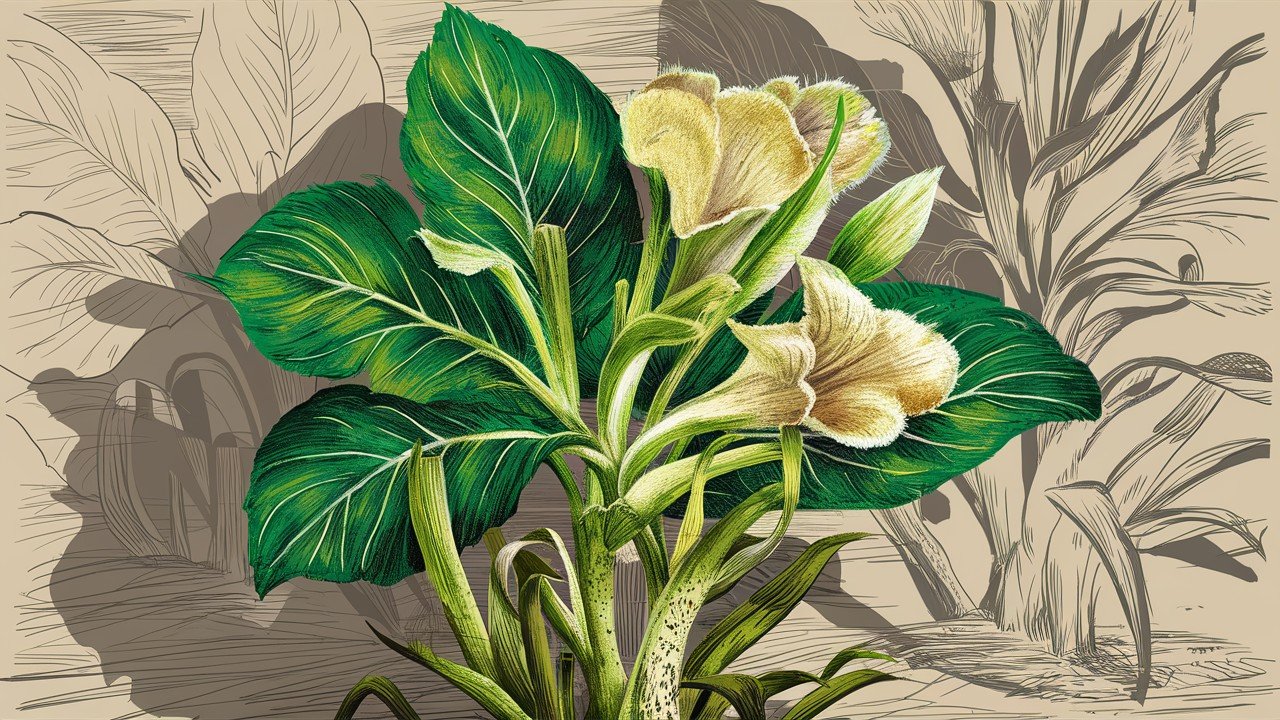
How to do it: Study real plants before starting and notice how light hits the leaves. Focus on detailed elements like leaf vein patterns, flower petal textures, stem thickness variations, and proper shadow placement.
Use different scratch pressures for varied line weights to create realistic depth. Nature provides abundant inspiration for advanced artwork.
16. City Skylines at Night

How to do it: Plan your composition with tallest buildings in back, medium heights in middle, and foreground details in front. Add life with lit windows in buildings, street lights below, car headlight trails, and moon or stars above.
Urban landscapes create dramatic silhouettes that look impressive.
17. Layered Geometric Designs

How to do it: Start with basic shapes like triangles, squares, and circles, then build complexity by overlapping shapes for depth and varying sizes for rhythm. Create negative space and add internal patterns while planning which areas stay dark and which get scratched. Geometry creates satisfying, professional-looking patterns.
18. Zen Doodle or Zentangle-Inspired Art

How to do it: Let your hand flow naturally with repetitive line work, organic flowing shapes, grid-based designs, and nature-inspired motifs. The process matters more than perfection, so focus on meditative, calming movements. This style of art helps calm the mind while creating beautiful results.
19. Abstract Expression Art
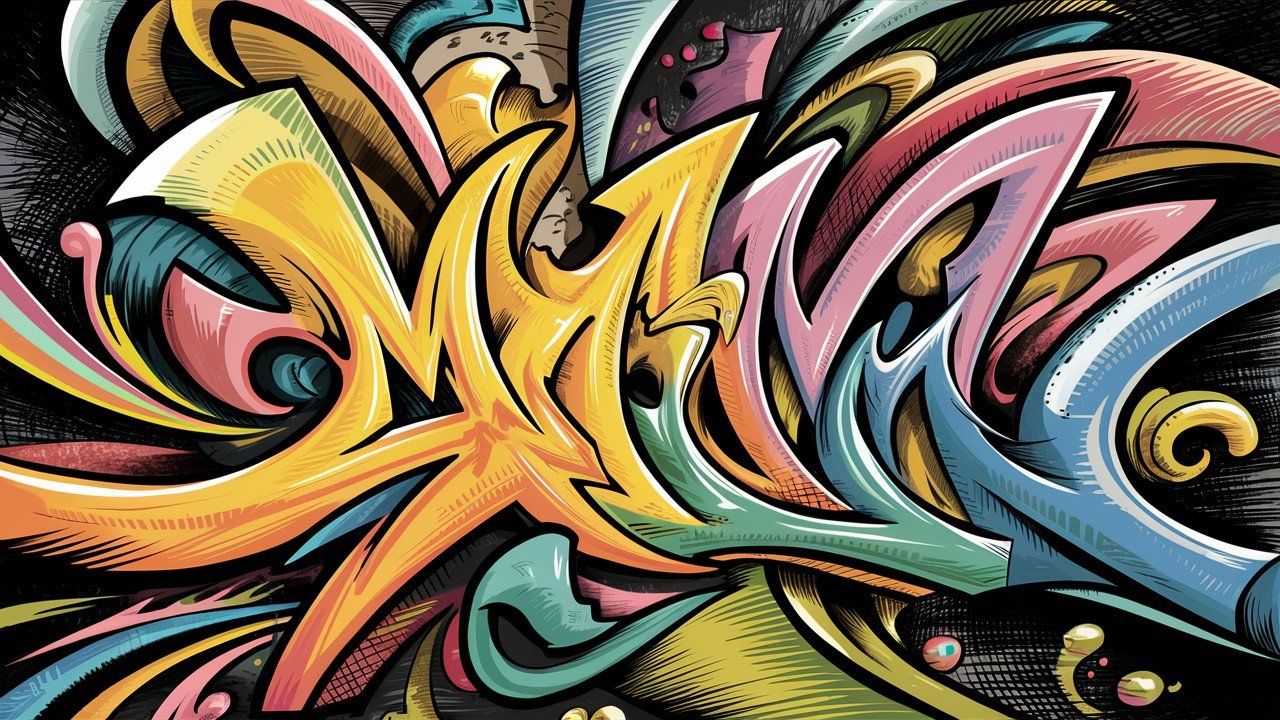
How to do it: Let your emotions guide the scratching without planning specific shapes. Create flowing lines, swirling patterns, bold geometric intersections, and layered textures that represent feelings or moods. Focus on movement and energy rather than recognizable objects. This freestyle approach helps develop artistic confidence and personal expression.
20. Pet Portrait Silhouettes
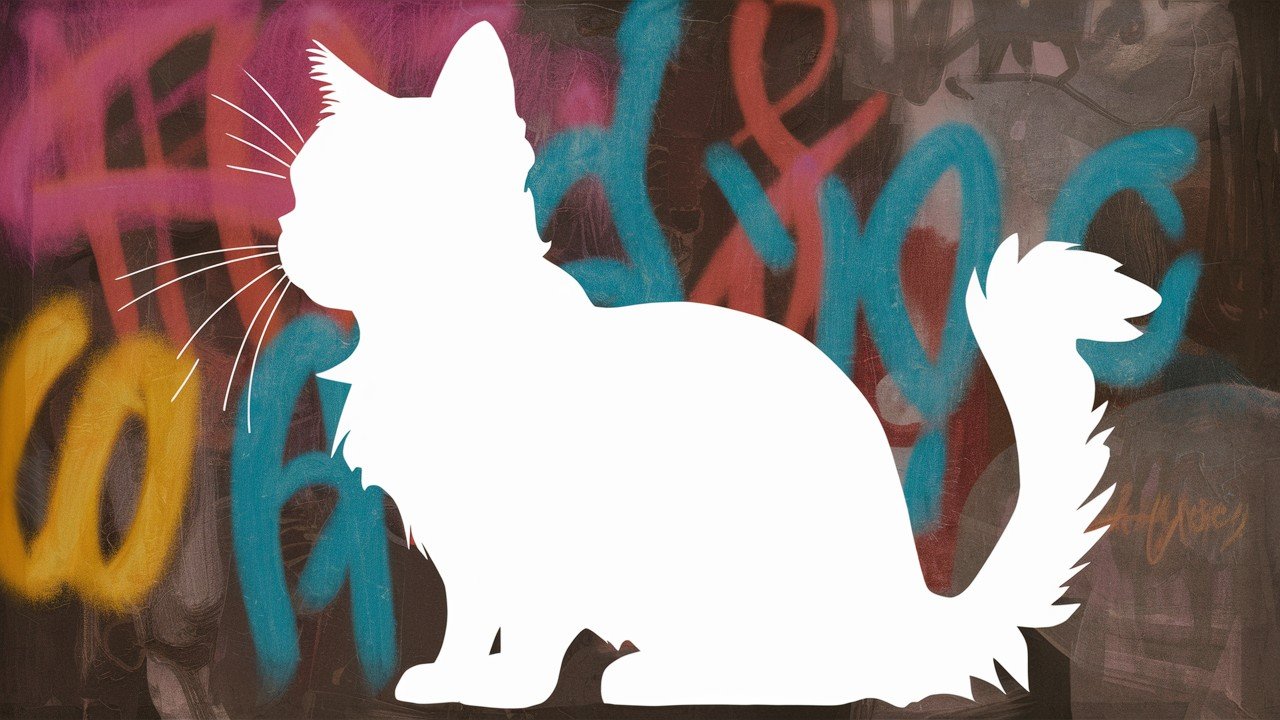
How to do it: Start with a clear side-view photo of your pet, then trace the basic outline and add distinctive features like floppy ears, curly tails, or unique markings. Capture personality through body language and characteristic poses your pet loves. Simple silhouettes work better than detailed features for this technique.
Themed Scratch Art Projects
Themed projects give you direction and purpose. They’re perfect for gifts or seasonal decorations.
21. Seasonal Projects
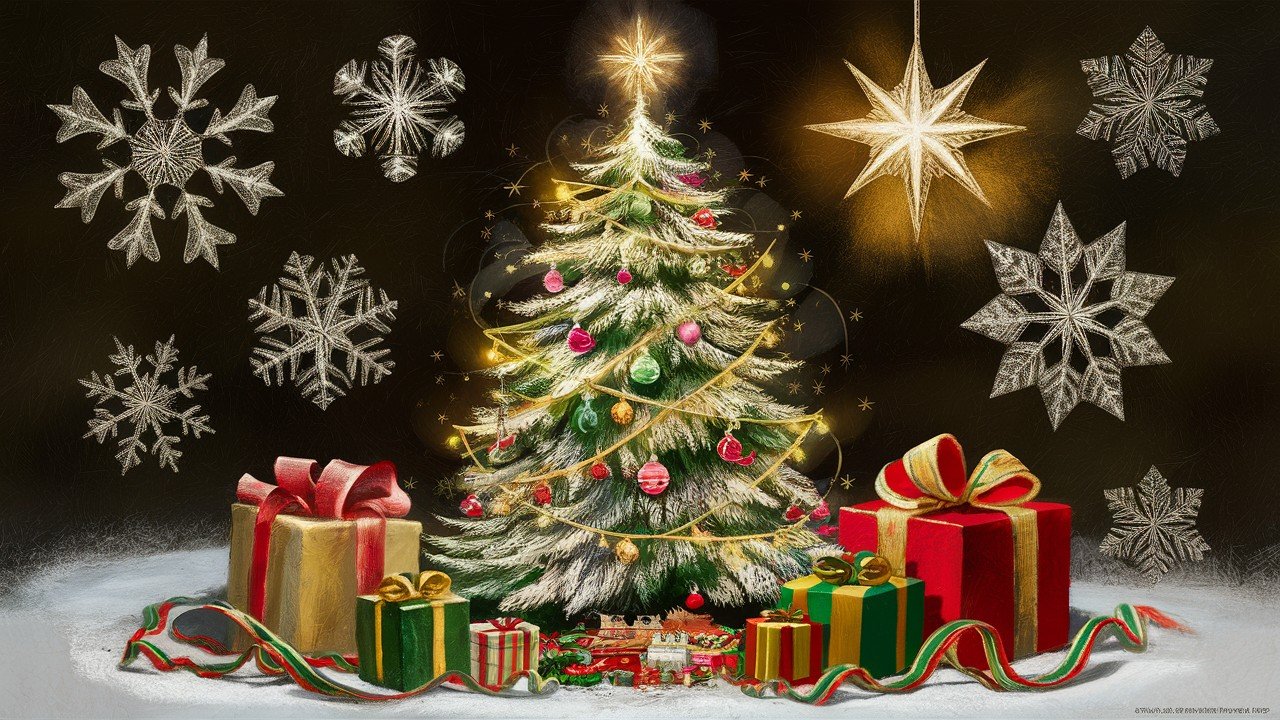
How to do it: For Halloween, create spooky pumpkin faces with triangular eyes and jagged mouths, bare tree branches with twisted limbs, flying bat silhouettes, and haunted house windows with eerie glows. For Christmas, scratch evergreen tree shapes with layered branches, intricate snowflake patterns, present box designs with ribbons, and the bright Star of Bethlehem.
Spring themes work well with blooming flower gardens, baby animal scenes, rainbows after storms, and fresh green landscapes.
22. Holiday Cards & Tags

How to do it: Create birthday wish designs with balloons and confetti, thank you note art with hearts and flowers, get well messages with sunshine and smiles, or congratulations themes with stars and celebration elements.
These handmade cards show you care more than store-bought options. Use scratch art for gift wrapping accents, bookmark designs, plant markers, or luggage tags too.
23. Birthday Party Activity

How to do it: Set up with pre-cut paper sizes, provide various scratching tools, ensure good lighting, and prepare simple templates for younger children. Create a group project where everyone contributes to one large mural for maximum fun. Scratch art makes excellent party entertainment that keeps kids engaged and creative.
24. Art Journal Pages
How to do it: Document your artistic journey with daily mood scratches, memory illustrations, quote collections, and technique practice pages. Mixed media works beautifully when you combine scratch art with drawings and writing. This approach helps track your progress and creative development over time.
25. Food Art Designs
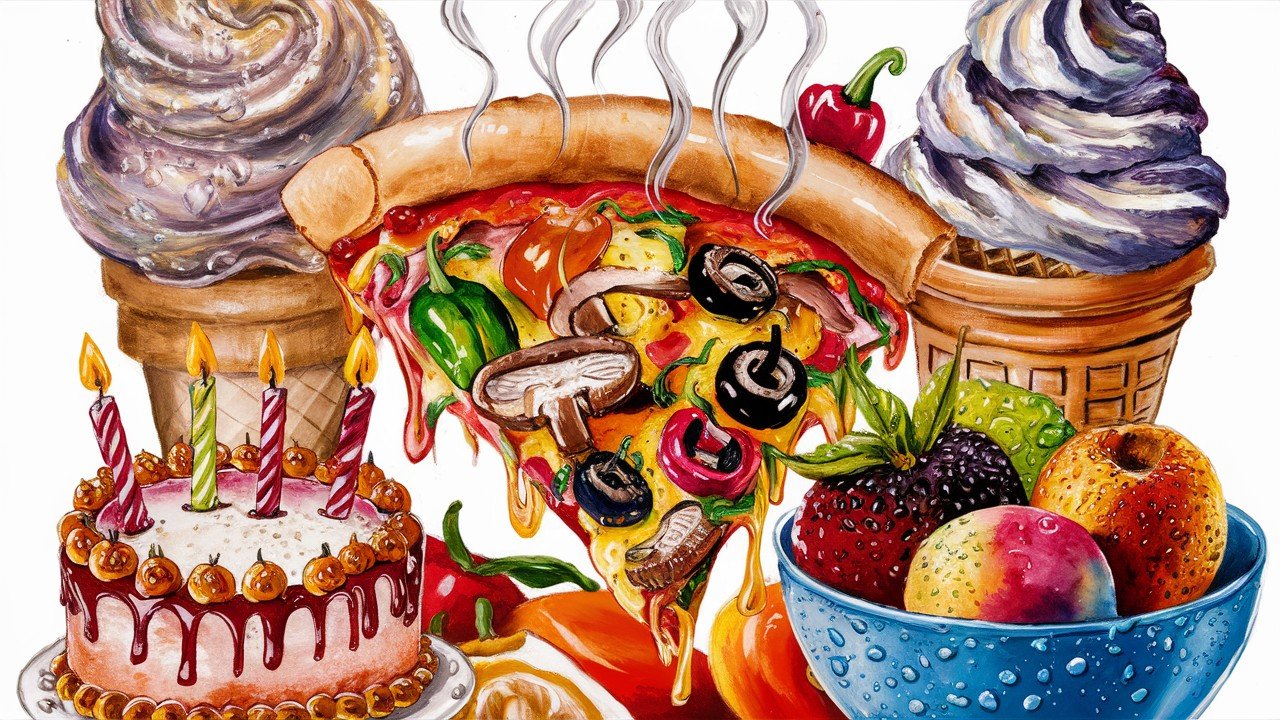
How to do it: Create appetizing designs of favorite foods like pizza slices with detailed toppings, ice cream cones with swirled patterns, birthday cakes with candles and decorations, or fruit bowls with varied textures. Add fun details like steam rising from hot foods or water droplets on fresh fruit. Food themes work great for kitchen decoration or restaurant art.
26. Sports Team Logos
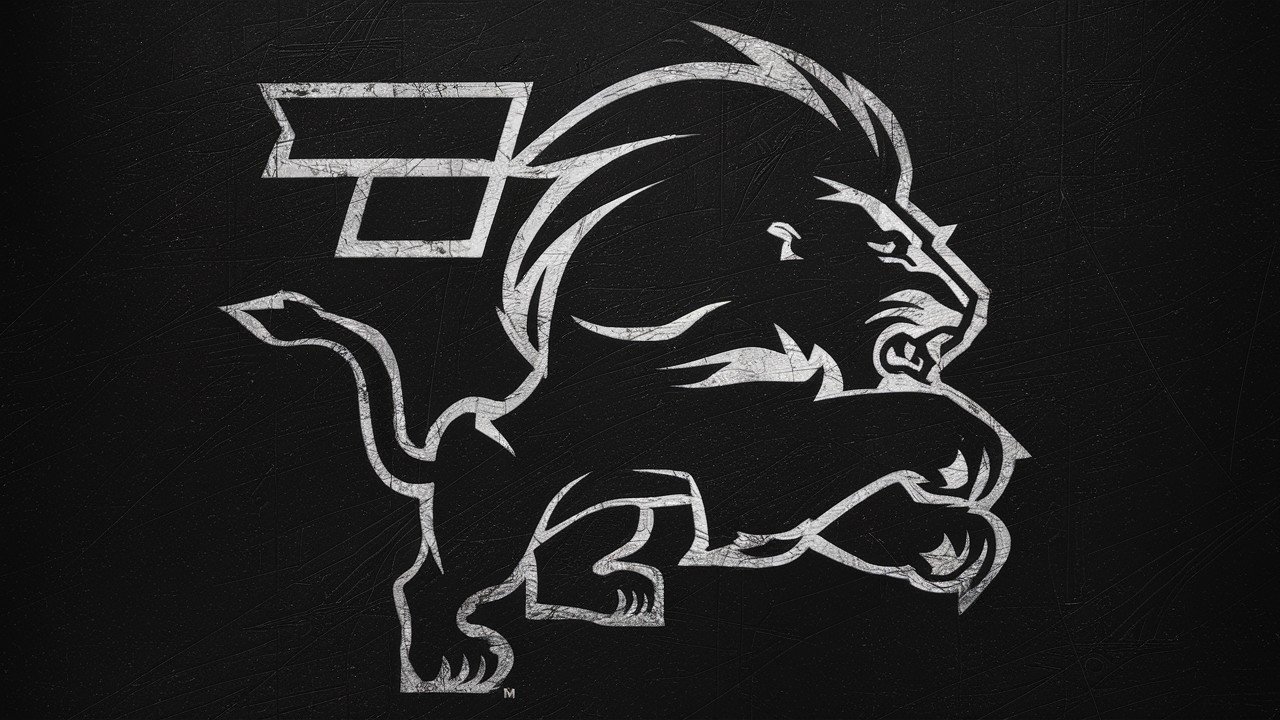
How to do it: Research your favorite team’s logo and simplify complex elements into scratchable shapes. Focus on bold lines, distinctive symbols, and team colors that show through the black coating. Keep designs recognizable but avoid tiny details that won’t scratch clearly. This makes perfect gifts for sports fans and team spirit displays.
Tips for Better Scratch Art Results
Small changes make big differences in your final artwork.
- Tool pressure matters. Light scratches create fine lines. Heavy pressure removes more surface.
- Plan before you scratch. Sketch your design lightly first.
- Work in a good light. You need to see color contrasts clearly.
- Keep tools clean. Wax buildup makes lines muddy.
- Practice line variety. Combine thick and thin scratches for visual interest.
- Save dark areas. Not everything needs to be scratched away.
Creative Twists on Scratch Art
Traditional scratch art is just the beginning. These variations add new dimensions to your creativity.
27. Combine with Watercolors or Pastels
How to do it: Complete your scratch art first, then add color washes over selected areas using watercolors or pastels. The scratched lines show through colored layers, creating amazing depth effects. Try blue watercolor over night scenes, yellow pastels over sun designs, or purple washes over galaxy art for stunning results.
28. Scratch Art Bookmarks
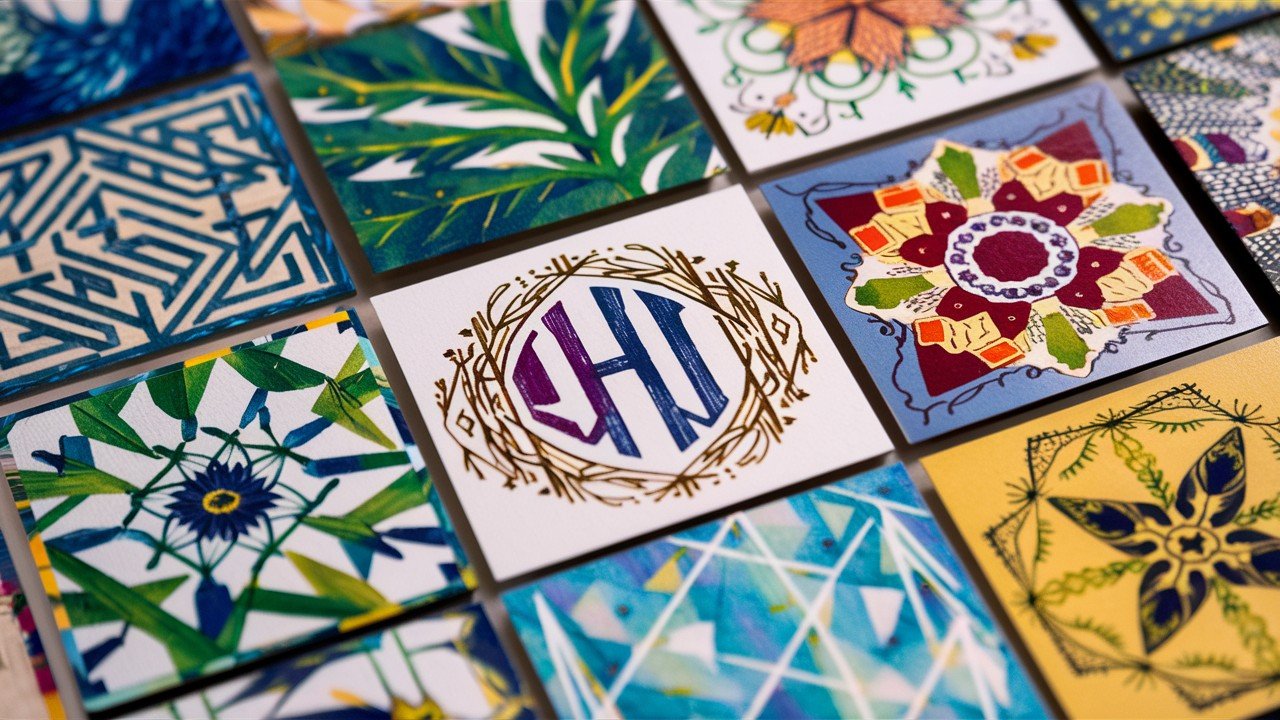
How to do it: Work on bookmark-sized pieces (2×6 inches) with detailed designs like literary quotes, nature patterns, geometric designs, or personal monograms. This perfect size allows for intricate work without overwhelming projects. Finish with lamination to protect your artwork and make it durable for daily use.
29. Layered Scratch Art Collages
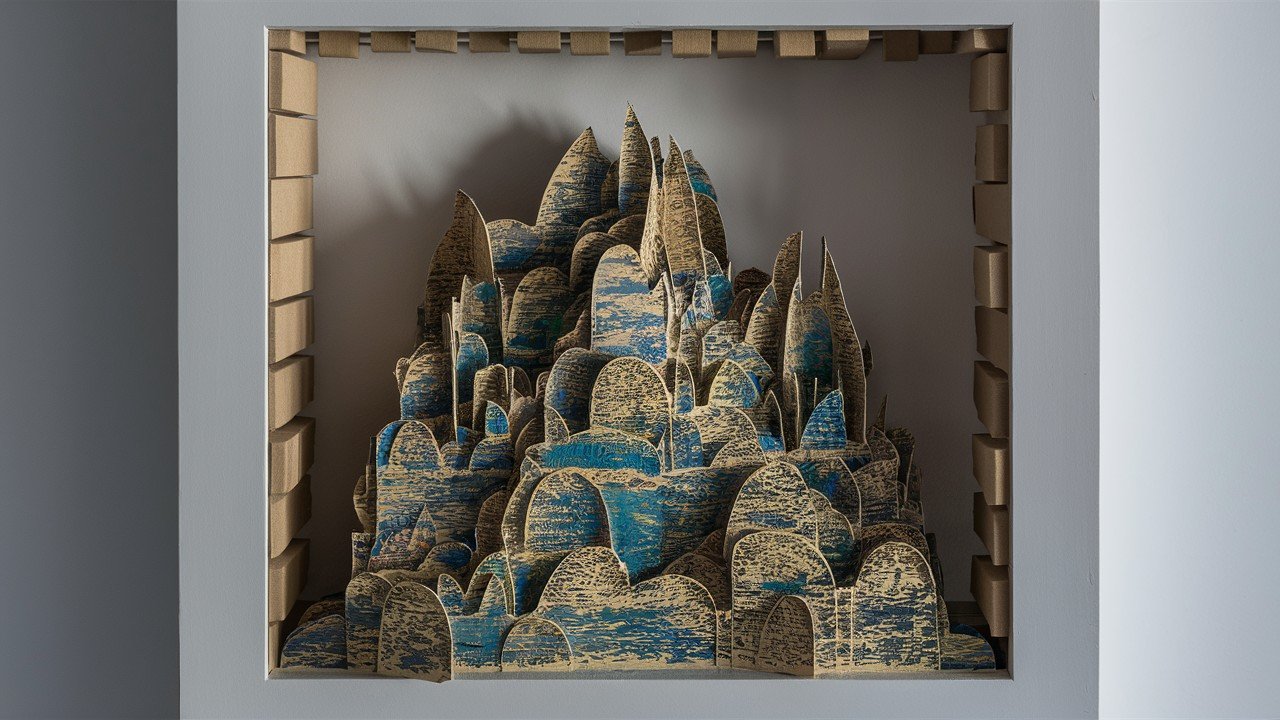
How to do it: Cut finished scratch art pieces into various shapes, then layer them at different heights using foam mounting tape or cardboard spacers. Shadow box frames work perfectly for 3D presentations that create impressive depth. This technique transforms flat artwork into dimensional masterpieces.
30. 3D Scratch Art Sculpture Ideas
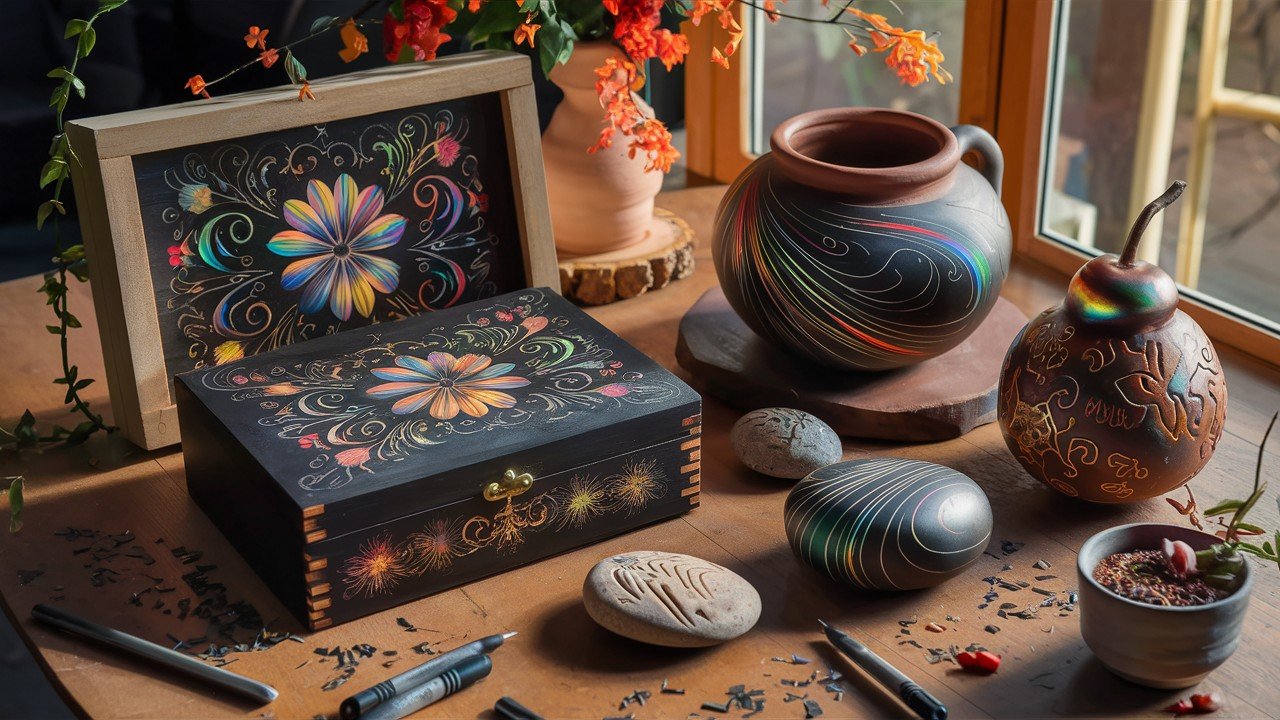
How to do it: Move beyond flat surfaces by scratching on wooden boxes, clay vessels, gourd surfaces, or smooth stone shapes. Tools may vary depending on your chosen surface, but the basic scratching technique remains the same. This approach creates unique decorative objects that stand out from traditional flat artwork.
31. Texture Study Projects
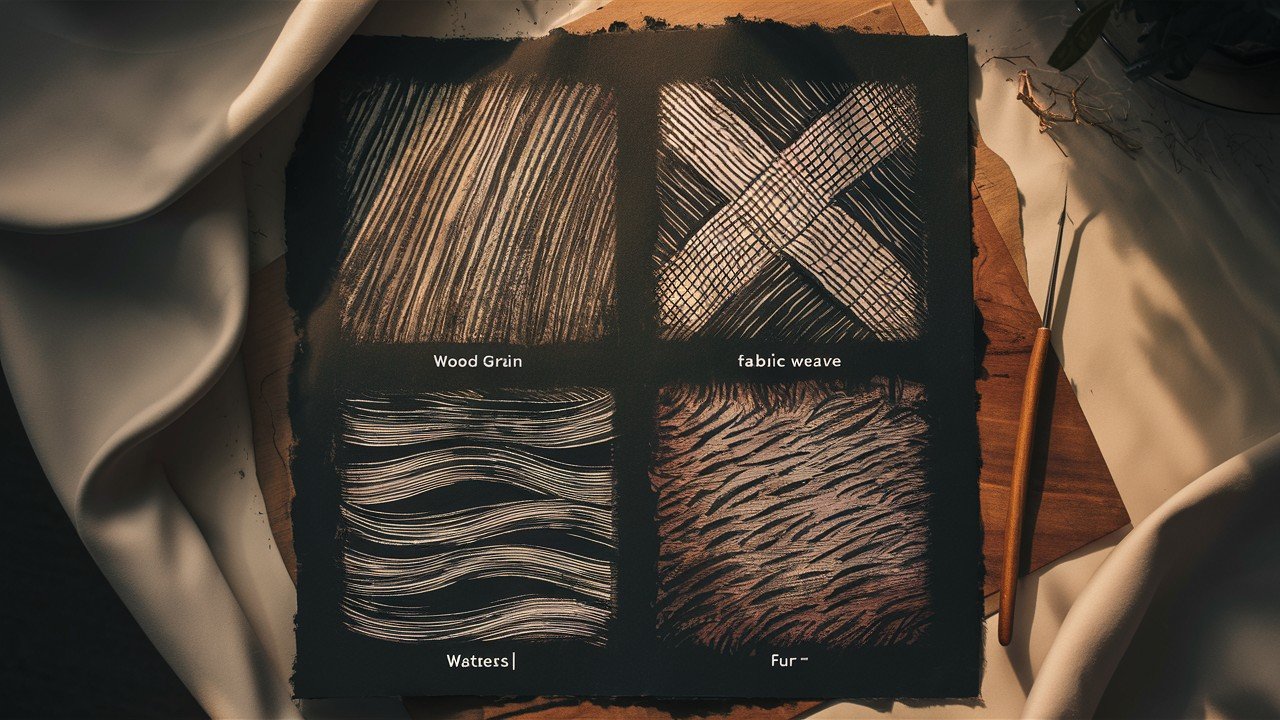
How to do it: Practice different scratching techniques to create various textures like wood grain with parallel lines, fabric weaves with crosshatched patterns, water ripples with curved waves, or fur textures with short directional strokes. Master these fundamental textures to improve all your future scratch art projects. This foundational practice develops technical skills and artistic confidence.
32. Musical Instrument Art
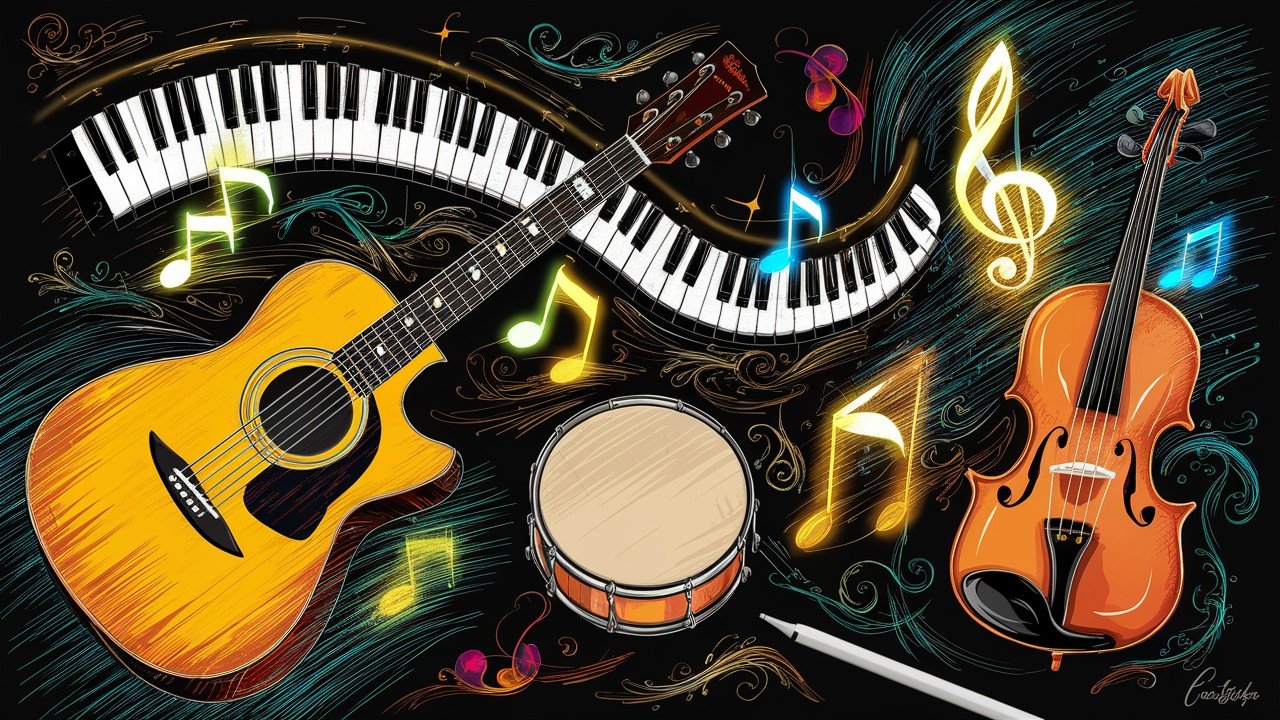
How to do it: Draw musical instruments like guitars with detailed strings and sound holes, piano keyboards with black and white key patterns, drums with circular designs, or violins with elegant curved bodies. Add musical notes floating around instruments for extra visual interest. These designs appeal to music lovers and make great gifts for musicians.
Scratch Art for Mindfulness & Therapy
Art heals. Scratch art offers unique therapeutic benefits. The repetitive motion calms anxious minds. Focus shifts from worries to creative flow.
Therapeutic benefits:
- Reduces stress levels
- Improves concentration
- Builds confidence
- Processes emotions
For therapy settings:
- Choose calming subjects
- Avoid time pressure
- Focus on process over product
- Encourage personal expression
The scratching sound itself can be meditative. Many artists find it deeply relaxing.
Conclusion
You now have multiple scratch art ideas at your fingertips. No more staring at blank paper wondering what to create. Start with one project today. Pick something that excites you. Maybe it’s a galaxy design for your teen or a simple animal for your child.
Remember this: Every artist started somewhere. Your first scratch art won’t be perfect. That’s normal.
The real magic happens when you stop worrying about mistakes and start enjoying the process. These ideas solve your creative block. You have projects for every age, skill level, and occasion. Birthday parties, rainy day activities, personal relaxation time – it’s all covered.
Your next scratch art masterpiece is waiting. Which idea will you try first?
The only way to improve is to start scratching.
Frequently Asked Questions
What’s the difference between scratch art paper and regular paper?
Scratch art paper has a waxy colored base covered with black coating. Regular paper doesn’t have these special layers, so you can’t create the same colorful reveal effect.
Can I make scratch art without buying special tools?
Yes, you can use household items. Toothpicks, paperclips, or even your fingernails work for scratching. The key is finding something with a pointed tip that won’t tear the paper.
Why does my scratch art look dull instead of bright?
You’re probably not pressing hard enough when scratching. Apply firm, consistent pressure to remove the black layer completely and reveal the bright colors underneath.
How do I prevent my finished scratch art from smudging?
Handle your artwork by the edges only and avoid touching scratched areas. Store flat between sheets of paper or frame immediately to protect the surface from oils and dirt.
What should I do if I scratch too much in one area?
Turn mistakes into design features. Add patterns, textures, or decorative elements to over-scratched areas. Sometimes “mistakes” create the most interesting parts of your artwork.