

I wasn't a confident artist when I first tried a Rosa Parks drawing. I just wanted to do something meaningful, not just pretty.
Rosa Parks changed history with one decision, and I thought drawing her was the least I could do to honor that.
What surprised me was how approachable it turned out to be. If you've never tried portrait drawing before, this is the perfect place to start.
Stick with me because the steps are simpler than you think, and the result is something worth showing off.
Why Learn Rosa Parks Drawing?

Drawing Rosa Parks isn't just an art activity. It's a way to connect with history on a personal level. You remember what you create far longer than what you just read.
This kind of project is perfect for school assignments, Black History Month, or just personal practice. It gives beginner artists a real purpose behind their sketching.
Portrait drawing builds some of the most important art skills you can have. Things like proportions, facial features, and line control all come into play here.
The best part is that you don't need to be good at art to start. Simple shapes and steady practice are all it takes to build real confidence.
Materials You Need for Rosa Parks Drawing

You don't need expensive supplies to get started. A few basic tools are more than enough to create a solid beginner drawing.
- Pencil (HB or 2B recommended)
- Eraser
- Sharpener
- Drawing paper
- Black pen or marker (optional, for outlining)
- Colored pencils or crayons (optional, for finishing)
Once you have these ready, you're all set. Keep your workspace clean and your pencil sharp before you begin each step.
Step-by-Step Rosa Parks Drawing (Beginner-Friendly)
Don't rush through this. Take each step slowly and lightly. It's much easier to build up detail than to fix heavy mistakes later.
Step 1: Draw the Basic Face Outline

Start with a simple oval shape in the center of your paper. This will be the base of the entire face, so place it with enough space around it.
Keep the oval slightly narrower at the bottom to mimic the shape of a real face. Don't press too hard at this stage.
Light lines are your best friend right now. You'll refine the shape later, so getting it roughly right is all that matters here.
Step 2: Add Guidelines for Facial Features

Draw a soft vertical line down the center of the oval. Then add a horizontal line across the middle. These lines help you place the eyes, nose, and mouth in the right spots.
Add another horizontal line halfway between the center line and the chin. That's where the nose will go. One more line between that and the chin marks the mouth area.
These are just guides. They'll be erased later, so keep them very light and faint.
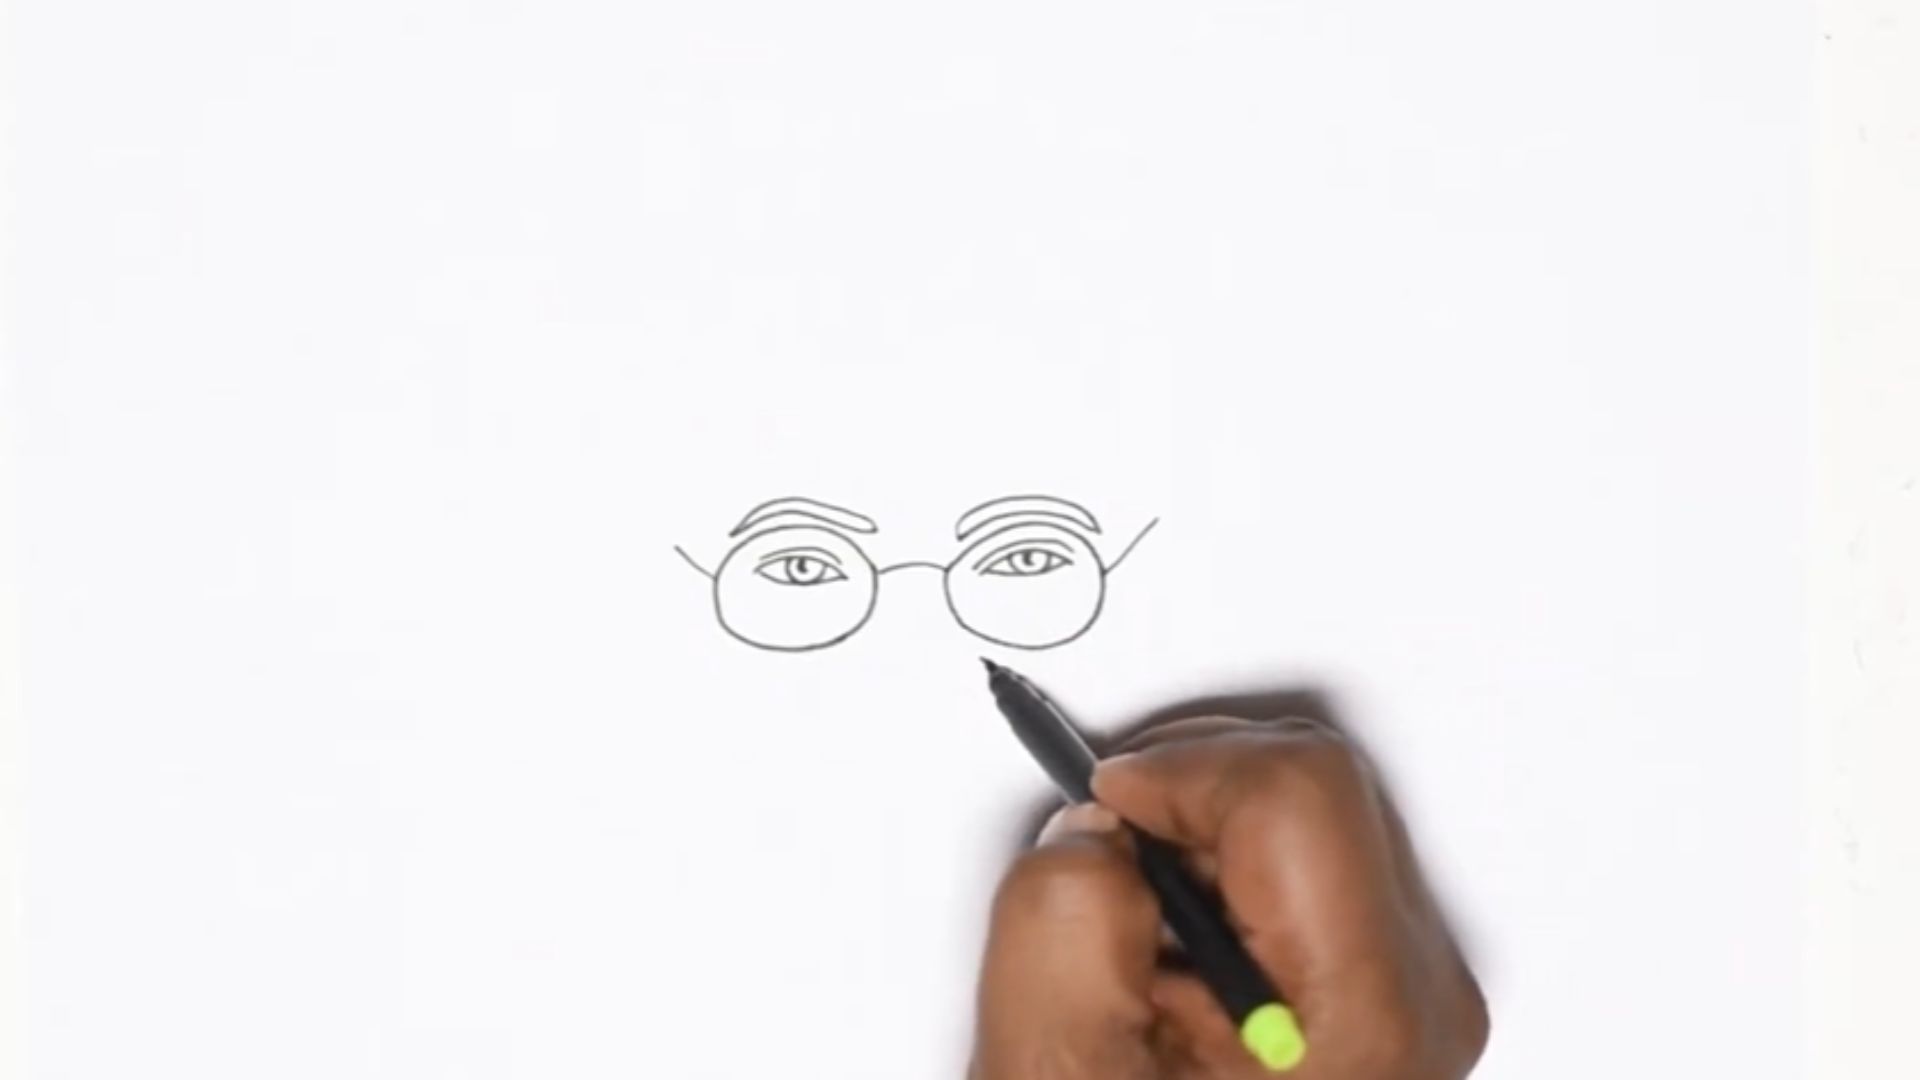
Step 3: Sketch the Eyes

Place the eyes along the middle horizontal line, one on each side of the vertical center line. Keep them about one eye-width apart.
Draw simple almond shapes for the eyes. Add a small circle inside each for the iris, and a smaller dot for the pupil.
Rosa Parks had a calm, steady gaze. Aim for a relaxed, natural look rather than wide or dramatic eyes.
Step 4: Draw the Nose Structure
The nose sits right around that lower guideline you drew in Step 2. Keep it minimal and soft.
Use a gentle curved line for the bridge and two small curves at the base for the nostrils. Less detail works better here than too much.
Avoid heavy lines for the nose. Light shading later will define it much better than bold outlines.
Step 5: Outline the Lips

The lips go just above the chin guideline. Start with a shallow M-shape for the top lip and a fuller curve for the bottom.
Keep the expression calm and neutral. Rosa Parks is often remembered for her composed, dignified presence and your drawing should reflect that.
Don't make the mouth too wide or too small. Line it up with the inner corners of the eyes for correct proportions.
Step 6: Shape the Face and Jawline

Now go back to the oval and refine it. The jawline should narrow slightly toward the chin and have a soft, rounded shape.
Adjust any areas that look off. The cheeks should feel full but not exaggerated.
At this point your face is starting to take real shape. Step back and check the overall balance before moving on.
Step 7: Draw the Hair and Headwrap

Rosa Parks is often shown wearing her hair neatly styled or covered with a wrap. Either works well for a beginner drawing.
For a headwrap, draw a simple rounded shape that sits on top of and around the head. Add a few soft folds with light curved lines.
For natural hair, sketch soft, short strokes close to the head. Keep it neat and controlled rather than wild or detailed.
Step 8: Add Ears and Minor Details

The ears sit between the eye line and the nose line on each side of the face. Keep them simple and proportionate.
Draw a small C-shape on each side. Add a tiny curved line inside for the inner ear detail.
Don't overthink the ears. They frame the face but shouldn't draw attention away from the main features.
Step 9: Sketch the Neck and Shoulders

Draw two slightly curved lines coming down from the jawline to form the neck. Keep the width natural, not too thin or too wide.
Then add the shoulders curving outward from the base of the neck. A simple shirt collar or neckline can be added too.
Proportions matter here. The shoulders should feel grounded and balanced under the face.
Step 10: Refine the Entire Sketch

Now go through the whole drawing and clean it up. Erase the guidelines from Step 2. Smooth out any rough lines.
Check the proportions of each feature one more time. Make small corrections where needed.
This step is what takes your sketch from rough to polished. Take your time and don't rush through it.
Step 11: Final Outline and Optional Coloring

Use a black pen or darker pencil to go over the final lines you want to keep. Let the ink dry fully before erasing any smudges.
For shading, use the side of your pencil and build up tone slowly. The shadows around the eyes, nose, and neck make the face look more three-dimensional.
If you want to add color, light brown tones work well for skin and you can use dark brown or black for the hair or headwrap. Keep the colors soft and layered.
Tips to Make Your Rosa Parks Drawing Look Better
Small adjustments can make a big difference in how your final drawing turns out. These tips have helped me get better results every single time.
- Start with light lines and build up to darker ones gradually
- Focus on getting proportions right rather than chasing perfection
- Use a reference image of Rosa Parks to guide your features
- Practice the steps more than once to build muscle memory
The more you draw, the more natural it feels. Even doing this same drawing two or three times will show clear improvement each round.
Common Mistakes to Avoid in Rosa Parks Drawing
Most beginners run into the same few problems. Knowing them ahead of time saves you a lot of frustration.
- Skipping the guideline step and ending up with uneven features
- Drawing the eyes, nose, or mouth too large or too small
- Pressing too hard with the pencil in the early stages
- Ignoring facial symmetry and ending up with a lopsided face
These mistakes are easy to fix once you're aware of them. Slow down at each step and the whole drawing comes together much more smoothly.
How to Teach Rosa Parks Drawing to Kids or Students
If you're guiding a child or a class through this, break it into smaller chunks. Don't do all 11 steps in one sitting.
Print out a reference image of Rosa Parks and let kids look at it while they draw. Visual references make a huge difference for young learners.
Remind them that this isn't about making a perfect copy. Encourage their own style and interpretation.
Turn it into a full activity by pairing the drawing with a short discussion about Rosa Parks and the civil rights movement. Art and history together make both stick better.
Conclusion
Your rosa parks drawing is closer than you think. All it takes is a pencil, some patience, and the willingness to start.
I've seen complete beginners pull off portraits they never thought possible, just by following the steps and trusting the process.
So don't overthink it. Start today. Share your finished drawing in the comments because I genuinely want to see it.
And if this guide helped you, send it to a friend who loves art or history. Sometimes the best projects are the ones that mean something.
Frequently Asked Questions
How Do You Draw Rosa Parks Step by Step?
Start with a face oval, add guidelines, then sketch the eyes, nose, and mouth in order. Finish by refining lines, adding hair, and optional shading or coloring.
Is Rosa Parks Drawing Easy for Beginners?
Yes, especially when you follow a structured step-by-step approach using basic shapes. Anyone can create a rosa parks drawing easy version with just a pencil and paper.
What Materials Are Best for Drawing Rosa Parks?
A pencil, eraser, and plain drawing paper are all you really need to start. A black pen and colored pencils can be added later for finishing touches.
Can Kids Learn Rosa Parks Drawing Easily?
Absolutely, especially when the steps are broken into smaller, manageable parts. Pairing it with a simple history lesson makes it even more engaging for kids.
How Can I Improve My Rosa Parks Drawing Skills?
Practice the same steps a few times and use a reference image each time. Focusing on proportions and light pressure early on will show the fastest improvement.