

Pinecone ornaments bring rustic charm to Christmas celebrations, offering a natural alternative to store-bought decorations.
These timeless pieces add warmth and texture to holiday displays while connecting us to nature’s simple beauty.
Making your own ornaments provides several advantages: the process is surprisingly easy for crafters of all skill levels, requires minimal financial investment, and produces charming results that feel personal and meaningful.
Each ornament carries unique character since no two pinecones are exactly alike in shape or size.
Before beginning any pinecone project, proper preparation is essential for best results.
Cleaning and preserving pinecones removes debris, prevents insect issues, and ensures your finished ornaments maintain their appearance throughout many holiday seasons ahead.
What You’ll Need
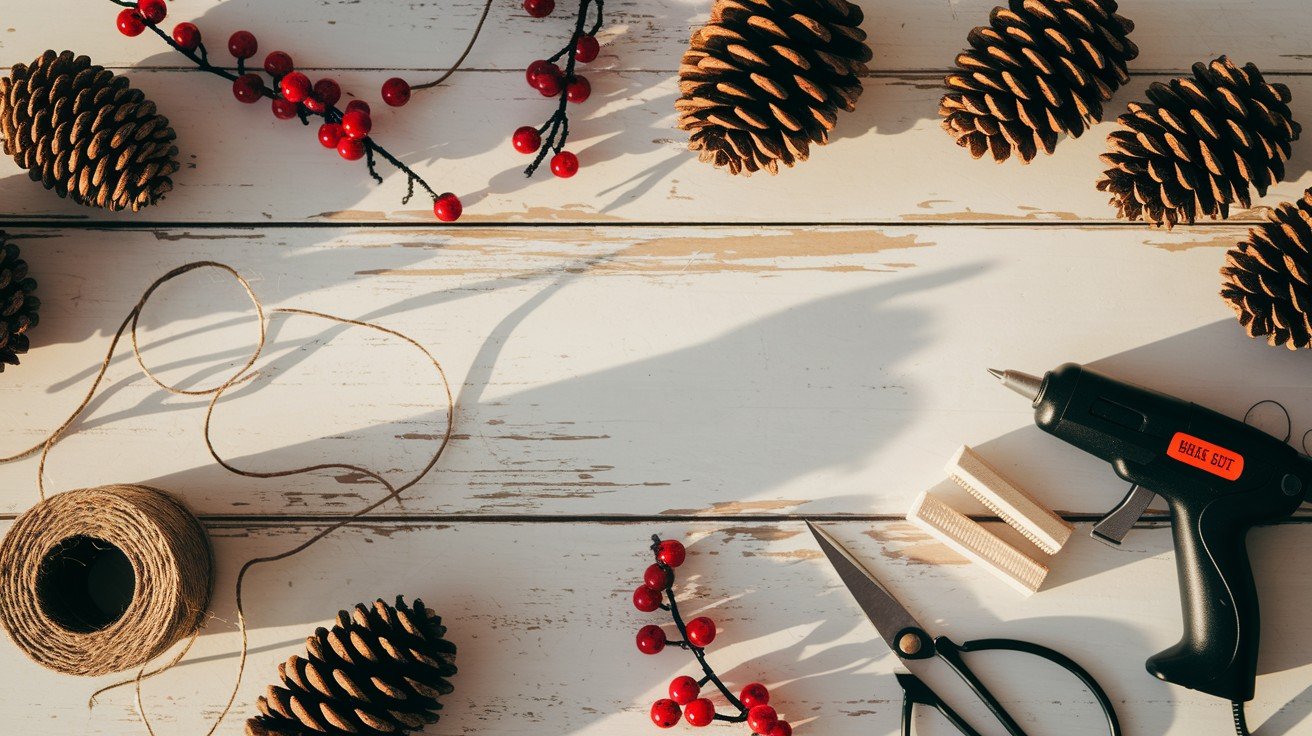
Materials
Pinecones work best when they have a natural stem attached for easy handling and attachment of decorative elements.
Berry and pine branch stems, also known as floral picks, add color and texture to create more visually interesting ornaments.
Wired ribbon offers an optional touch for creating small bows or hanging loops, though jute twine provides the primary hanging mechanism for these rustic decorations.
Tools
- Sharp scissors handle cutting ribbon and twine to desired lengths for hanging loops and decorative accents.
- Wire cutters become necessary for trimming floral picks to appropriate sizes and managing any wire components.
- A hot glue gun with glue sticks provides the strongest attachment method for securing decorative elements to pinecone surfaces, ensuring ornaments remain intact throughout the holiday season.
Preparing Your Pinecones
Clean pinecones by brushing away debris and rinsing briefly under cool water.
Bake at 200°F for 30-45 minutes to eliminate insects and remove moisture, then allow to cool completely.
Choose pinecones with natural stems attached for easier assembly and better hanging attachment points.
Step-by-Step Instructions
This section provides detailed instructions for creating beautiful pinecone ornaments, covering each assembly step from preparing materials through final decorative touches.
Step 1: Cut Floral Stems
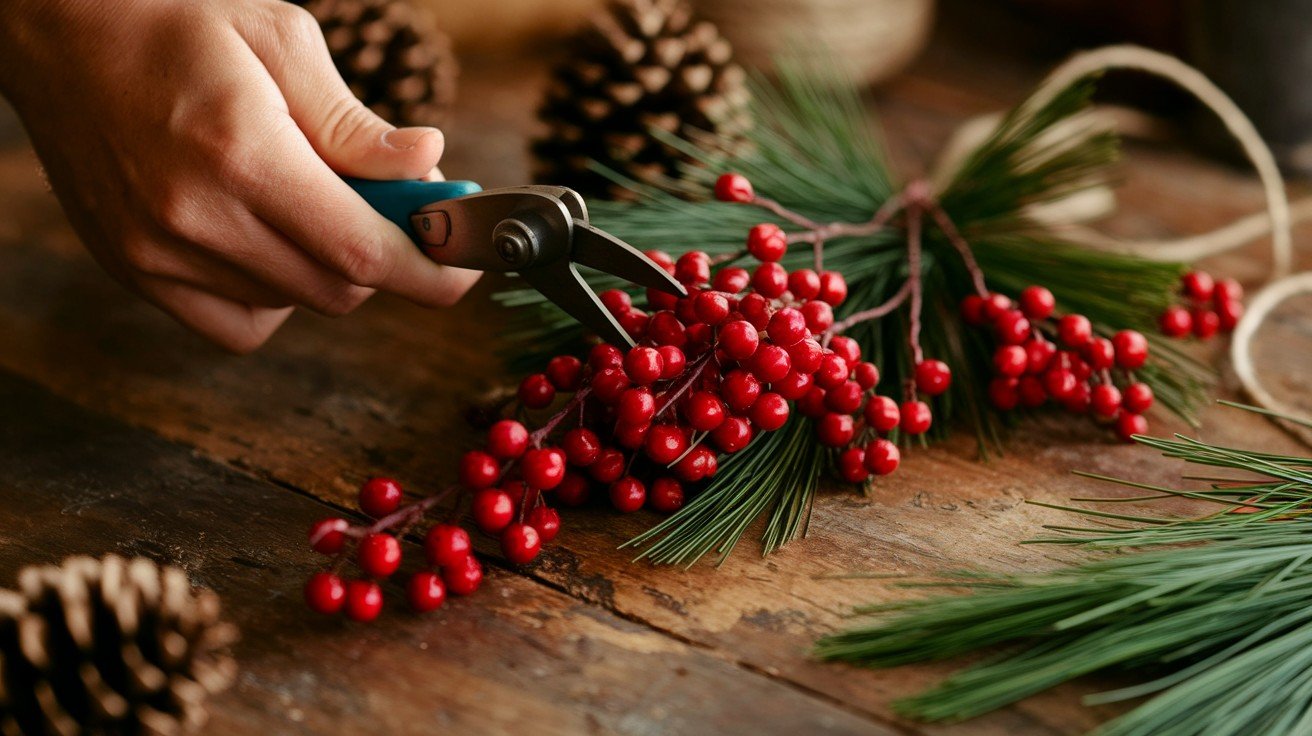
Begin by carefully cutting berry and pine stems from their original bunches using sharp wire cutters.
Make clean cuts that preserve the natural appearance of each stem while creating manageable pieces for your ornament design.
Focus on leaving longer wire stems attached to each decorative element, as these extended wires will serve as crucial wrapping components in the next steps.
The wire stems provide both structural support and secure attachment points that keep decorative elements firmly in place throughout the ornament’s use.
Step 2: Attach Berry and Pine Stems
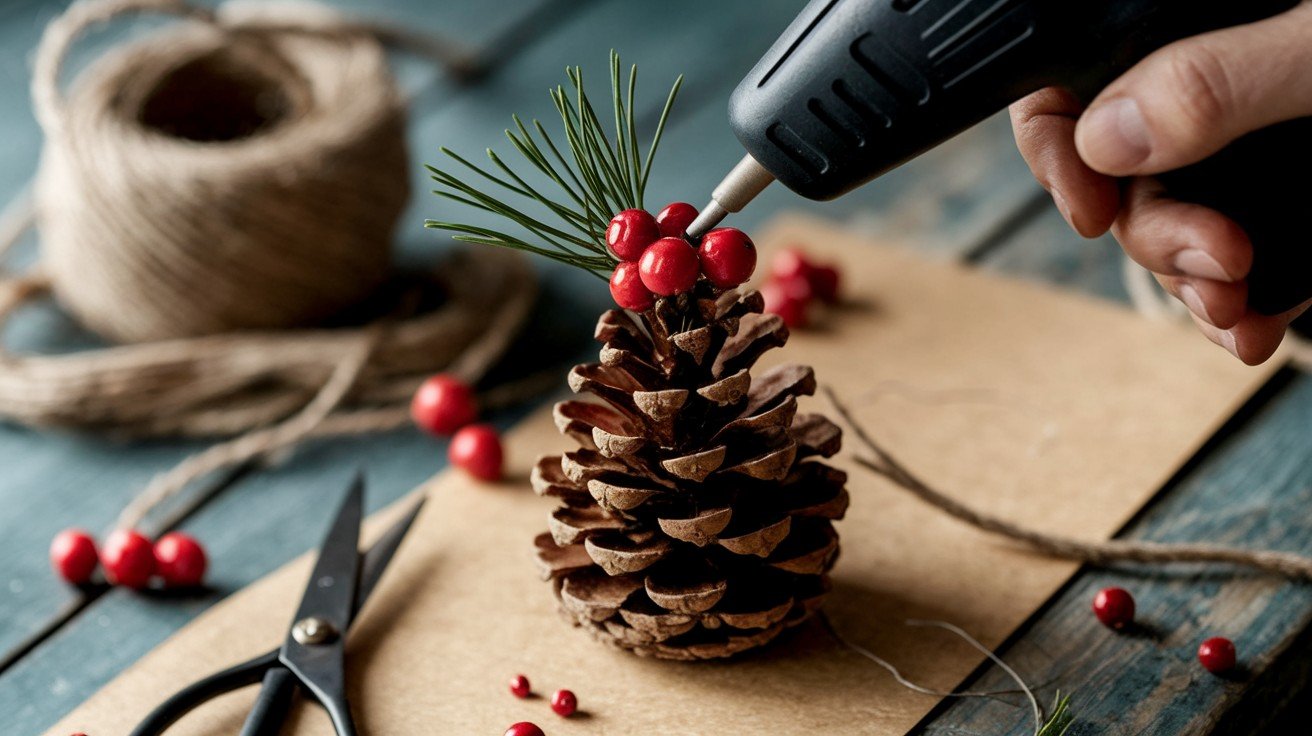
Position the berry and pine stems around the base of your pinecone’s natural stem, creating an attractive arrangement that balances colors and textures.
Apply hot glue directly to the pinecone stem where each decorative element will be attached, working quickly while the glue remains workable.
Press each stem firmly into the glue, then wrap the wire stems around the pinecone stem for additional security.
This double-attachment method ensures your decorative elements remain stable even with handling and movement during hanging.
Step 3: Wrap with Jute Twine
Start wrapping jute twine around the base of the pinecone stem, beginning just above where the decorative stems are attached.
As you wrap, add small drops of hot glue periodically to secure the twine and prevent unwinding over time.
Work systematically up the stem, maintaining consistent tension for a neat appearance.
Leave approximately six inches of twine free at both the beginning and end of your wrapping process, as these excess lengths will form the hanging loop in the next step.
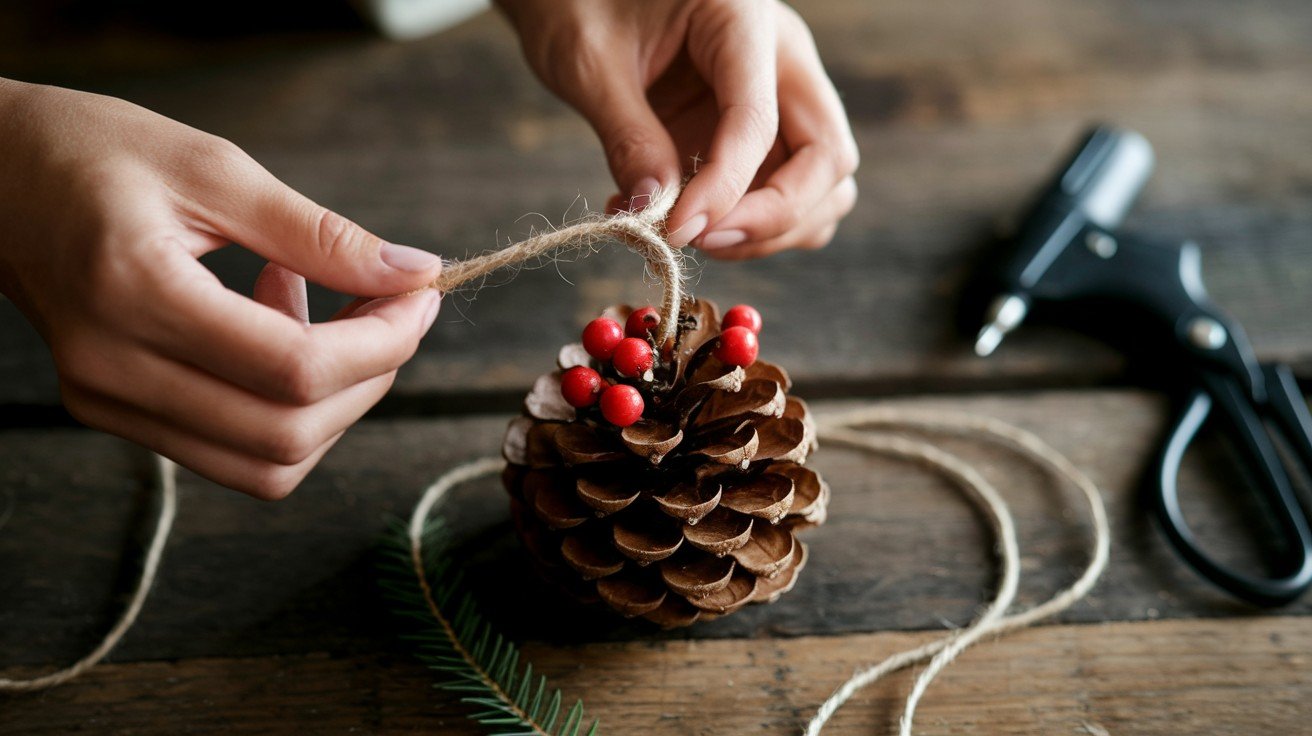
Step 4: Create Hanging Loop
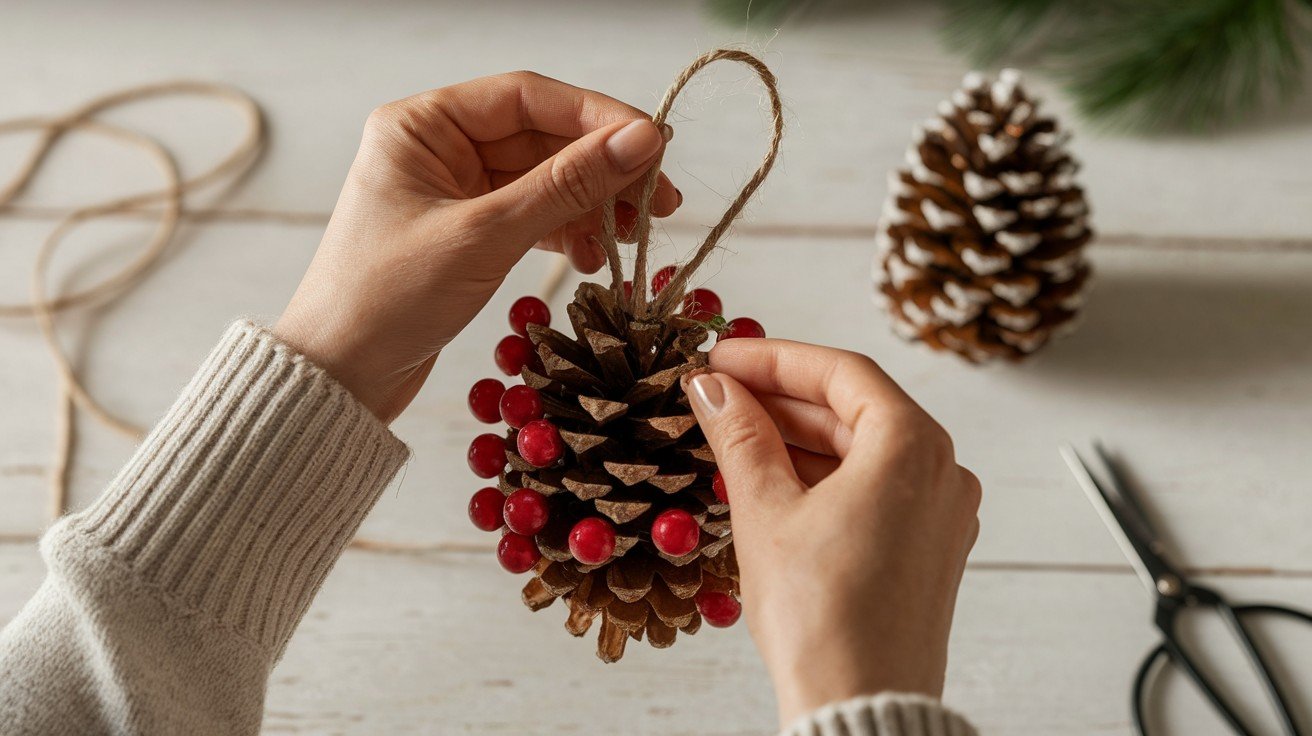
Take the two loose ends of jute twine and tie them together securely, forming a loop that will serve as the hanging mechanism for your ornament.
Test the loop’s strength by gently pulling to ensure it can support the ornament’s weight without breaking.
Trim any excess twine beyond the knot, leaving just enough length to prevent the knot from coming undone.
The finished loop should be proportionate to your ornament’s size and strong enough for repeated hanging and removal.
Step 5 (Optional): Add Ribbon Bow
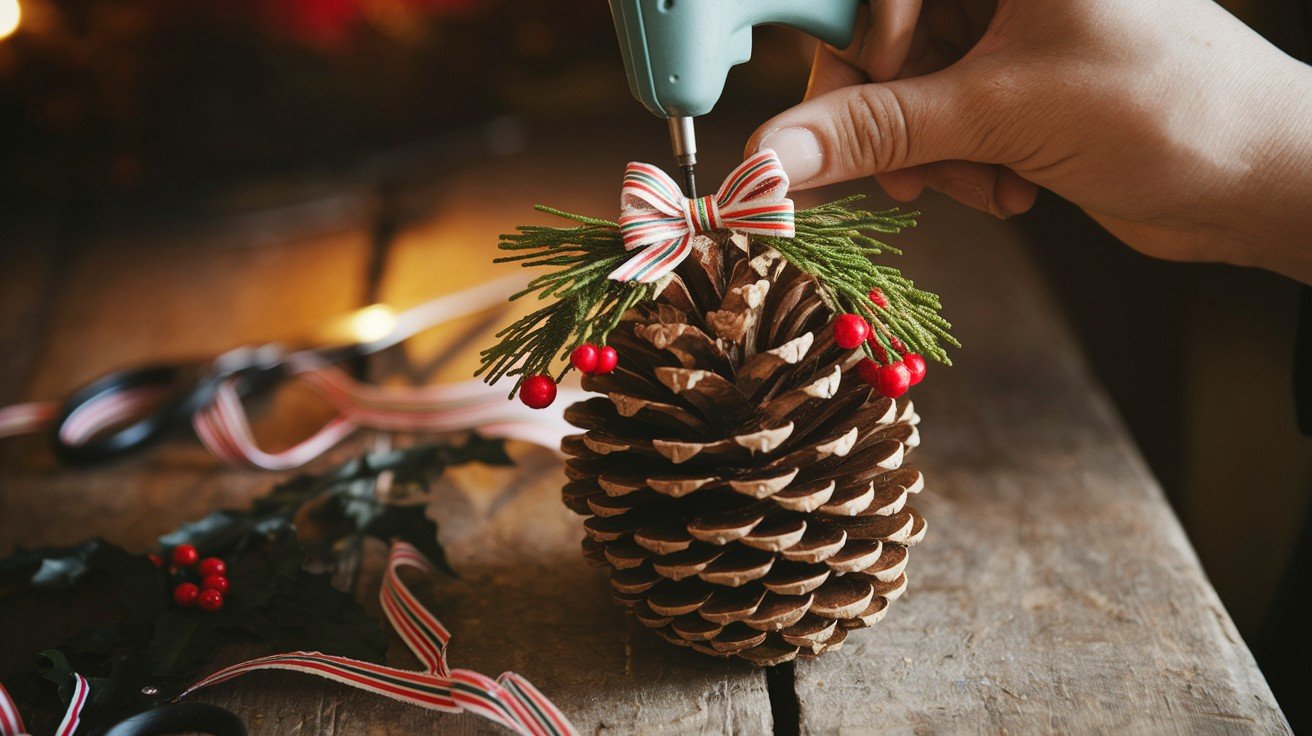
Create a small bow using wired ribbon, taking advantage of the wire edges to maintain the bow’s shape over time.
Cut ribbon to your desired length, form loops, and secure the center with a small piece of wire or additional ribbon.
Apply hot glue to the top of your ornament where the bow will be positioned, then press the bow firmly into place.
This final decorative touch adds color and formality to your rustic ornament, making it suitable for more formal holiday displays.
Styling Ideas and Variations
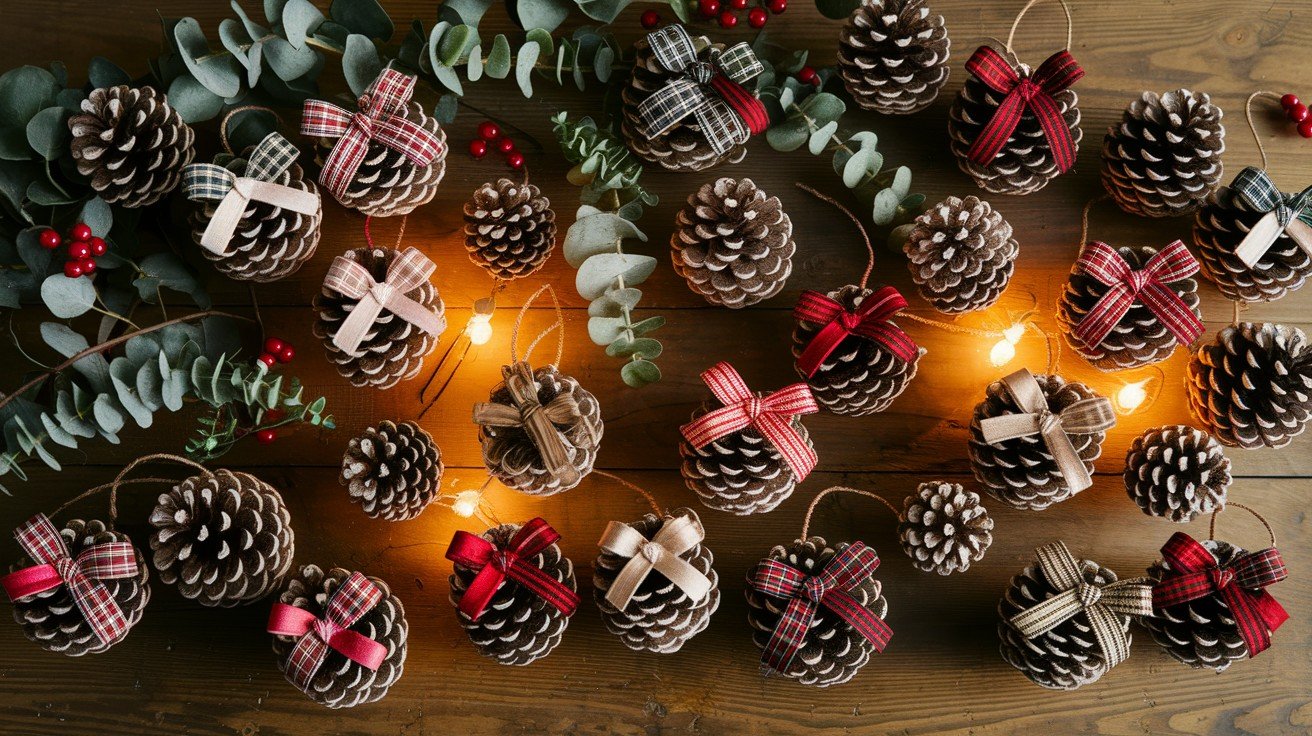
Experiment with different ribbon types to create various looks: plaid for traditional charm, velvet for formal appeal, or burlap for rustic style.
Add extra greenery like eucalyptus sprigs or small berries for more color and texture.
Consider leaving some pinecones completely natural to showcase their inherent beauty and create visual balance.
Use different sized pinecones throughout your collection to add variety and prevent your ornaments from looking too uniform.
Final Tips and Tricks
Handle hot glue guns with care by allowing proper warm-up time and working on a heat-resistant surface to prevent burns.
Keep a bowl of cool water nearby for treating minor burns and always unplug the glue gun when finished.
Allow each glue application to cool completely before moving the ornament to prevent decorative elements from shifting position.
Store completed ornaments in individual tissue paper or bubble wrap to prevent damage during off-season storage.
Place wrapped ornaments in sturdy boxes with dividers or egg cartons to prevent crushing and maintain their shape.
Label storage containers clearly and store in cool, dry locations away from extreme temperatures that could affect glue bonds or natural materials.
Feel free to experiment with personal touches that reflect your family’s style and preferences.
Consider adding small charms, painted accents, or meaningful decorative elements that tell your family’s story.
Each ornament becomes more special when it carries personal significance beyond its basic decorative function.
Conclusion
Creating DIY pinecone ornaments offers a rewarding way to add natural beauty to your holiday decorations while spending quality time on a meaningful craft project.
These rustic pieces bring warmth and personal character to any festive display, proving that handmade decorations often surpass store-bought alternatives in both charm and significance.
The simple materials and straightforward techniques make this project accessible to crafters of all experience levels, while the natural variations in pinecone shapes ensure each ornament remains unique.
As you complete your ornament collection, remember that the time invested in creating these decorations becomes part of their lasting value.
Your family will treasure these handcrafted pieces for years to come, creating new memories each holiday season when they reappear on your tree.
Frequently Asked Questions
How long do DIY pinecone ornaments typically last?
When properly prepared and stored, pinecone ornaments can last for many years without losing their appeal. The key factors for longevity include thorough cleaning, proper baking to remove moisture, and careful storage in dry conditions between holiday seasons.
What’s the best way to collect pinecones for ornament making?
Look for pinecones that have recently fallen and still retain their natural stems, as these work best for ornament assembly. Avoid pinecones that appear damaged, have visible insect holes, or feel overly lightweight, as these may not hold decorative elements securely.
Can children safely participate in making these ornaments?
Children can help with many steps like selecting pinecones, arranging decorative elements, and wrapping twine, but adult supervision is essential for hot glue gun use. Consider using craft glue as a safer alternative for younger children, though drying time will be longer.
What other natural materials can be substituted for the suggested decorative elements?
Small twigs, dried flowers, acorns, or even colorful leaves can replace traditional berry stems and greenery. Cinnamon sticks, star anise, or dried orange slices also work well for creating fragrant, natural-looking holiday ornaments.
How can I prevent my pinecone ornaments from opening or closing due to humidity changes?
Sealing pinecones with a clear acrylic spray after the initial baking process helps stabilize their shape regardless of humidity levels. This protective coating also makes the ornaments more durable and easier to dust when stored or displayed.