

Tired of boring notes? I used to just fold my letters in half until I learned this technique.
An origami letter transforms ordinary paper into something memorable. Instead of handing someone flat paper, you give them a folded creation they’ll actually want to keep.
I’m showing you exactly how to fold a beautiful origami letter step by step. You’ll learn one simple technique that works every time, even if you’ve never tried paper folding before.
I’ll walk you through each fold with clear instructions and helpful tips. By the end, you’ll create impressive paper letters that make any message feel special.
The best part? You only need regular paper and a few minutes. Ready to impress friends, family, or that special someone?
How to Fold an Origami Letter
An origami letter is a written message folded into decorative shapes like hearts or flowers. You write on regular paper, then fold it into creative designs that recipients unfold to read. It’s a simple way to make any note more special and memorable.
What Is an Origami Letter?

An origami letter is a handwritten message that’s folded into a compact, decorative shape using Japanese paper-folding techniques. The note becomes both a message and an art piece.
Origami originated in Japan centuries ago as a way to create beautiful forms from simple paper. People began folding letters to show respect and care.
Unlike plain notes, origami letters create anticipation and joy. Recipients must carefully unfold your creation to read the message, making it feel like receiving a gift.
The technique I’m teaching you creates a pull-tab letter that folds into a neat square with a tab your recipient pulls to open. It’s simple enough for beginners but looks impressive when finished.
Supplies You’ll Need
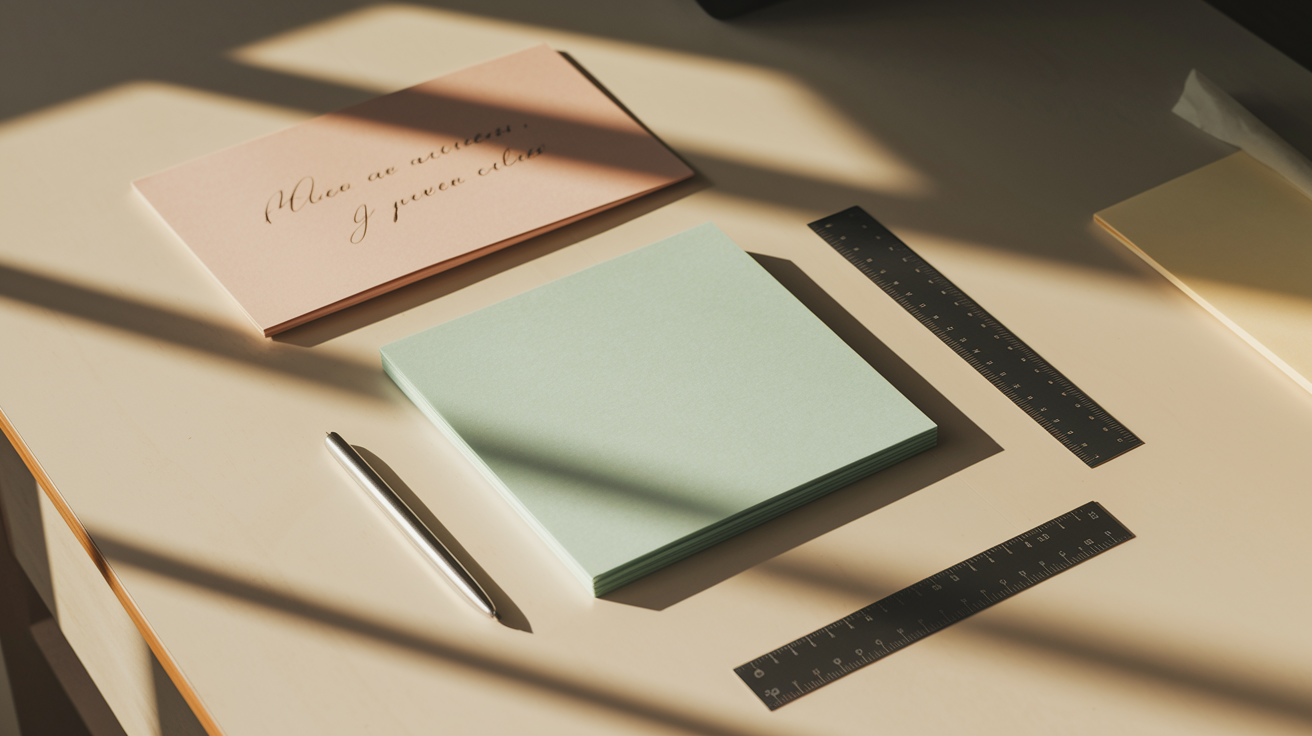
Essential Materials:
- One rectangular piece of paper (standard 8.5 x 11 inches works perfectly)
- Your written message
- A flat surface to work on
Paper Tips for Best Results:
Choose medium-weight paper that holds creases well. Printer paper works fine, but origami paper gives cleaner folds.
Bright colors make your letter more eye-catching. Pastels work great for romantic notes. White paper never goes wrong.
Avoid thick cardstock. It’s too hard to fold neatly. Skip tissue paper because it tears easily.
Optional Tools That Help:
- Bone folder for crisp, sharp creases
- Decorative stickers for sealing
- Washi tape for colorful accents
- Fine-tip markers for small decorations
You don’t need fancy supplies to make beautiful origami letters. Most people have everything they need at home already.
The key is making sharp, precise creases. Take your time with each fold.
Step-by-Step Instructions
DIY – Easy origami envelope tutorial
Step 1: Write your message first

Before you start folding, write your message on the paper. Keep your text in the center area, leaving at least one inch of space around all edges. This prevents your words from getting hidden in the folds.
Write on one side only. The blank side will become the outside of your folded letter.
Step 2: Position your paper correctly

Flip the paper over so the blank side faces up and your message is face-down on the table.
Place the paper horizontally in front of you (landscape orientation). The long edges should run left to right.
Step 3: Fold the paper in half lengthwise

Bring the bottom long edge up to meet the top long edge. Line them up precisely.
Press down firmly along the fold to create a sharp crease. Run your fingernail along the entire fold line.
Unfold the paper and lay it flat again, blank side up.
Step 4: Fold both long edges to the center

Take the bottom long edge and fold it up to meet the center crease you just made. Press flat.
Now take the top long edge and fold it down to meet the center crease. Press flat.
Your paper should now look like a long, narrow rectangle with two flaps meeting in the middle.
Step 5: Fold the right side toward the center

Look at the right end of your rectangle. Fold about two inches of this end toward the left (toward the center). Press the fold firmly.
This creates a flap on the right side. The exact measurement doesn’t matter as much as making it proportional to your paper size.
Step 6: Fold the left side into thirds

Now for the part that creates the pull-tab effect.
Take the left end of your rectangle and fold it toward the right, bringing it about one-third of the way across. Press firmly.
Take that same folded section and fold it over itself again, moving further to the right. This creates an accordion-style fold.
The final fold should tuck neatly into or under the flap you created in Step 5.
Step 7: Secure the letter
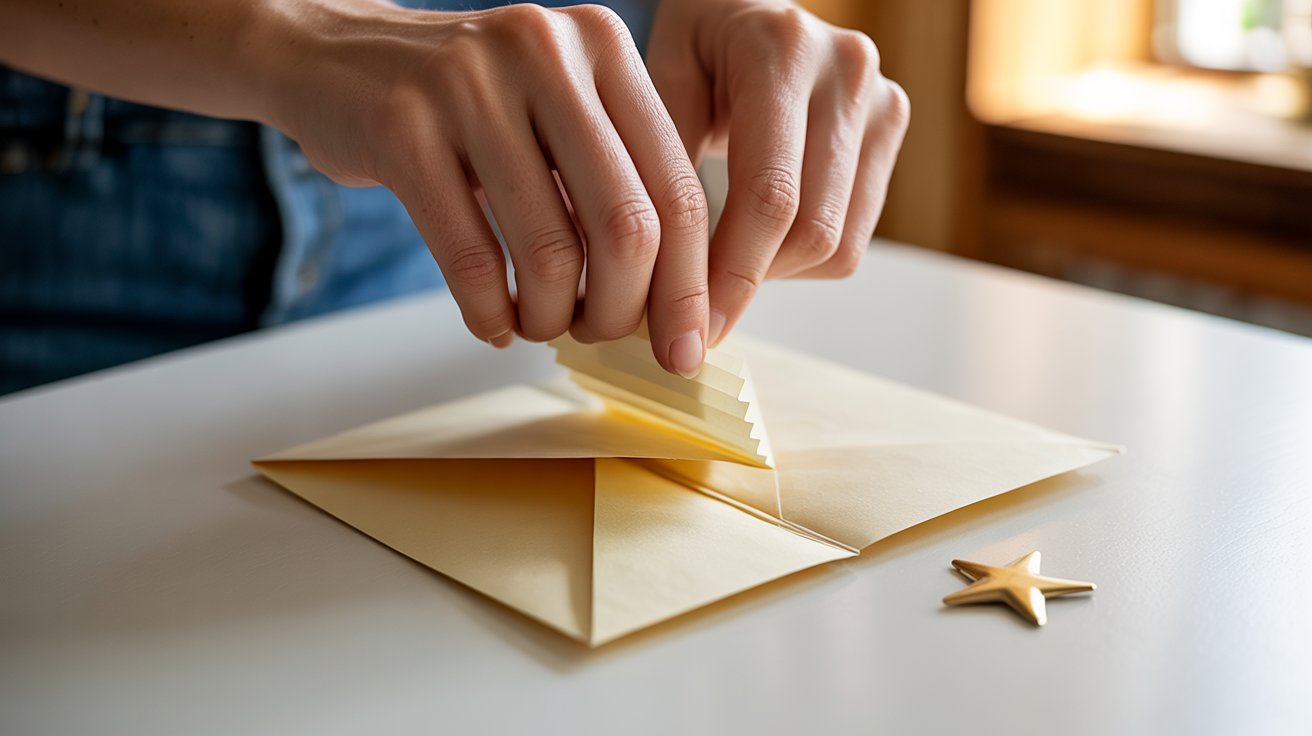
Tuck the left accordion-folded section under the right flap you made earlier. It should hold in place without glue.
If it feels loose, you can add a small sticker on the outside to keep everything secure.
To open, your recipient simply pulls the accordion section out and unfolds.
Tips to Make It Extra Special
Use Colored or Patterned Paper
Swap plain white paper for something with personality. Floral patterns work well for thank-you notes. Solid bright colors grab attention instantly.
Metallic paper catches light beautifully. Just make sure it’s not too thick to fold properly.
Add a Hand-Drawn Doodle or Message
Small drawings make big impacts. A tiny heart in the corner shows you care.
Write the recipient’s name in fancy lettering on the outside. Keep doodles simple – stick figures and smiley faces work perfectly.
Don’t overthink it. Your personal touch matters more than artistic skill.
Incorporate Stickers, Wax Seals, or Washi Tape
A single sticker can change your whole letter. Place it where the flaps meet for a classic sealed look.
Wax seals add old-world charm. You can buy simple stamp kits online for under ten dollars.
Washi tape creates colorful borders or decorative strips. Use it sparingly – less is more.
Remember, these extras should complement your letter, not overwhelm it. The message inside is still the star of the show.
Common Mistakes and How to Avoid Them
- Make sure the edges line up perfectly before pressing down each fold. Even small misalignments become obvious in the final result.
- Use medium-weight paper that’s easy to fold but strong enough to hold its shape. Construction paper is too thick. Tissue paper is too thin.
- Follow each step in order without skipping or rushing. Each fold builds on the previous one.
- Press folds firmly with your fingernail to make sharp creases. Weak creases won’t hold the letter together properly.
- Check that your message fits in the space before you start folding. Nothing’s worse than realizing your text gets hidden after you’ve finished.
- Leave space around edges when writing so words don’t get covered by folds. One inch of margin on all sides keeps everything visible.
Conclusion
You now have everything you need to create beautiful origami letters that surprise anyone who receives them. This simple technique turns ordinary notes into something people want to keep forever.
Start with basic folds and plain paper. Once you feel comfortable, experiment with colors and decorations.
The best part? Taking time to fold your message shows you care. Next time you need to write a note, skip the boring approach. Fold it into something memorable instead.
Your friends and family will be amazed at what you created from a single piece of paper.
Frequently Asked Questions
Can I use regular printer paper for origami letters?
Yes, regular printer paper works perfectly fine. It’s the right thickness and folds cleanly. You don’t need special origami paper to get good results.
What size paper should I start with as a beginner?
An 8.5 x 8.5-inch square is ideal for beginners. It’s large enough to handle easily but not so big that it becomes unwieldy. You can make smaller letters once you get comfortable.
How do I write my message without it getting folded or hidden?
Write your message in the center area of the paper, staying away from the edges where folds will happen. Leave at least one inch of space around all sides.
What if my folds don’t look neat or straight?
Take your time and line up edges carefully before pressing. If a fold looks crooked, unfold it and try again. The paper can handle being refolded several times.
Can kids make these origami letters?
Absolutely. Children ages 8 and up can follow these steps with a little help. Start them with larger paper and simple designs before trying more complex folds.