

That dusty old trunk sitting in your attic or garage doesn’t have to stay forgotten. With the right old trunk makeover ideas, you can transform these vintage treasures into stunning, functional pieces that add character and charm to any room in your home.
If you inherited grandma’s weathered steamer trunk or found a diamond in the rough at a flea market, these forgotten storage pieces hold incredible potential.
Instead of letting them collect dust, why not breathe new life into them? Old trunks offer special storage solutions while serving as eye-catching decor that tells a story.
In this guide, you’ll explore 11 creative and budget-friendly ways to revamp your old trunk. From coffee tables to toy chests, and from vintage-inspired makeovers to modern touch.
These old trunk makeover ideas will inspire you to create something beautiful and practical that reflects your personal style.
1. Coffee Table Storage Solution
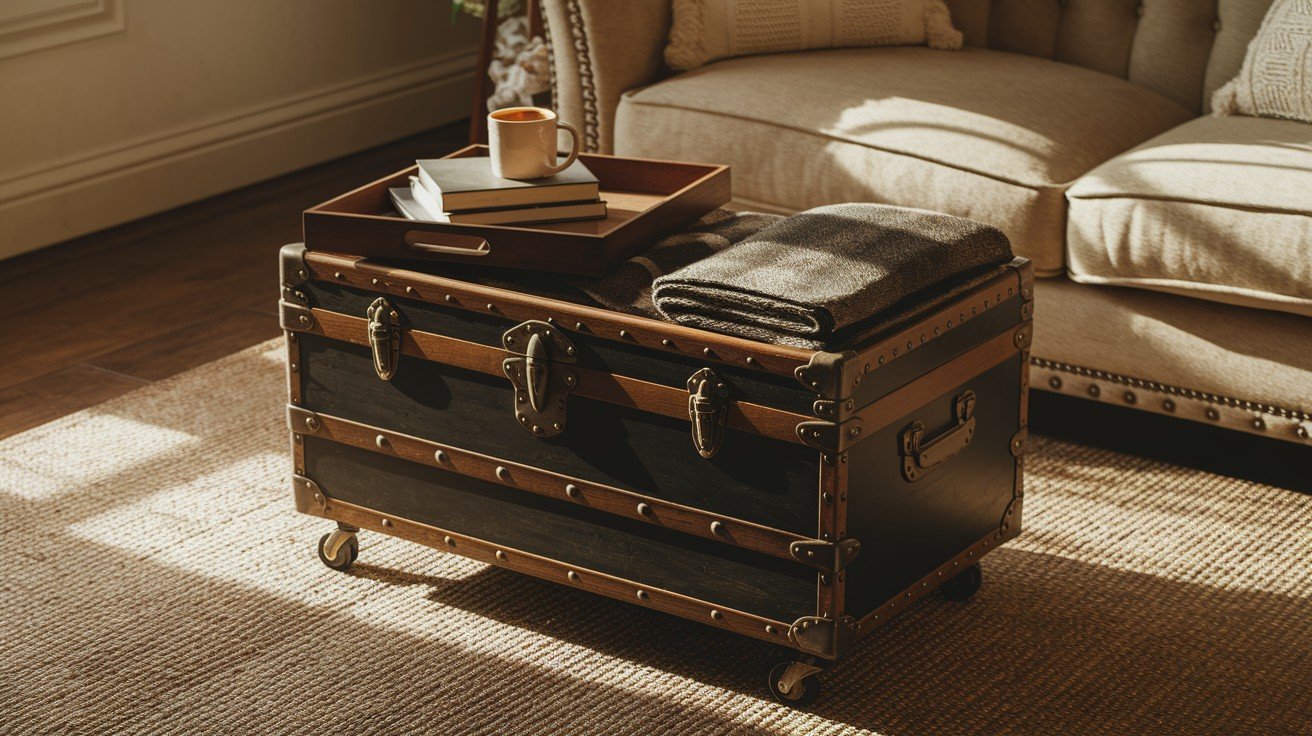
Convert your old trunk into a stylish coffee table that serves double duty in your living room.
- Sand down the surface and apply a fresh coat of paint or wood stain
- Add sturdy legs or casters for easy movement around the room
- Keep the interior for storing blankets, magazines, or board games
- Place a glass top over the trunk for a smooth surface and protection
- Add decorative hardware like new hinges or corner brackets for extra style
2. Bedroom Storage Bench
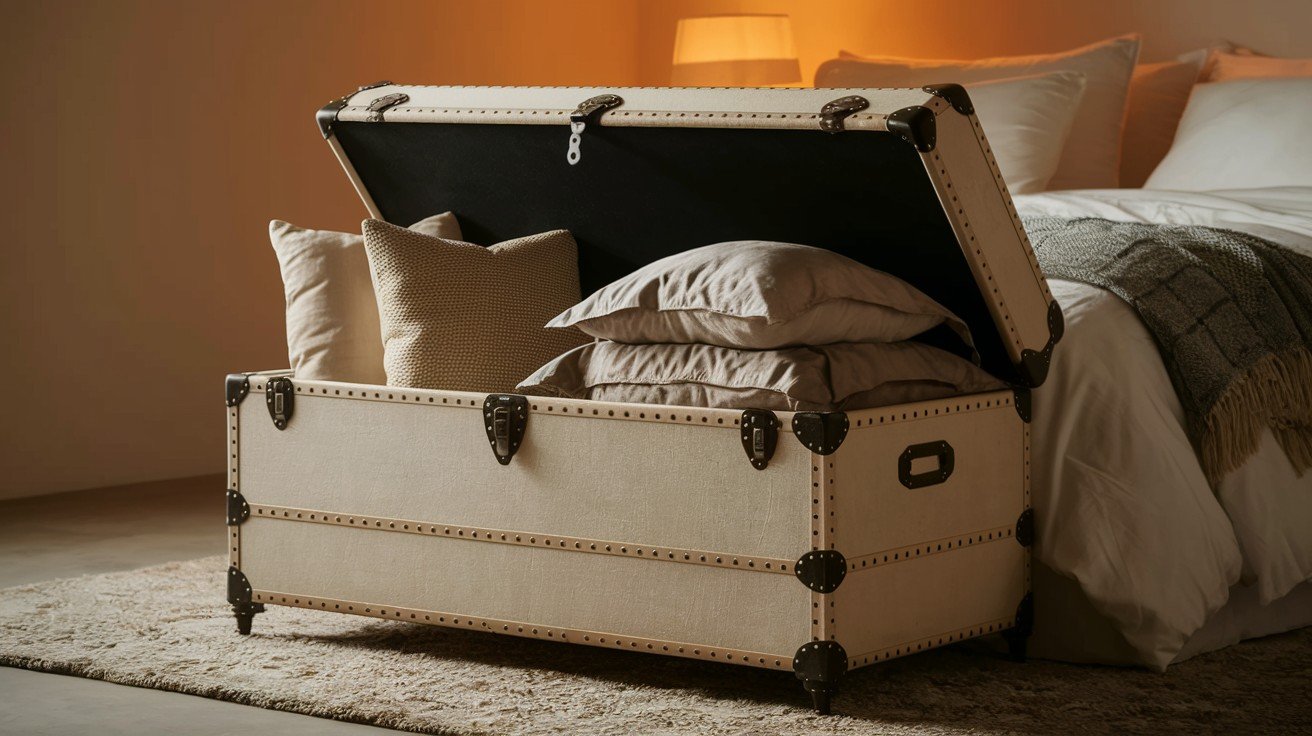
Create a practical seating and storage piece perfect for the foot of your bed.
- Clean and refinish the exterior with your favorite color or wood finish
- Add comfortable cushioning on top with foam and fabric
- Use the inside space for storing extra bedding, pillows, or seasonal clothes
- Install soft-close hinges to prevent slamming and protect fingers
- Add decorative trim or molding around the edges for a polished look
3. Kids’ Toy Chest Adventure
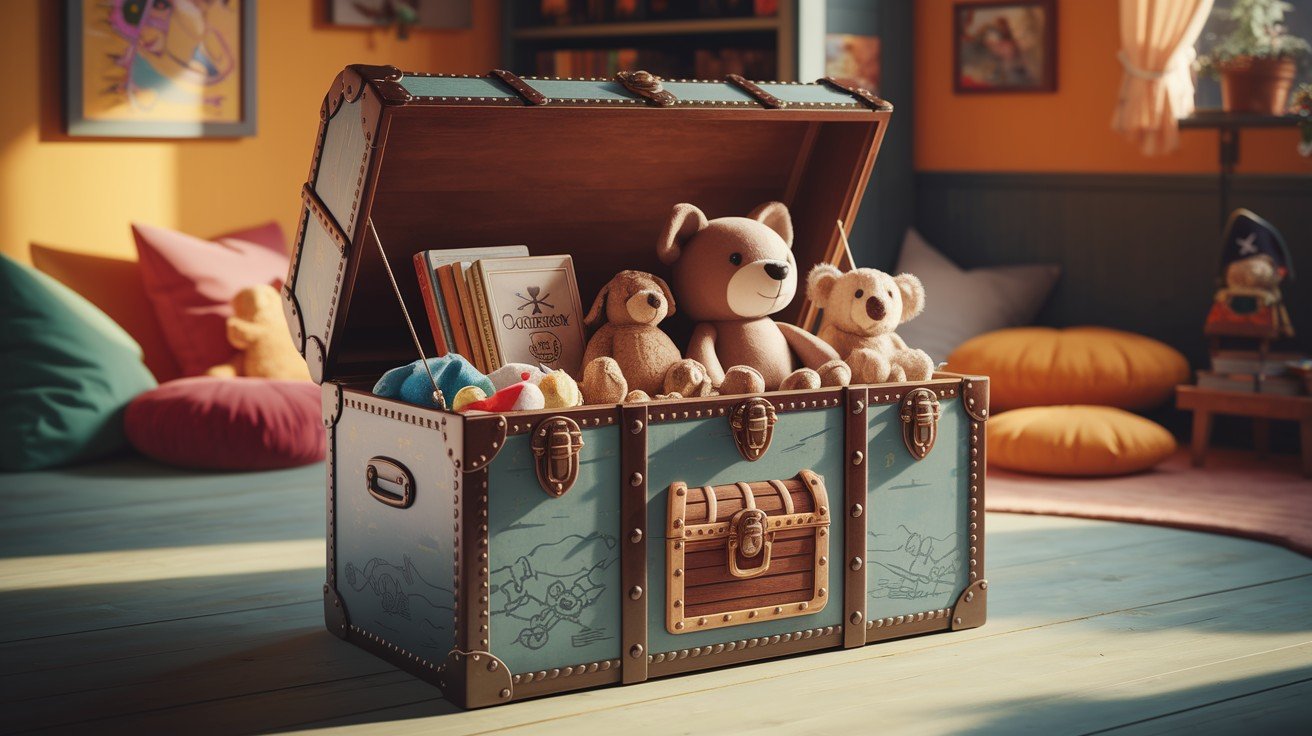
Turn an old trunk into an exciting toy storage solution that kids will love.
- Paint it in bright, cheerful colors that match the child’s room
- Add fun decorations like stickers, stencils, or painted designs
- Install safety hinges that prevent the lid from falling shut quickly
- Create compartments inside using small boxes or dividers
- Add wheels so children can easily move it around their play area
4. Vintage Display Case
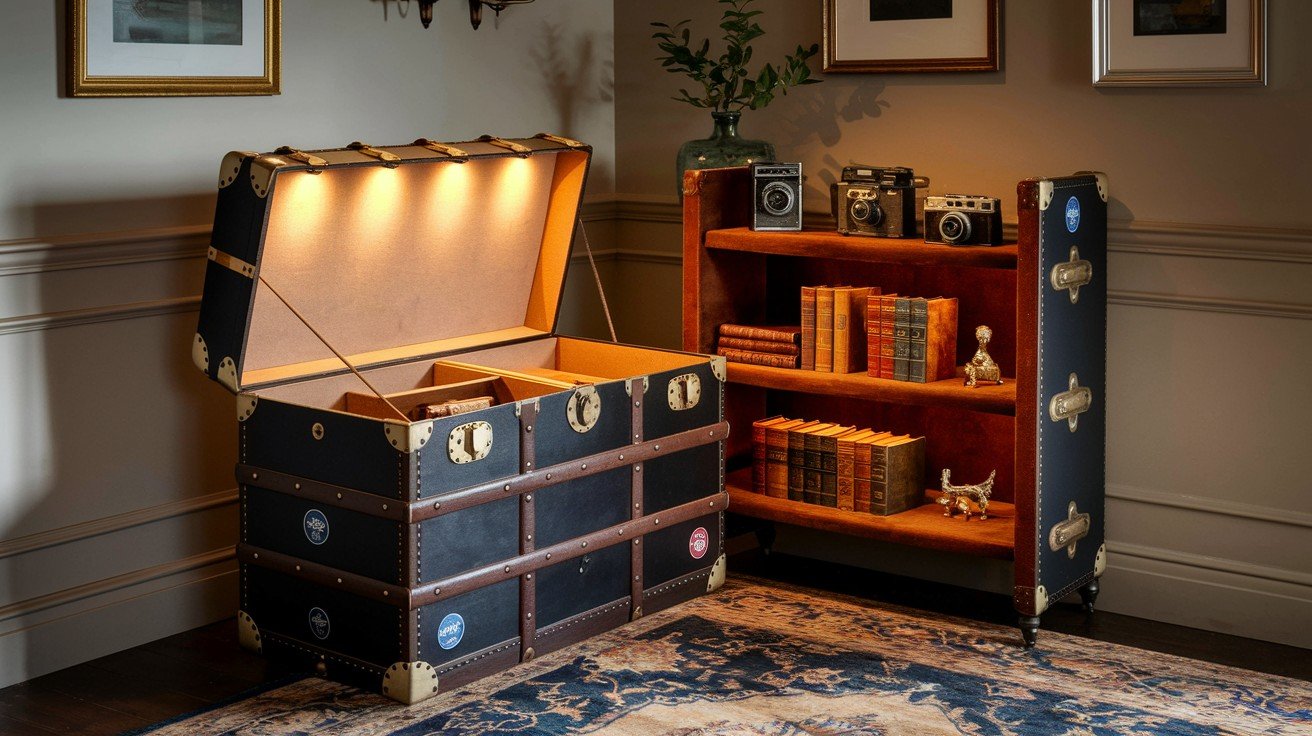
Show off your collections or treasured items in a repurposed trunk display.
- Remove or secure the lid in an open position for easy viewing
- Add interior lighting with battery-operated LED strips
- Install glass shelves or use decorative boxes to organize items
- Paint or decorate the outside to match your home’s style
- Position it in your living room, hallway, or bedroom as a focal point
5. Outdoor Storage Solution
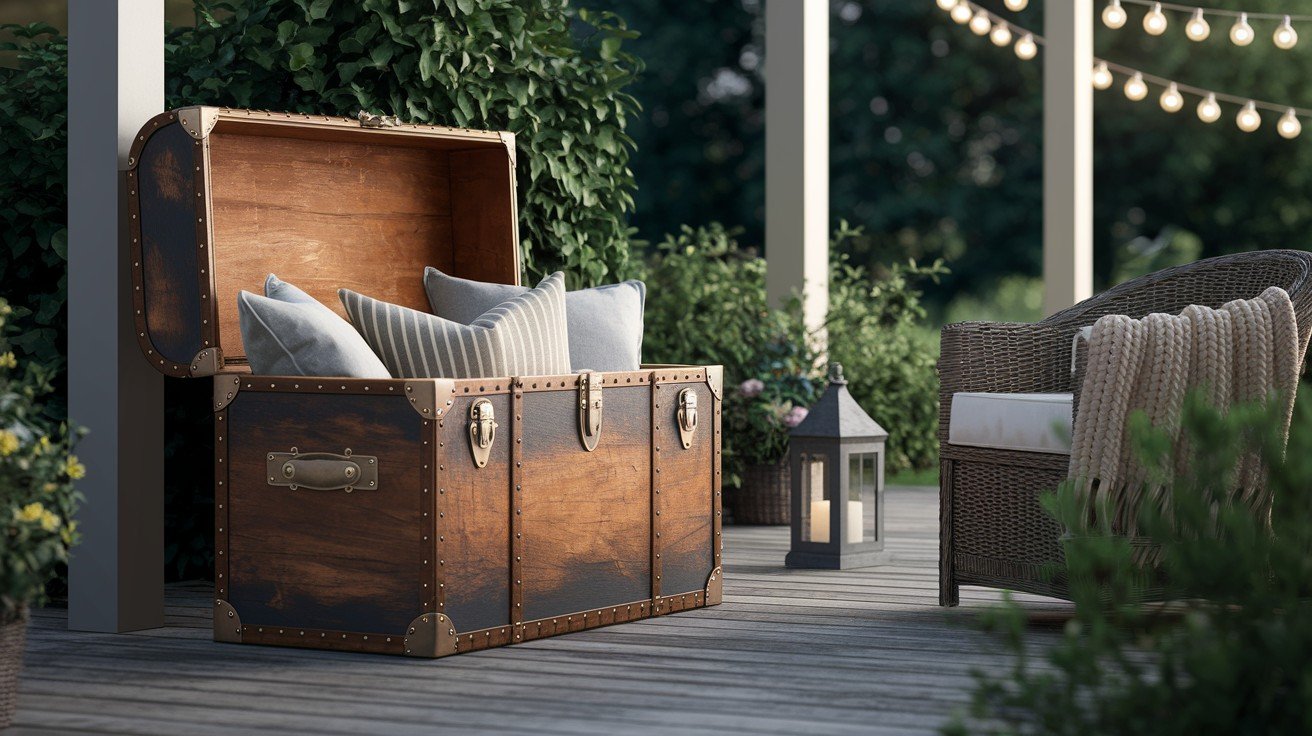
Weather-proof your trunk for patio or garden storage needs.
- Apply waterproof sealant or marine-grade paint to protect from moisture
- Add drainage holes in the bottom to prevent water buildup
- Use it to store garden tools, outdoor cushions, or pool supplies
- Install heavy-duty hinges that can handle outdoor conditions
- Place it on a covered porch or add a waterproof cover for extra protection
6. Home Office Organization
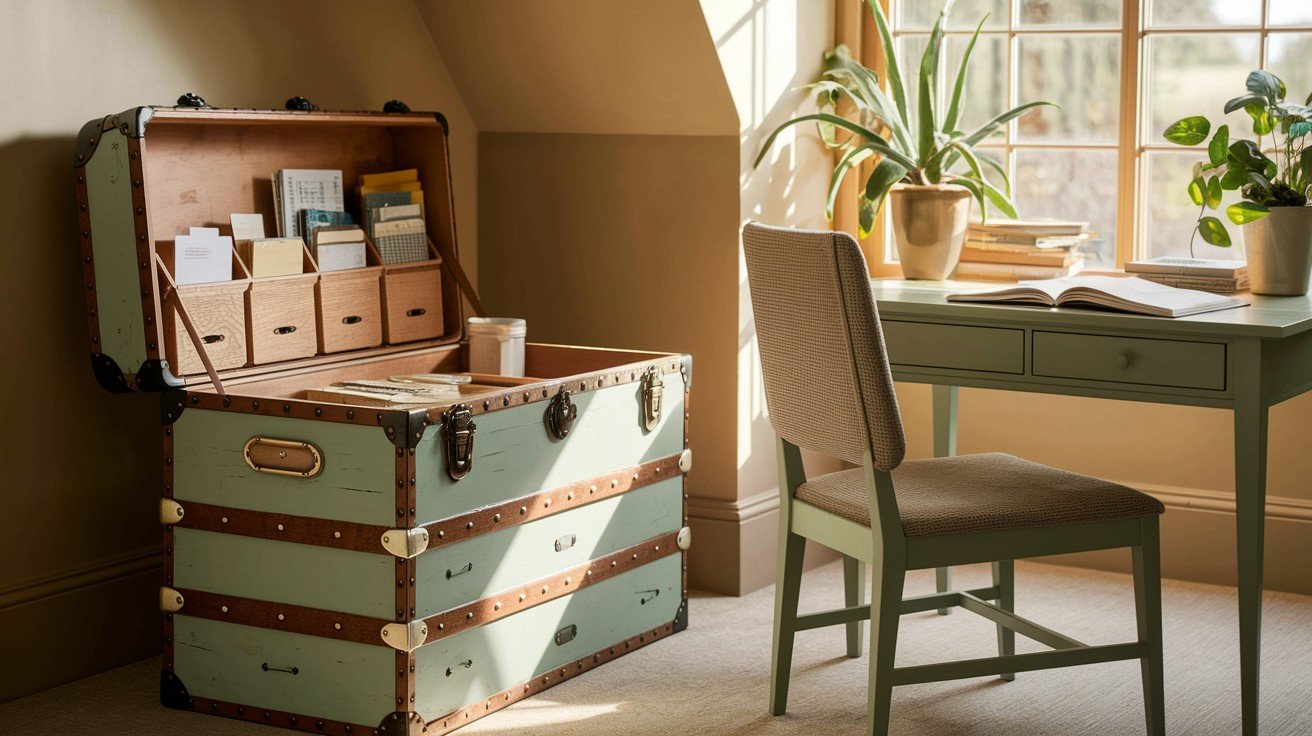
Convert your trunk into a mobile office storage unit for papers and supplies.
- Add dividers and small containers inside for organizing different items
- Install a filing system for important documents and papers
- Use the top surface as a writing desk or laptop station
- Add labels to help keep everything in its proper place
- Include power strips inside for charging devices and electronics
7. Bathroom Linen Storage
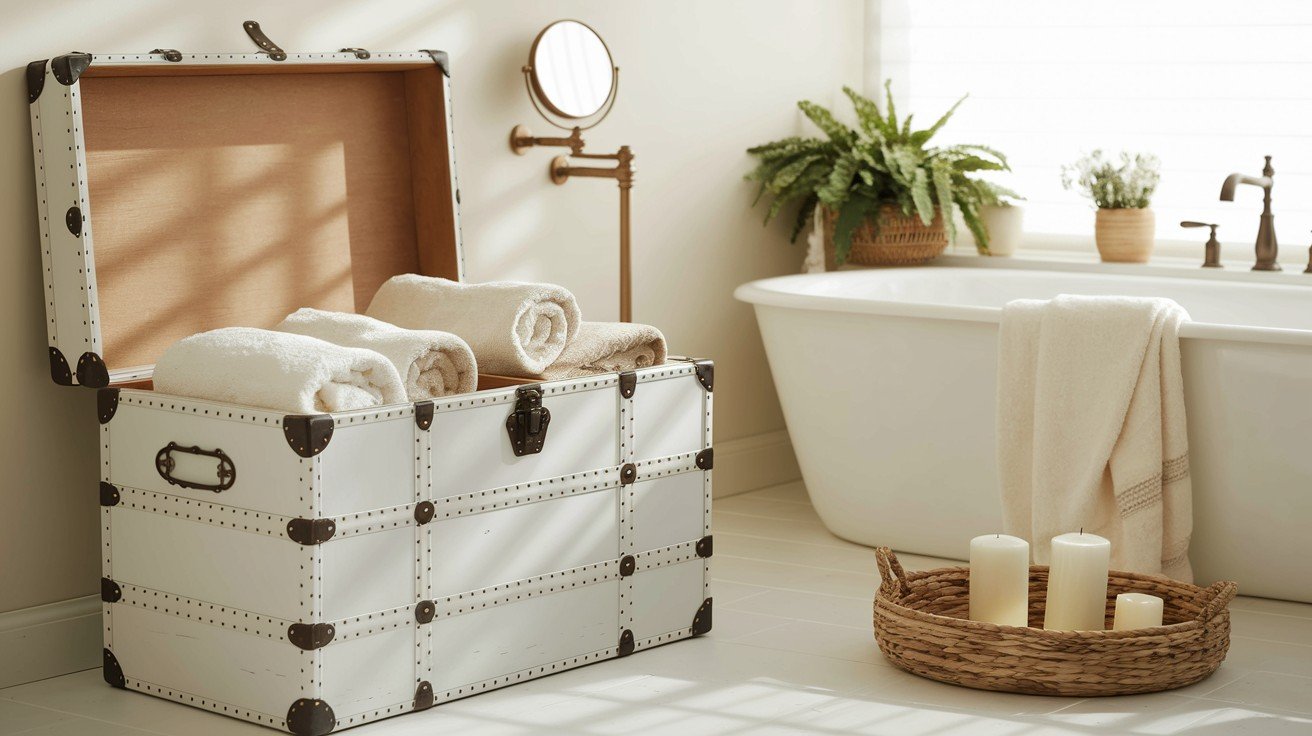
Create extra bathroom storage that looks beautiful and serves a purpose.
- Choose moisture-resistant paint or finish to handle bathroom humidity
- Store towels, extra toilet paper, and cleaning supplies inside
- Add a cushioned top to create additional seating space
- Install decorative hooks on the sides for hanging washcloths or robes
- Keep it organized with baskets or containers that fit inside perfectly
8. Kitchen Pantry Extension

Use your trunk as extra food storage or kitchen supply organization.
- Line the interior with food-safe materials if storing edible items
- Create sections for different types of supplies using removable dividers
- Store bulk items, canned goods, or small kitchen appliances
- Add wheels for easy access when you need to reach items in back
- Place it in your kitchen, pantry, or nearby dining area for convenience
9. Memory Keeper Chest
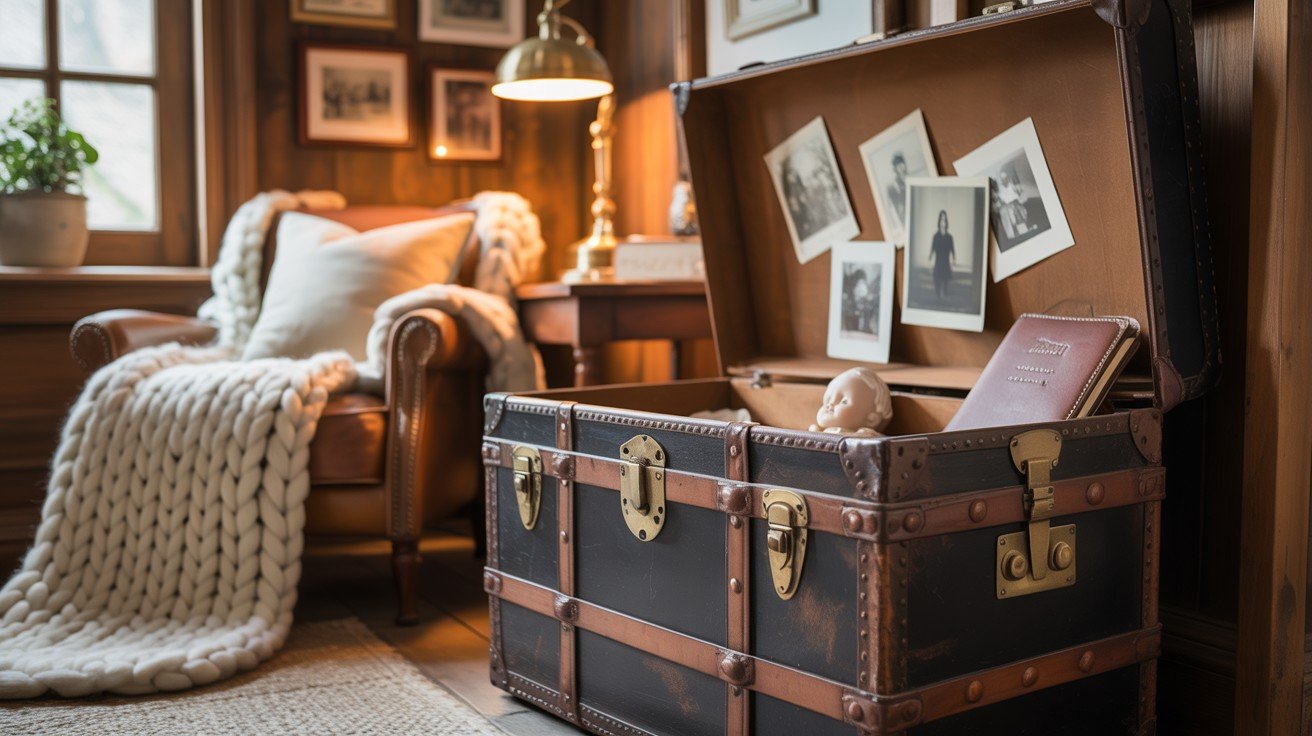
Design a special place to store family photos, documents, and keepsakes.
- Add acid-free tissue paper or archival materials to protect precious items
- Create separate sections for different family members or time periods
- Include small boxes or envelopes for organizing loose photos and papers
- Add a lock if you want to keep certain items secure and private
- Decorate the outside with family photos or meaningful decorations
10. Pet Supply Station
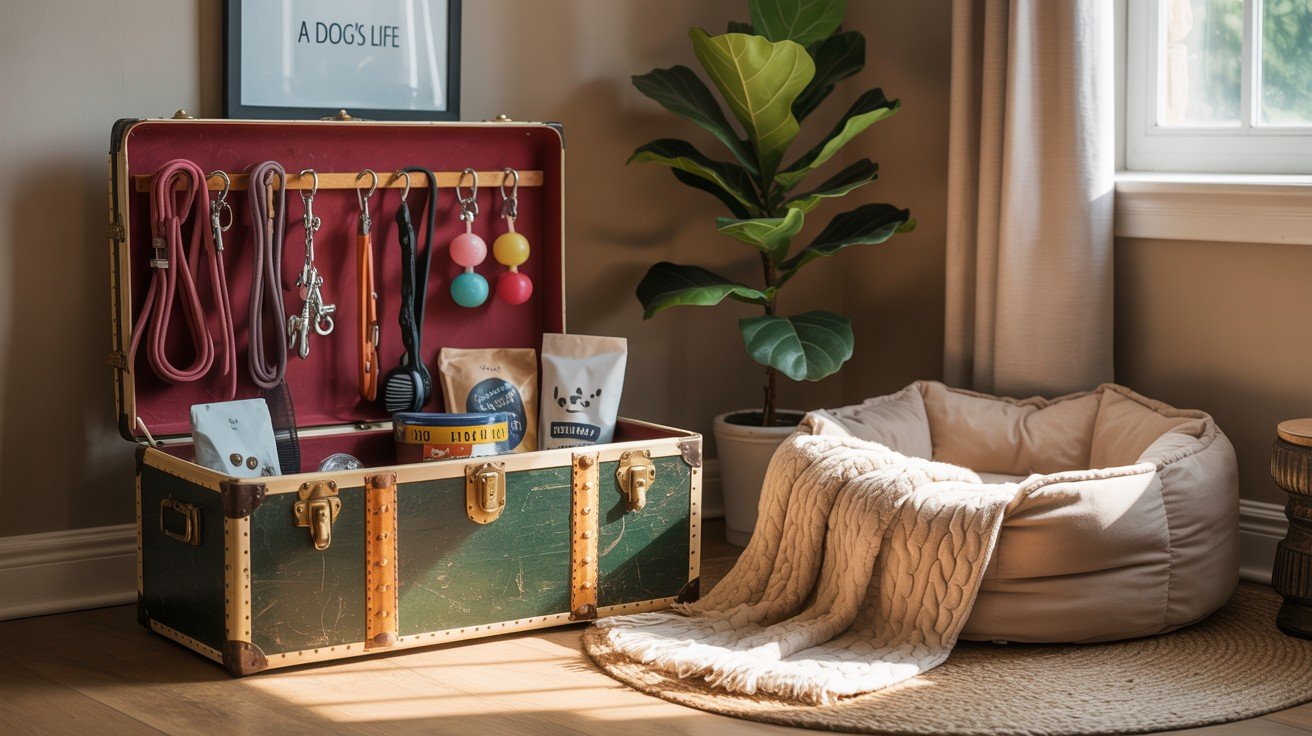
Transform your trunk into organized storage for all your pet’s belongings.
- Store food, toys, leashes, and grooming supplies in one convenient place
- Add airtight containers inside to keep pet food fresh and pest-free
- Create separate areas for different pets if you have multiple animals
- Install hooks inside the lid for hanging leashes or collars
- Place it near your entrance for easy access during walks and outings
11. Seasonal Decoration Storage
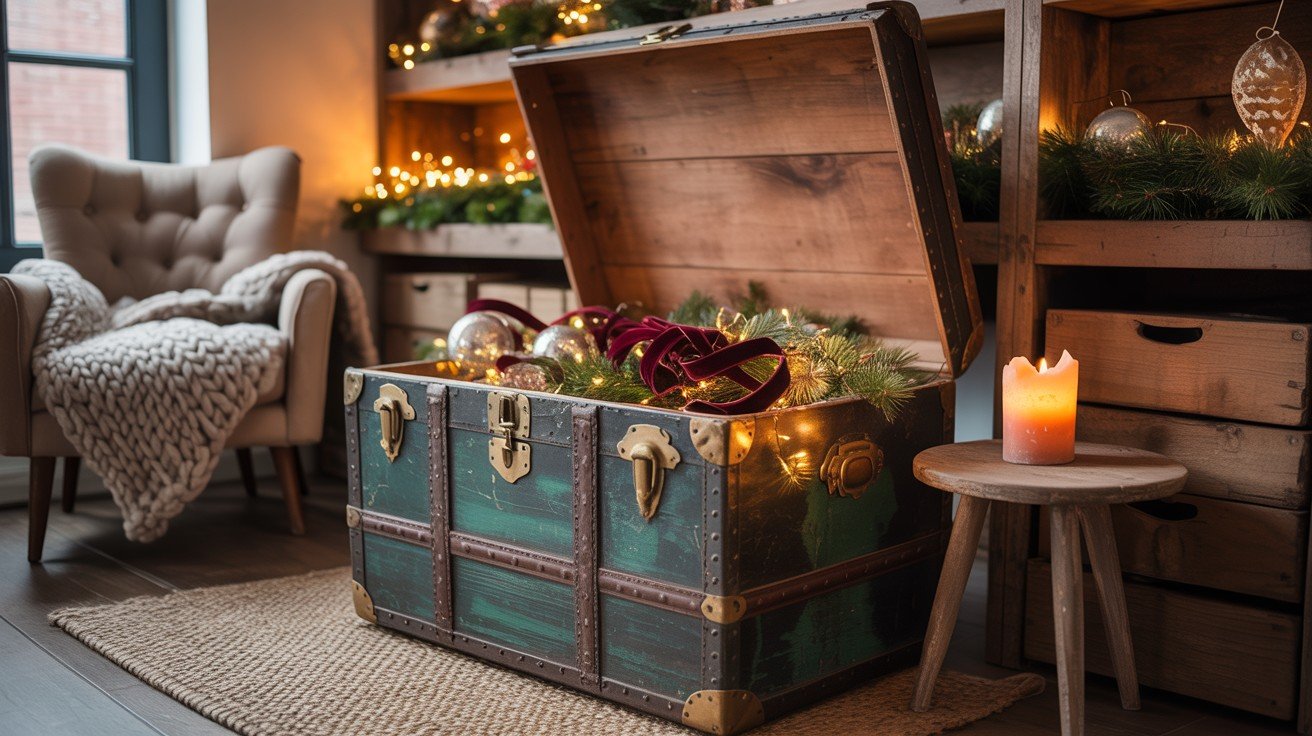
Keep your holiday and seasonal items organized and easily accessible.
- Label different sections for various holidays throughout the year
- Use clear containers inside so you can quickly see what’s stored
- Add padding or bubble wrap to protect fragile decorations
- Store artificial trees, wreaths, and other large items efficiently
- Keep an inventory list taped inside the lid to track what’s stored where
Each of these old trunk makeover ideas can help you create something both beautiful and useful for your home. Choose the project that best fits your needs and start giving new life to that forgotten trunk today!
Step-By-Step Guide
Whether you’re creating a coffee table, storage bench, or toy chest, these foundational steps will help you achieve professional-looking results.
Step 1: Clean and check your trunk- Give your trunk a good cleaning inside and out. Remove old paper, dust, and dirt. Look for any damage like loose parts, broken corners, or rust spots that need fixing.
Step 2: Remove old hardware– Take off all hinges, handles, locks, and corner pieces. Keep the good pieces to reuse later. Clean metal parts to remove rust and make them shine again.
Step 3: Sand the surface Sand the whole outside to remove old paint and rough spots. Start with rough sandpaper, then use smooth sandpaper. Wipe away all dust when finished.
Step 4: Fix any damage- Fill holes with wood filler and fix broken parts. Tighten loose joints and replace damaged corners. Let everything dry completely before moving on.
Step 5: Apply primer- Put primer on all surfaces you plan to paint. Use thin, even coats and let each coat dry completely. This helps paint stick better and look smoother.
Step 6: Paint or stain- Apply your chosen color in thin, even coats. If using stain, brush in the same direction as the wood grain. Most projects need 2-3 coats for best results.
Step 7: Upgrade the inside- Line the interior with fabric, paper, or leave the wood natural. Add shelves, dividers, or storage features your project needs. Install interior lights if wanted.
Step 8: Install new hardware- Put on new or cleaned hardware. Make sure hinges line up properly and handles are tight. Test all moving parts to ensure they work smoothly.
Step 9: Add finishing touches- Install wheels, cushions, or glass tops if needed. Add felt pads to protect surfaces. Apply clear protective coating for heavy-use areas.
Step 10: Style and enjoy- Place your finished trunk where you want it and add final decorations. Your old trunk makeover is complete and ready to use in your home.
Conclusion
These steps work for most trunk projects. Adjust them based on what you’re making and your trunk’s condition.
With these 11 creative old trunk makeover ideas and our simple step-by-step guide, you can turn any forgotten storage piece into a beautiful, functional addition to your home.
From coffee tables to toy chests, bedroom benches to office organizers, the possibilities are endless. Each project offers a chance to add personal style while creating practical storage solutions.
Whether you’re a beginner or experienced DIY enthusiast, these old trunk makeover ideas provide inspiration for every skill level and budget.
Ready to start your own trunk transformation? Pick your favorite idea from our list and begin today.
Don’t forget to share your finished project in the comments below – we’d love to see your creativity in action! For more home improvement inspiration, explore our related DIY storage articles.
Frequently Asked Questions
How Much does It Cost to Makeover an Old Trunk?
Most old trunk makeover ideas cost between $20-80 depending on materials needed. Basic paint and supplies are affordable, while adding hardware increases costs slightly.
What Tools do I Need For a Trunk Makeover Project?
You’ll need sandpaper, paintbrushes, screwdrivers, and cleaning supplies. Most old trunk makeover ideas use common household tools that many people already own.
How Long Does It Take to Complete a Trunk Transformation?
Most projects take 1-2 weekends to finish completely. Drying time between coats adds extra days, but actual working time is just a few hours total.
Can I Use Any Type of Paint on My Old Trunk?
Yes, but choose the right paint for your project. Use furniture paint for indoor pieces, waterproof paint for outdoor storage, and primer first.