

Drawing a skunk is easier than most people think. This guide walks you through every part of the process, from the first sketch to the final stripe.
You'll learn how to build the shape, place the features, and add color so the result actually looks like a skunk.
We'll also cover kid-friendly versions, cartoon styles, realistic details, common mistakes, and a few fun ideas to try once you've got the basics down.
I've sketched plenty of animals over the years, and skunks are one of the more forgiving ones to start with. By the end, you'll have a drawing you're happy to show off.
What Makes a Skunk Easy to Draw?

A skunk's body is made of simple rounded shapes and bold markings, which makes it a forgiving animal to sketch.
A skunk is easy to recognize thanks to a few standout traits. The body is short and stocky, with a small pointed face and round ears.
Its most famous feature is the black and white fur, especially the white stripe down its back. The tail is large, bushy, and often bigger than the body itself, while short legs and small paws round out the look.
You don't need much to get started either. A regular pencil works for sketching, with an eraser on hand for fixing mistakes.
A black marker or fine-tip pen helps darken your final lines, and black and white are the main colors you'll need for coloring.
Plain paper or a sketchbook works fine, and none of it has to be expensive. Comfort matters more than perfection here.
How to Draw a Skunk Step by Step
Follow these five steps in order and you'll have a complete skunk drawing from start to finish.
Step 1: Draw the Head and Face Shape
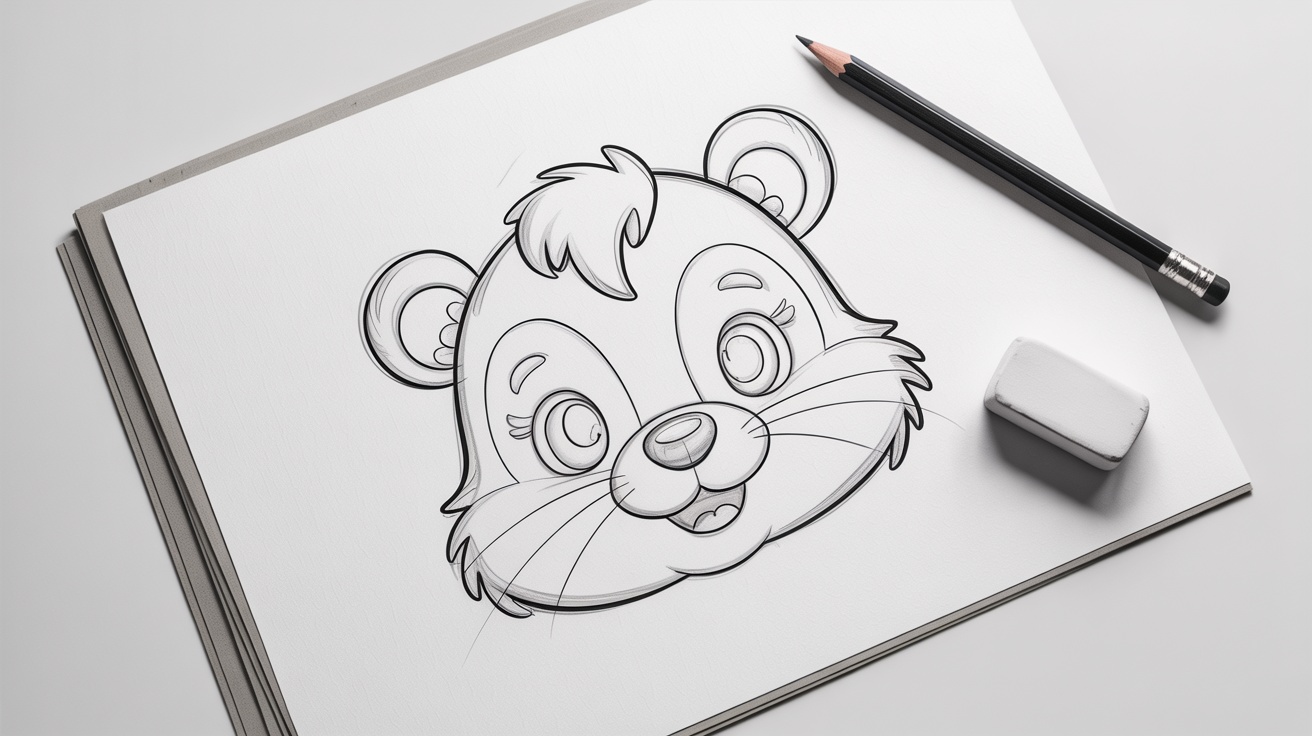
Start with a small oval for the head. Keep it slightly narrower toward the nose area, since skunks have a pointed snout.
Lightly sketch a center line down the middle of the face to help you place the features evenly later.
This first shape sets the tone for the rest of the drawing, so take your time and keep the lines light in case you need to adjust them.
Step 2: Add the Eyes, Nose, and Ears
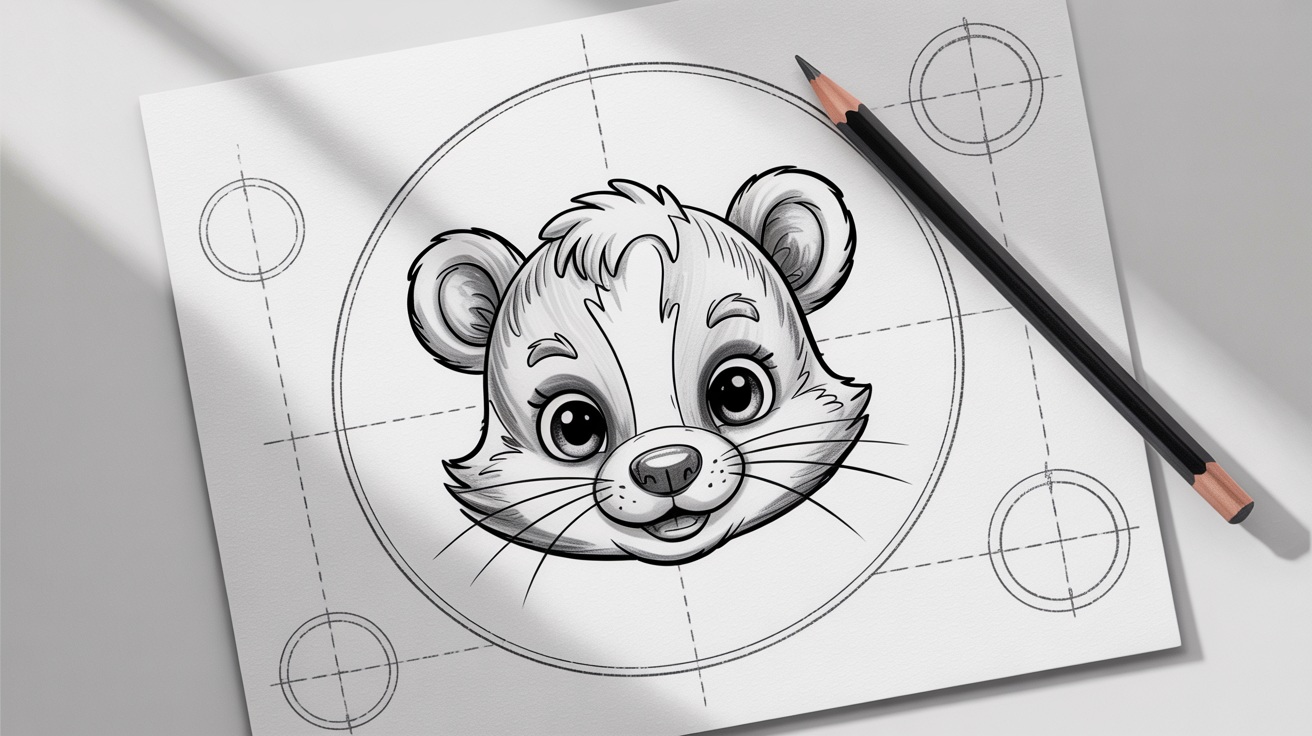
Place two small round eyes on either side of the center line, about halfway down the face. Add a small triangle or oval for the nose at the tip of the snout.
For the ears, draw two small rounded triangles on top of the head, slightly apart from each other.
Skunk ears are usually short and close to the head, so avoid making them too large or pointed.
Step 3: Sketch the Body and Legs

Below the head, draw a larger oval shape for the body. Skunks have a low, rounded build, so keep the body close to the ground rather than tall.
Add four short legs underneath, each ending in a small paw. The front legs can be slightly smaller than the back ones since skunks often appear to lean forward while walking or sniffing around.
Step 4: Draw the Skunk Tail and Stripes

The tail is one of the most fun parts to draw. Sketch a large, puffy shape extending from the back of the body, almost as big as the body itself.
Once the tail shape is set, add the white stripe running from the head down the back and into the tail. This stripe is what makes a skunk instantly recognizable, so don't rush this part.
Step 5: Outline and Color Your Drawing

Once your sketch looks right, go over the lines with a black marker or pen to make them stand out. Erase any leftover pencil marks.
Then fill in the black areas, leaving the white stripe and any other light patches untouched. The strong contrast between black and white is what brings the drawing to life.
How to Draw a Skunk Easy for Kids

Kids can draw a skunk using basic shapes, simple features, and an easy two-color coloring approach.
Use Simple Shapes
For younger artists, sticking to circles and ovals makes the process much easier.
A round head, an oval body, and a big teardrop-shaped tail are all you need to get the basic skunk shape down. There's no need for fancy curves or detailed lines at this stage.
Focus on the Main Features
Kids should focus on the parts that make a skunk look like a skunk: the round ears, small black eyes, and the white stripe.
Skipping extra details like fur texture keeps the drawing simple and fun, which matters more for younger artists than getting every line perfect.
Keep Coloring Simple
Black and white crayons or markers are all that's needed here. Coloring inside the lines isn't required either, especially for younger kids.
The goal is to have fun with the process and end up with something that still looks like a skunk, even if it's a little messy.
How to Draw a Skunk Face
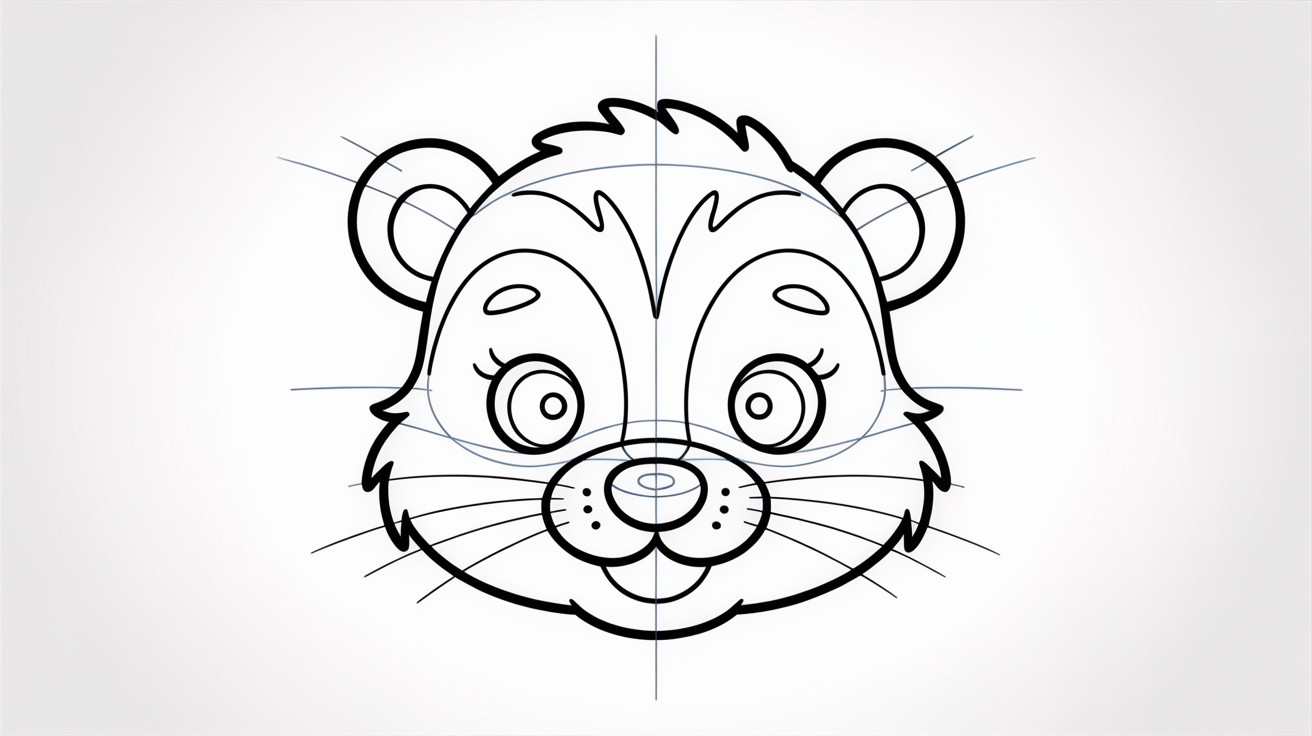
A skunk face is simple to sketch once you understand the basic head shape and where the stripes belong.
Create the Head Shape
Start with a rounded shape that narrows slightly near the nose. This gives the face a soft, friendly look while still keeping the pointed snout that skunks are known for.
Add Facial Features
Place small round eyes and a tiny nose near the tip of the snout. Add two short rounded ears near the top of the head. Keep the features small and centered so the face doesn't look stretched out.
Draw the Signature White Stripes
The white stripe usually starts between the eyes and runs up over the head. This is one of the most important parts of the face, so make sure it's centered and even on both sides.
How to Draw a Skunk Tail
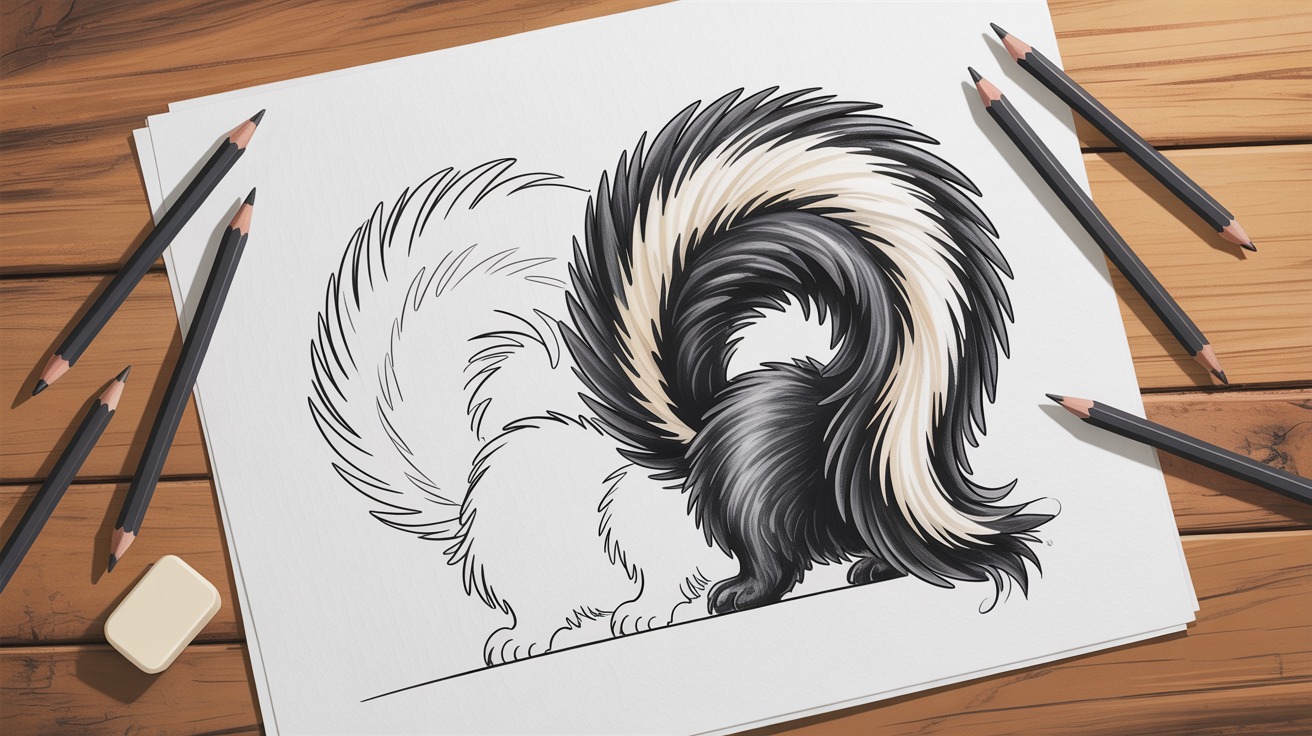
The tail is the biggest and most expressive part of a skunk, so getting its shape and pattern right matters most.
Sketch a Large Fluffy Tail
Begin with a wide, rounded shape extending from the back of the body. Skunk tails are often as long as the body, so don't be afraid to make it big.
A slightly curved shape gives it a more natural, fluffy look.
Add Curved Fur Lines
Light curved lines along the edges of the tail help suggest fur without adding too much detail.
These lines should follow the direction the tail is pointing, giving it a sense of movement and softness.
Draw the Tail Stripe Pattern
The white stripe continues from the back into the tail, though it may spread out or fade slightly near the tip.
This stripe ties the whole drawing together and makes the tail instantly recognizable.
How to Draw a Cartoon Skunk

A cartoon skunk uses rounder shapes and bigger features to create a friendly, exaggerated look.
Use Rounded Shapes
For a cartoon version, round out every part of the skunk, from the head to the paws.
Sharp angles make the drawing feel stiff, while soft curves give it that bouncy, animated feel cartoons are known for.
Make the Eyes Larger
Cartoon characters often have eyes that are bigger than real life.
Enlarging the eyes and placing them closer together gives the skunk a cute, approachable expression that works well for kids' books or simple animations.
Add a Friendly Expression
A small smile or raised eyebrows can completely change the mood of the drawing.
Adding personality through facial expression is what turns a basic sketch into a character people enjoy looking at.
How to Draw a Realistic Skunk
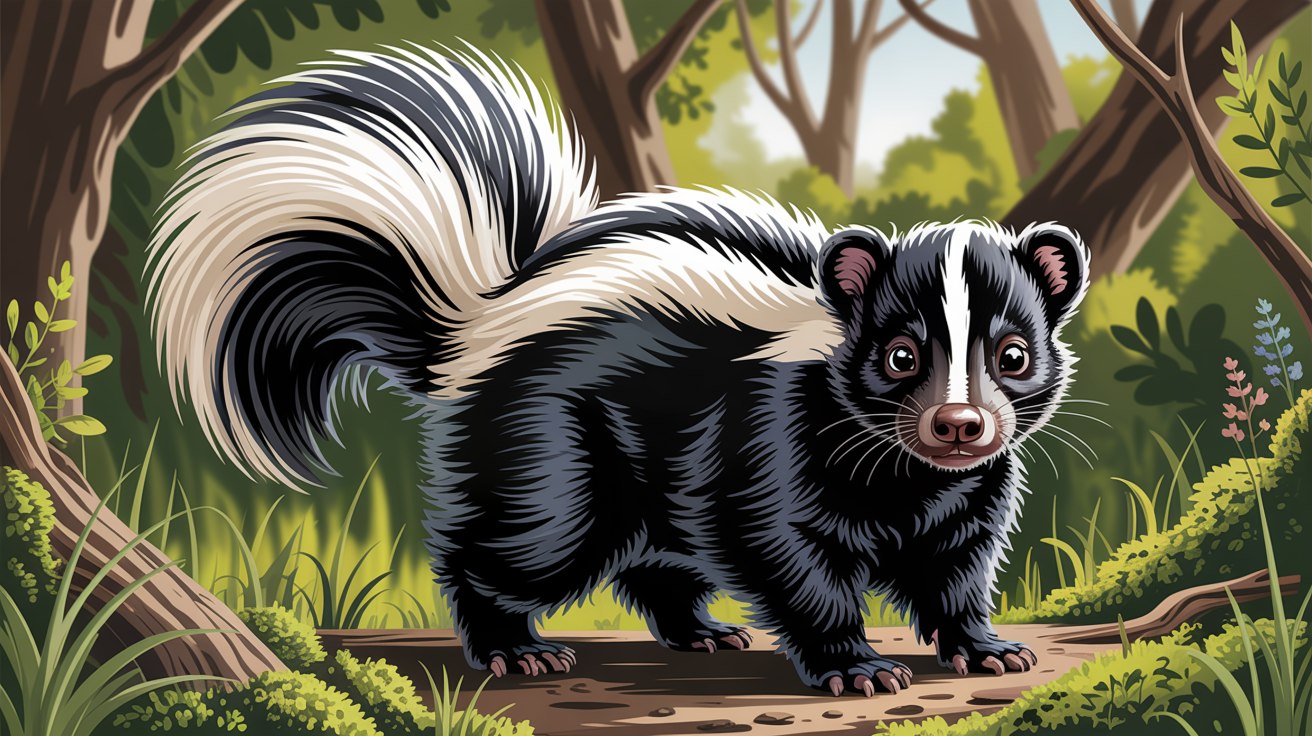
Study Real Skunk Proportions
Before drawing, look at real photos of skunks to understand how their body, legs, and tail relate to each other in size.
Skunks have a low center of gravity, with the tail often taking up a large portion of their overall length.
Add Fur Texture
Use small, short lines instead of one smooth outline to suggest fur. This works especially well on the tail and along the back, where the fur tends to look thicker and more textured.
Use Shading for Dimension
Adding light shading under the body and around the legs helps the skunk look like it's sitting on a surface rather than floating in space.
Darker shading along the edges of the black fur can also add depth.
Tips to Improve Your Skunk Drawing
A few small adjustments in line work, tail size, and contrast can make your skunk drawing look more polished.
Keep Lines Smooth and Clean
Shaky or broken lines can make a drawing look messy. Take your time with the outline, and don't be afraid to redraw a line a few times until it feels smooth.
Make the Tail Stand Out
Since the tail is such a defining feature, give it extra attention. A tail that's too small or flat can make the whole drawing feel off balance, so don't shy away from making it large and full.
Use Strong Black and White Contrast
Skunks rely on bold contrast to look correct. Make sure your black areas are solid and your white areas are left clean, without smudging or shading that blurs the line between the two colors.
Common Mistakes to Avoid
A few simple errors can throw off the whole drawing, even when the basic shapes are correct.
- Drawing a tail that is too small: A small tail is one of the most common mistakes. Since the tail is such a major part of a skunk's appearance, keeping it too short or thin makes the drawing look unbalanced.
- Misplacing the stripe pattern: The white stripe needs to be centered and consistent from the head through the tail. Placing it off to one side or making it uneven can make the skunk look less recognizable.
- Ignoring basic body proportions: Skunks are low to the ground with short legs. Drawing the body too tall or the legs too long can make the animal look more like a different creature entirely.
- Using colors that lack contrast: Using gray instead of true black, or skipping the white areas altogether, weakens the overall look. Strong, clear contrast is part of what makes a skunk drawing successful.
Creative Skunk Drawing Ideas

Once you've mastered the basics, these ideas offer fun new ways to practice your skunk drawing skills.
Draw a Skunk in Nature
Try placing your skunk in a simple outdoor setting, like near a log or some grass.
This adds context to the drawing and gives you a chance to practice background elements alongside the main subject.
Draw a Family of Skunks
Drawing multiple skunks of different sizes, like a parent and a few babies, is a fun way to practice proportions and repetition while creating a more detailed scene.
Draw a Skunk Spraying
For a more dynamic drawing, try showing the skunk in action, with its tail raised and a little spray effect behind it. This adds movement and personality to an otherwise still pose.
Create Your Own Cartoon Character
Once you're comfortable with the basic shapes, try giving your skunk a name, a personality, and maybe even a little outfit.
Turning your drawing into a character is a great way to keep practicing while having fun.
Conclusion
You made it through every step, and that's worth something. Drawing a skunk might have felt tricky at first, but once you break it into small parts, it gets a lot easier.
I still remember struggling with tails on my early animal sketches, so don't worry if yours doesn't look perfect right away.
Keep practicing, try a few different styles, and see which one feels most like you.
If this guide helped, leave a comment and let me know how your skunk turned out, or share it with a friend who loves to draw too.
Frequently Asked Questions
What is the easiest way to draw a skunk for beginners?
Start with simple round shapes for the head, body, and tail. Focus on the white stripe and black coloring before adding small details.
How do I make my skunk drawing look more realistic?
Study real skunk photos for proportions, then add fur texture and light shading. This gives the drawing more depth and a natural look.
What's the most important part of drawing a skunk?
The tail and the white stripe pattern. These two features are what make a skunk instantly recognizable in any drawing style.
Can kids easily learn how to draw a skunk?
Yes, kids can draw a skunk using basic shapes like circles and ovals. Keeping the features simple makes it an easy project for young artists.
What mistakes should I avoid when drawing a skunk?
Avoid making the tail too small or placing the stripe off center. Also keep the body low and the legs short for accurate proportions.
