

I still remember the first time I tried drawing a hyena. It looked more like a sad dog. But once I broke it down into simple shapes, everything clicked.
That's exactly what this guide is for.
You'll learn how to draw a hyena step by step, even if you've never picked up a pencil for art before. We'll go from basic shapes to the face, body, and those signature spots.
It's fun, it's simple, and by the end, you'll have a drawing you're actually proud of. Let's get started.
Simple Understanding of a Hyena’s Shape
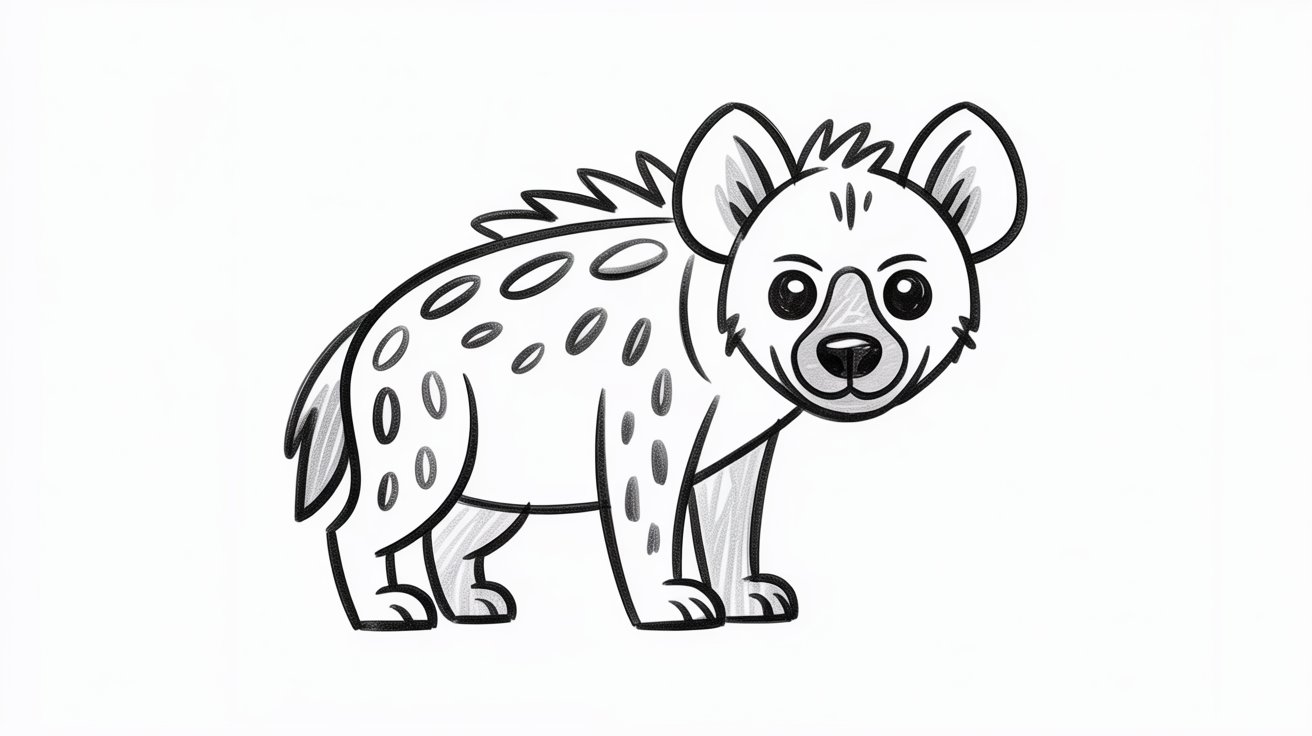
Before you start drawing, it helps to understand what a hyena actually looks like. The body has a sloping back, which makes it stand out from other animals.
The legs are long and sturdy, giving it a strong stance. The ears are rounded, and the snout is short and simple.
Focus on the big expressive eyes first. Then add a basic nose and mouth. Once the face looks right, add a few spot patterns on the body to finish it off.
Materials Needed for Easy Hyena Drawing
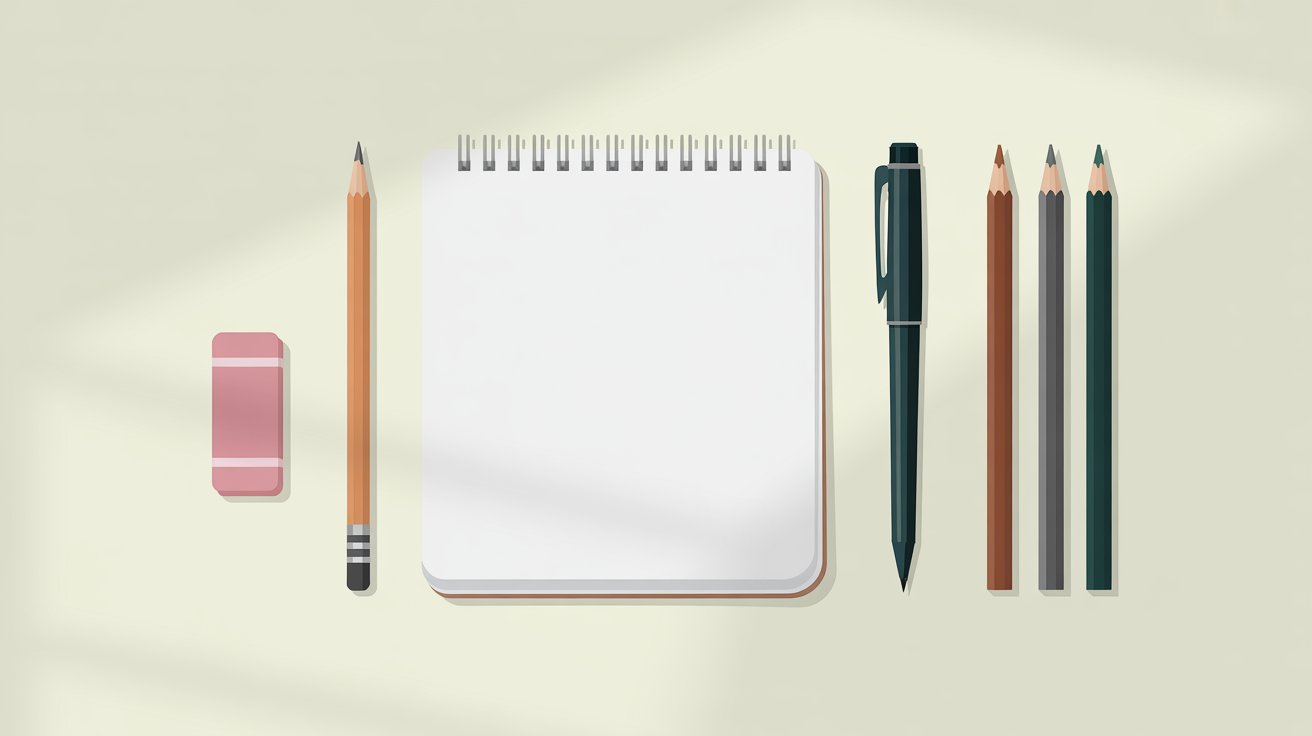
Everything you need to start drawing a hyena with no fancy tools required.
Basic Drawing Supplies
- Pencil and eraser
- Plain drawing paper or sketchbook
- Black pen for outlining (optional)
Coloring Tools (Optional)
- Brown, grey, and black shades
- Colored pencils or crayons
Hyena Drawing Easy – Step-by-Step Guide
Follow these simple steps to draw a hyena from scratch. Each step builds on the last, so you always know exactly what to do next.
Step 1 – Draw a Simple Head Shape
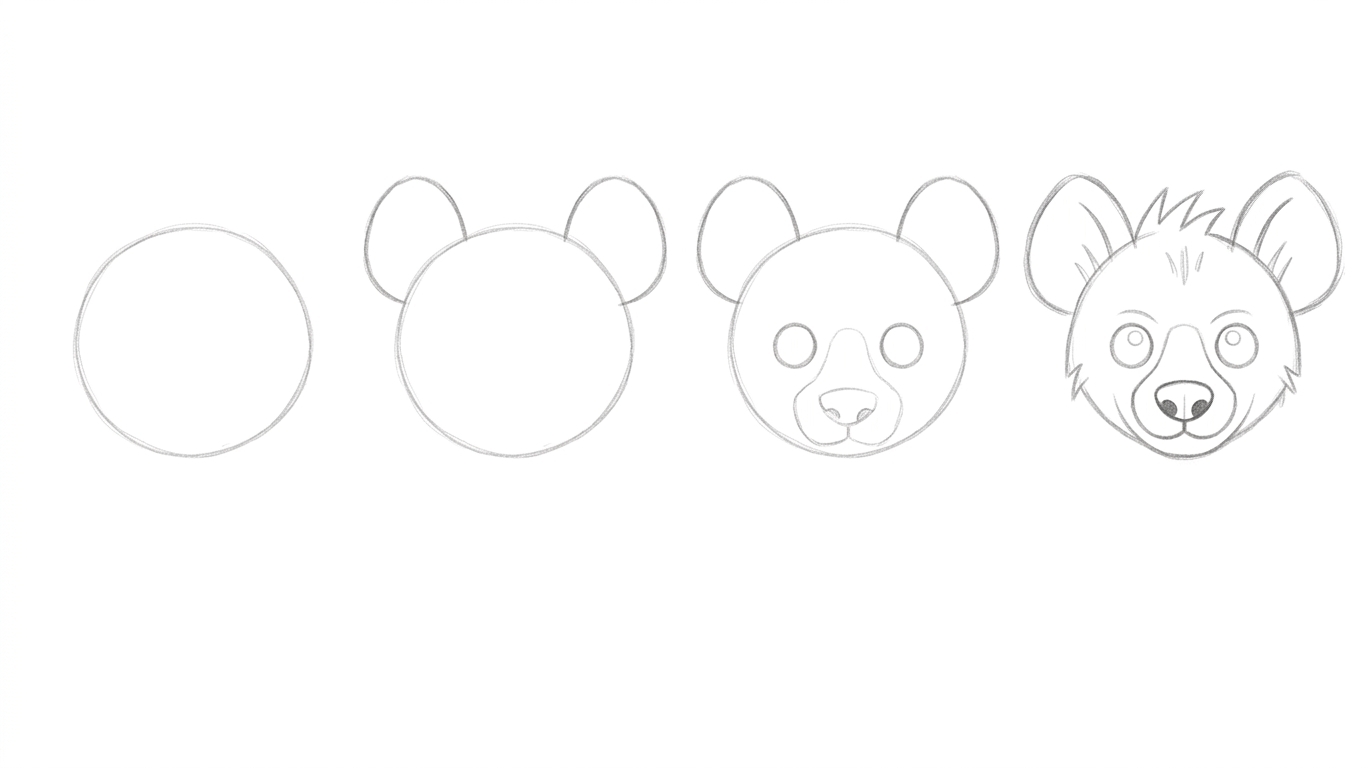
Start with a circle or oval in the center of your paper. This will be the base of the head. Then add two small rounded ears on top. Keep them simple and close together. This gives your hyena a natural look right from the start.
Step 2 – Add Basic Facial Features
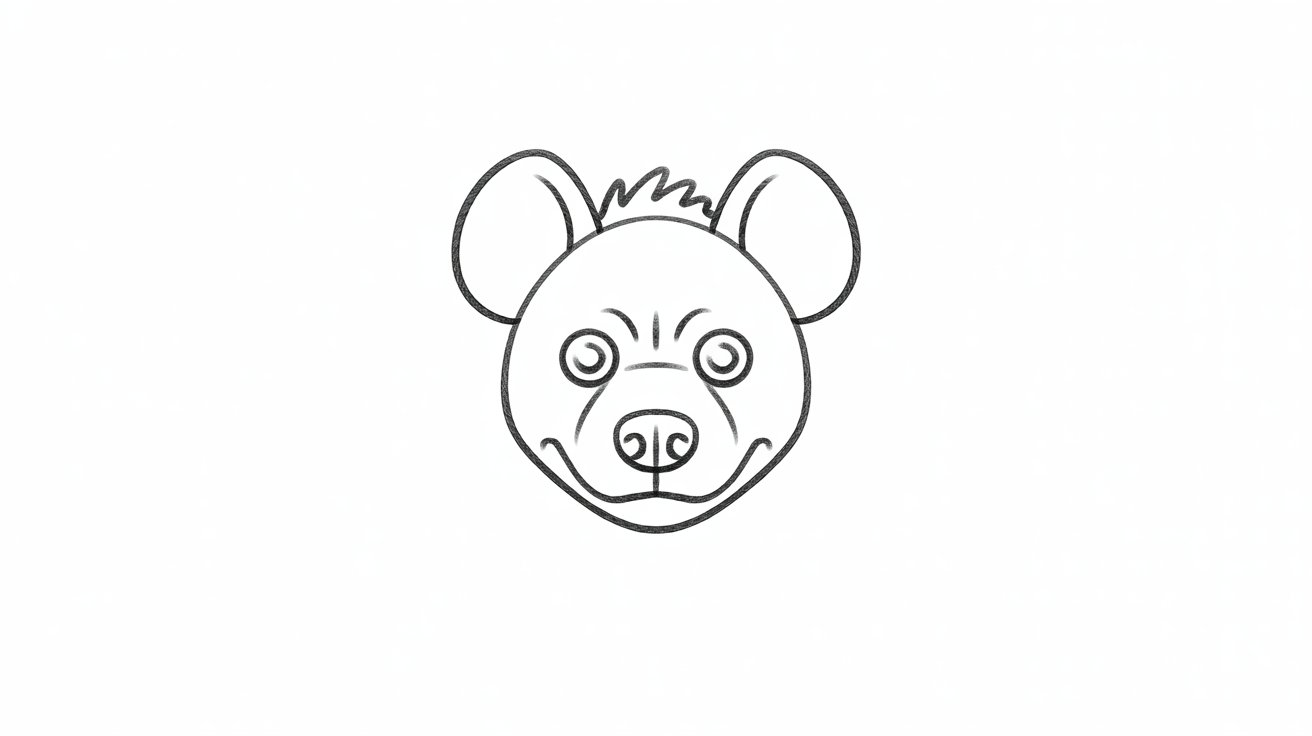
Draw two small circles for the eyes. Place them in the upper half of the head shape. Then add a simple rounded nose below the eyes. Finish with a small curved line for the mouth. Keep everything light so you can adjust later if needed.
Step 3 – Sketch the Body Outline
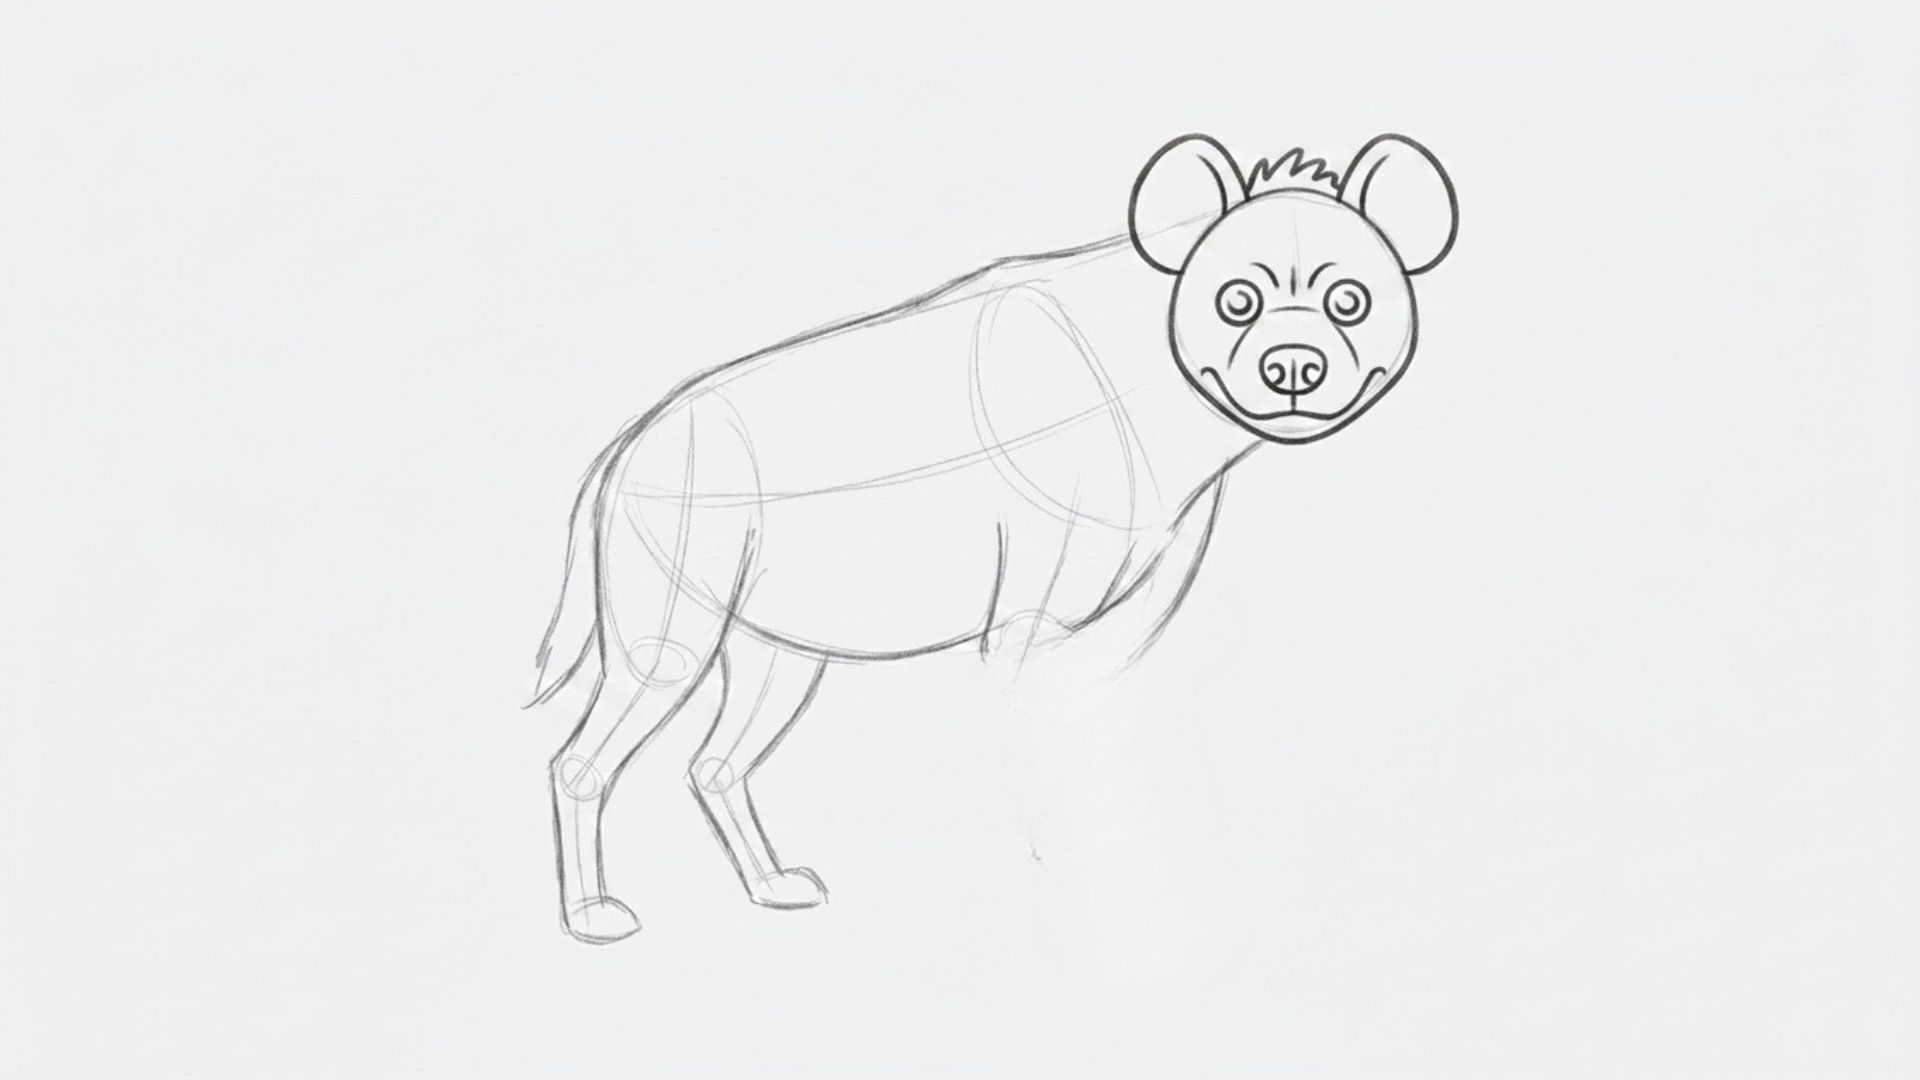
Draw a long curved line starting from the back of the head going downward. This forms the back. Then add a shorter curved line below for the belly. The back should slope slightly lower than the neck. This sloping shape is what makes a hyena look like a hyena.
Step 4 – Draw Front Legs
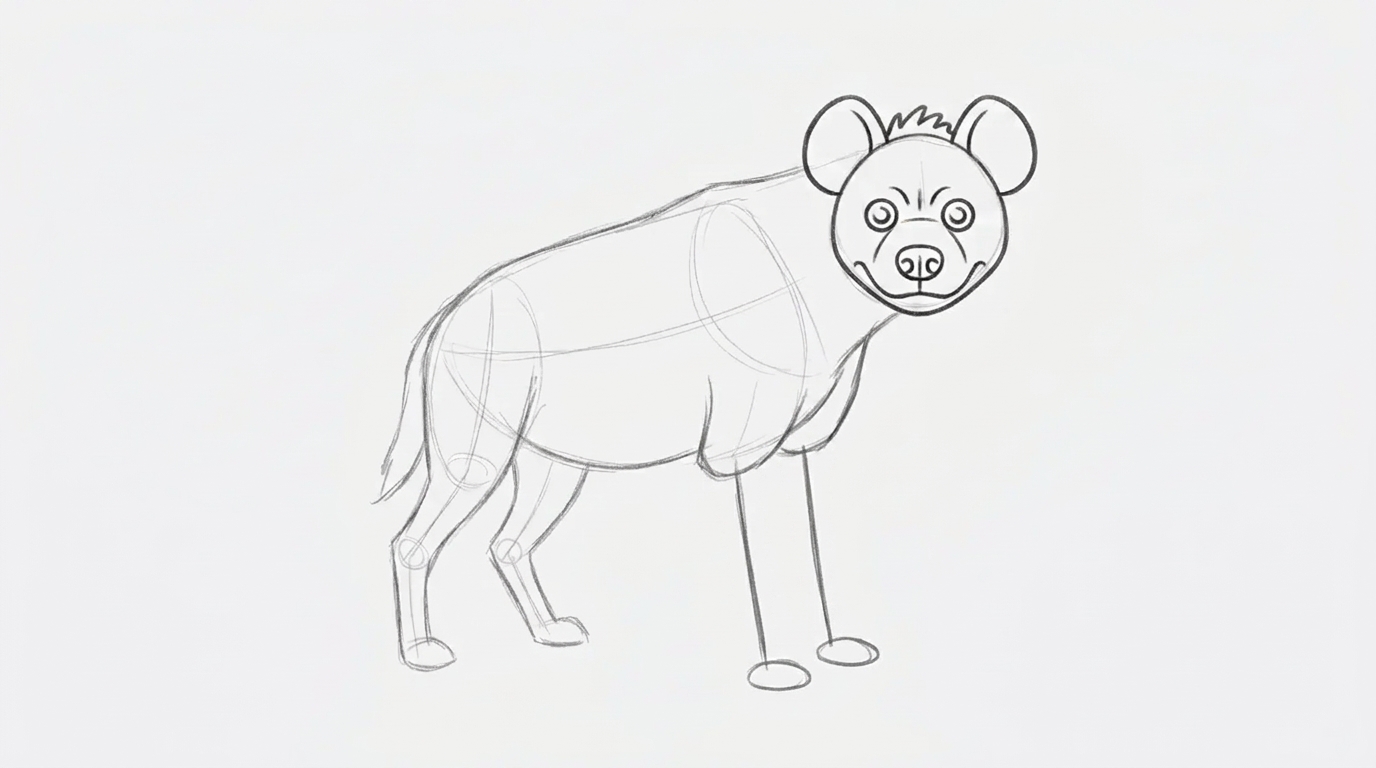
Add two straight lines coming down from the chest area. These are the front legs. Keep them thin and close together. Add small flat lines at the bottom for the paws. Simple straight shapes work best here. Don't overthink it at this stage.
Step 5 – Add Back Legs
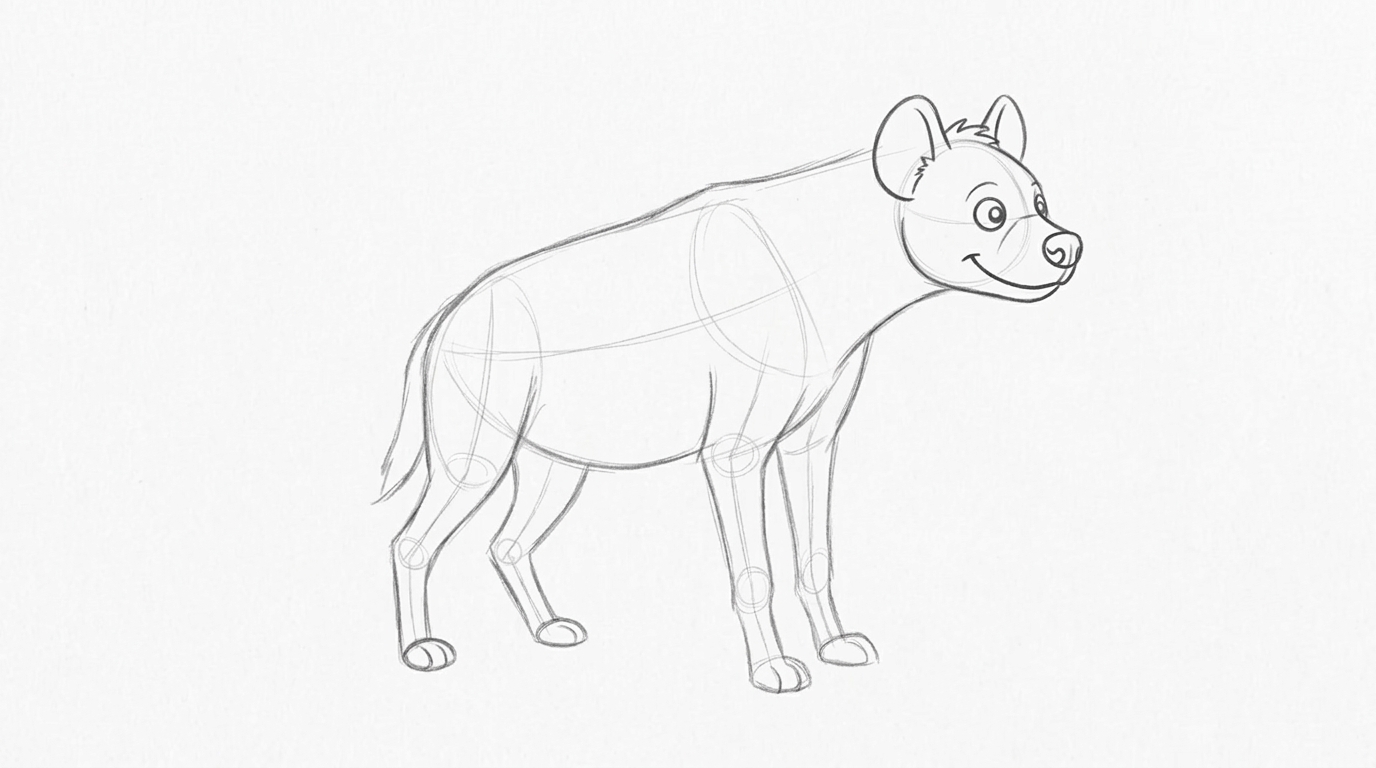
Draw two slightly bent lines at the back of the body. Hind legs on a hyena are a little shorter than the front ones. This gives the body that natural sloping posture. Add small paw shapes at the bottom. Keep both legs balanced and even on each side.
Step 6 – Draw the Tail
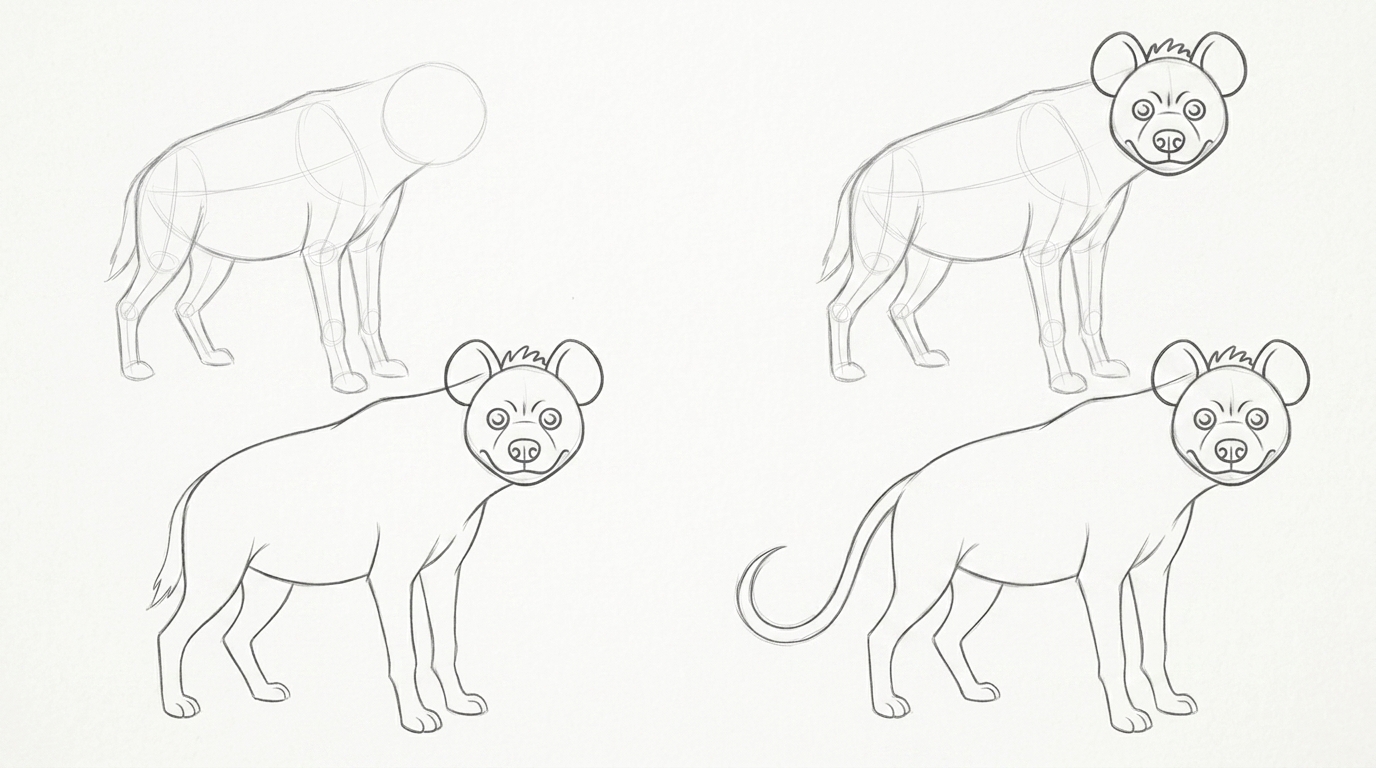
Add a long curved tail starting from the back end of the body. Let it curve upward or outward naturally. Make the tip slightly pointed for a realistic look. Keep the tail thin and light. A simple curved line is all you need to get this right.
Step 7 – Refine the Body Shape
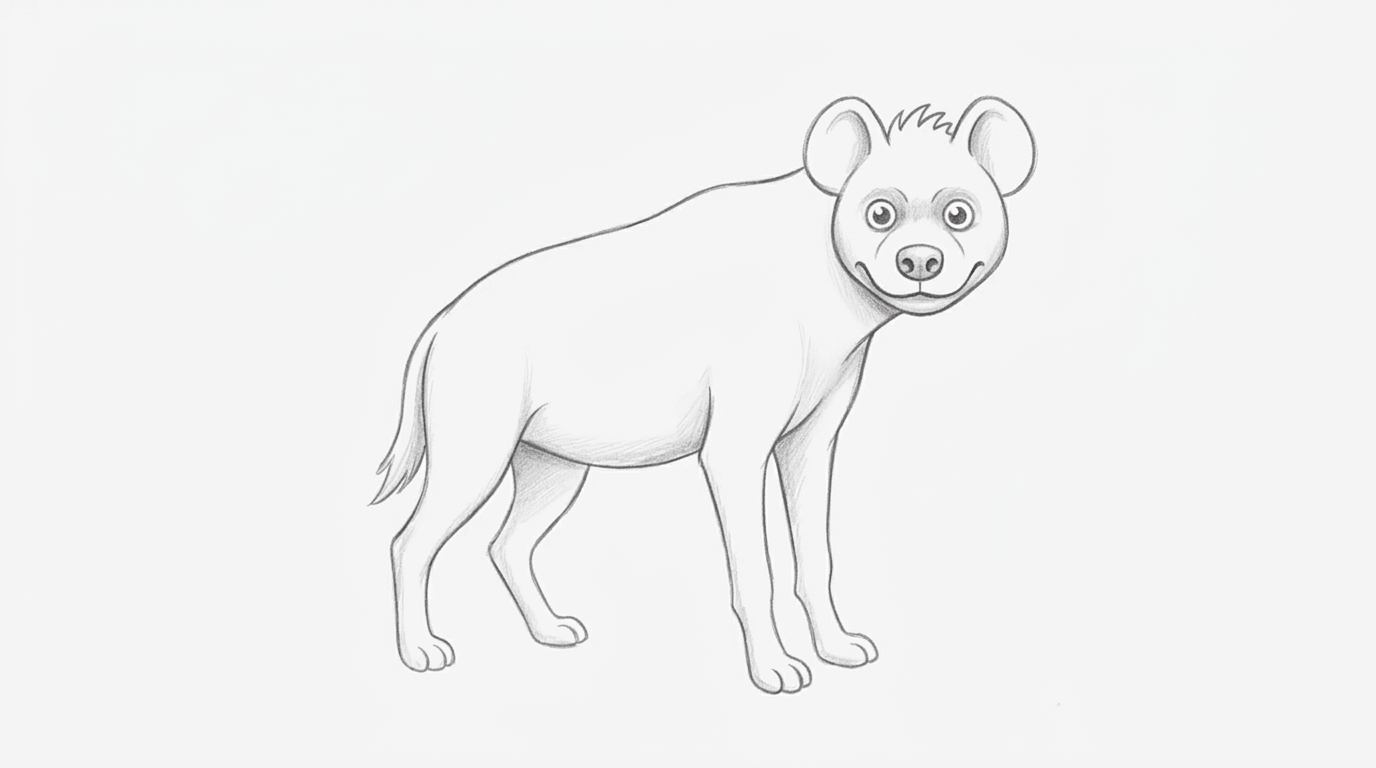
Now connect the head, neck, and body smoothly. Look at your drawing and check if the proportions feel right. Adjust any lines that look too stiff or uneven. This step is just about cleaning up what you already have. Small fixes here make a big difference in the final result.
Step 8 – Add Spots and Details
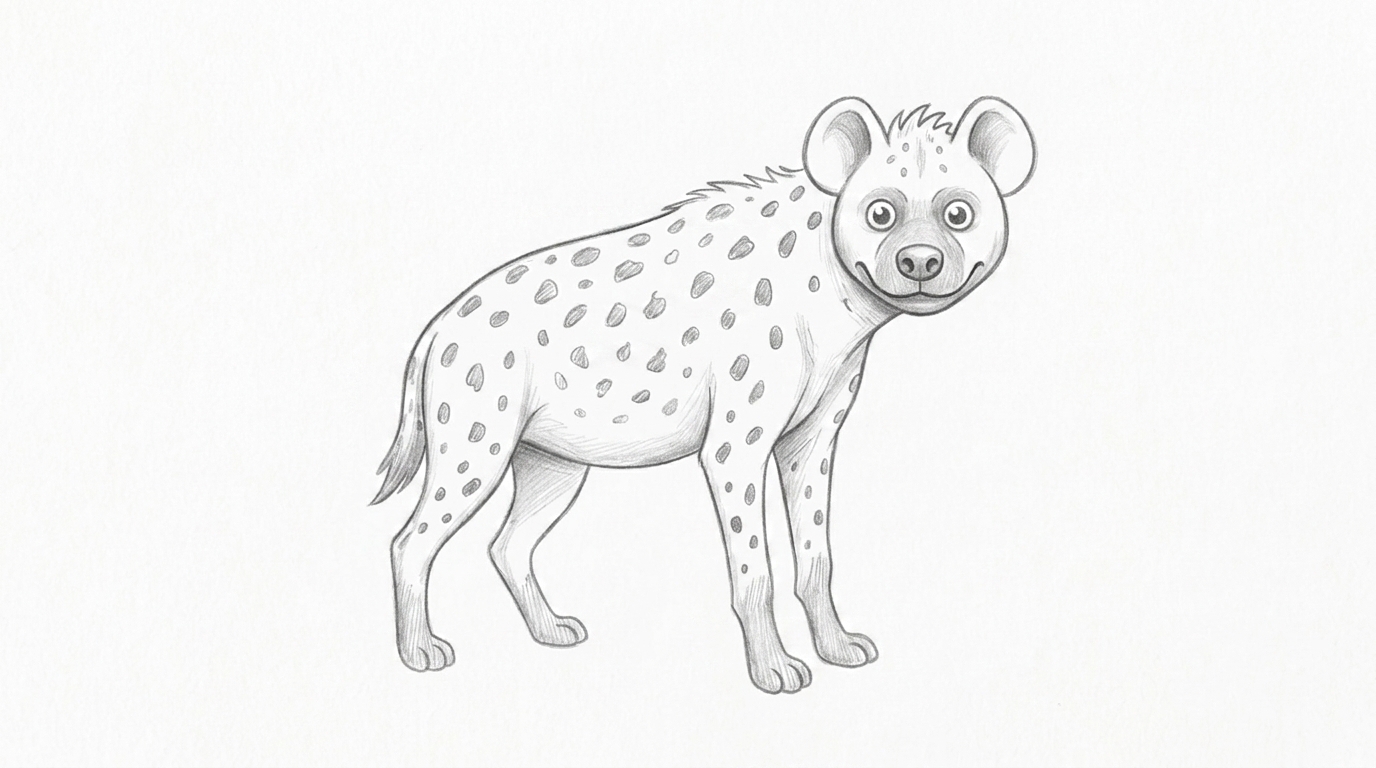
Draw small round spots across the body. Keep the spacing random and light. You don't need a perfect pattern. Real hyenas have irregular spots, so yours can too. Add a few spots on the legs as well. This final detail brings the whole drawing together nicely.
Tips for Beginners to Improve Fast
- Start with basic shapes like circles, ovals, and straight lines. Getting comfortable with these builds confidence before you attempt a full drawing.
- Don't stop at one drawing. Try the same hyena again and again to see real improvement each time.
- Focus on one part at a time. Rushing through all the steps at once makes it harder to get the proportions right.
- Keep your pencil pressure light in the early stages. Light lines are much easier to fix or erase than heavy ones.
- Compare each new drawing to your last one. You'll notice small improvements that keep you motivated to keep going.
Conclusion
Drawing a hyena is not as hard as it looks. I've seen complete beginners nail this by simply following the steps in order and focusing on basic shapes first.
The key is to keep practicing. Every time you redraw it, something improves.
So grab your pencil and start with that first circle. Take it one step at a time and don't rush.
Have questions or want to share your drawing? Drop a comment below. I'd love to see how yours turned out!
Frequently Asked Questions
What is the easiest way to start a hyena drawing for beginners?
Start with a simple circle for the head and build from there. Breaking the body into basic shapes makes the whole process much easier.
Do I need special art supplies to draw a hyena?
No, you only need a pencil, eraser, and plain paper to get started. Special tools are not required at all.
How long does it take to learn hyena drawing?
Most beginners can complete a basic hyena drawing in 20 to 30 minutes. With regular practice, you'll get faster and more confident each time.
Can kids follow this hyena drawing guide easily?
Yes, this guide is designed to be simple enough for kids and beginners. Each step is short and easy to follow without any prior art experience.
How do I make my hyena drawing look more realistic?
Focus on the sloping back shape and add random spot patterns on the body. These two details alone make a big difference in how realistic your drawing looks.