

I still remember the first time I tried to draw a baseball it looked more like a lumpy moon than a sports ball.
If you've been there too, this guide is for you. Baseball drawing is exactly what this tutorial covers, no fancy skills, no confusing steps.
I've broken it down into clear, beginner-friendly steps, from sketching the base shape to adding those stitching lines correctly.
You'll know exactly where to start and what to do next. Drawing gets better with every attempt, and this is your solid starting point.
Simple Ways to Improve Your Baseball Drawings
Good baseball drawings come from consistent practice and a few smart habits.
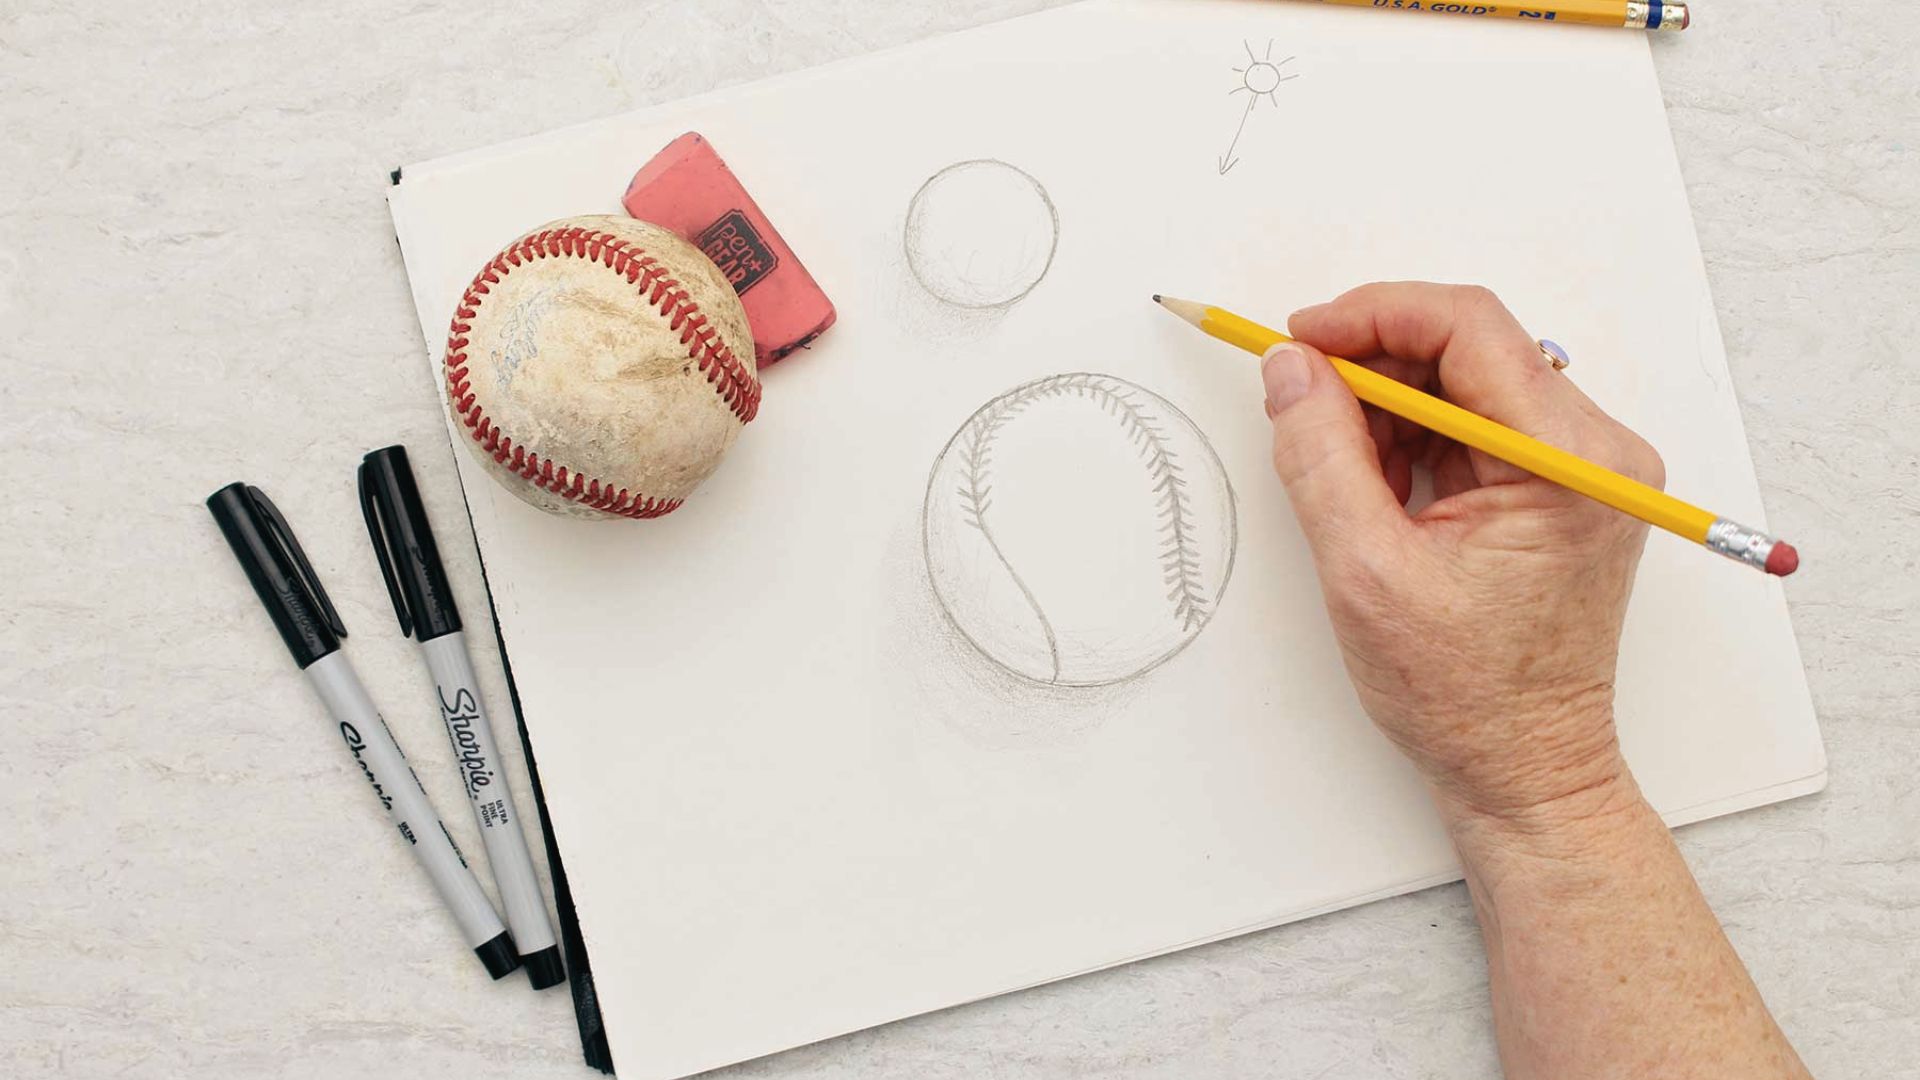
Pick one light source direction and keep it the same throughout your drawing shadows fall on the opposite side, and a small white spot near the top acts as a highlight.
Action lines behind a moving ball or bat add instant energy. Spend just five to ten minutes daily sketching baseball shapes from memory.
Try drawing the same baseball in different styles, realistic one day and cartoon the next. This builds flexibility and makes every future drawing noticeably better.
Baseball Drawing Easy Step-by-Step Tutorial
Follow these simple steps to draw a baseball from scratch, even if you have never drawn one before.
Step 1: Draw a Perfect Circle

Start with a circle. This is the base of your baseball drawing.
Use a compass if you want a clean circle. If you are drawing by hand, try tracing a round object like a coin or a cup lid.
Draw lightly. You will be adding more lines on top, so a soft pencil mark is easier to fix later.
Do not stress about making it perfect. A slightly uneven circle still works great for a baseball sketch.
Step 2: Sketch the Baseball Seams

The seams are what make a baseball look like a baseball.
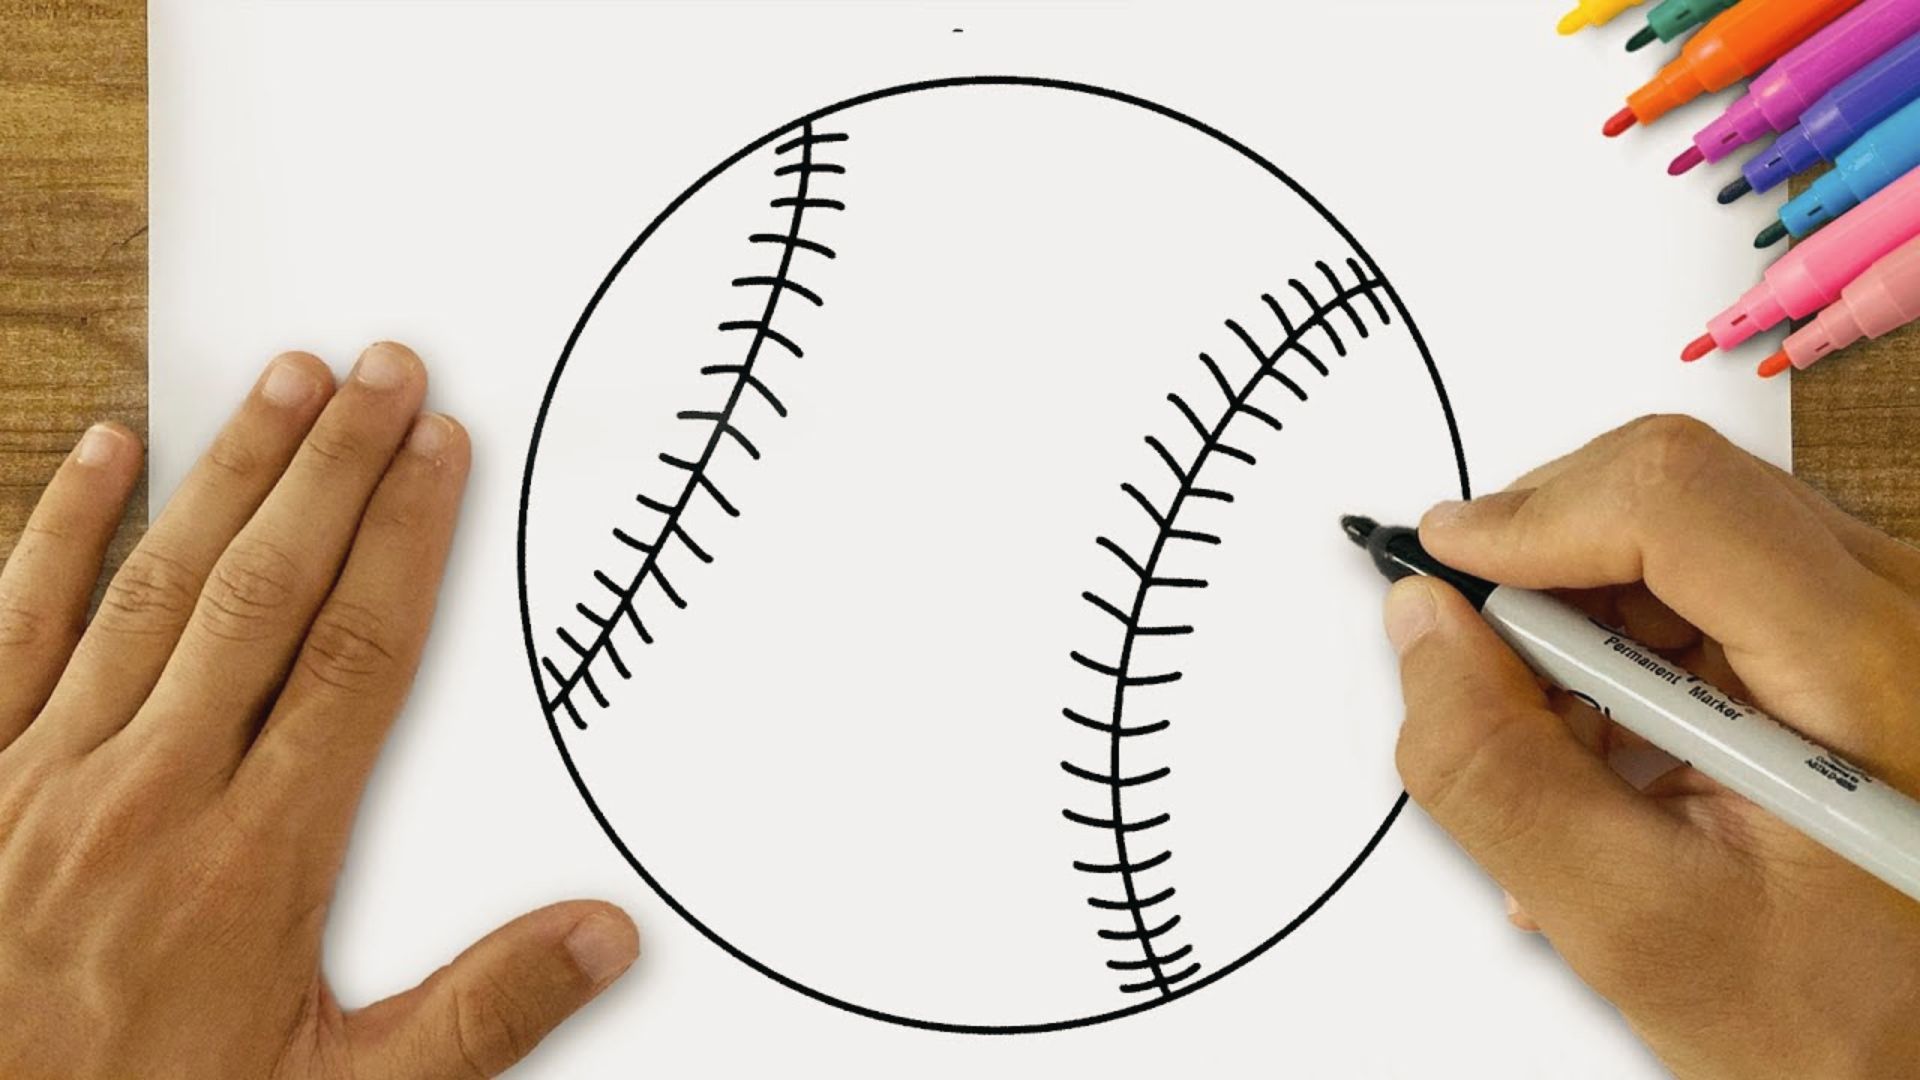
Draw two curved lines inside the circle. Each line curves in opposite directions. Think of it like drawing two elongated S shapes facing each other on the left and right sides of the ball.
Keep the lines smooth and evenly spaced. They should not touch the edge of the circle.
Go slow with this step. Getting the seam shape right makes the rest of the drawing much easier.
Step 3: Add the Stitch Details

Now add small stitch marks along the curved seam lines.
Draw short, slightly angled lines on both sides of each seam curve. Space them out evenly. These small marks look like the stitching on a real baseball.
You do not need to draw too many. Around six to eight stitches on each seam curve is enough to make it look real.
Keep the stitches small and consistent in size.
Step 4: Outline the Baseball Drawing
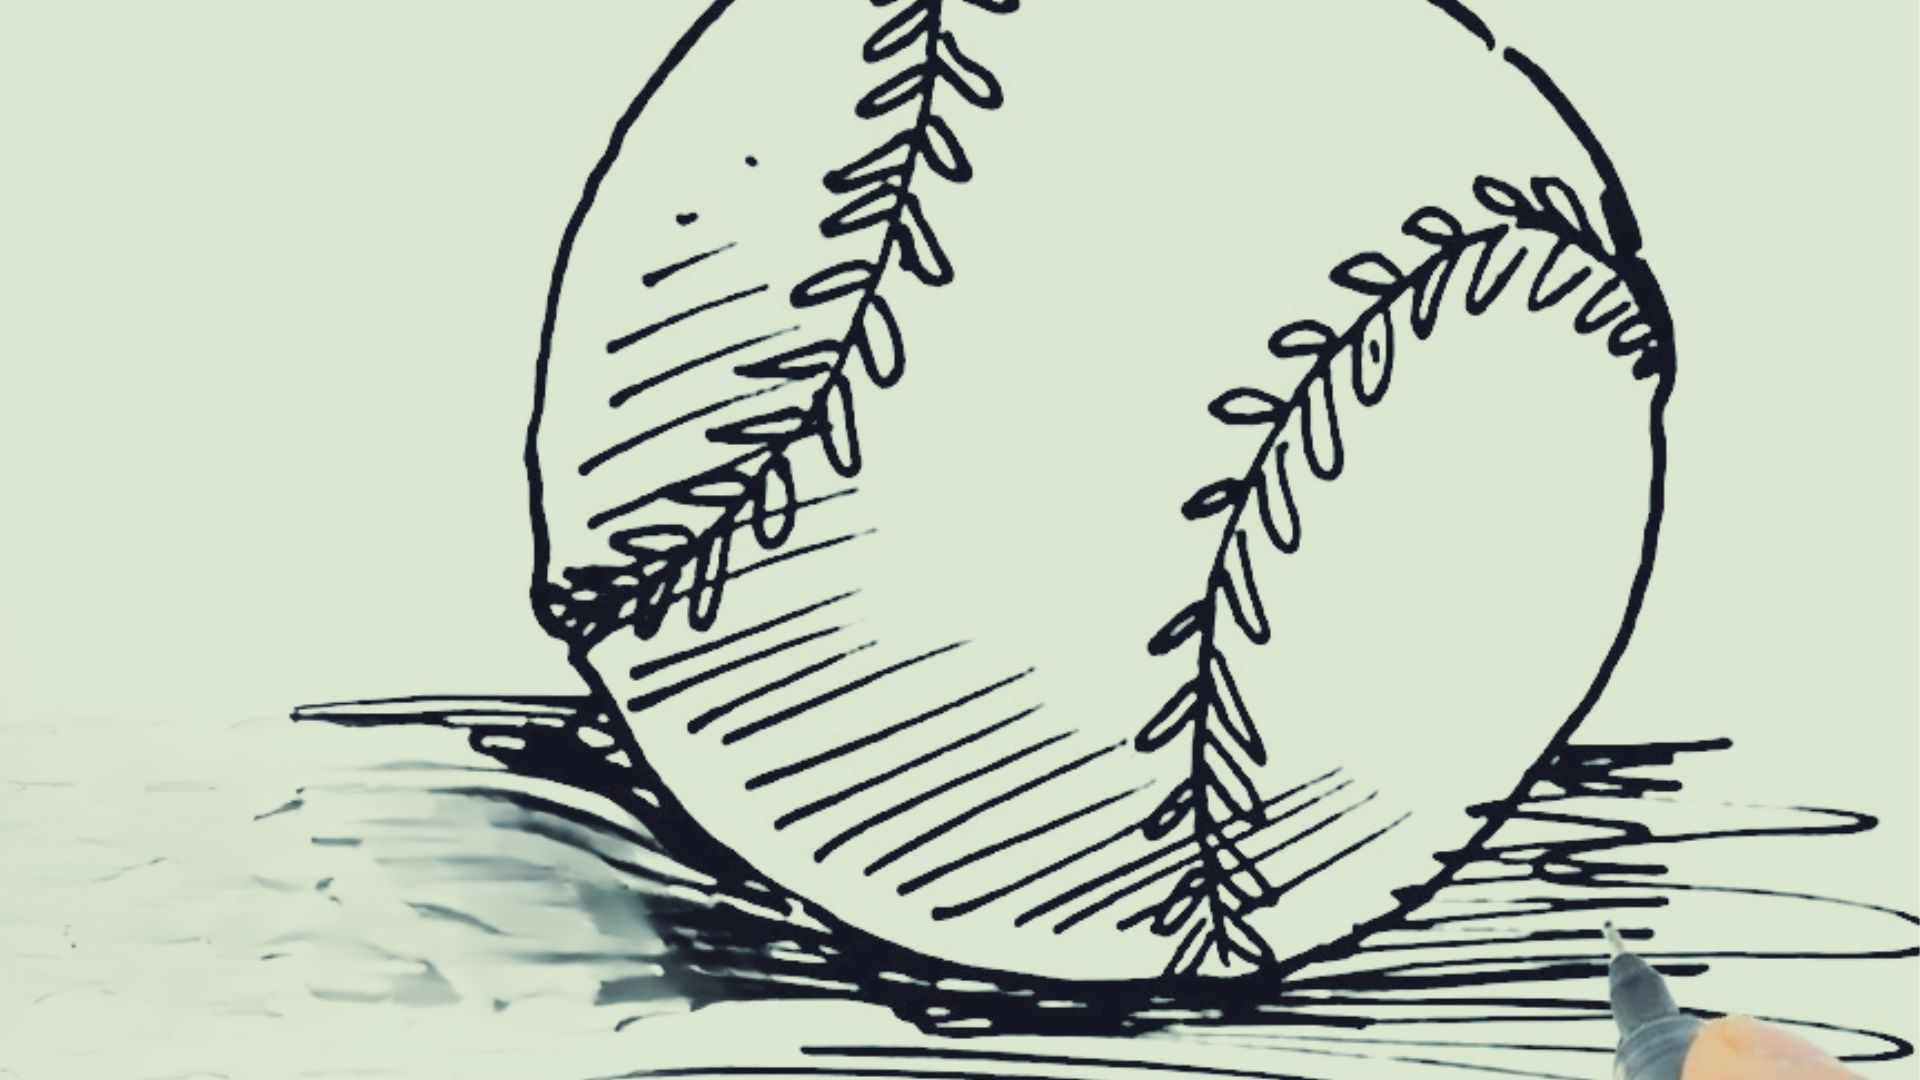
Once your sketch looks good, go over it with a darker pencil or a fine-tip pen.
Trace the outer circle first. Then go over the seam curves. Finally, outline the stitch marks.
Erase any light pencil guidelines after the ink or dark lines dry. This gives your drawing a clean and finished look.
Take your time with the outline. Steady lines make a big difference in the final result.
Step 5: Add Color and Realistic Shading

A baseball is mostly white or off-white with red stitching.
Color the ball with a light gray or cream shade. Leave a small area near the top uncolored to show where light hits the ball. This is called a highlight.
Add a slightly darker tone on the bottom half of the ball. This gives it a round, three-dimensional look.
Color the seam stitches red. Use a darker red on one side of each stitch to add depth.
Shading does not have to be complex. Even simple light and dark areas make your drawing look much more realistic.
Common Mistakes Beginners Should Avoid
These small adjustments can make a noticeable improvement in your work right away.
- Pressing too hard with the pencil early on. Start light and darken later.
- Skipping the guidelines. Basic shapes make the final drawing much easier.
- Rushing the seams. Take your time with the curved lines for better results.
- Giving up after one attempt. Every drawing teaches you something new.
- Ignoring proportions. A baseball that looks too flat or too wide loses its round, solid feel, so check your circle shape before adding any details.
Cool Baseball Drawing Easy Ideas to Try

Once you know the basics, try these fun and creative baseball drawing ideas to make your art stand out.
Baseball on Fire Drawing
Draw a regular baseball first, then add tall pointed flame shapes around the outside using orange, red, and yellow.
Add a dark outline around the flames and they will instantly stand out on the page.
Baseball Breaking Through Glass
Draw the baseball in the center, then add uneven cracks spreading outward like a broken window with small glass shards near each crack.
Shade the inside of the cracks dark and the whole drawing gives the feeling of serious impact.
Baseball with Motion Lines
Draw the baseball on one side of your page, then add slightly curved horizontal lines behind it that get shorter as they move away.
This simple trick makes the ball look like it is flying through the air at full speed.
Baseball and Shooting Star Sketch
Draw the baseball in the center, then add a long diagonal trail coming from one side with small sparkle shapes along it.
This idea works great on posters, notebooks, or casual sketchbook pages.
Cartoon Baseball Character Drawing
Draw the baseball shape first, then add two large round eyes, a big smile, and small arms and legs sticking out from the sides.
Give the character a fun expression and it instantly becomes a great drawing for kids and beginners.
Cute Baseball Doodle Ideas
Draw tiny baseballs in rows and add small hearts, stars, or lightning bolts around them for a fun and playful look.
Try a baseball with a bow on top or one wearing sunglasses to keep practice sessions fun and creative.
Easy Tips Before You Start Your Baseball Drawing
A little preparation before you pick up your pencil makes the whole process smoother and more enjoyable.
- Break every drawing down into basic shapes first. A baseball is just a circle with curves added on top.
- Always start with light pencil lines so mistakes are easy to erase and fix without damaging the paper.
- Practice drawing circles on scrap paper before starting. Tracing a coin or cup lid helps get a cleaner shape.
- Use just two tones when shading. A light area and a slightly darker area are enough to make any object look round and solid.
- Keep your pencil grip relaxed throughout the drawing. A tense grip makes lines stiff and harder to control.
Conclusion
Honestly, the first baseball I ever drew looked nothing like a baseball. But I kept going, and each attempt got a little better.
That is exactly how it works. Baseball drawing is not about being perfect from the start. It is about picking up your pencil and trying again.
Start with the basic circle, practice the seams, and build from there. Try one creative idea this week and see how it feels.
Drop a comment below and share what you drew. I would love to see your progress!
Frequently Asked Questions
How do you draw a baseball easily step by step?
Start by drawing a circle, then add two curved seam lines inside it facing opposite directions. Add small stitch marks along the seams, outline everything with a darker line, and finish with light shading.
What are some cool baseball drawing easy ideas?
Some fun ideas include a baseball on fire, a baseball breaking through glass, and a cartoon baseball character with a face and arms. Motion lines and shooting star trails also make great creative additions.
What is the easiest baseball drawing for beginners?
A simple baseball with just a circle and two curved seam lines is the easiest starting point. You do not need shading or color to make it look good at the beginner level.
How can kids draw a baseball easily?
Kids can trace a round object like a coin or cup lid to get the circle shape right. Then they can copy the two curved seam lines and add a few small stitch marks on each side.
How do you make a baseball drawing look realistic?
Add shading by making the bottom half of the ball slightly darker and leaving a small bright spot near the top to show where light hits. Neat, evenly spaced stitching also makes the drawing look much more realistic.
