

I still remember the first time I tried drawing a hamster. It looked more like a potato with ears. But with the right steps, anyone can do it.
This guide makes hamster drawing easy with no experience needed. I've broken everything down into simple techniques, clear steps, and beginner-friendly shapes.
You'll learn why hamsters are perfect to draw, how to get the shapes right, and follow a full step-by-step tutorial. Short steps. Real results. Whether you're 8 or 80, let's get started.
Essential Supplies for Hamster Drawing Easy Tutorials
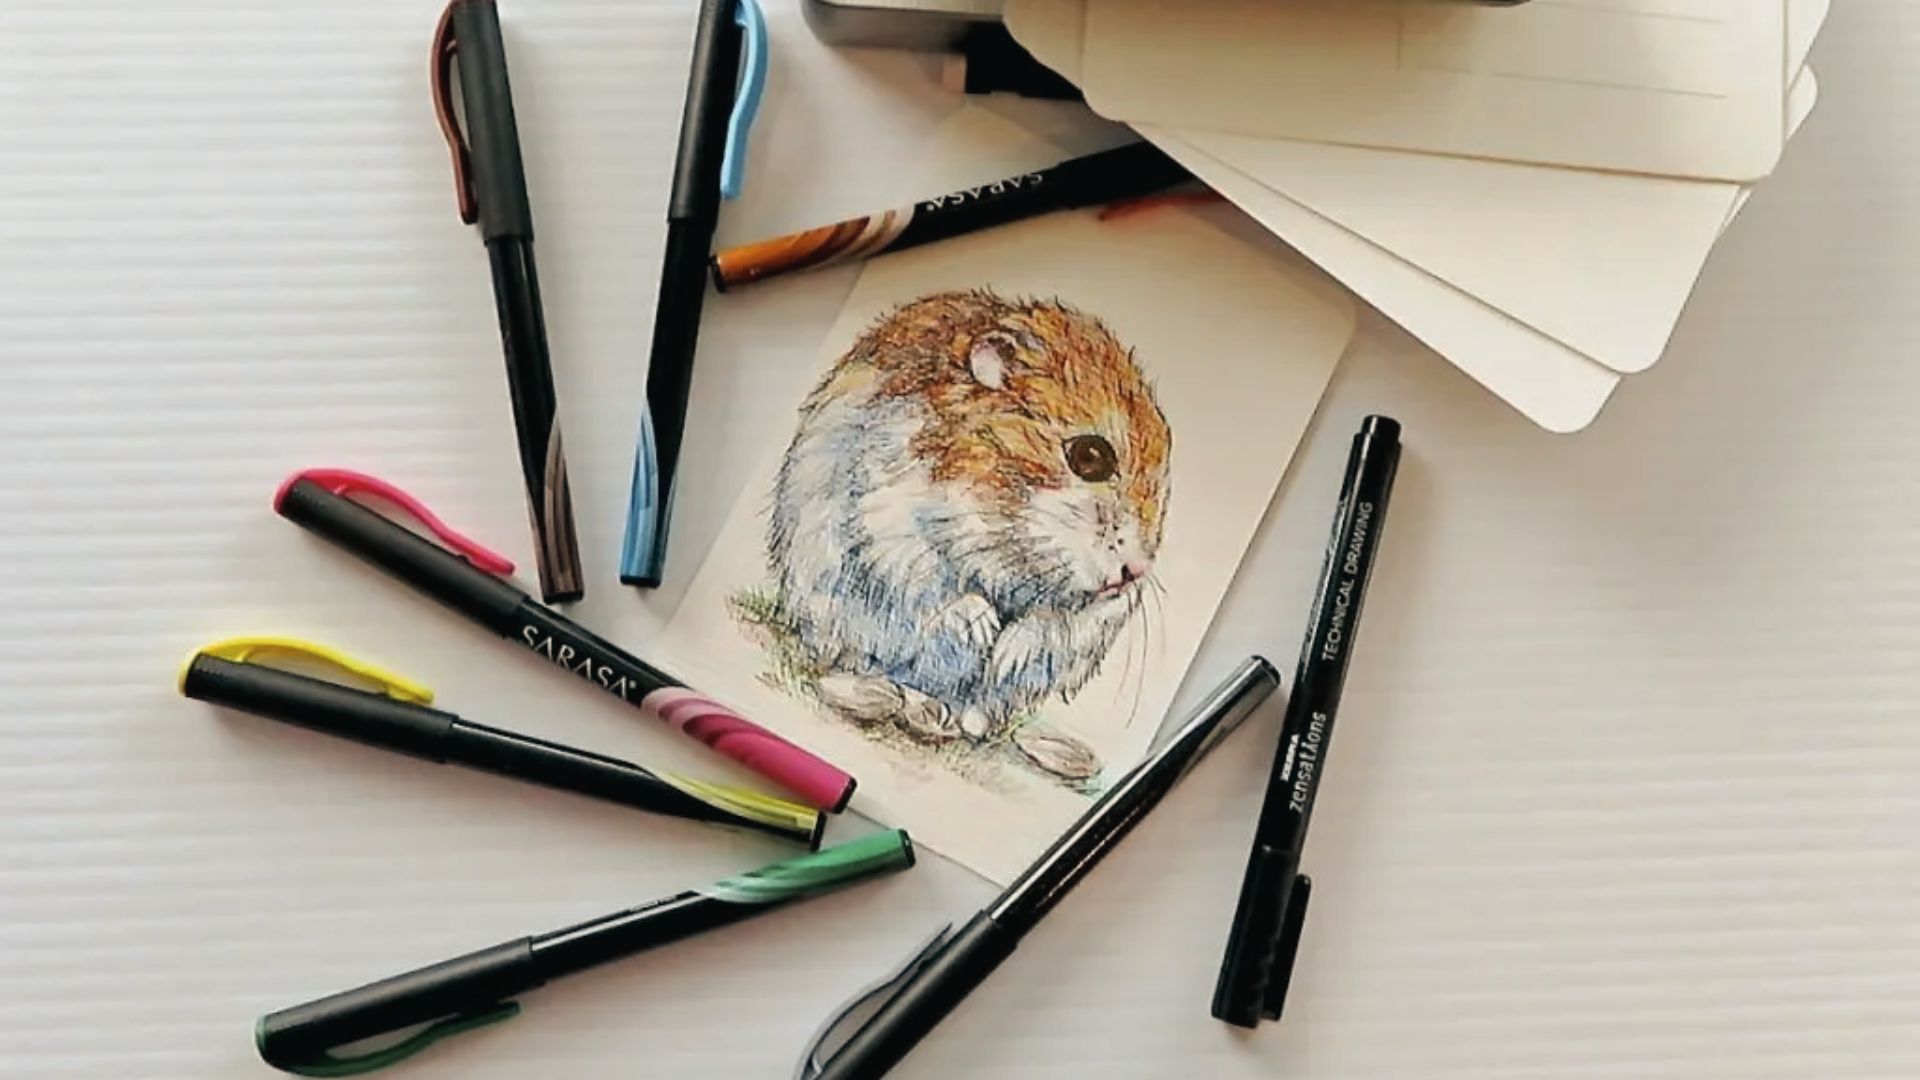
Getting the right tools makes hamster drawing easy and enjoyable from the start. You do not need fancy supplies.
A basic sketchbook, HB and 2B pencils, and an eraser are enough to begin. HB pencils work great for light sketching, while 2B pencils handle darker lines well.
Always sketch in pencil before using a fine-tip black pen for outlining. For coloring, colored pencils are the best starting point.
Markers and watercolor pencils also work well. Keep your workspace clean, well-lit, and flat for the best results.
Hamster Drawing Easy Step by Step Tutorial
Follow these simple steps to draw an adorable hamster from scratch with no experience needed.
Step 1: Draw a Simple Round Hamster Head

Start by drawing a large circle in the center of your page. This will be the hamster's head. Do not worry about making it perfect.
Add two smaller half-circles on the sides at the bottom. These will be the chubby cheeks. Hamsters are known for their round, puffy faces.
Keep your pencil lines light at this stage. You will go over them later. Light lines are easier to erase and adjust.
Step 2: Add Cute Eyes, Nose, and Mouth
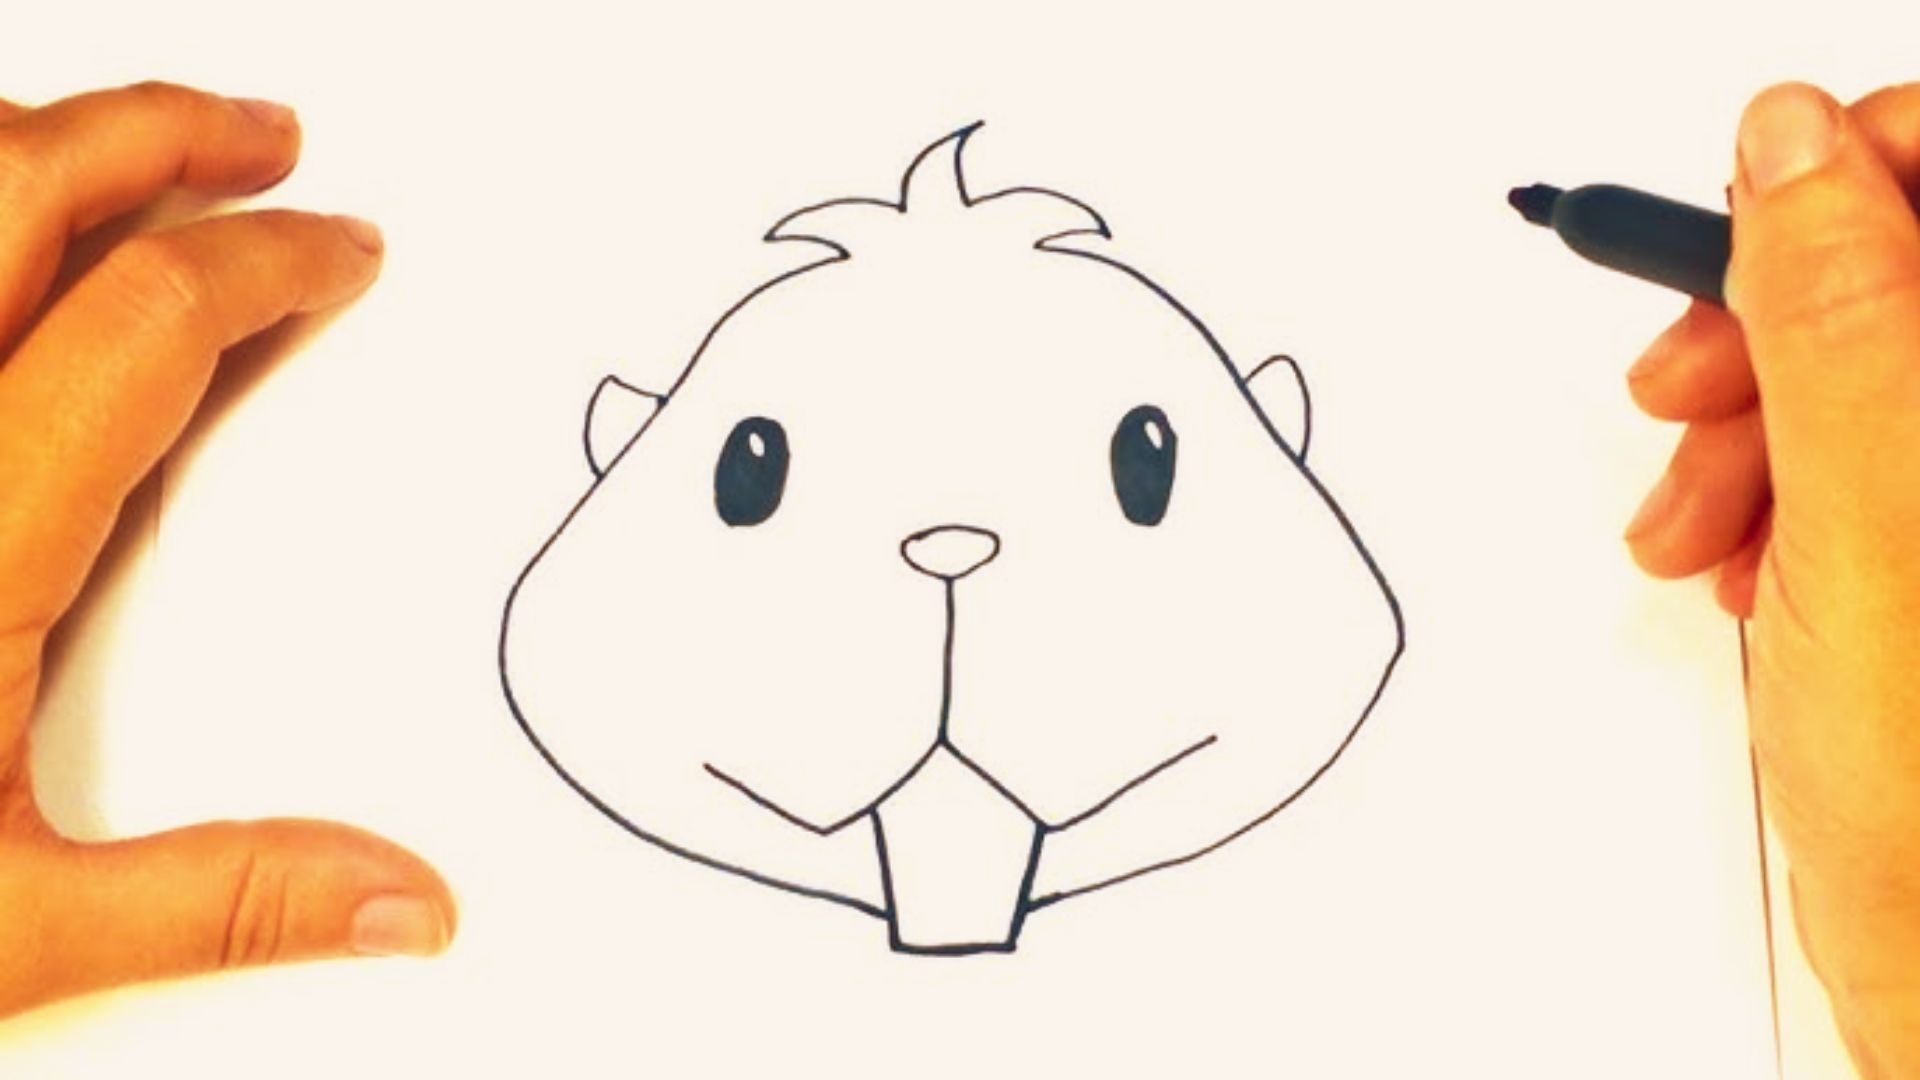
Draw two small circles near the upper part of the face. These are the eyes. Add a tiny dot inside each circle for the pupils.
Place a small oval or triangle shape in the center for the nose. Keep it small and simple. A tiny upside-down triangle works great.
Draw a small curved line below the nose for the mouth. Add a slight smile to make it look friendly. Keep it soft and simple.
Step 3: Sketch the Body and Tiny Paws
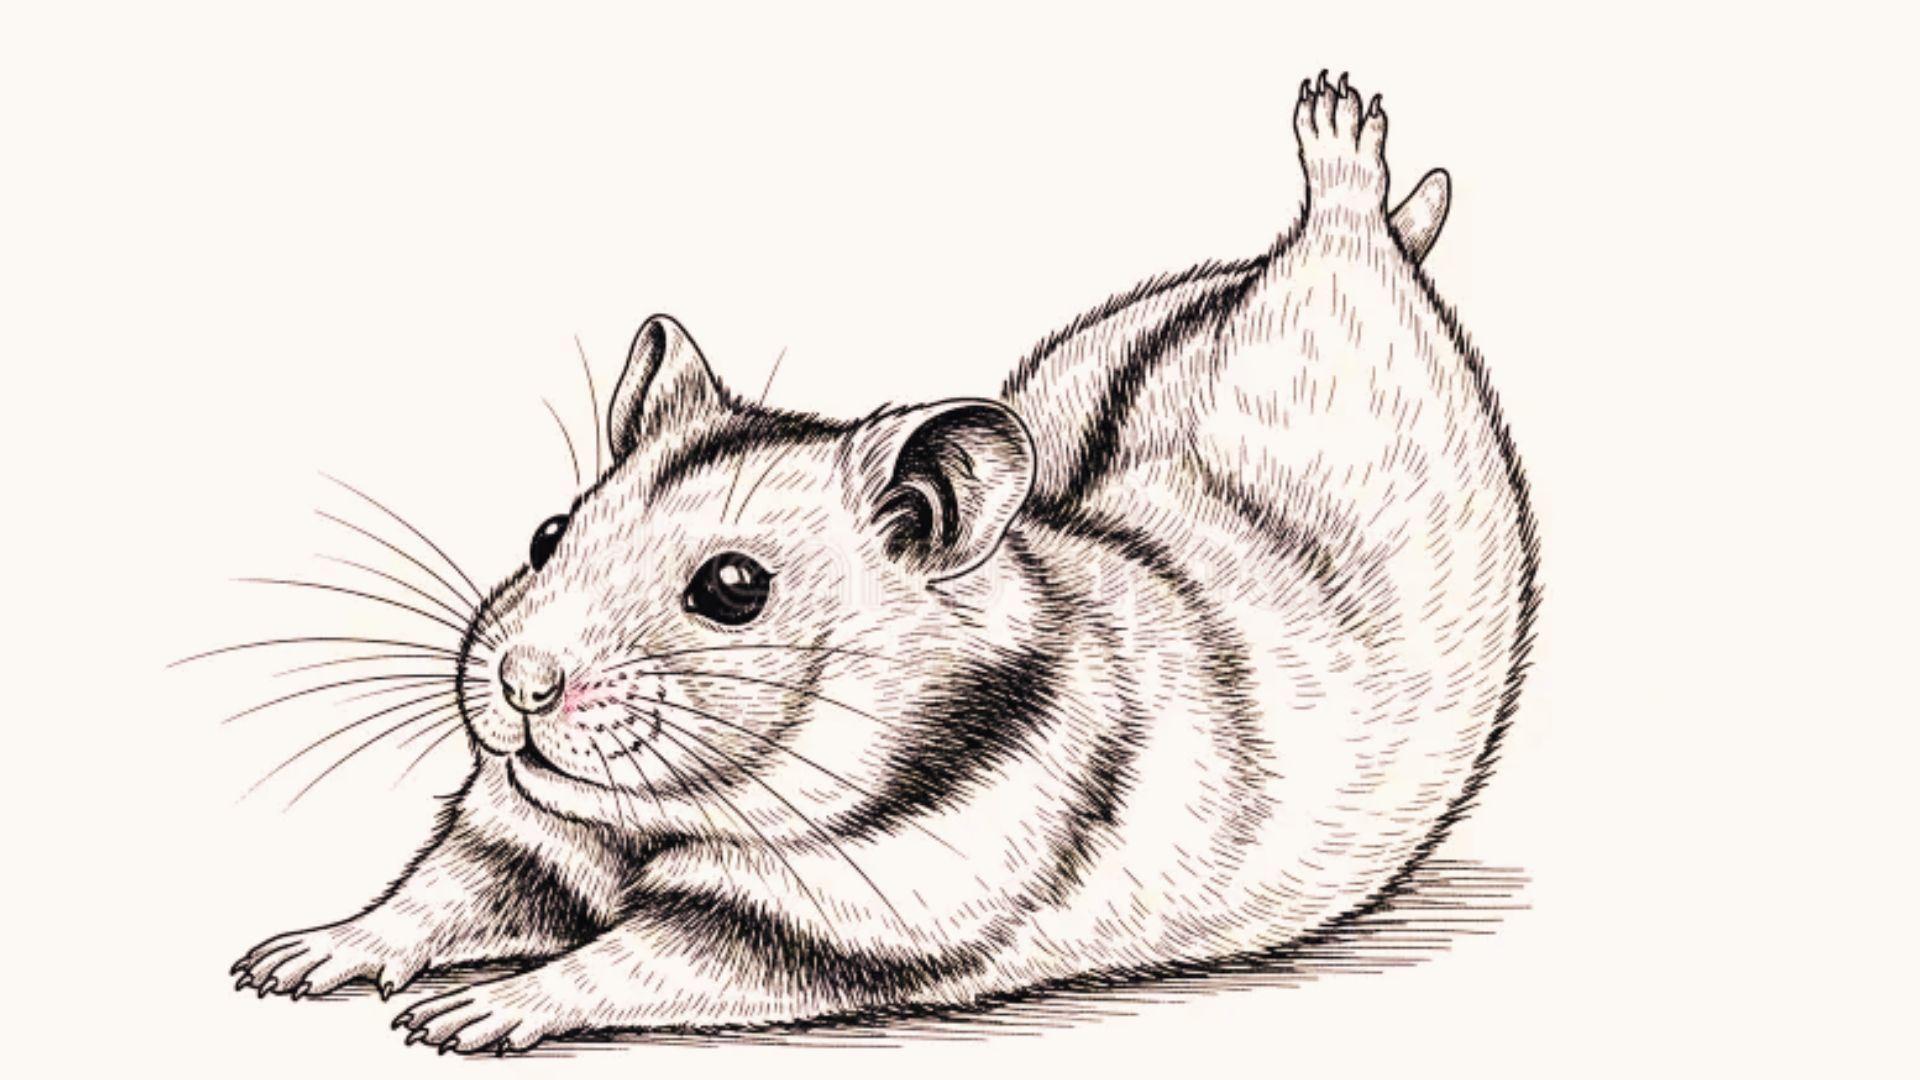
Draw a large oval below the head for the body. It should be slightly wider than the head. Hamsters have short, round bodies.
Add two small oval shapes at the bottom front for the front paws. Keep them small and close to the body. They should look tiny and cute.
Sketch two slightly larger shapes at the back for the hind legs. Hamsters have little feet that stick out to the sides. Keep the shapes simple and rounded.
Step 4: Draw the Ears and Fur Details
Add two rounded ears at the top of the head. They should be medium-sized and slightly curved inward. Draw a smaller inner shape inside each ear.
Add short, light strokes along the body to show fur. Use quick flicking motions with your pencil. Do not overdo it as a few strokes are enough.
Add small lines around the cheeks for a fluffy look. A few lines on the chest area also help. Keep the fur lines short and in the same direction.
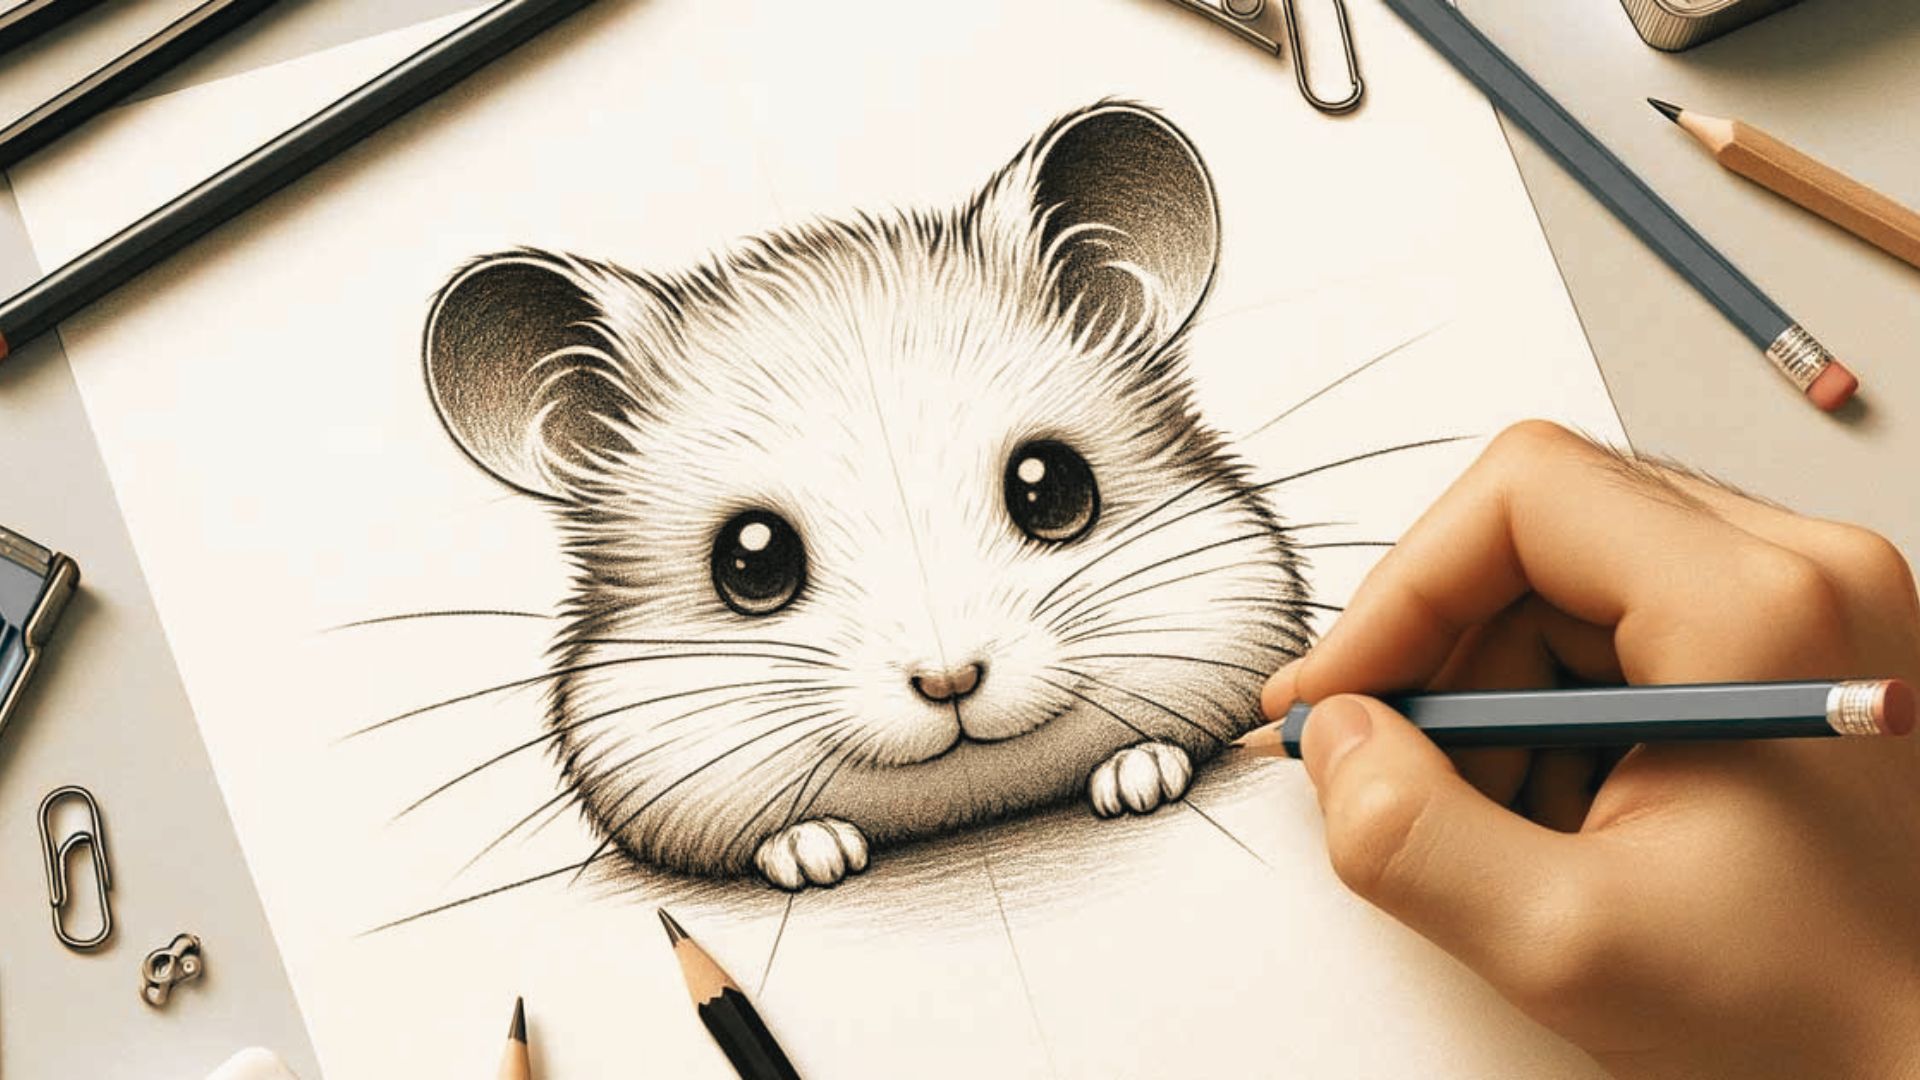
Step 5: Outline and Color Your Hamster Drawing
Go over your sketch with a fine-tip black pen. Follow the lines you like and skip the ones you do not. Let the ink dry fully before erasing pencil marks.
Once the outline is clean, start coloring. Light brown and cream are common hamster colors. You can also use golden yellow or soft gray.
Add shading by pressing harder with your pencil or marker in darker areas. Use lighter pressure for highlighting areas. This gives your hamster a soft, three-dimensional look.
How to Make Your Hamster Drawing Easy Cute
Small details and simple tricks can make your hamster drawing look a lot more adorable.
Drawing Cute Hamster Expressions
Expressions bring life to your drawing. A slight smile makes the hamster look happy. Wide eyes make it look surprised or excited.
Try drawing different mouth shapes. A small open mouth looks playful. Half-closed eyes give a sleepy or relaxed look.
Easy Fur Texture Techniques
Fur texture does not have to be complicated. Use short, quick pencil strokes in one direction. Follow the natural flow of the body shape.
Layer strokes lightly for a fluffy look. Use a softer pencil for darker fur areas. Less is more when it comes to fur texture.
Simple Shading Tips for Beginners
Shading adds depth to flat drawings. Decide where your light source is coming from. The opposite side will be darker.
Use the side of your pencil tip for smooth shading. Build up darkness slowly with light layers. Blend with your finger or a tissue for soft results.
Best Cute Colors for Hamster Drawings
Light brown, cream, and white are classic hamster colors. Peach tones work great for the inner ears and belly. Soft gray gives a cool and modern look.
For kawaii style, add pink blush on the cheeks. Use light yellow for a golden hamster look. Keep your color palette simple and soft.
Tips to Improve Your Hamster Drawing Easy Skills
These simple habits will help you get better at drawing hamsters faster and with more confidence.
- Always start with basic shapes like circles and ovals before adding any details.
- Keep your pencil lines light so mistakes are easy to erase and fix.
- Practice drawing smooth circles freehand to build speed and control over time.
- Try different hamster poses like sitting, sleeping, and running to grow your skills.
- Use real hamster photos as a guide to get proportions and body size right.
Conclusion
Hamster drawing easy is a skill anyone can build with regular practice. I started with shaky circles and crooked ears, but over time it all came together.
The key is to keep going, even when a drawing does not turn out the way you wanted. Try different styles like kawaii, cartoons, or minimal doodles to keep things fun.
Each attempt teaches you something new. If you found this guide helpful, share it with a friend or drop a comment below.
Check out more easy animal drawing tutorials to keep your creativity going.
Frequently Asked Questions
What is the easiest way to start a hamster drawing?
Start with a large circle for the head and a smaller oval for the body. Build up the details slowly from there.
Do I need special supplies for hamster drawing easy tutorials?
No special supplies are needed. A basic pencil, eraser, and sketchbook are more than enough to get started.
How long does it take to learn hamster drawing?
With daily practice of even five to ten minutes, most beginners see clear improvement within two to three weeks.
Can kids follow a hamster drawing easy step by step guide?
Yes, absolutely. The steps are simple and beginner-friendly, making them a great fit for kids of all ages.
What drawing style is best for a cute hamster drawing?
Kawaii and cartoon styles work best for cute results. Both use simple shapes and big eyes that are easy to draw.