

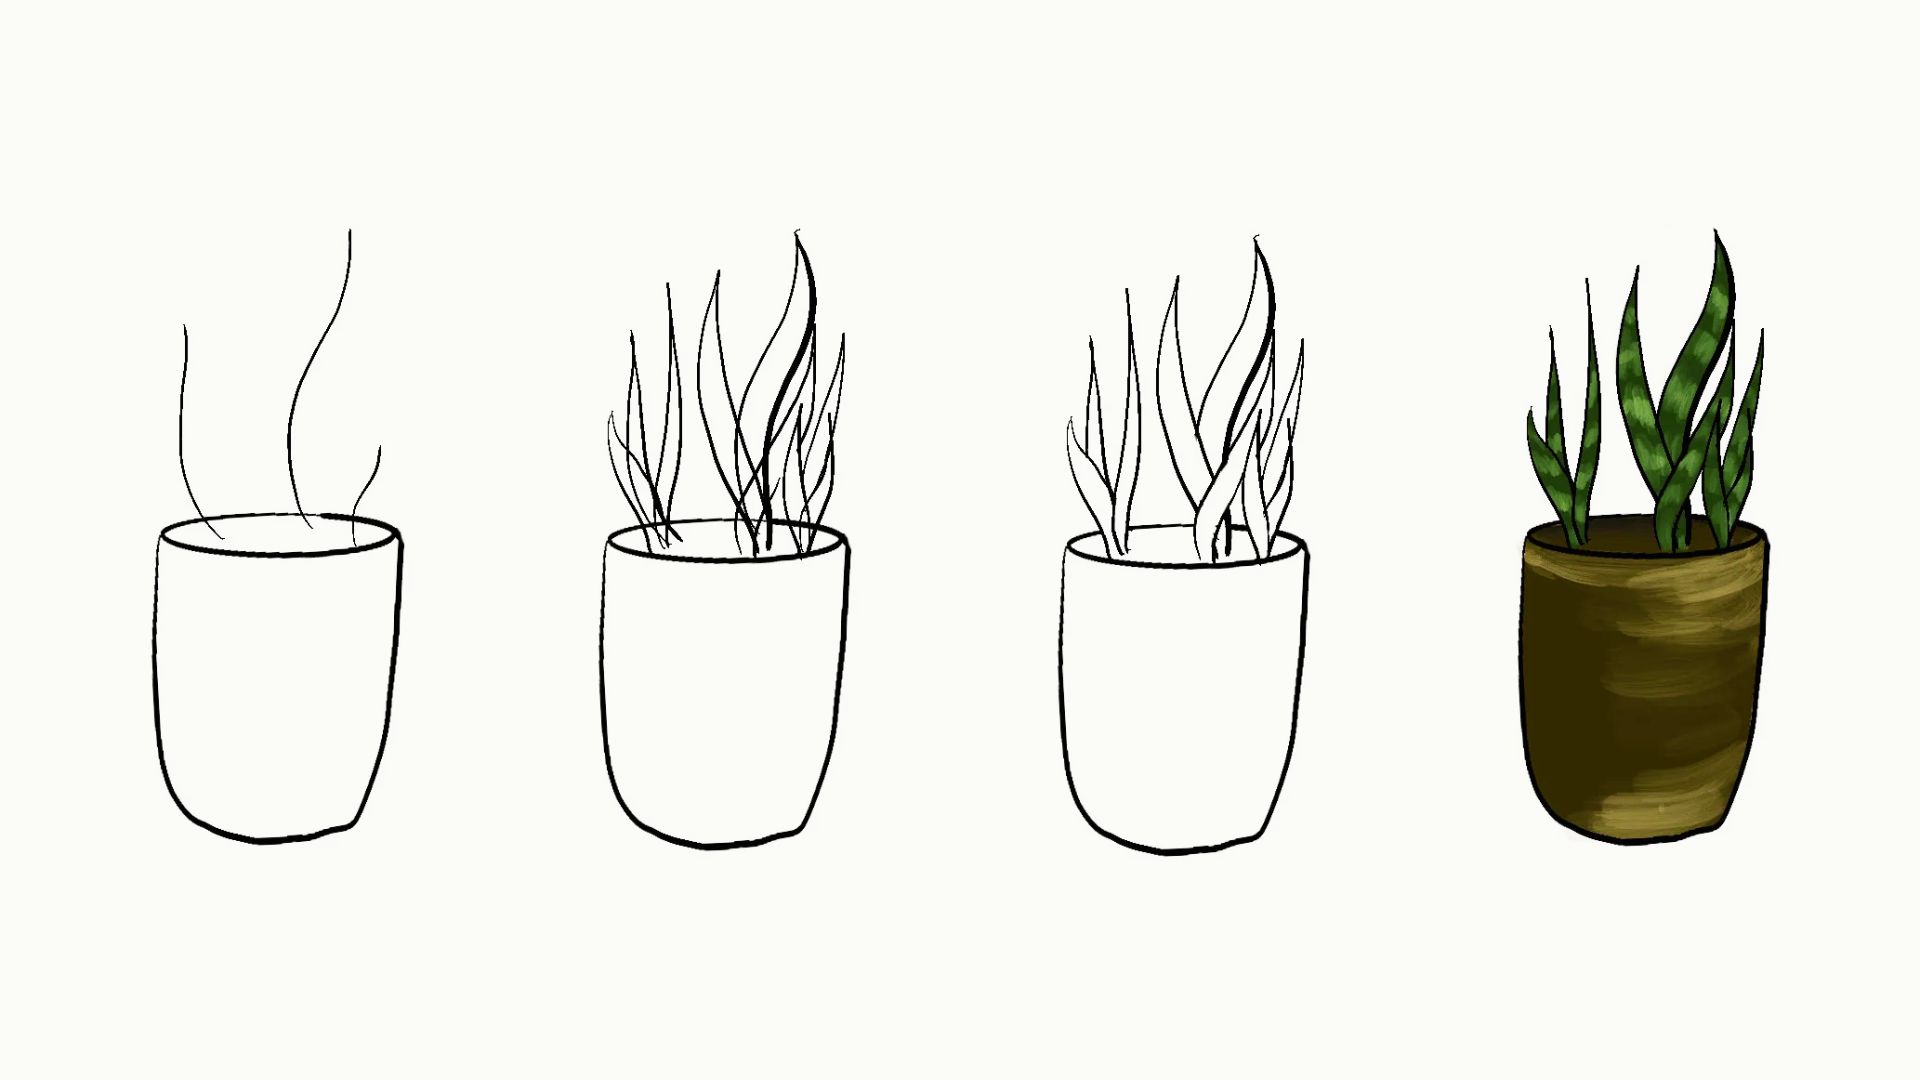
Learning plants and drawing easy techniques changed how I see the world around me. I used to think drawing was only for talented people, it's not.
This guide is for you, the complete beginner who wants to start without feeling lost. I've spent years practicing and teaching basic drawing, so I know exactly where beginners get stuck.
You won't stay stuck here.We'll cover why plant drawing is great for beginners, how simple observation sharpens your skills, and a clear step-by-step guide to get you started today. No art school required.
Plants Drawing Easy Basics Every Beginner Should Know
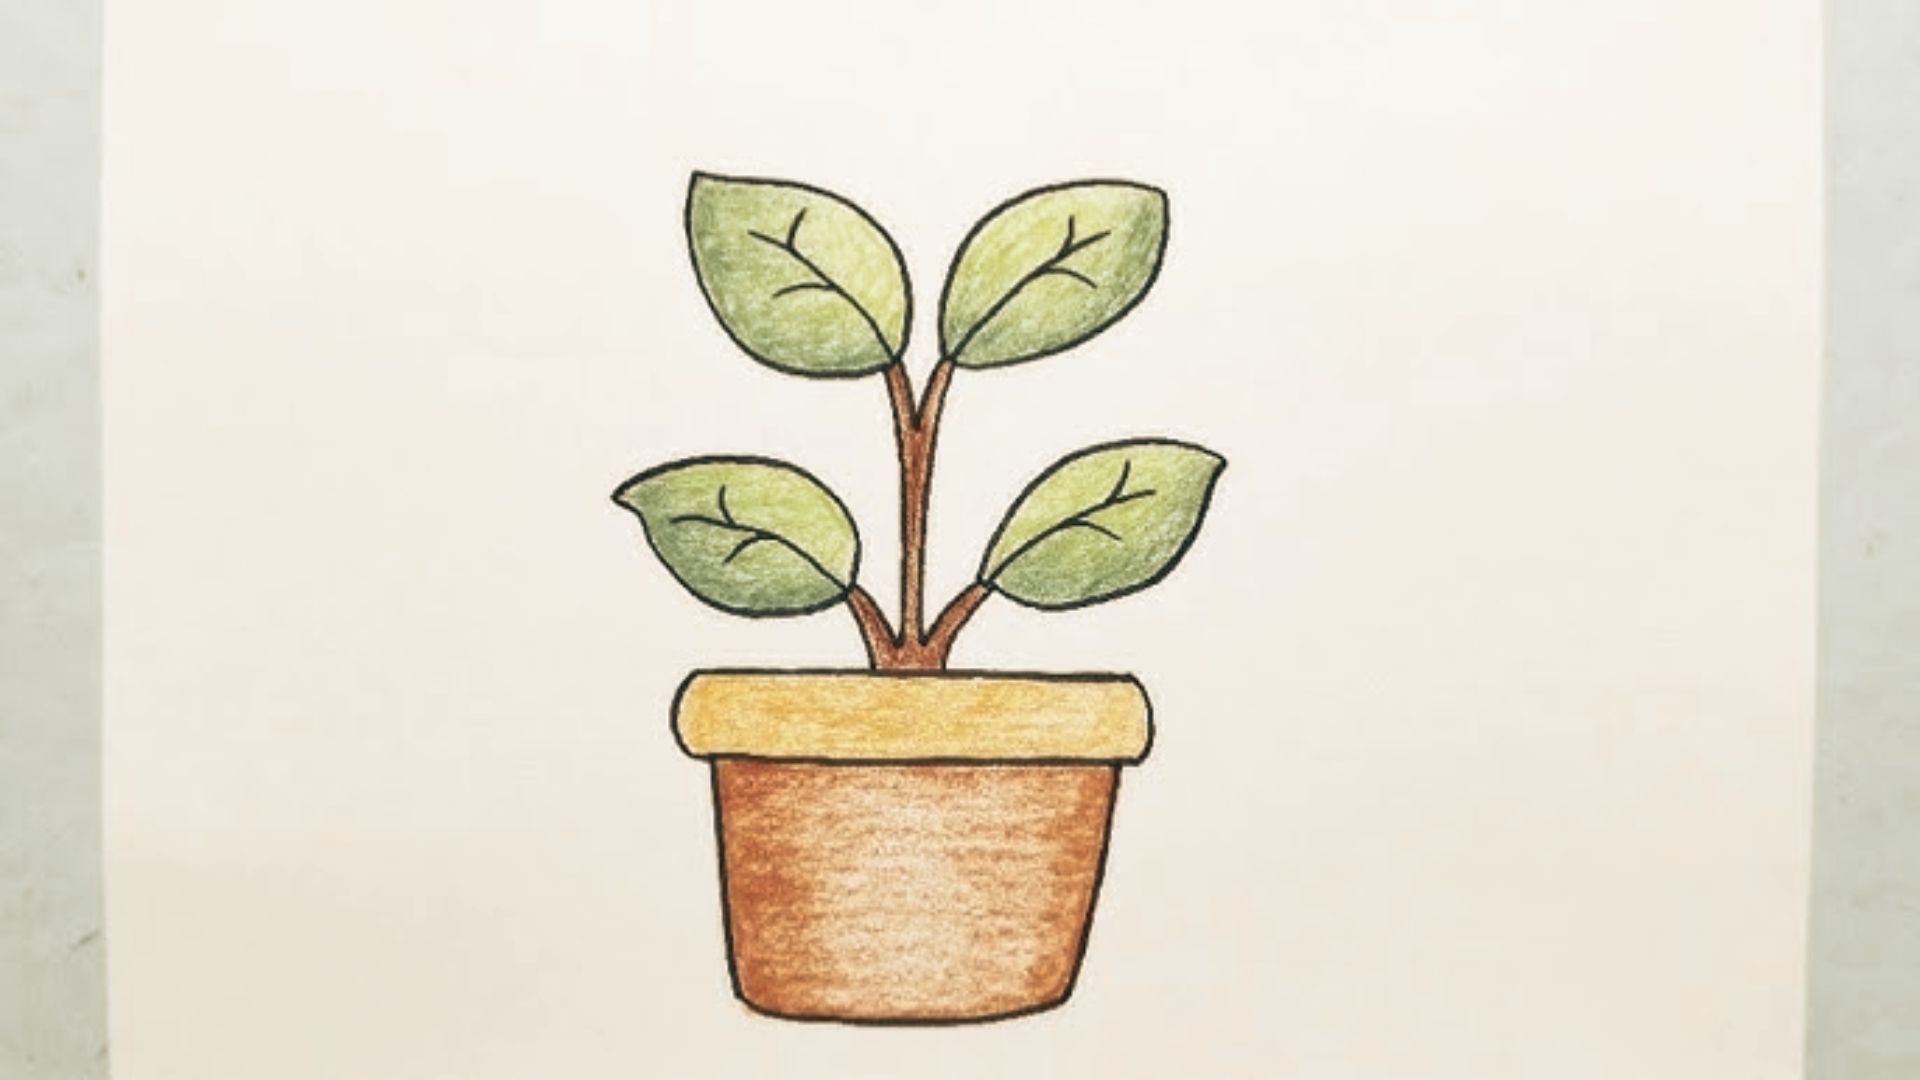
Every plant starts with basic shapes; ovals, circles, lines, and triangles. A leaf is just an oval with a pointed tip.
Breaking plants into shapes makes drawing far less scary. Plants have three main parts: base, stem, and leaves.
Always draw stems first, then branches, then leaves last. Spend two minutes just looking before you draw observation matters more than any supply.
A HB pencil and plain paper is all you need. Photos are easier to start with, but real plants teach you more over time.
Plants Drawing Easy Step-by-Step Tutorial
Follow these simple steps to go from a blank page to a finished plant drawing with confidence.
Step 1: Sketch the Basic Plant Shapes
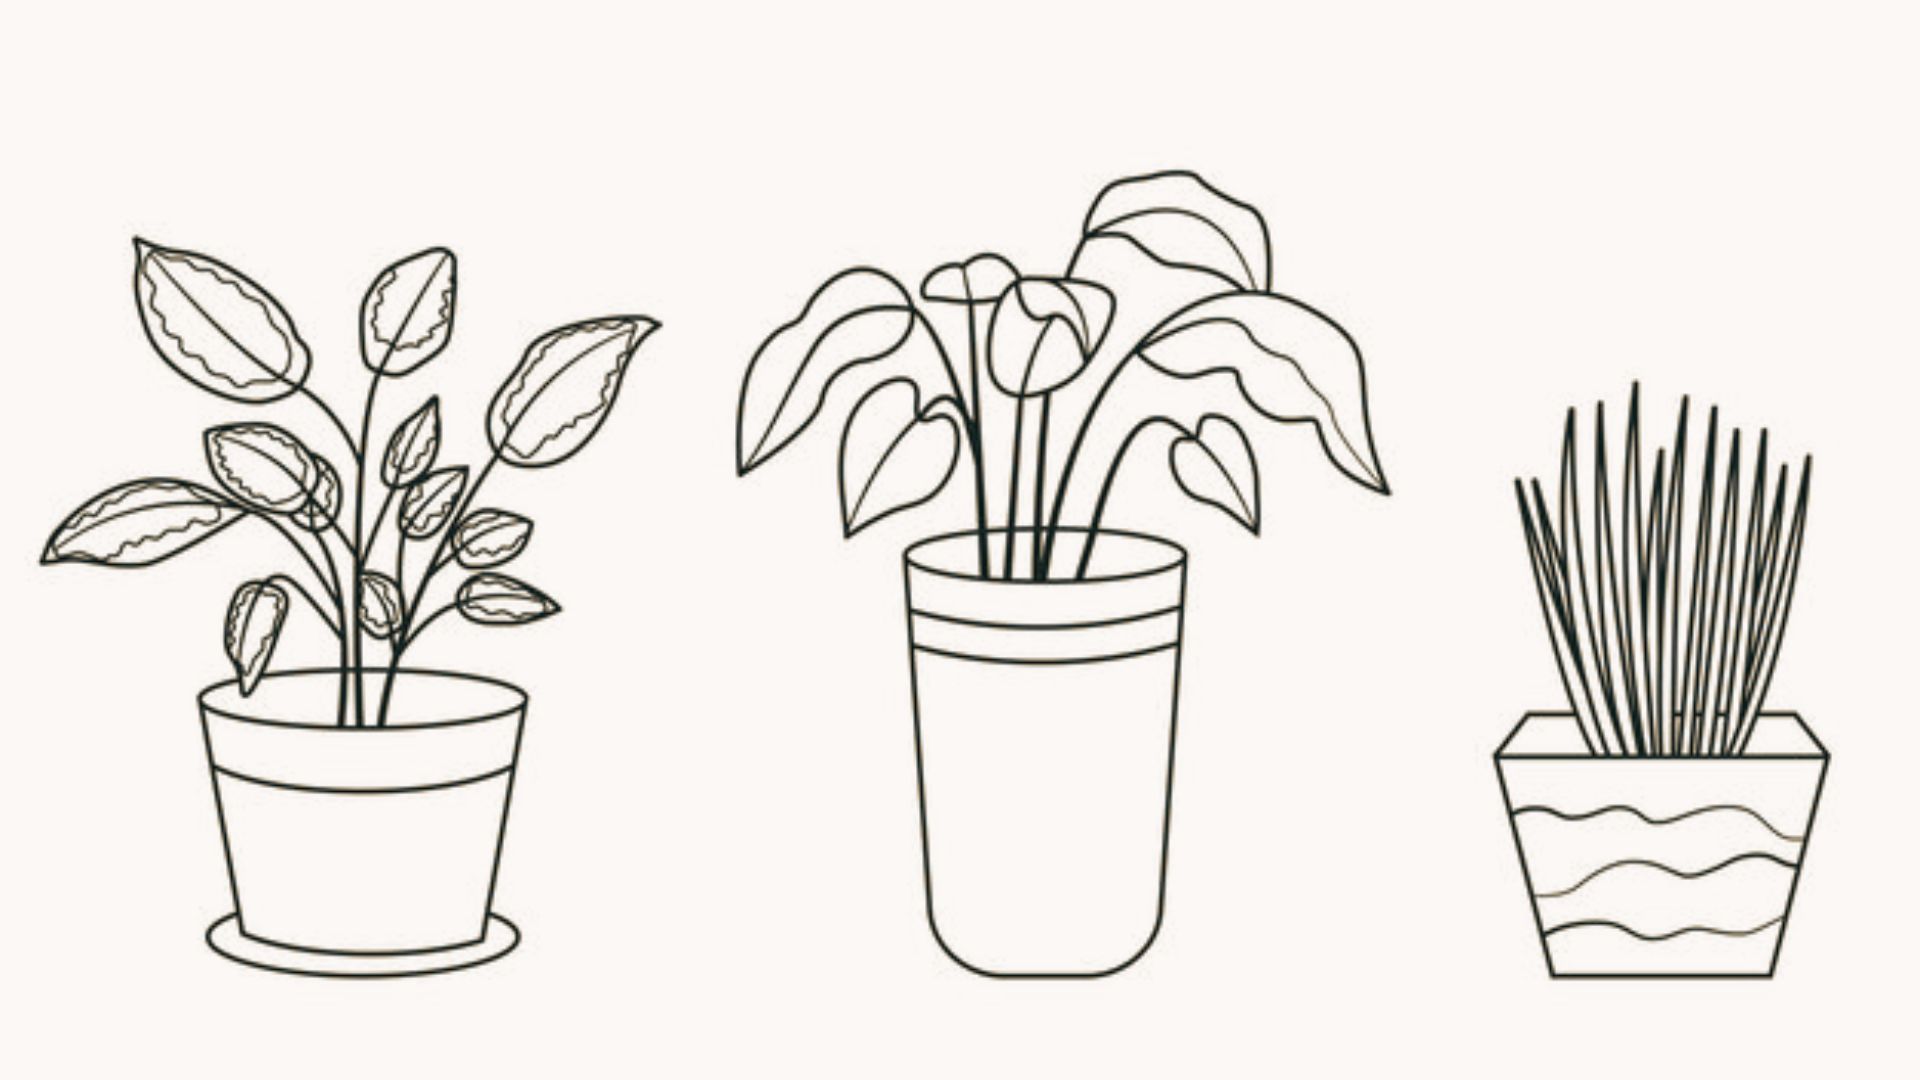
Start with the big shapes first. Do not worry about details yet.
Look at your plant or photo. Find the overall shape. Is it round? Tall and thin? Wide and bushy?
Draw that shape lightly with your pencil. This is just a guide. It does not need to look perfect.
Think of it as a rough map before you build the real thing.
Step 2: Draw the Main Stem and Structure

Once your basic shape is in place, draw the main stem.
Keep it simple. One or two lines are enough. The stem holds everything together, so getting it right early makes the rest easier.
Add the main branches next. These grow outward from the stem. Do not add too many. Three or four branches are enough for a beginner sketch.
Light pencil pressure works best here. You can always darken lines later.
Step 3: Add Leaves, Petals, and Veins

Now the drawing starts to look like a plant.
Add leaves along your branches. Keep the shapes simple. Ovals and pointed tips work for most leaves.
For flowers, draw petals around a small circle at the center. Start with four or five petals. Space them evenly.
Once leaves and petals are in place, add veins. Draw one line down the center of each leaf. Then add small lines branching off to the sides. Keep them light and natural looking.
Step 4: Build Texture with Pencil Strokes

Texture makes your drawing feel real.
Use short, light pencil strokes to show the surface of leaves. Follow the direction the leaf grows. Strokes that go against the grain look off.
For rough bark on stems, use uneven vertical lines. For smooth leaves, keep your strokes soft and close together.
Do not press too hard. Build texture slowly. Less is more at this stage.
Step 5: Add Simple Shading for Depth

Shading gives your plant a 3D look.
First, pick a light source. Where is the light coming from? That side of the plant stays light. The opposite side gets darker.
Use your 2B pencil for shading. Press lightly at first. Build up darkness slowly in layers.
Shade under leaves where shadows fall. Add a little darkness at the base of the stem too. These small touches make a big difference.
Step 6: Refine and Clean Up Your Drawing
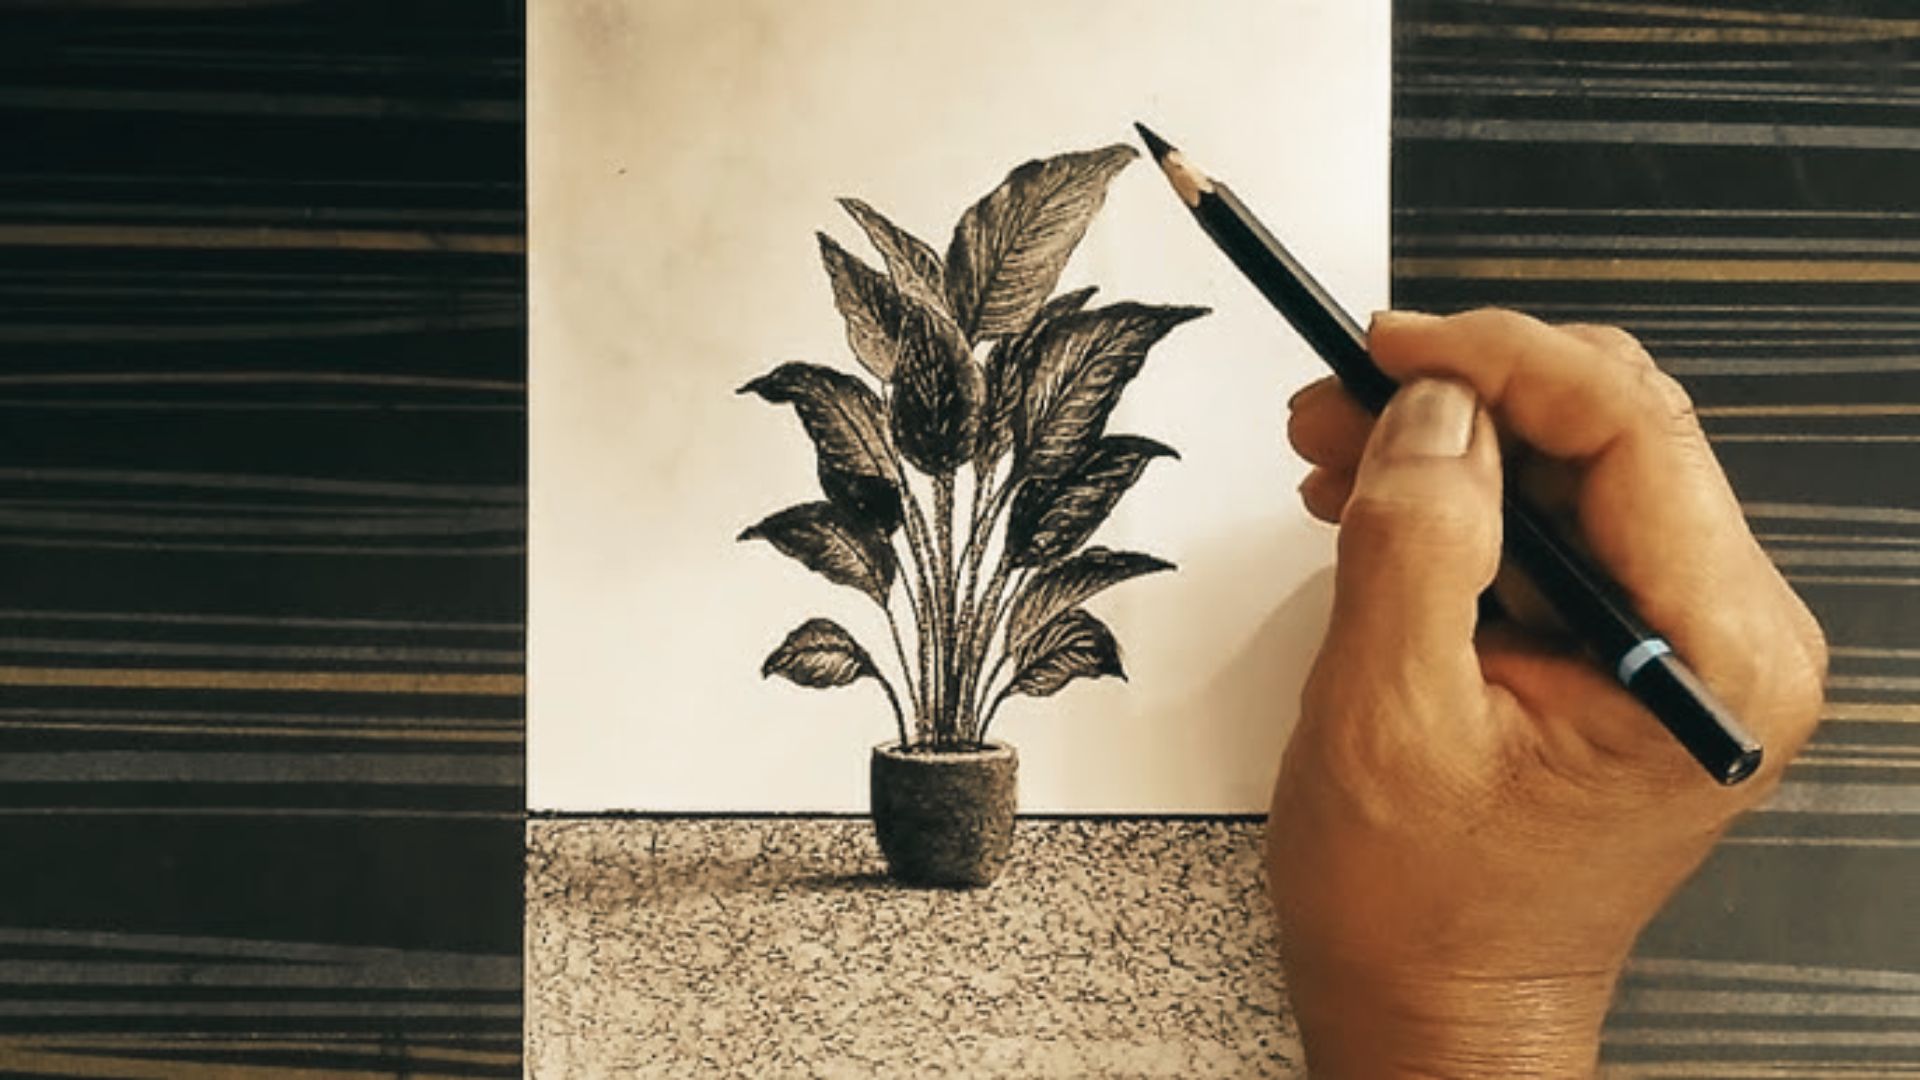
Now step back and look at your drawing.
Erase any guidelines you no longer need. Fix any shapes that look off. Darken lines that need more weight.
Do not try to make it perfect. Look for two or three things to fix and stop there.
If you want a cleaner look, go over your outlines with a fine liner pen. Let it dry before erasing pencil marks underneath.
Your plant drawing is done.
Plants Drawing Easy and Beautiful Ideas for Beginners

Not sure what to draw? These simple plant ideas are great for practice and building your skills.
Small Indoor Plant Sketch Ideas
Indoor plants are perfect for beginners since they stay still and come in many shapes. Try drawing a potted succulent or a small cactus using basic cylinder and oval shapes.
A monster leaf with split edges is a fun next step once you feel ready.
Simple Wildflower Drawing Ideas
Wildflowers are forgiving to draw because their natural randomness hides small mistakes easily.
Start with a daisy, which is just a circle with thin petals around it. Then try a small bunch of mixed wildflowers with overlapping stems for a natural look.
Easy Hanging Vine Sketches
Draw a long curved line from top to bottom as your main vine. Add small stems branching off it, then place a simple oval or heart-shaped leaf at the end of each.
Let the vine curve freely so it looks natural and relaxed on the page.
Quick Nature Journal Plant Drawings
A nature journal is a sketchbook where you draw plants you spot around you every day. Quick 5-minute sketches work well, so do not worry about detail or perfection.
Write the date next to each sketch and watch your skills grow over time.
Beginner Botanical Drawing Practice Ideas
Botanical drawing is about accuracy and close observation of plant details. Draw the same leaf three times, adding more detail with each attempt.
Focus on one part per session, roots one day, stems the next, to build skill faster.
Tips to Make Plants Drawing Easy and Beautiful
Small habits and smart techniques can make a big difference in how your plant drawings turn out.
- Observe first, draw second. Look closely at your plant before touching your pencil. Notice leaf direction, stem thickness, light, and shadow. Better observation means less guessing on paper.
- Break complex plants into simple shapes. A fern is just a stem with small ovals. A palm is a thin trunk with curved lines. Find the simple forms first, then add detail on top.
- Think about negative space. The empty area around your plant matters as much as the plant itself. Leave enough space on the page and avoid crowding the edges.
- Build texture in layers. Start with a clean outline. Add one light layer of texture strokes. Then add more only where needed. Rushing this step makes drawings look messy.
- Sketch for ten minutes daily. Set a timer. Pick one plant or one part of it. Speed sketching trains your hand and eye to work together. Keep all sketches in one book so you can track your progress.
Conclusion
Plants drawing easily is something anyone can do with a little patience and regular practice.
When I first started, my leaves looked like blobs and my stems were crooked. But I kept going, and slowly things clicked.
You will have that moment too. Start with simple shapes, observe closely, and sketch for just ten minutes a day.
Small steps add up fast. If this guide helped you, drop a comment below and share your first plant sketch. I would love to see it.
Frequently Asked Questions
What are the easiest plants to draw for beginners?
Succulents, cacti, and simple daisies are great starting points for beginners. Their shapes are basic and forgiving, making them ideal for early practice sessions.
How do you draw plants easily step by step?
Start with a basic shape, then add the stem, branches, and leaves in that order. Build detail slowly and add shading last to give your drawing depth.
How can I make my plant drawings look realistic?
Focus on observation before drawing and add texture in light layers. Small details like leaf veins and subtle shading make a big difference in how real your drawing looks.
What pencil is best for plant sketching?
A HB pencil works well for light sketching and outlines, while a 2B pencil is better for shading. Starting with these two covers most of what beginners need.
Can beginners create beautiful plant drawings easily?
Yes, absolutely. With basic shapes, simple tools, and consistent daily practice, beginners can create impressive plant drawings much faster than they expect.
