

I started doing chalkboard art with zero drawing skills and a $5 board from a craft store.
If that sounds like you, this guide is exactly what you need. Chalkboard art is far simpler than it looks.
Here, I'll cover the supplies, a clear step-by-step process, and 17 easy ideas you can try today.
I've done all of these myself, so you're getting real tips that actually work.
By the end, you'll know how to create clean, good-looking chalkboard art even as a total beginner.
Why Easy Chalkboard Art is Perfect for Beginners

Chalkboard art is one of the most beginner-friendly DIY projects out there. You don't need drawing experience or expensive tools to get started.
Most supplies cost very little and are easy to find at any craft store. The best part: if you make a mistake, just wipe it off and start over.
No pressure, no waste. You can use chalkboard art to decorate your home, plan meals, or create seasonal signs.
It gives your space a personal, handmade feel without costing much. It's practical, low-stress, and genuinely fun from the very first try.
Supplies Needed for Easy Chalkboard Art

Here's everything you need before getting started:
- Chalkboard Surface: A clean, smooth board free from dust, stains, or grease.
- Round Paint Palette and Fine Brushes: For tracing guides and applying chalk paint precisely.
- Chalk Pieces in Multiple Colors: For base colors, detailing, highlights, and blending.
- Small Dish and Water: For mixing crushed chalk into a smooth, paint-like solution.
With these simple supplies in hand, you're all set to create stunning chalkboard art!
Step-by-Step Easy Chalkboard Art Tutorial
Follow this simple process and you'll get clean, polished results on any chalkboard surface, every single time.
Step 1: Preparing the Chalkboard Surface

Start with a clean, smooth board. Ensure the surface is free from dust, stains, or grease so the paint adheres evenly.
Place the board on a flat workspace and secure it if needed. This step creates the perfect base for a neat, professional chalkboard finish.
Step 2: Tracing a Circular Guide
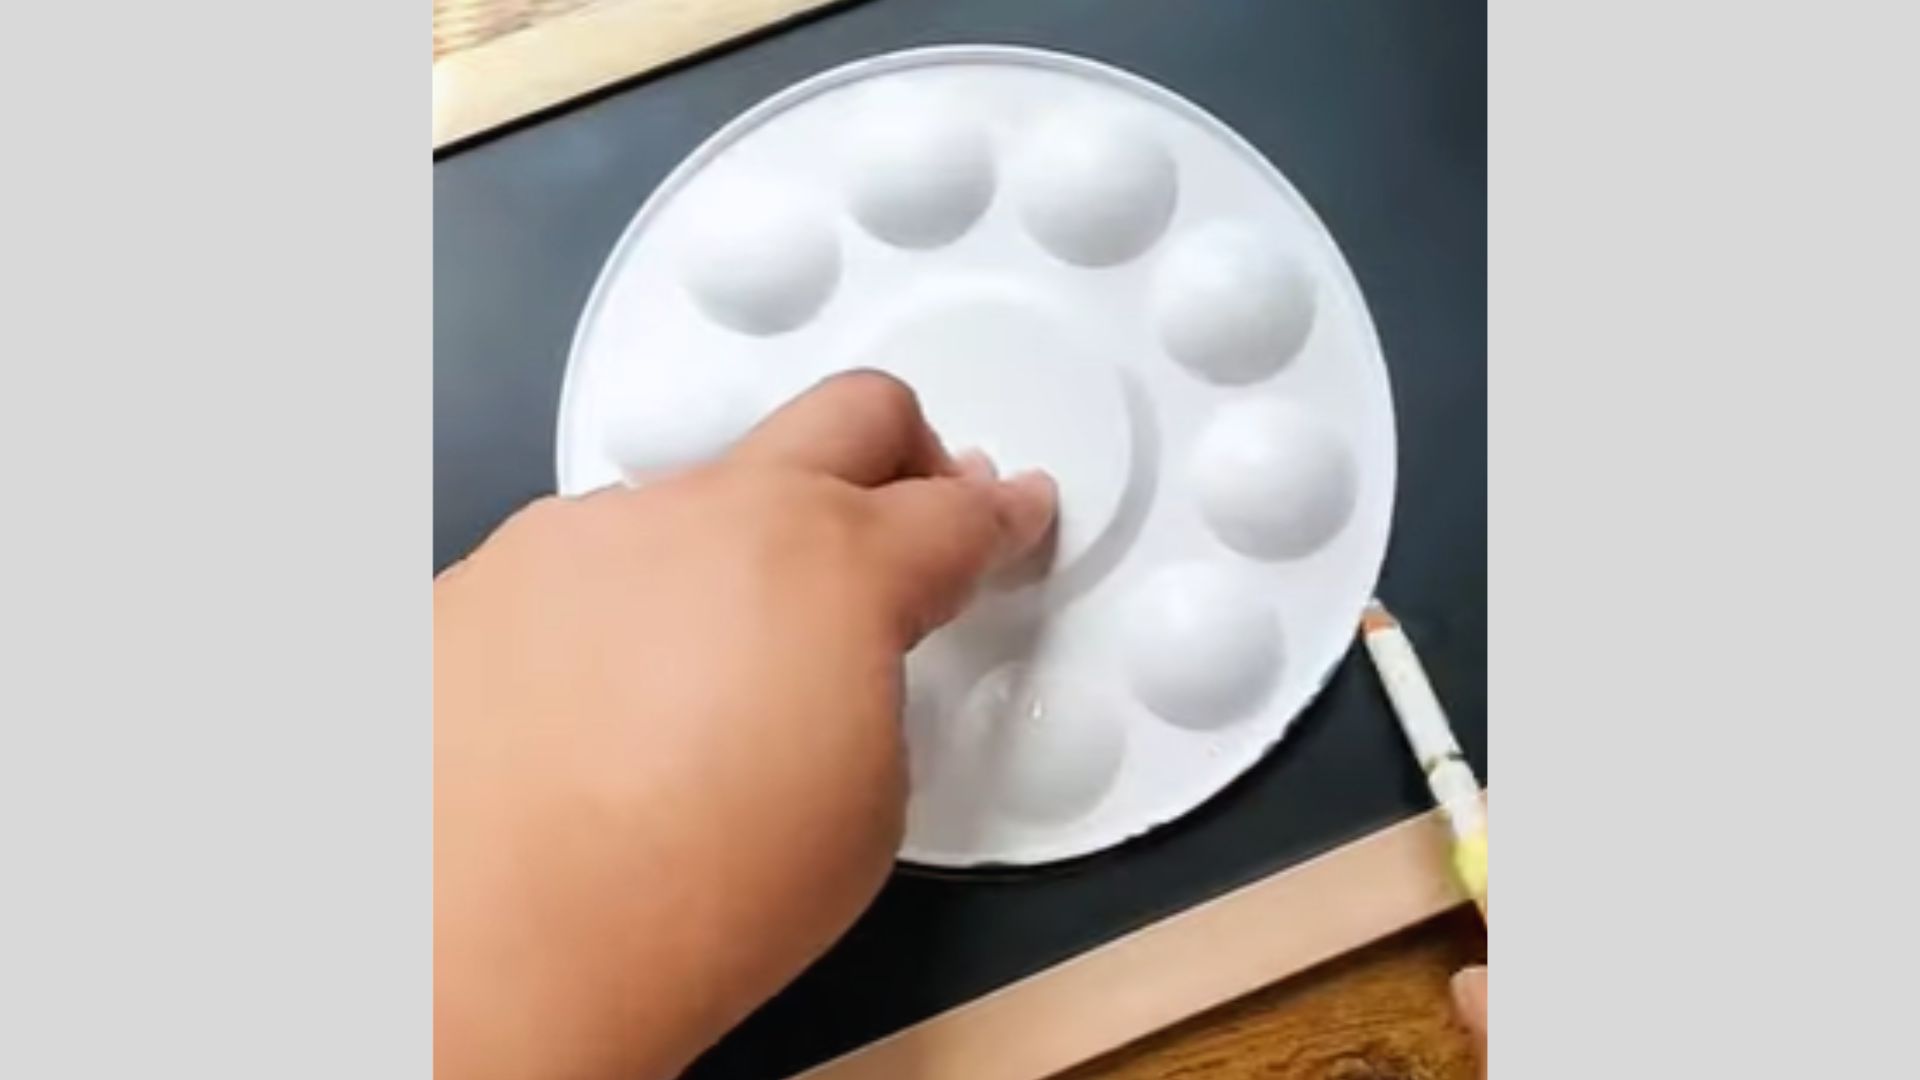
Place a round paint palette on the chalkboard and hold it steady. Use a brush or chalk to trace around its edge, creating a clean circular outline.
This helps maintain symmetry and gives you a neat guide for designing patterns or decorative elements.
Step 3: Selecting and Preparing Chalk Colors
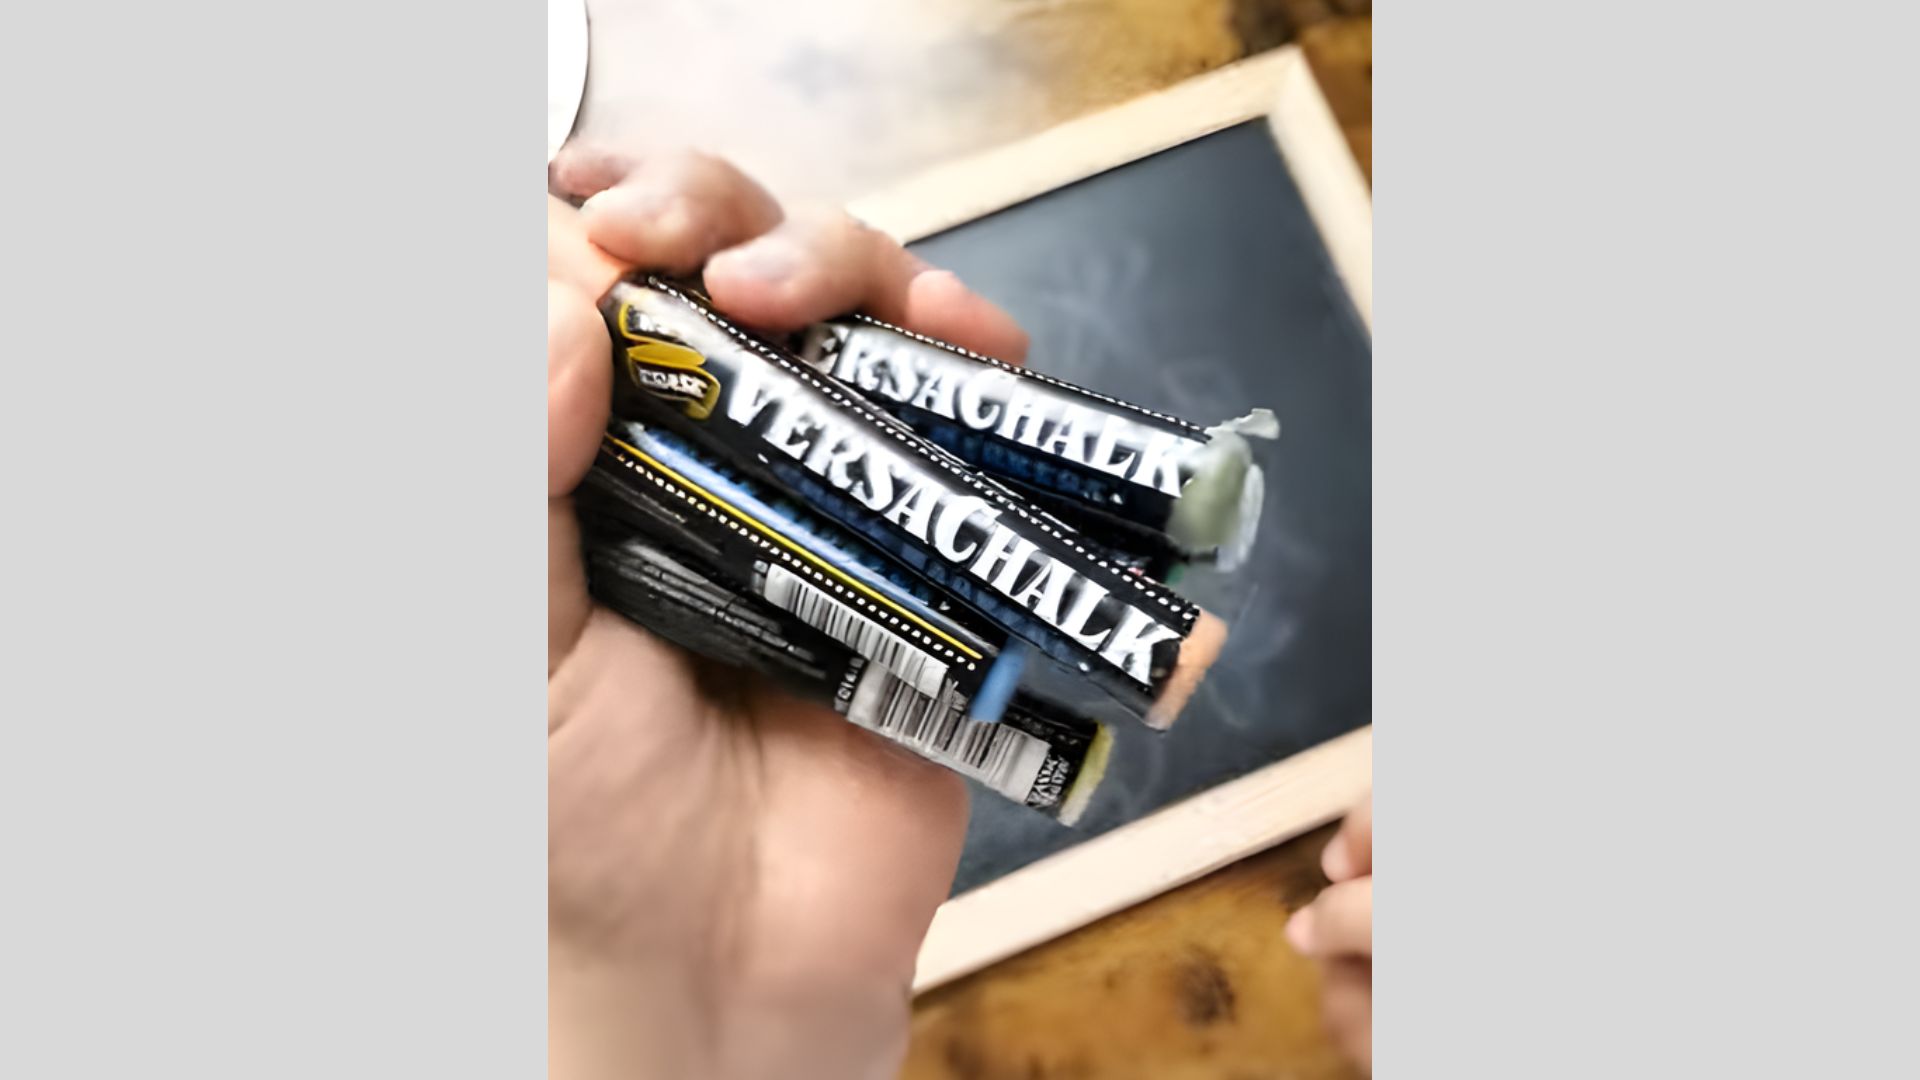
Choose a variety of chalk colors that suit your design theme. Compare shades by holding them together and plan your color combinations.
Ensure the chalk pieces are smooth and not overly blunt. Sharper edges help with clean lines, while softer chalk works better for blending and shading effects.
Step 4: Mixing Chalk Paint Solution
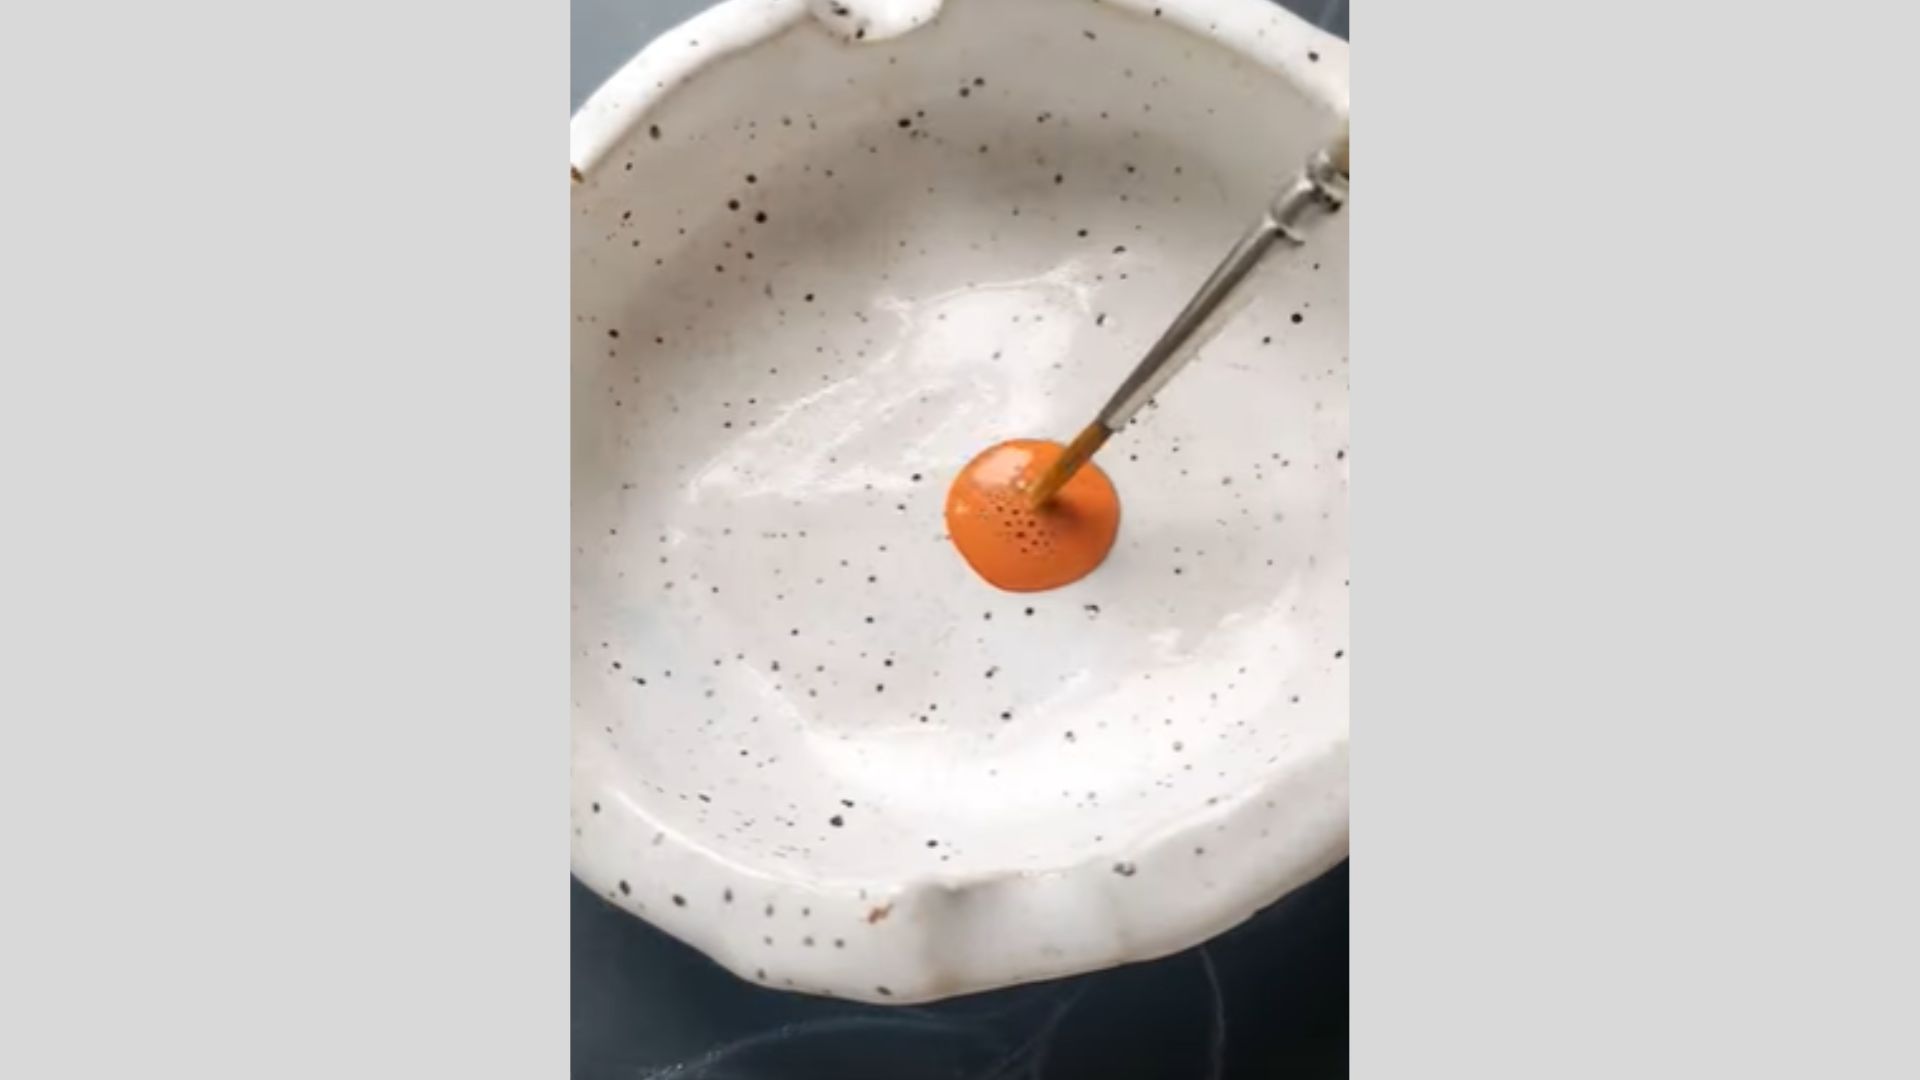
Chalk Paint and mix it with a small amount of water in a dish. Stir until it forms a smooth, paint-like texture.
This mixture allows for richer pigmentation and smoother application, making it easier to fill larger areas evenly compared to using dry chalk directly.
Step 5: Painting the Base Outline
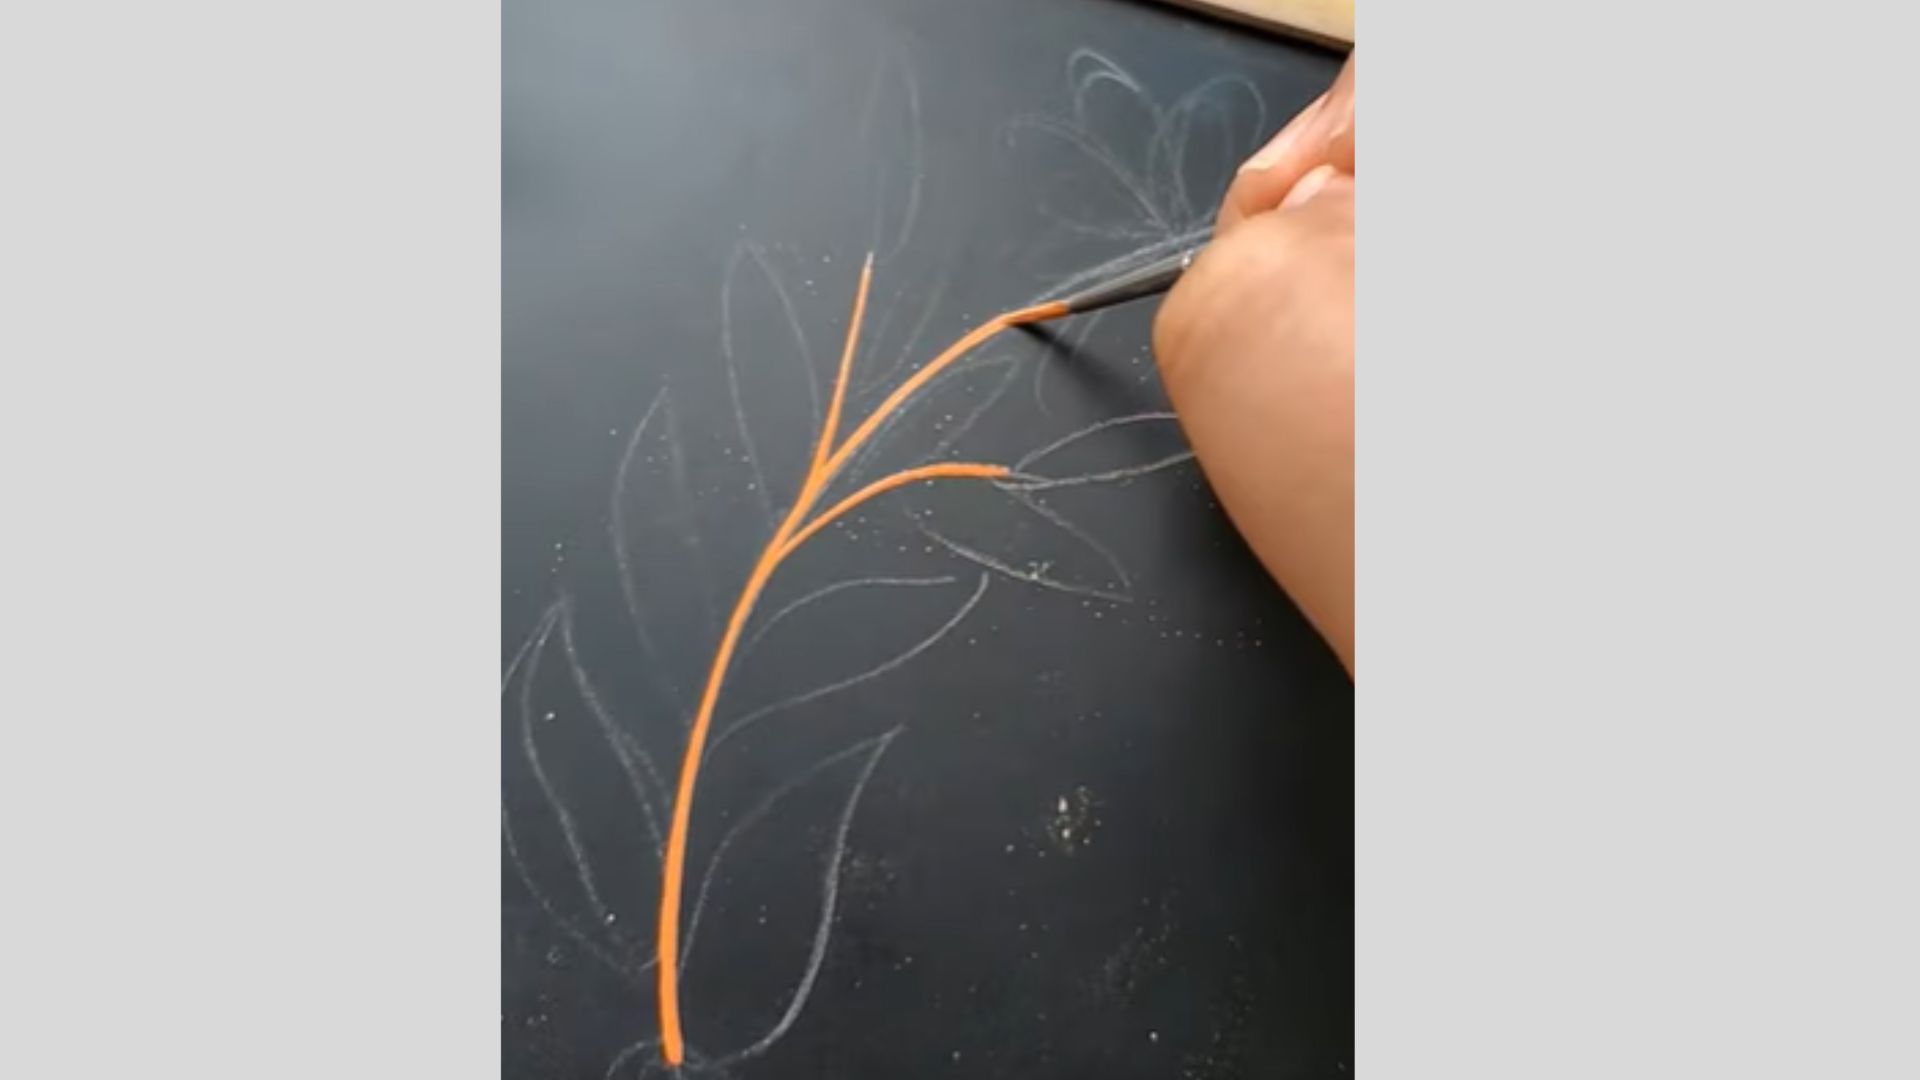
Using a fine brush and your prepared chalk paint, carefully trace over the sketched outline. Follow the guiding lines slowly to maintain clean, steady strokes.
This step defines the structure of your artwork, so focus on precision while gradually building thickness for a more defined appearance.
Step 6: Filling in Base Colors
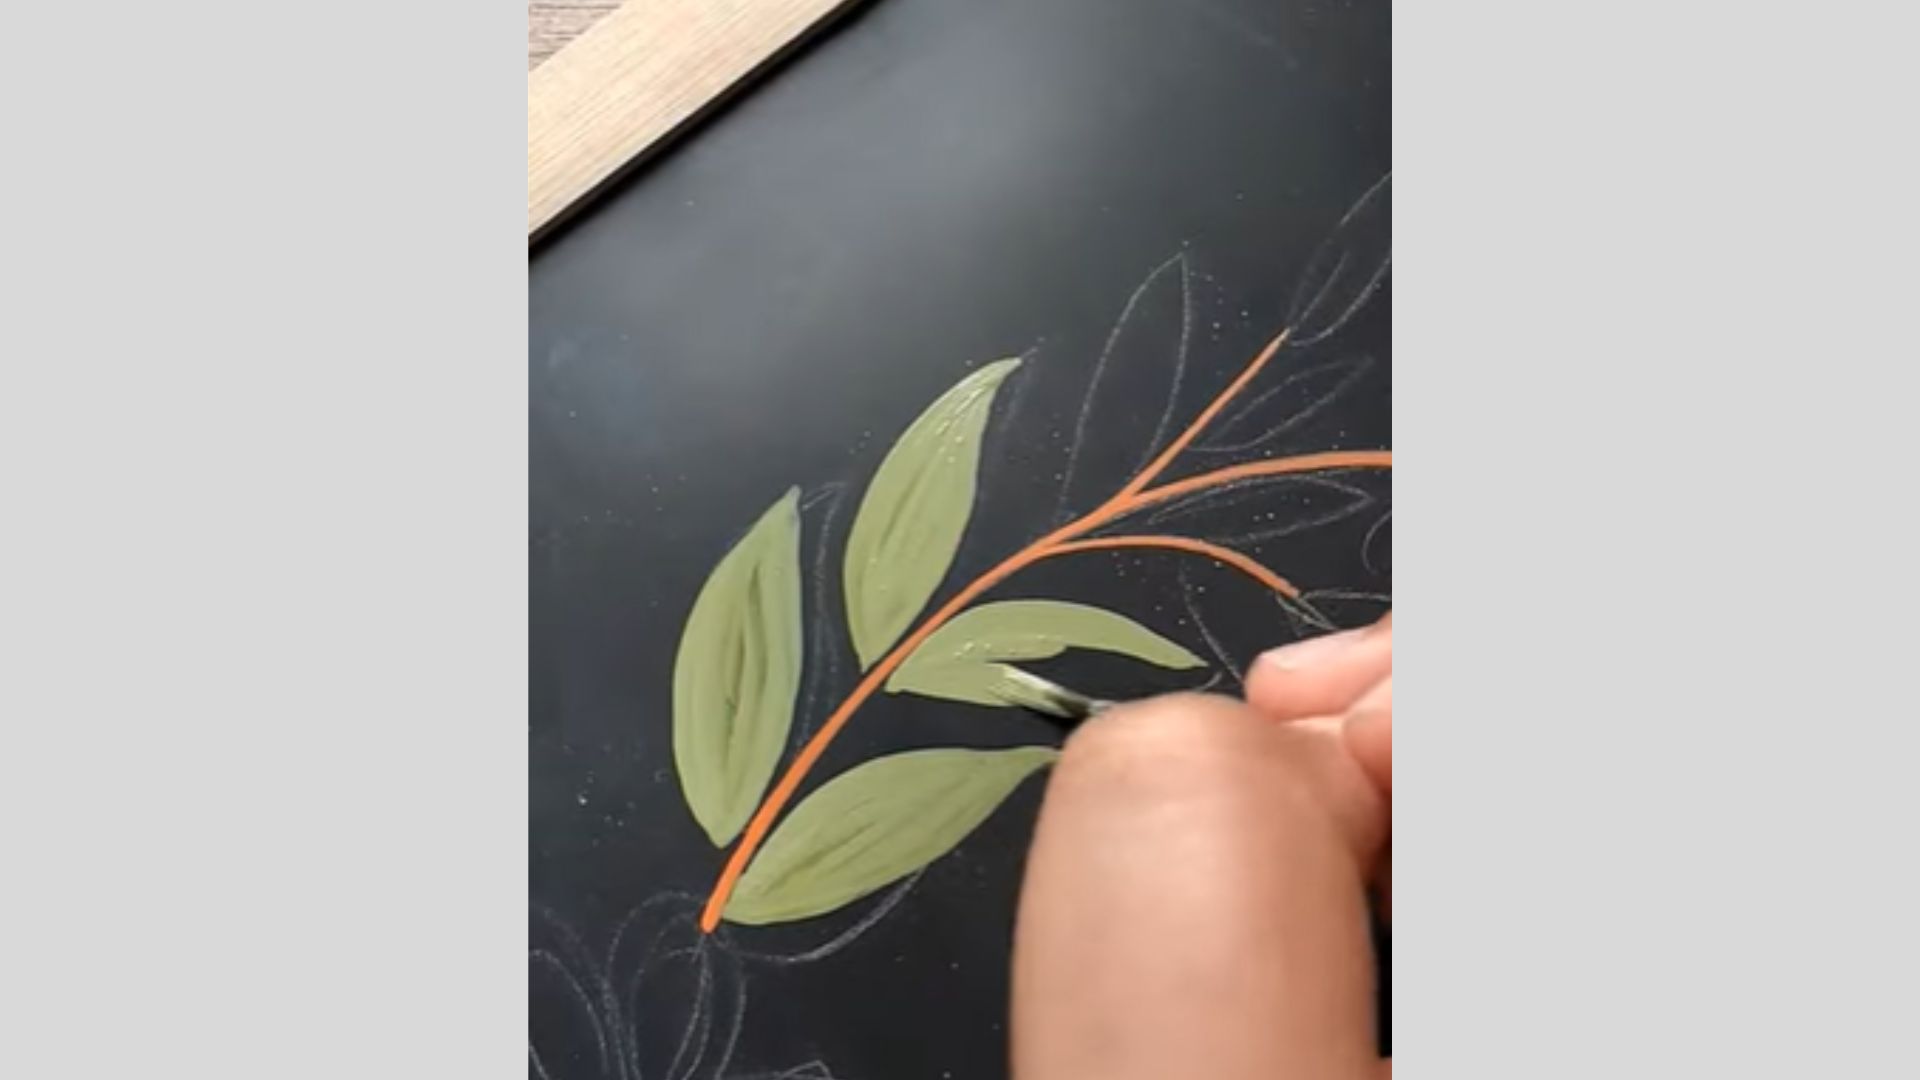
Start filling in elements like leaves and petals using your chalk paint. Apply even strokes within the outlines, building the color gradually for a smooth and solid finish.
This stage brings your design to life, adding vibrancy and making the composition look more complete and balanced.
Step 7: Adding Details and Texture
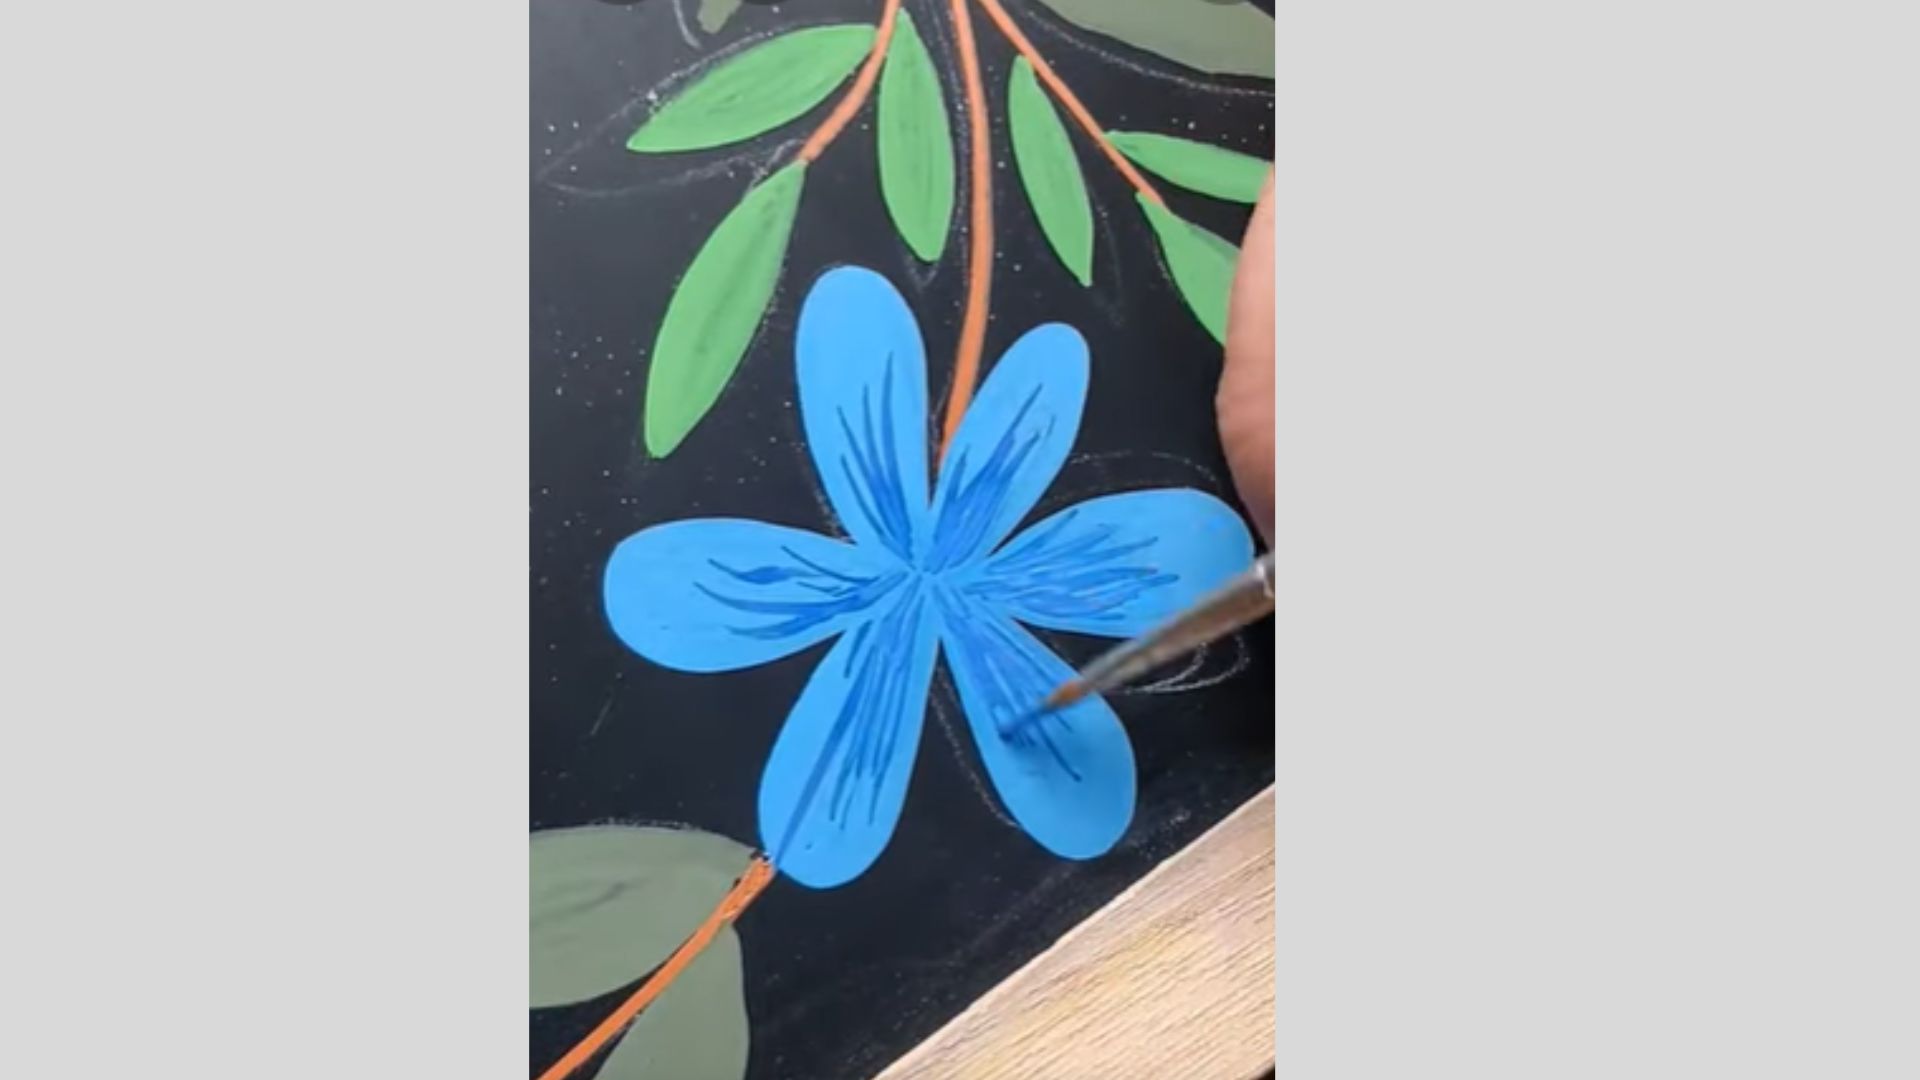
After the base colors dry, enhance the design by adding fine details such as veins on leaves or texture lines on petals.
Use lighter or darker shades to create depth and dimension. These finishing touches make the artwork more realistic and visually engaging without overpowering the overall design.
Step 8: Add Final Highlights and Details
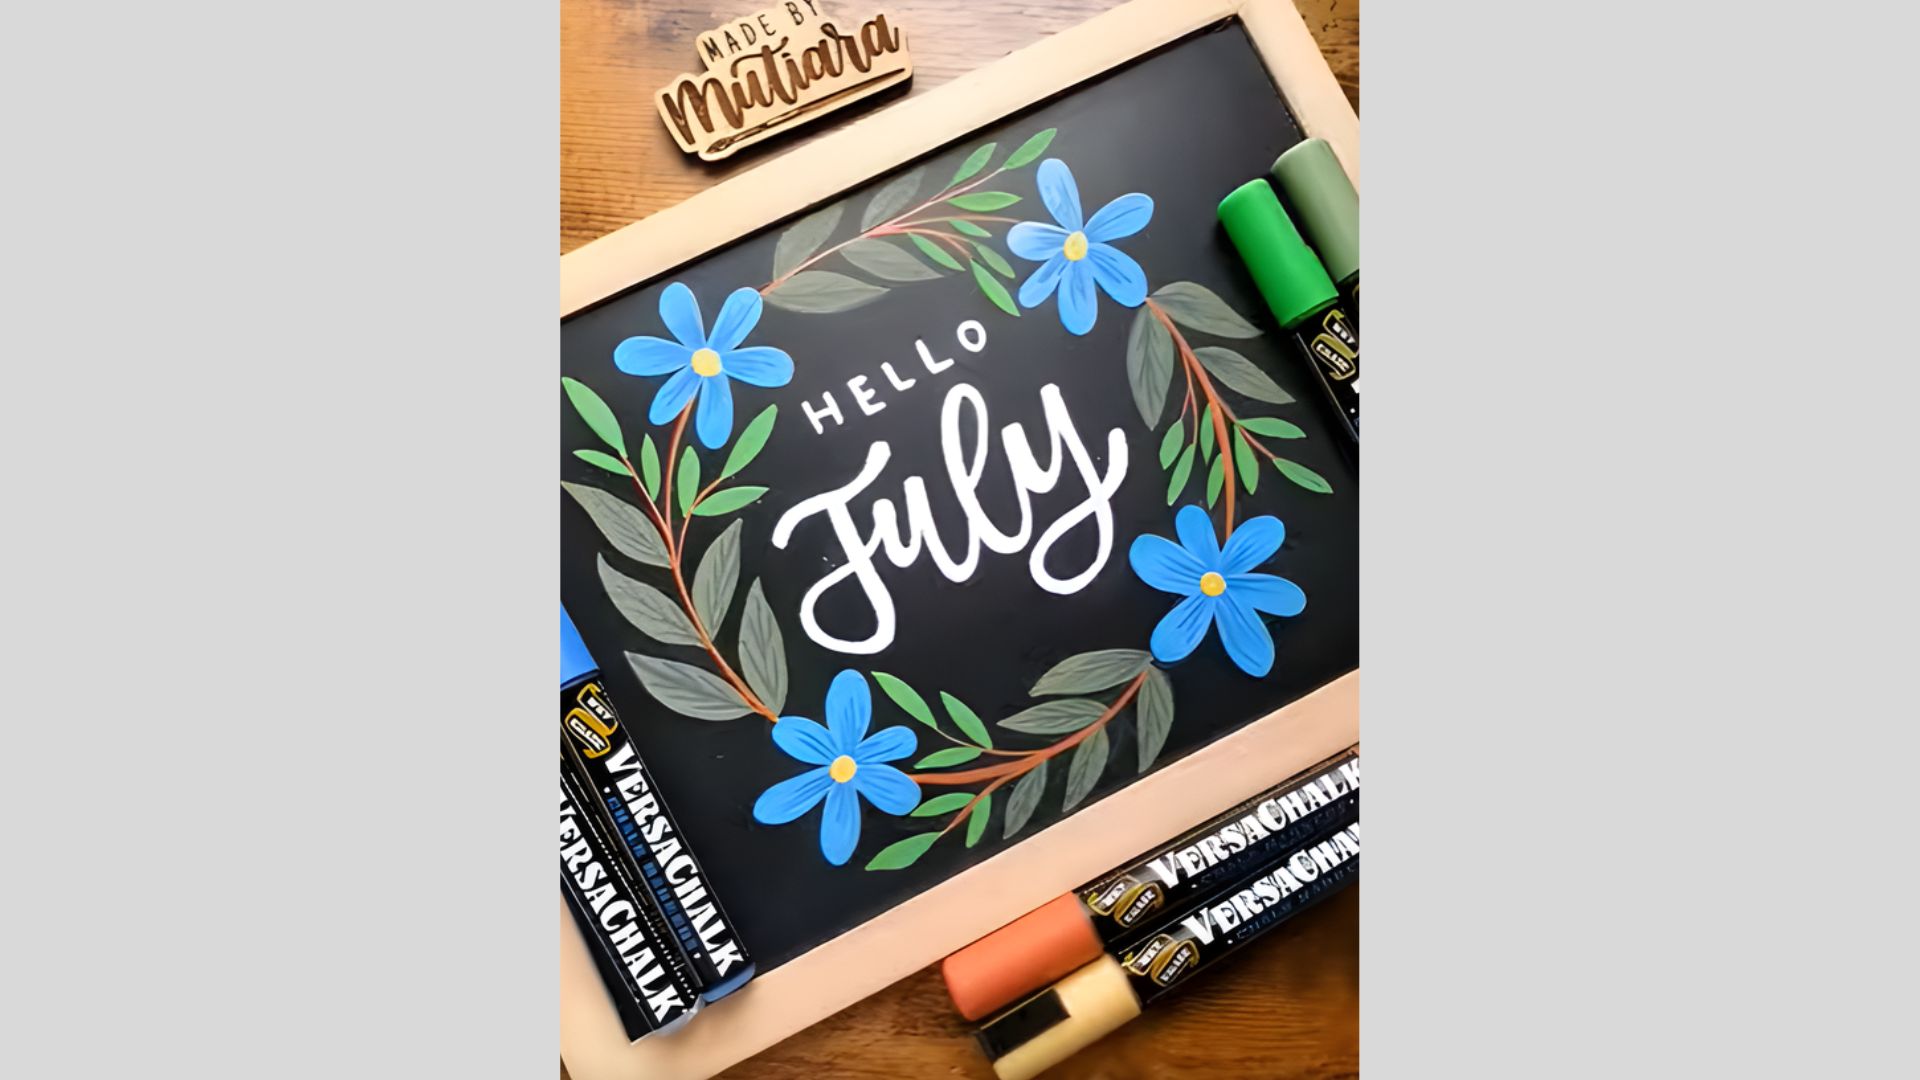
In this step, refine the artwork by adding final highlights and small details. Use a lighter chalk to enhance petals, leaves, and lettering for a more vibrant look.
Gently blend where needed to create depth. Clean up edges and smudges to give the chalkboard a neat, polished finish.
List of 17 Easy Chalkboard Art Ideas for Beginners
These 17 ideas are perfect starting points if you want something quick, good-looking, and easy to make at home.
1. Welcome Chalkboard Sign
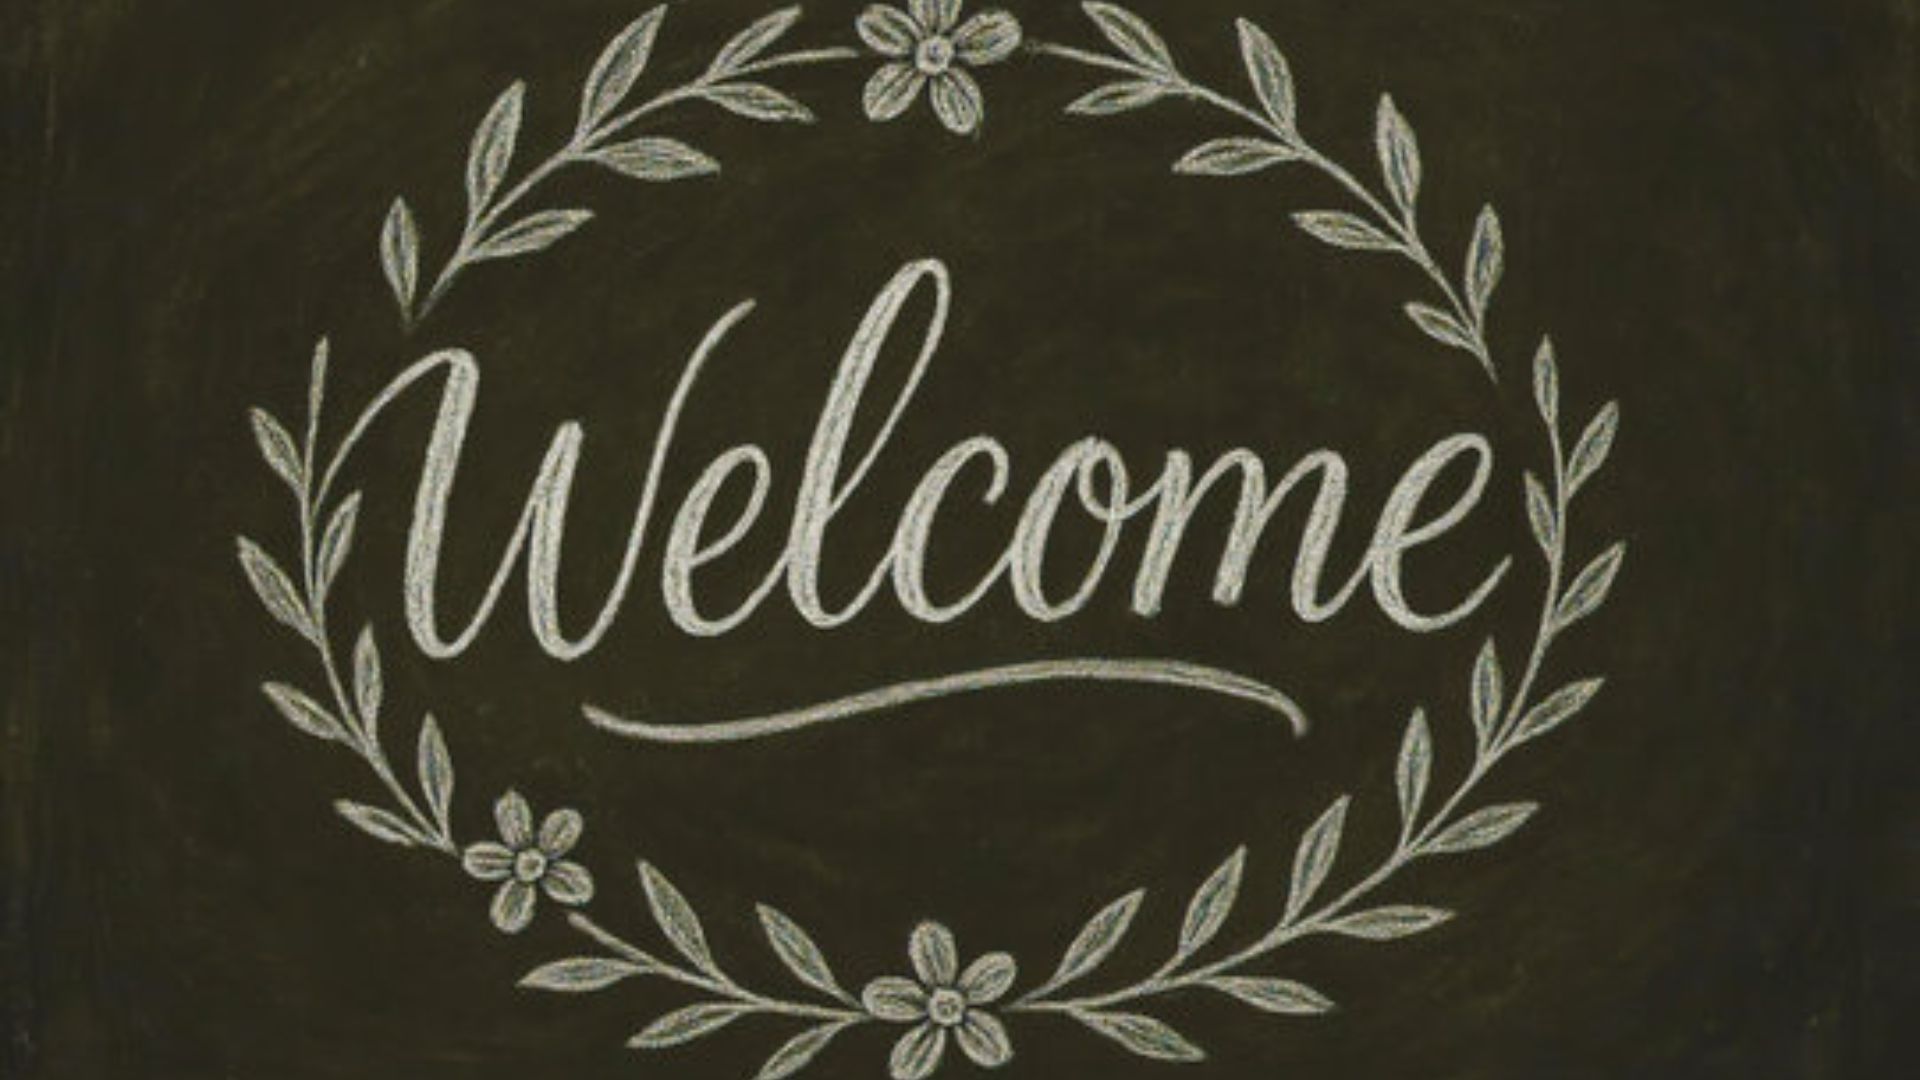
A welcome sign is one of the best first projects for beginners. Write "Welcome" in large, bold letters using a chalk marker.
Add small stars, dots, or simple swirls around the edges for a finished look. Keep the lettering centered and clean. This works great near a front door or an entryway shelf.
2. Inspirational Quote Chalkboard
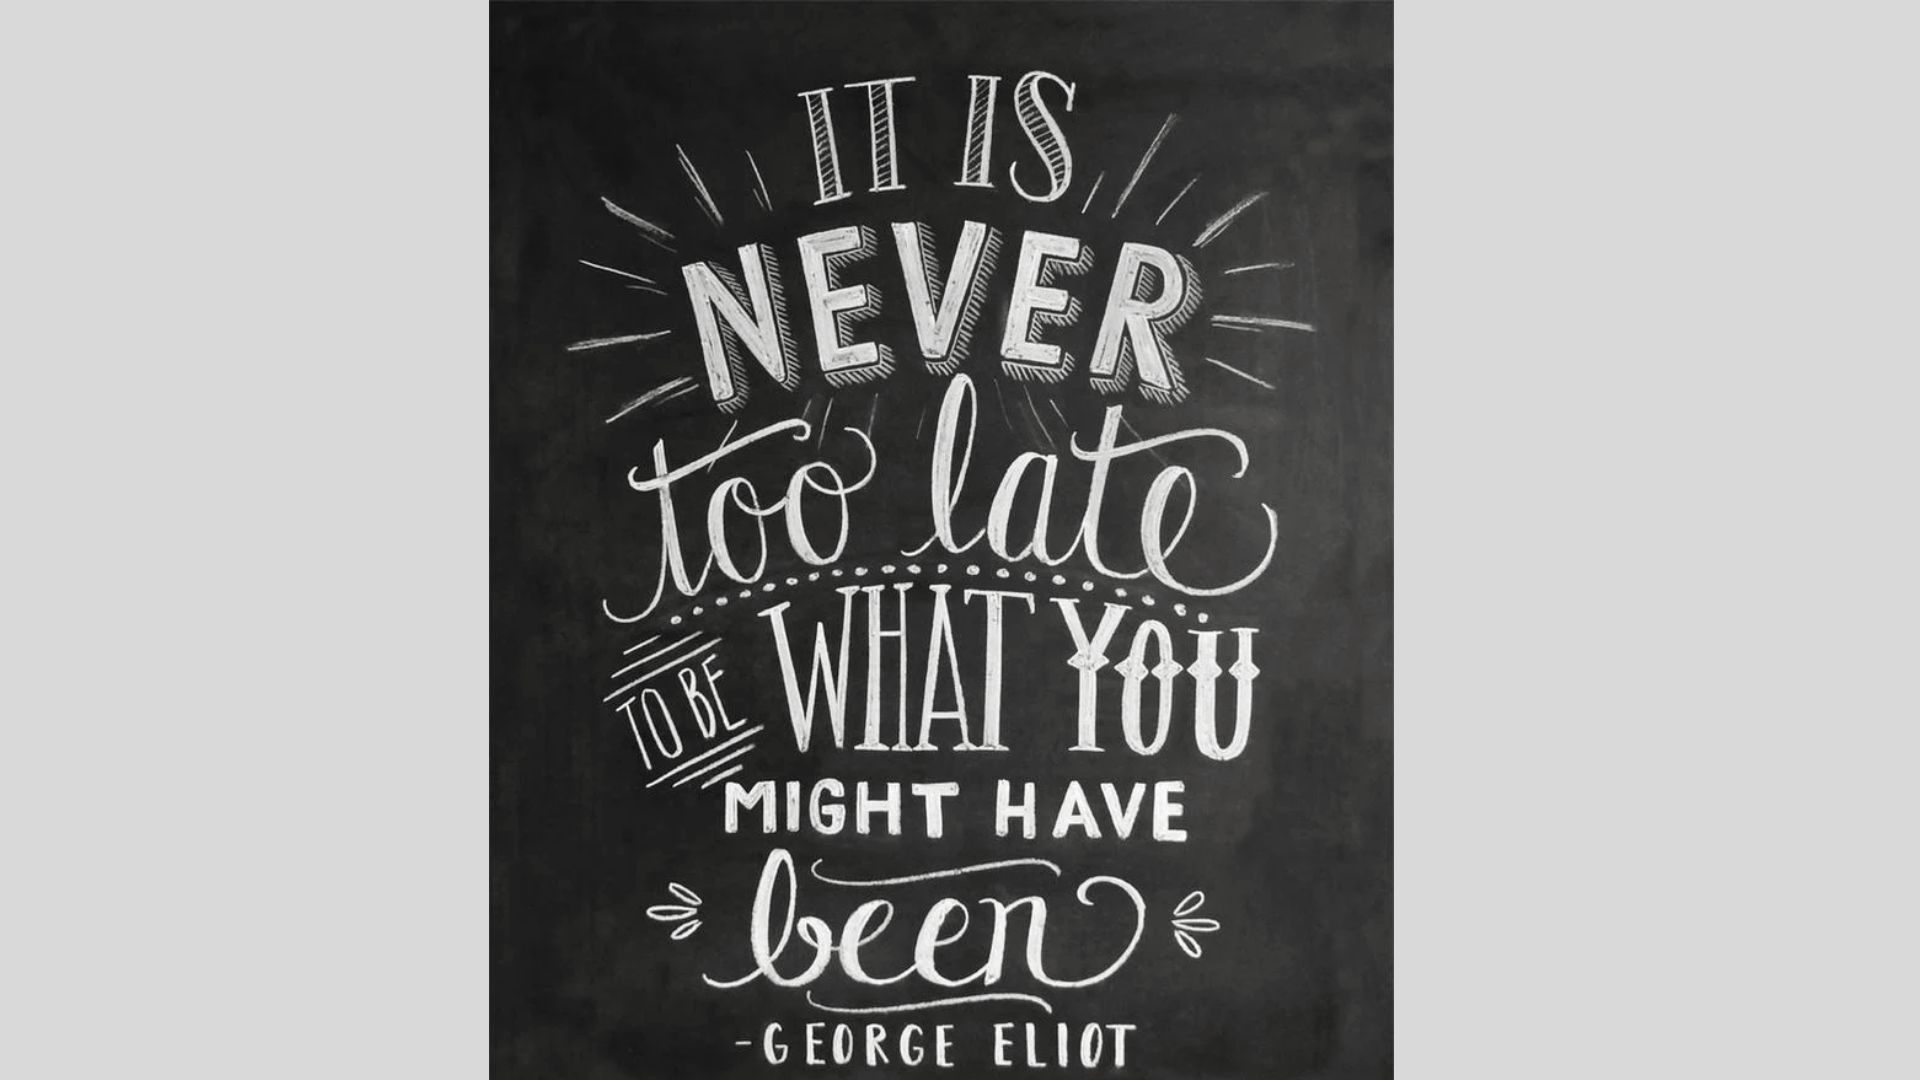
Pick a short quote that actually means something to you. Write it in simple block letters or clean print style. Leave space between lines so it's easy to read.
You don't need fancy fonts. Just keep it neat, centered, and well-spaced. A minimal layout almost always looks the most polished.
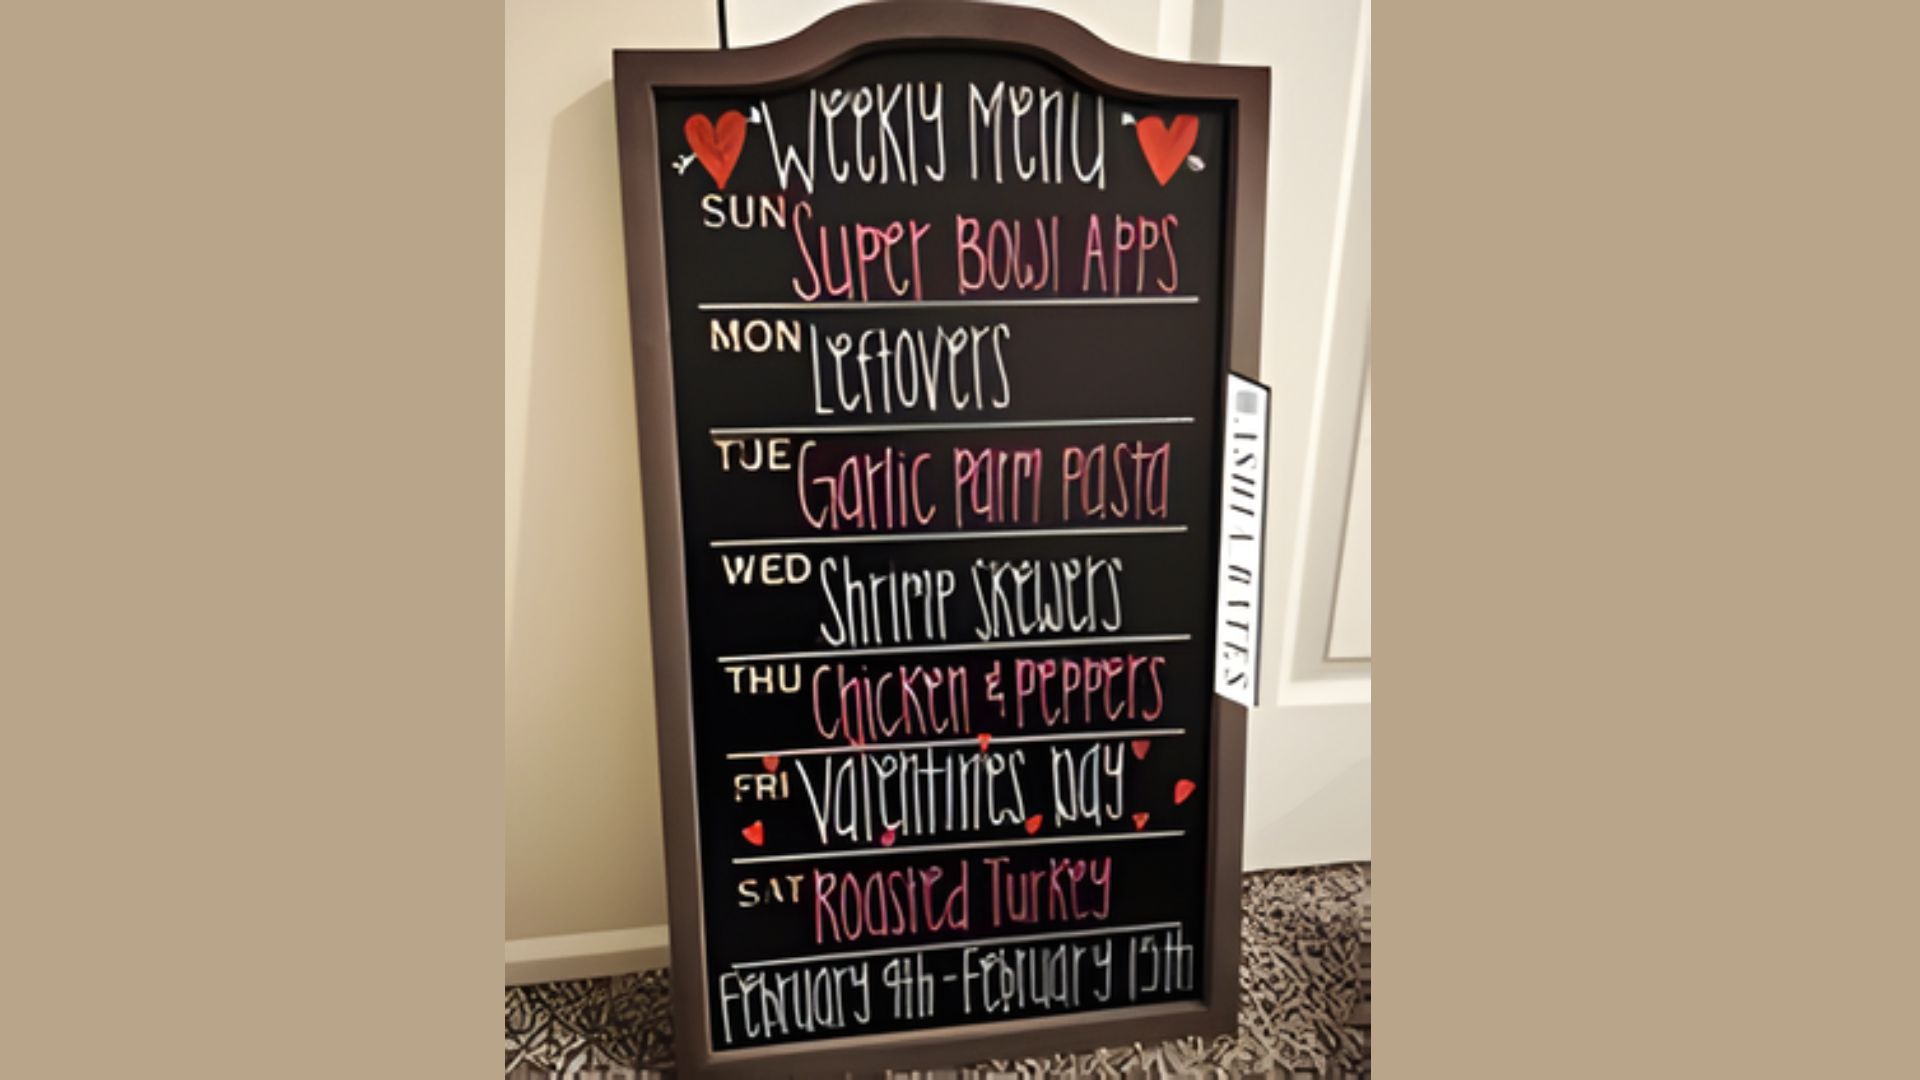
3. Kitchen Menu Board

Use your chalkboard as a weekly meal planner. Write the days of the week as headings and list meals below each one. It keeps your kitchen organized and saves time on busy evenings.
Wipe it clean every Sunday and start fresh. It's both practical and gives your kitchen a put-together look.
4. Coffee Bar Chalkboard
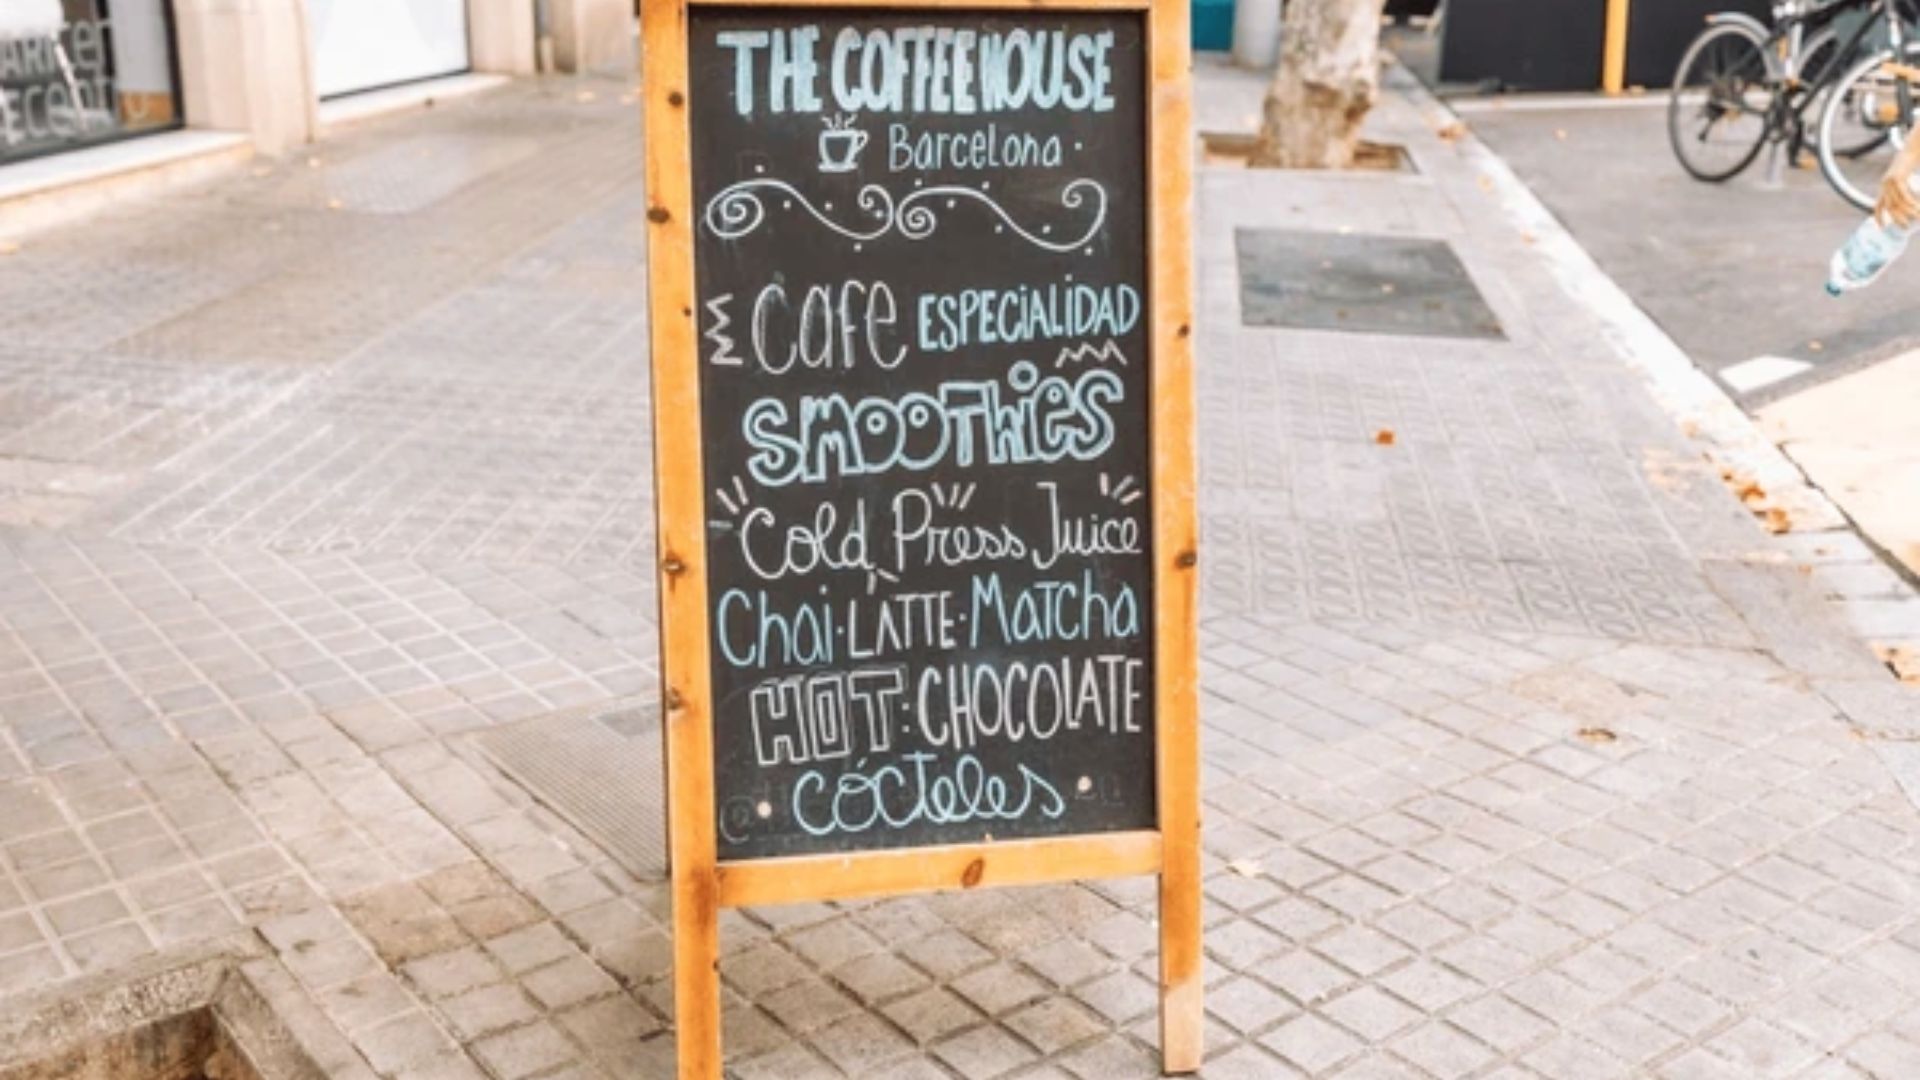
Set up a small coffee station and add a chalkboard with a fun coffee quote. Something like "But First, Coffee" works perfectly.
Draw a simple mug outline below the text with steam rising from the top. It adds a cozy, personal feel to your kitchen corner without much effort at all.
5. Grocery List Chalkboard
Hang a small chalkboard in your kitchen and use it as a running grocery list. Write categories like "Produce," "Dairy," and "Snacks" as headers.
List items below each one. It keeps your shopping trips simple and prevents forgotten items. A practical design that earns its wall space every single week.
6. Seasonal Chalkboard Art

Change your chalkboard design with each season. Draw fall leaves and pumpkins in autumn, snowflakes in winter, and simple flower outlines in spring.
Stick to basic shapes and clean lines. You don't need to be an artist. Rotating seasonal art makes your home feel fresh and updated all year long.
7. Holiday Chalkboard Art

Create holiday-themed boards for Christmas, Halloween, or any festive occasion. Write "Merry Christmas" in bold letters or draw a simple ghost and spiderweb for Halloween.
Add a border of stars or holly leaves. These are quick to make and easy to swap out as holidays come and go.
8. Family Name Chalkboard

Write your family's last name in large letters at the center of the board. Add a simple decorative border using dots, small lines, or leaf shapes.
This makes a great personalized wall piece for a hallway or living room. It's simple to make, looks intentional, and adds a personal touch.
9. Floral Chalkboard Design

Draw simple flower outlines using a chalk marker. Roses, daisies, and tulips all work well for beginners. Add a few leaf borders around the edges.
You don't need perfect petals. Loose, relaxed lines actually look more natural and appealing on a chalkboard than overly precise ones.
10. Birthday Chalkboard Sign
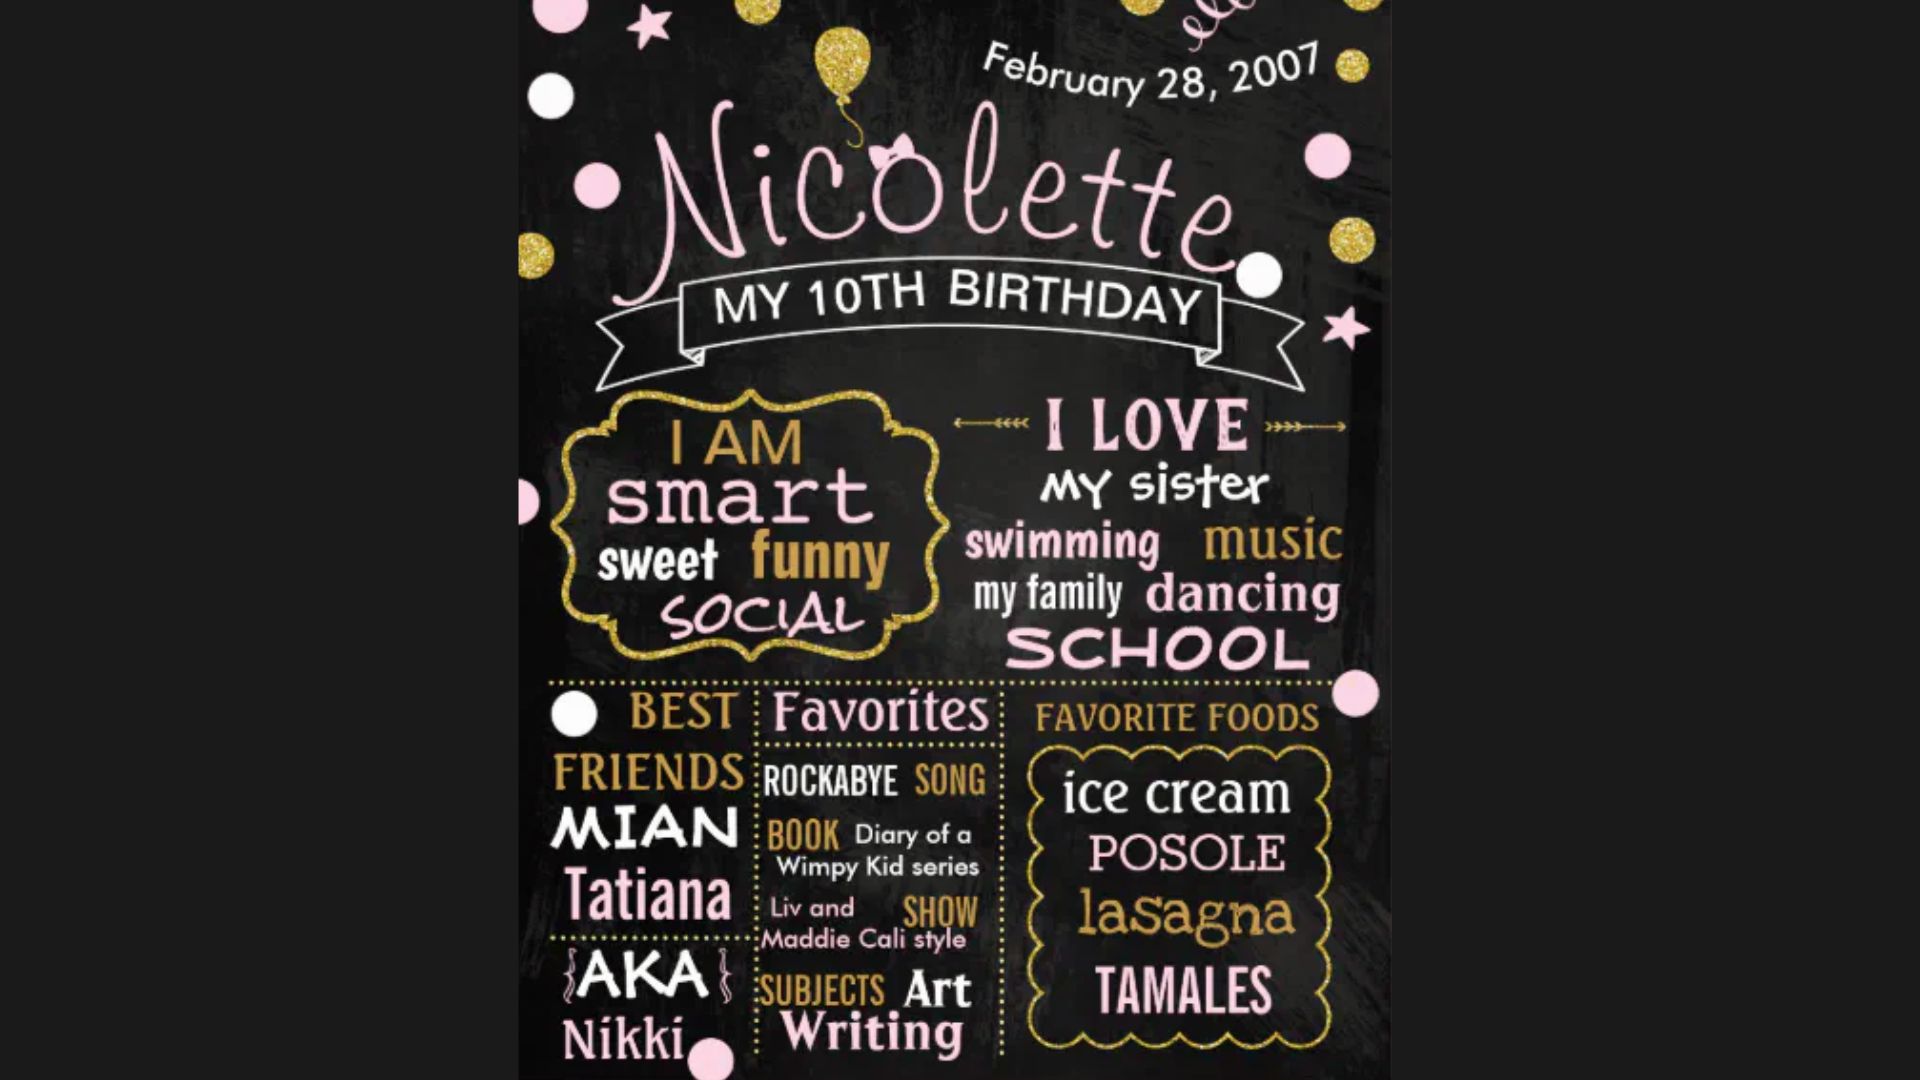
Make a fun welcome sign for a birthday party. Write the person's name and age in large letters. Add balloons, stars, or confetti doodles around the text.
It also works as a great photo backdrop. You can put it together the night before and have it ready to go in minutes.
11. To-Do List Chalkboard

Use your chalkboard as a daily task tracker. Write your top tasks in a clean list format and cross them off as you finish.
Keep the layout minimal so it's easy to read at a glance. It's a practical way to stay organized without spending money on a printed planner.
12. Farmhouse Style Chalkboard

ALT TEXT: A blackboard featuring a chalkboard, showcasing farmhouse-style chalkboard art projects.
Rustic lettering and simple icons are the key to farmhouse chalkboard art. Write words like "Home" or "Gather" in chunky block letters.
Add small drawings of wheat stalks, mason jars, or basic farmhouse shapes. This style fits well in kitchens, dining rooms, and entryways where a cozy, warm feel matters.
13. Kids Doodle Chalkboard
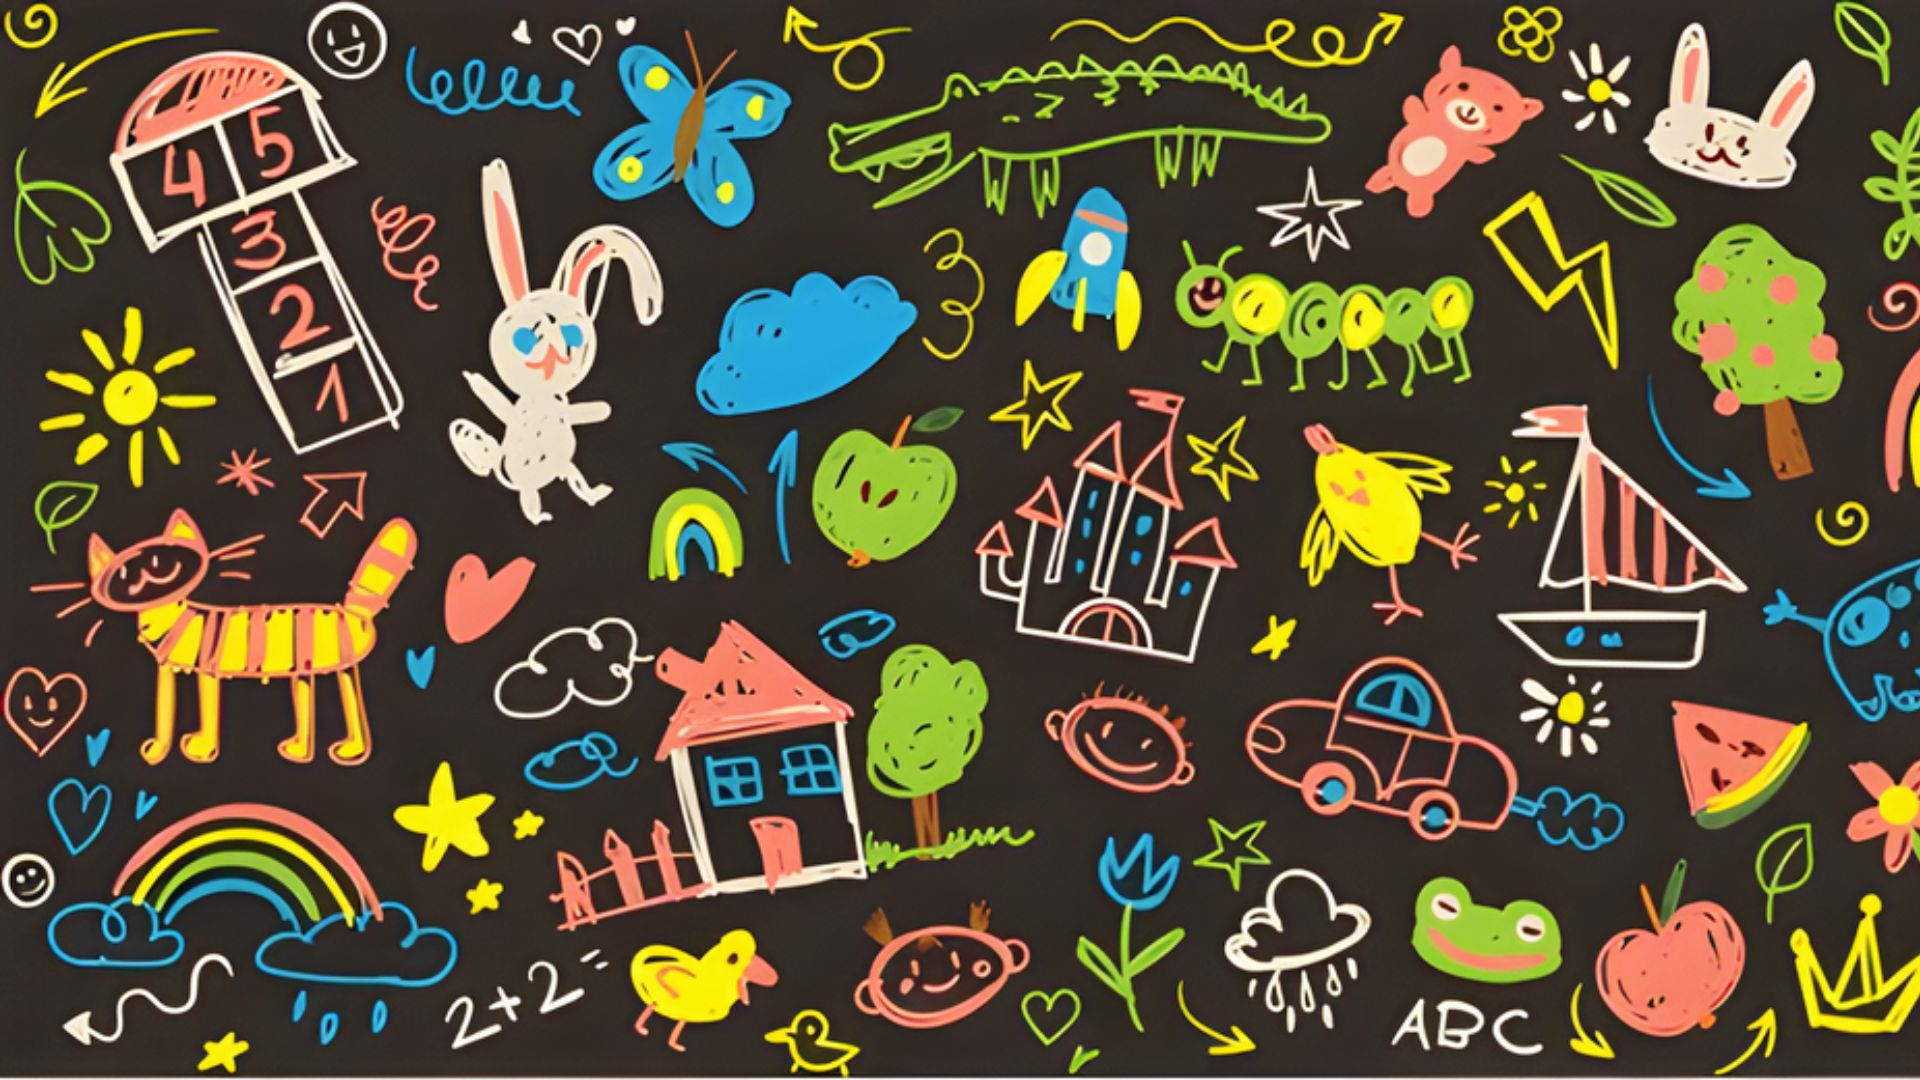
Set up a chalkboard just for kids to get creative. Draw cute animals, suns, clouds, or basic shapes they can copy or color in with chalk.
It's a great activity for rainy days indoors. You can also use it as a learning board with alphabet letters or simple math.
14. Pantry Label Chalkboard
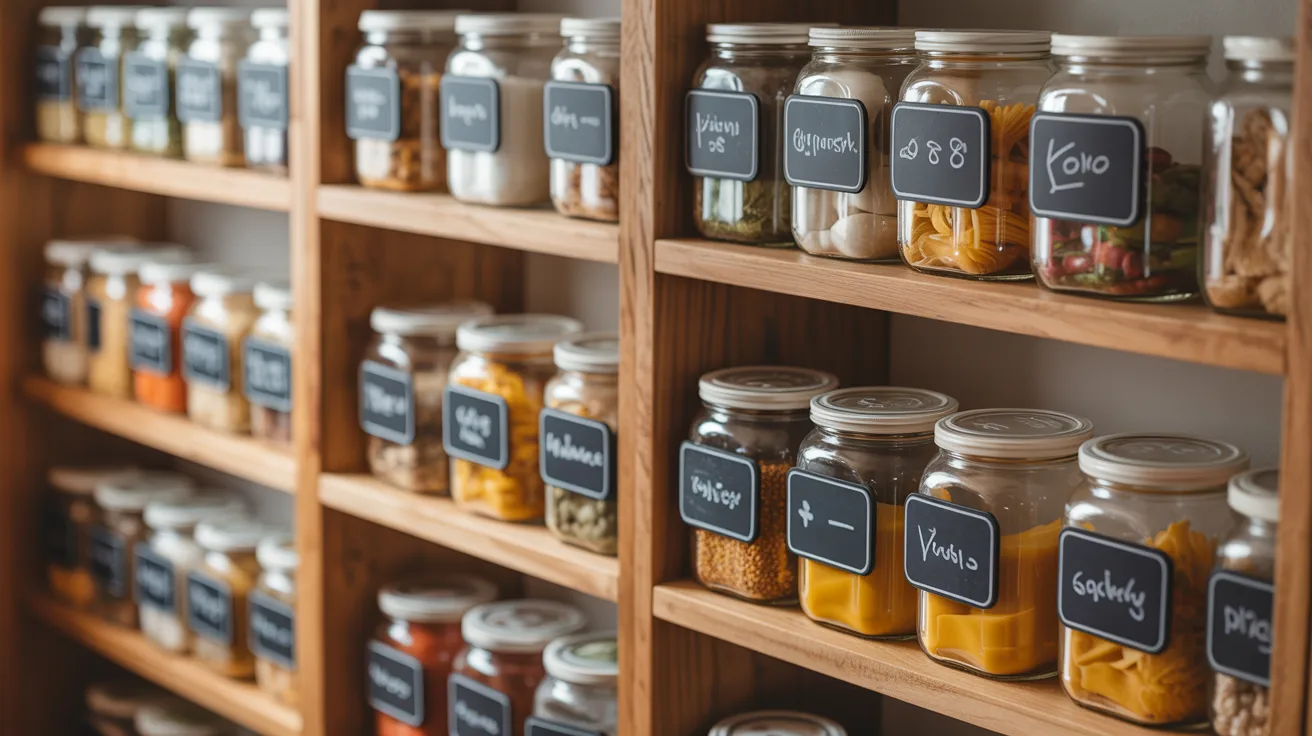
Use small chalkboard labels or tags on pantry jars and containers. Write the contents in clean, simple lettering. It keeps your storage space organized and makes everything easy to find.
Labels can be wiped off and rewritten whenever contents change. A small detail that makes a big difference in daily life.
15. Love Quote Chalkboard
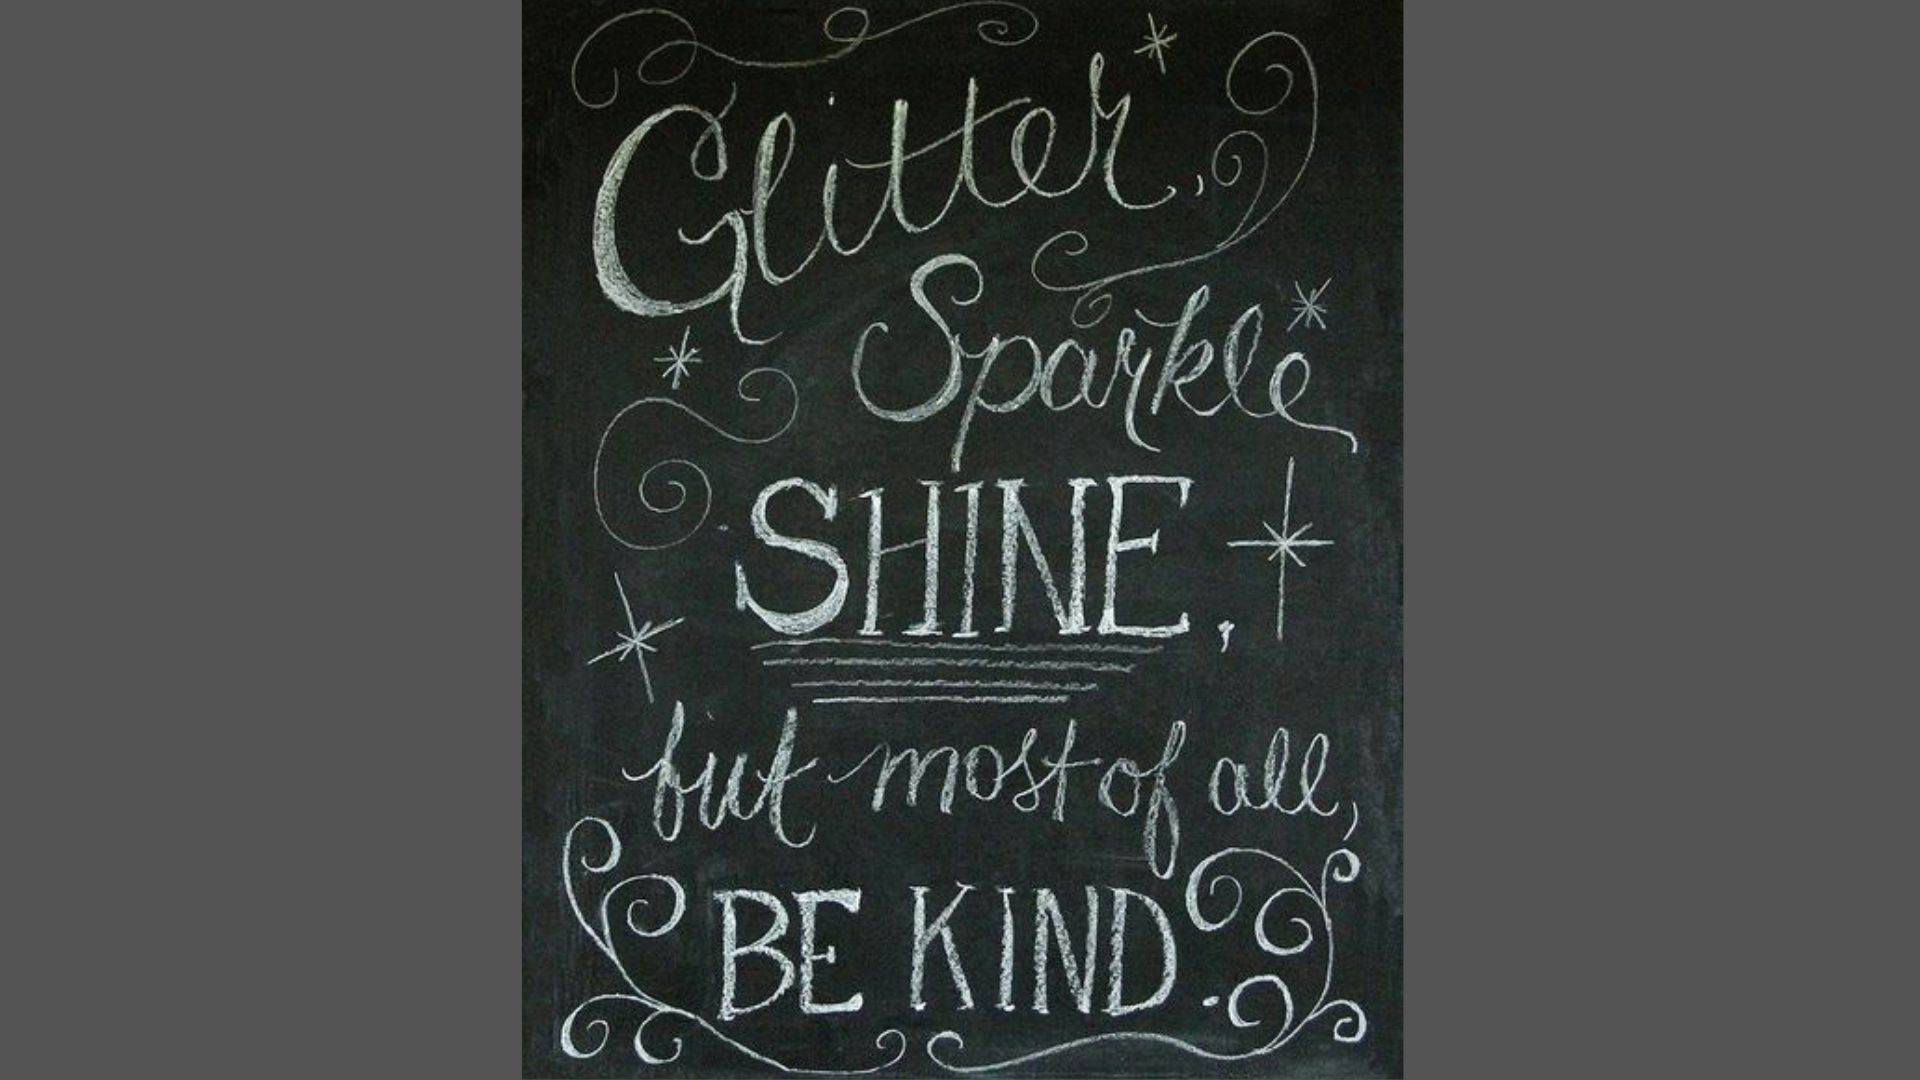
Write a short romantic quote in the center of the board. Add small heart doodles around the text. Keep it simple and clean. This works well in a bedroom or living space.
It also makes a personal, heartfelt gift. A handwritten quote always feels more genuine than something mass-produced or printed.
16. Minimal Typography Chalkboard
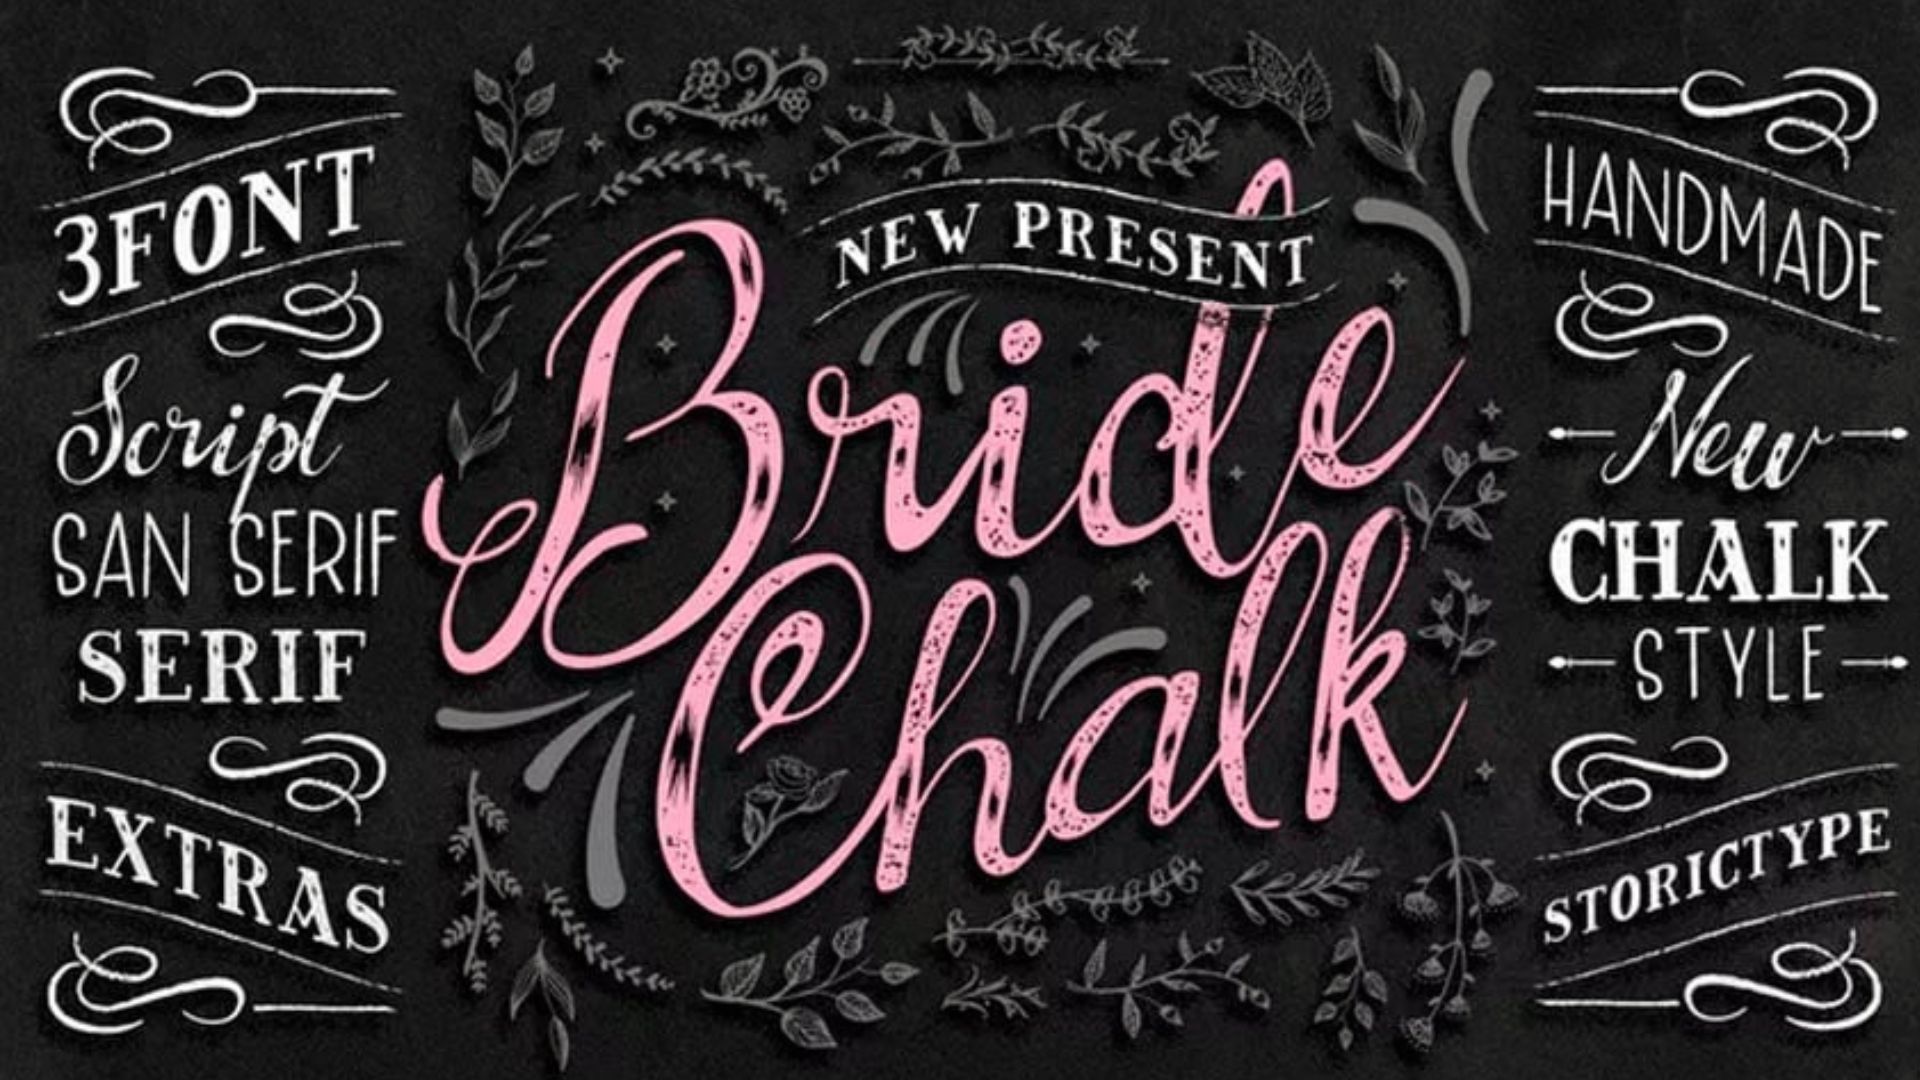
Pick a single word like "Calm," "Home," or "Create." Write it in large, clean letters centered on the board. Add nothing else. That's the whole design.
Minimal layouts are surprisingly striking and much easier to pull off than complex ones. Less really is more when it comes to typography chalkboard art.
17. Calendar Chalkboard
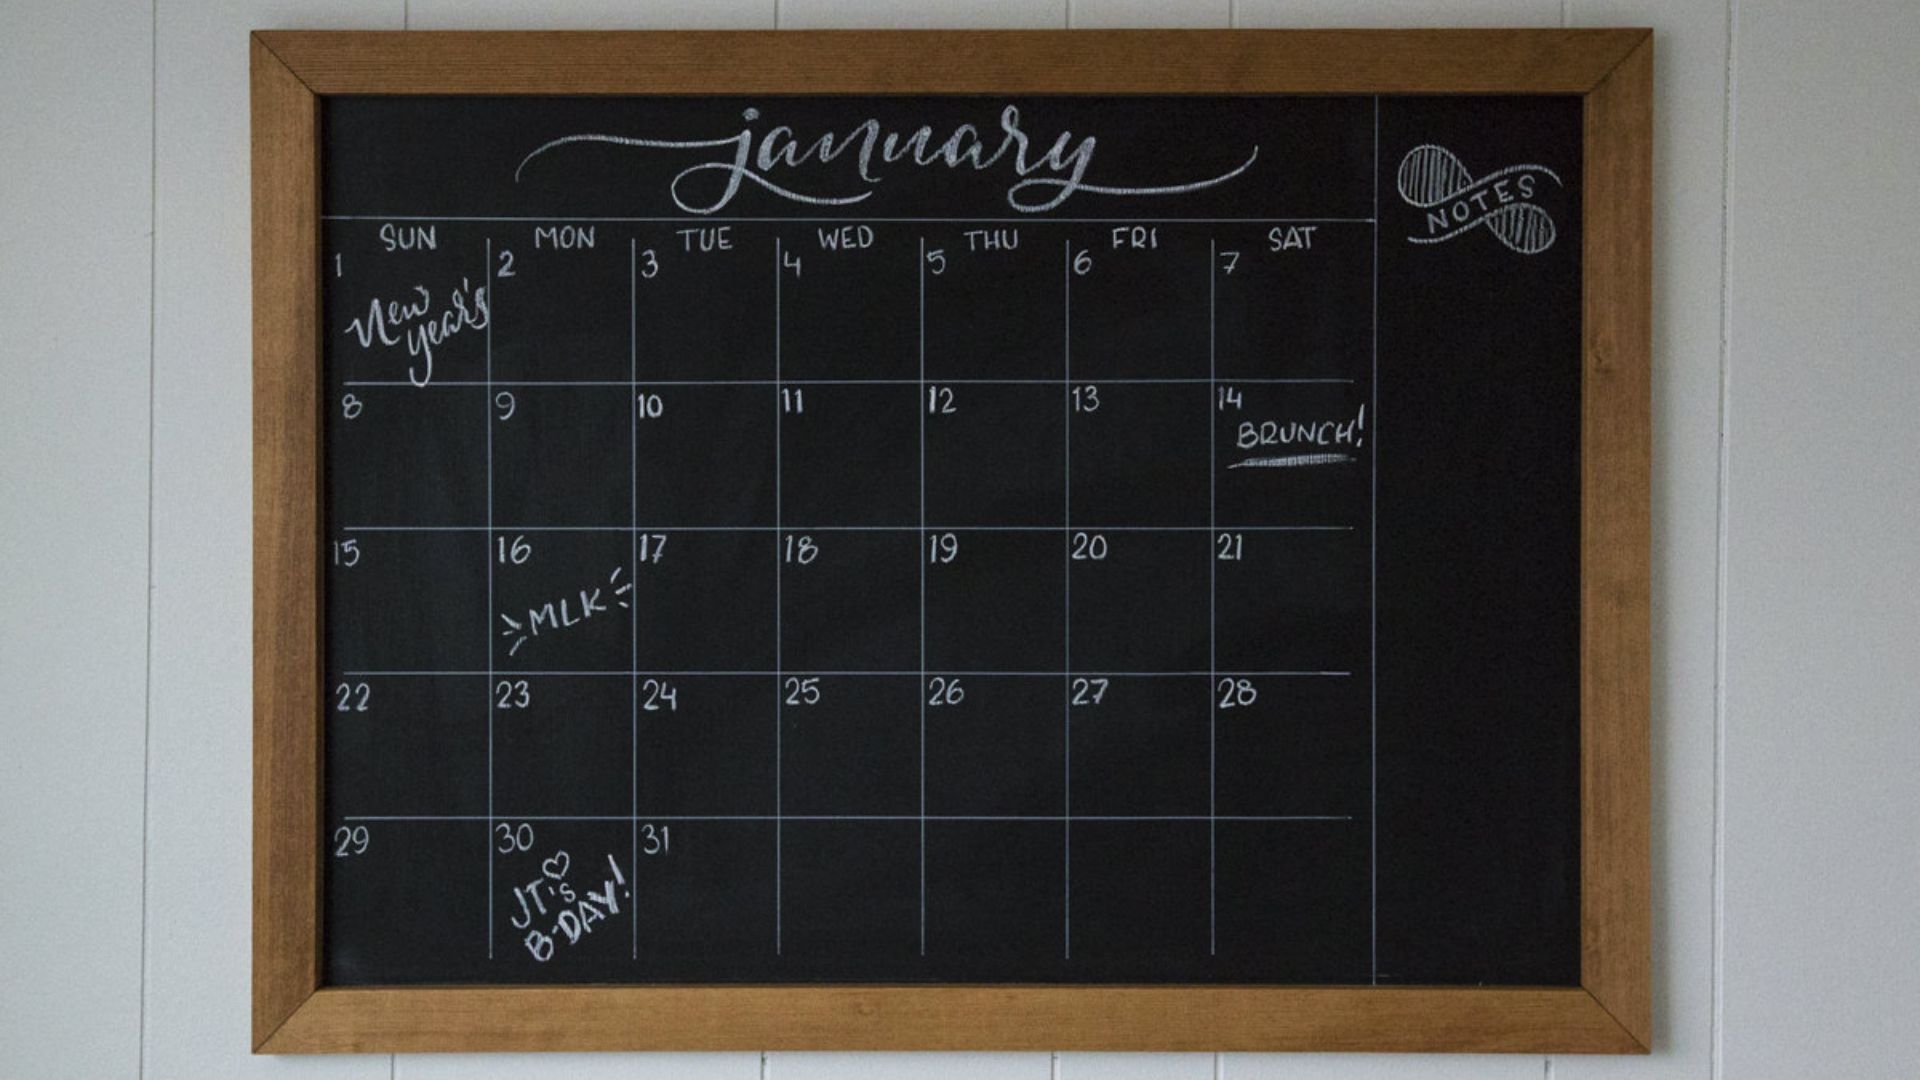
Draw a simple monthly grid on a large chalkboard. Add the days of the week across the top and fill in the dates.
Write birthdays, events, or reminders inside each box. Wipe and redo it each month. A chalkboard calendar is both a useful planning tool and a clean wall display.
Tips for Better Chalkboard Art
These small habits make a big difference in how your final chalkboard art turns out.
- Use chalk markers for sharper, more controlled lines instead of regular chalk sticks.
- Keep designs simple, especially in the beginning. Fewer elements almost always look better.
- Practice letter spacing on paper before writing directly on the board.
- Use a ruler or light pencil grid to keep your layout aligned and evenly spaced.
- Prep the board properly by wiping it with a damp cloth and letting it dry fully before starting.
Follow these tips consistently and your chalkboard art will get noticeably cleaner and more confident with every project.
Conclusion
Chalkboard art doesn't ask for perfection. My first sign took three tries, and I still loved the result.
Every attempt teaches you something new, and the progress happens faster than you'd expect.
The more you do it, the better it gets. You already have everything you need to start. So pick one idea from this list, grab your chalk, and get going.
Once you do, drop a comment below and tell me how it went!
Frequently Asked Questions
What is the easiest chalkboard art for beginners?
A simple welcome sign or a short quote written in block letters is the easiest and best place to start.
Do I need special chalk for chalkboard art?
Chalk markers give the cleanest lines for most projects, but regular chalk works fine for shading and filling large areas.
How do I transfer a design onto a chalkboard?
Place transfer paper between your printed design and the board, then trace over the lines firmly with a pencil.
Can I use a regular blackboard for chalkboard art?
Yes, any flat chalkboard surface works, including painted wood boards, store-bought panels, or old school blackboards.
How do I fix mistakes on a chalkboard?
Wipe the area with a damp cloth, let the surface dry completely, then redraw that section from scratch.
