


Honestly, my first flower drawing was embarrassing. Lopsided petals, messy lines, zero depth.
It looked nothing like a flower. I almost gave up. But I kept practicing, made a lot of mistakes, figured out what actually works, and slowly got better.
Now I want to share everything I learned with you.
In this blog, I’ll cover the exact materials you need, a clear step-by-step drawing process anyone can follow, and simple tips to improve fast.
It takes time, but it’s worth it. If I could go from terrible to confident, so can you.
Why Most Beginners Struggle With Flower Drawing
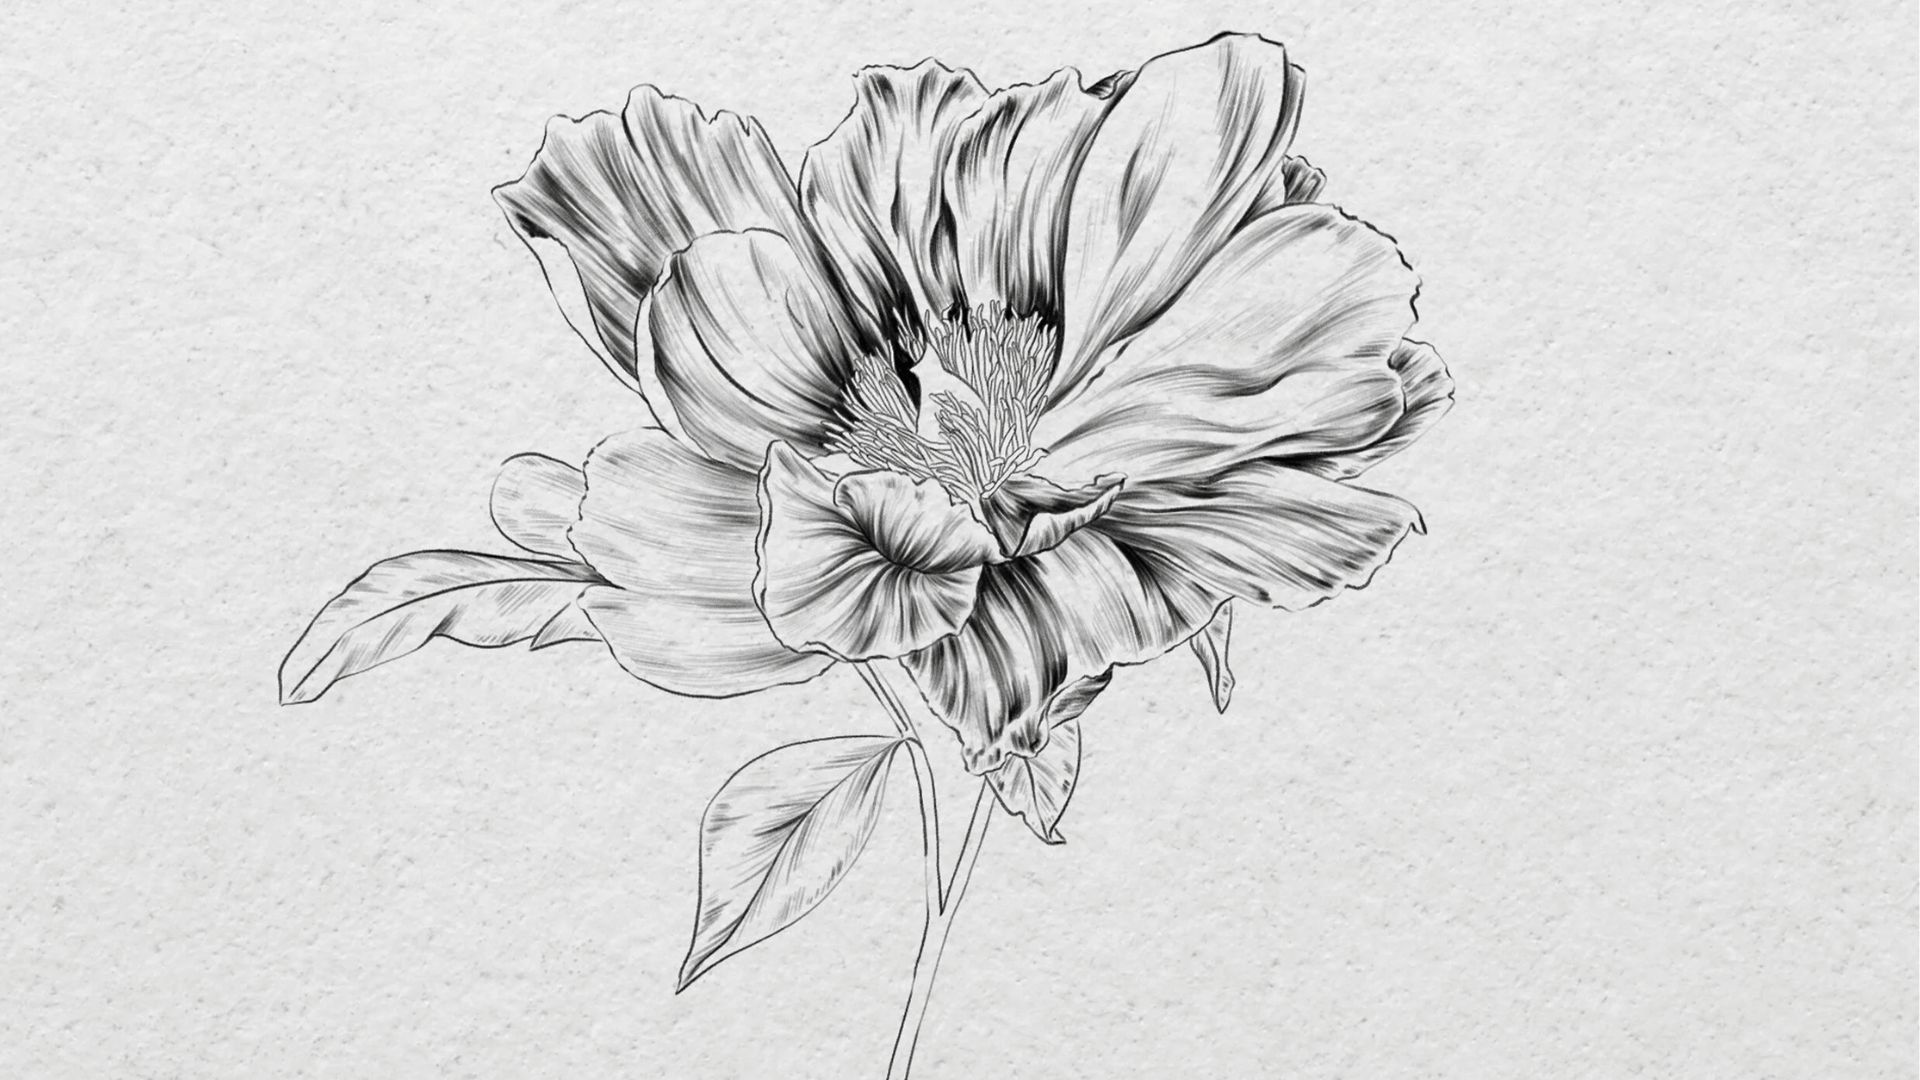
Most beginners struggle because they skip the structure and jump straight to details.
Without a solid base, petals end up uneven, proportions go wrong, and the whole drawing falls apart.
The fix is simple: always start light, build the shape first, and add detail last. Flowers look complex but they follow a clear pattern once you break them down.
This guide shows you exactly how to approach each stage so you avoid the most common mistakes and actually finish with a drawing you’re proud to show people.
Materials Needed for Realistic Flower Drawing
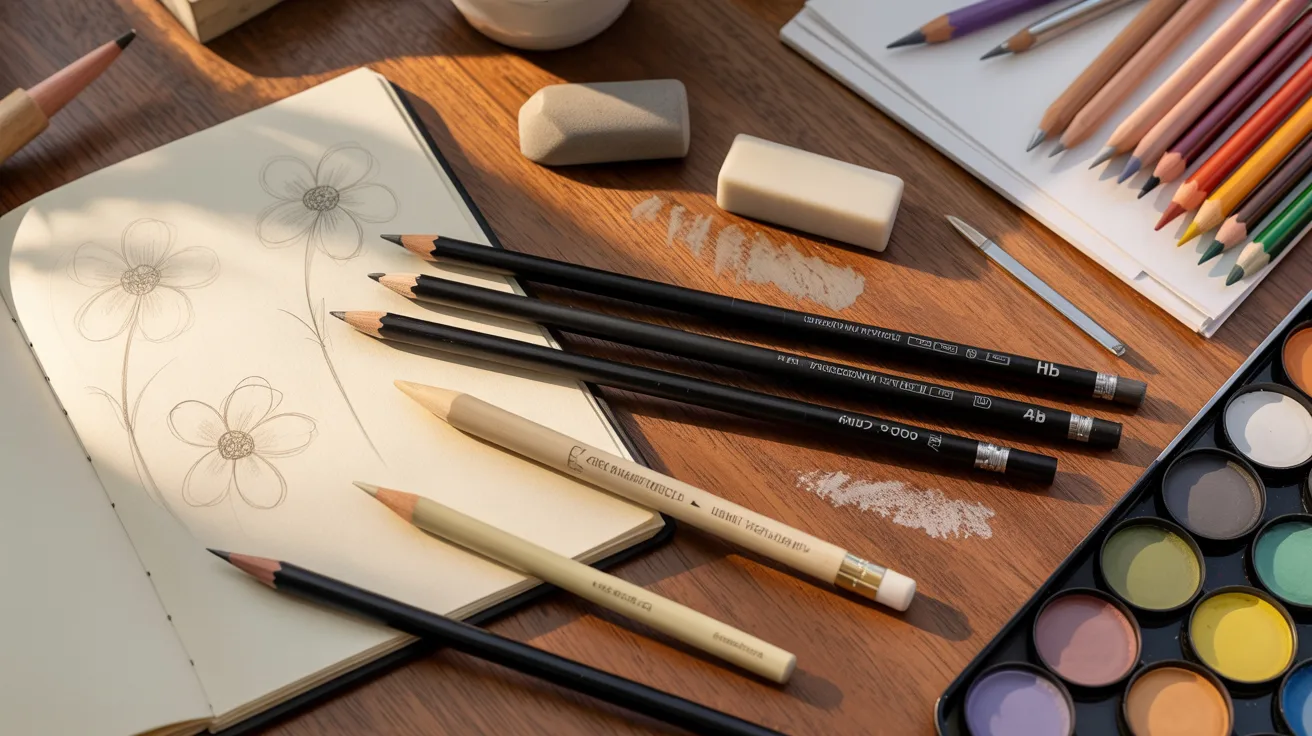
Before you start, gather the right tools. The right supplies make a big difference.
- Pencils (HB, 2B, 4B): These give you light lines for sketching and darker lines for shading.
- Eraser (soft and kneaded): A soft eraser removes light lines cleanly without tearing the paper.
- Drawing paper: Use smooth paper with some weight so it holds pencil strokes well.
- Colored pencils or watercolors: These bring your flower to life with color and depth.
- White gel pen or white colored pencil: Perfect for adding highlights that make petals pop.
- Blending stump: Helps you smooth out shading for a soft, realistic look.
Once you have everything ready, you’re all set to start drawing.
Step-by-Step Realistic Flower Drawing Tutorial
Follow each step slowly. Don’t rush. Good drawings take patience, not talent.
Step 1: Draw the Basic Guideline Structure
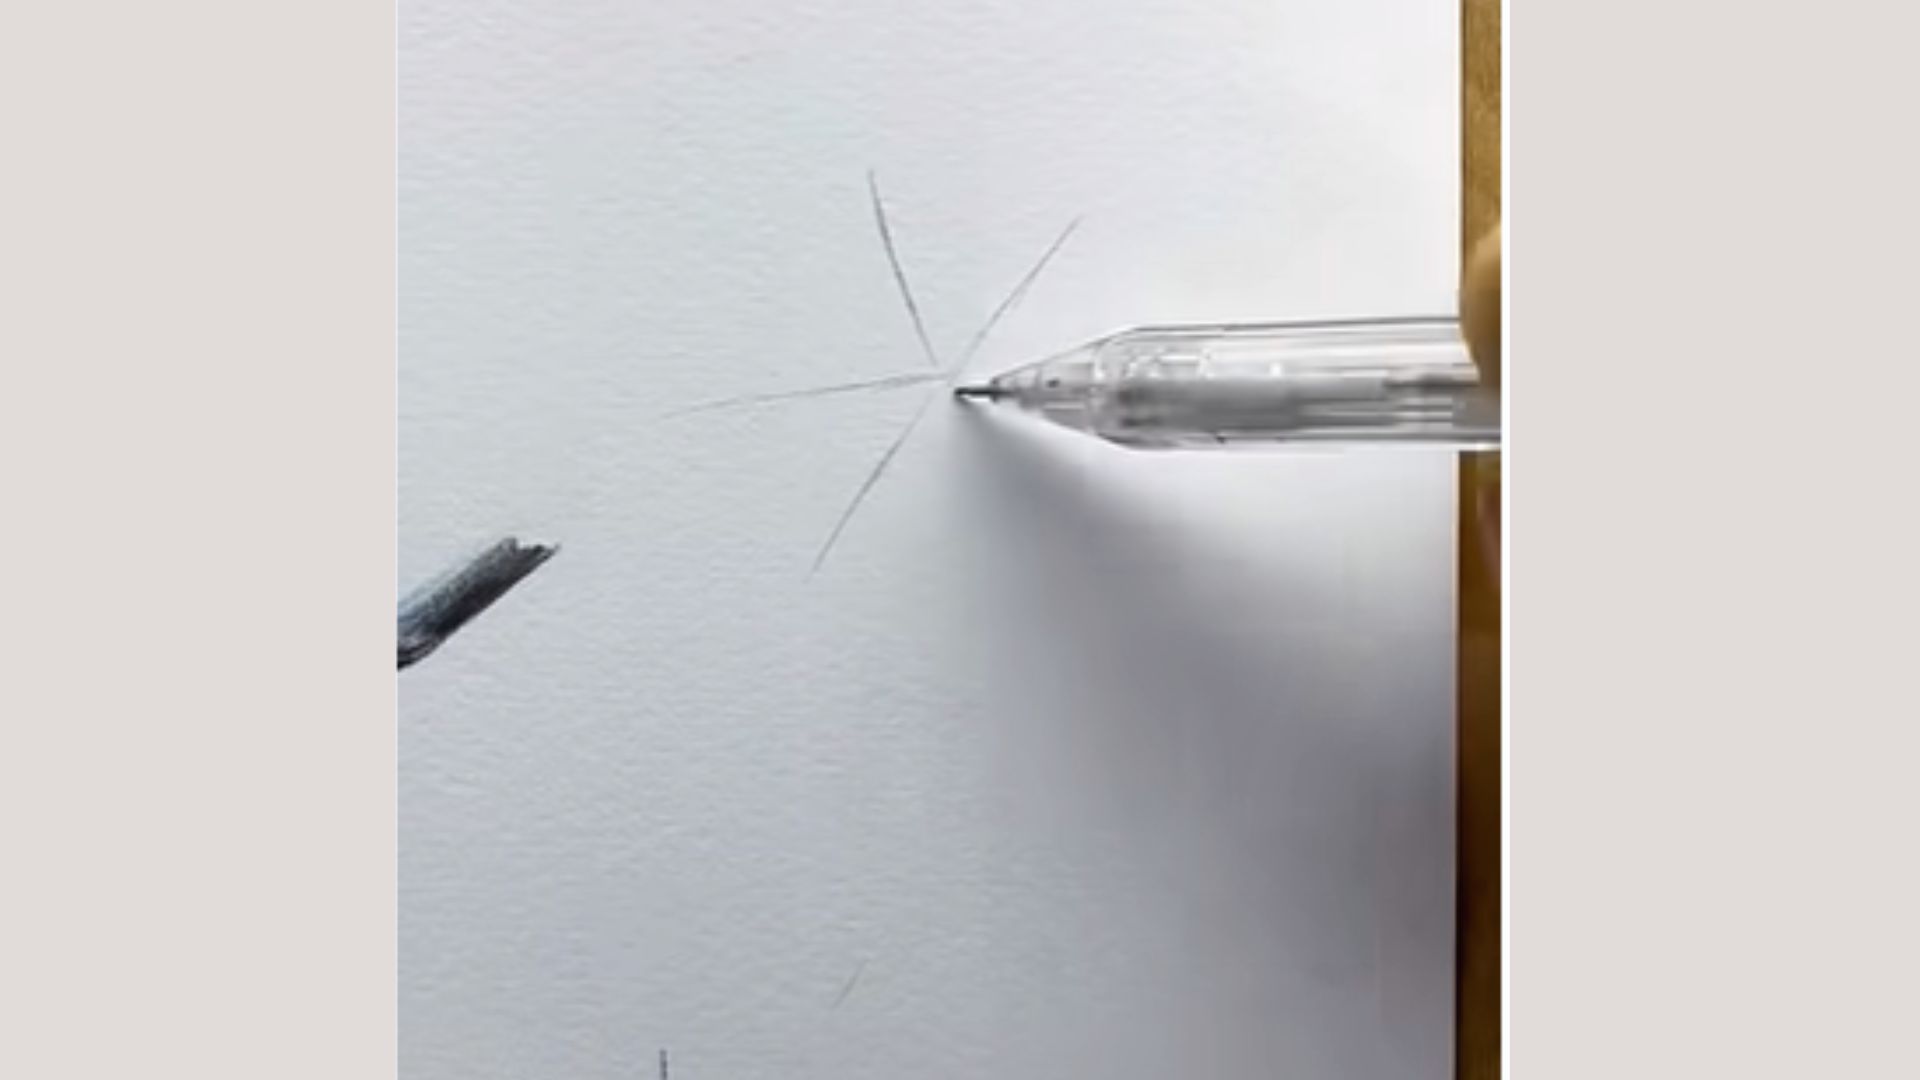
Lightly mark a small center point and draw thin lines radiating outward like a star. These soft guidelines help you place petals evenly and keep the flower balanced.
Keep your strokes very light so they’re easy to erase later, creating a clean and symmetrical base for your drawing.
Step 2: Outline the Petal Shapes

Using the guidelines, start sketching soft, curved petal shapes around the center. Each petal should follow one line, forming a natural look.
Keep edges slightly uneven and organic instead of perfect. Draw lightly so you can adjust easily and maintain a smooth, balanced flower shape.
Step 3: Refine the Petal Edges
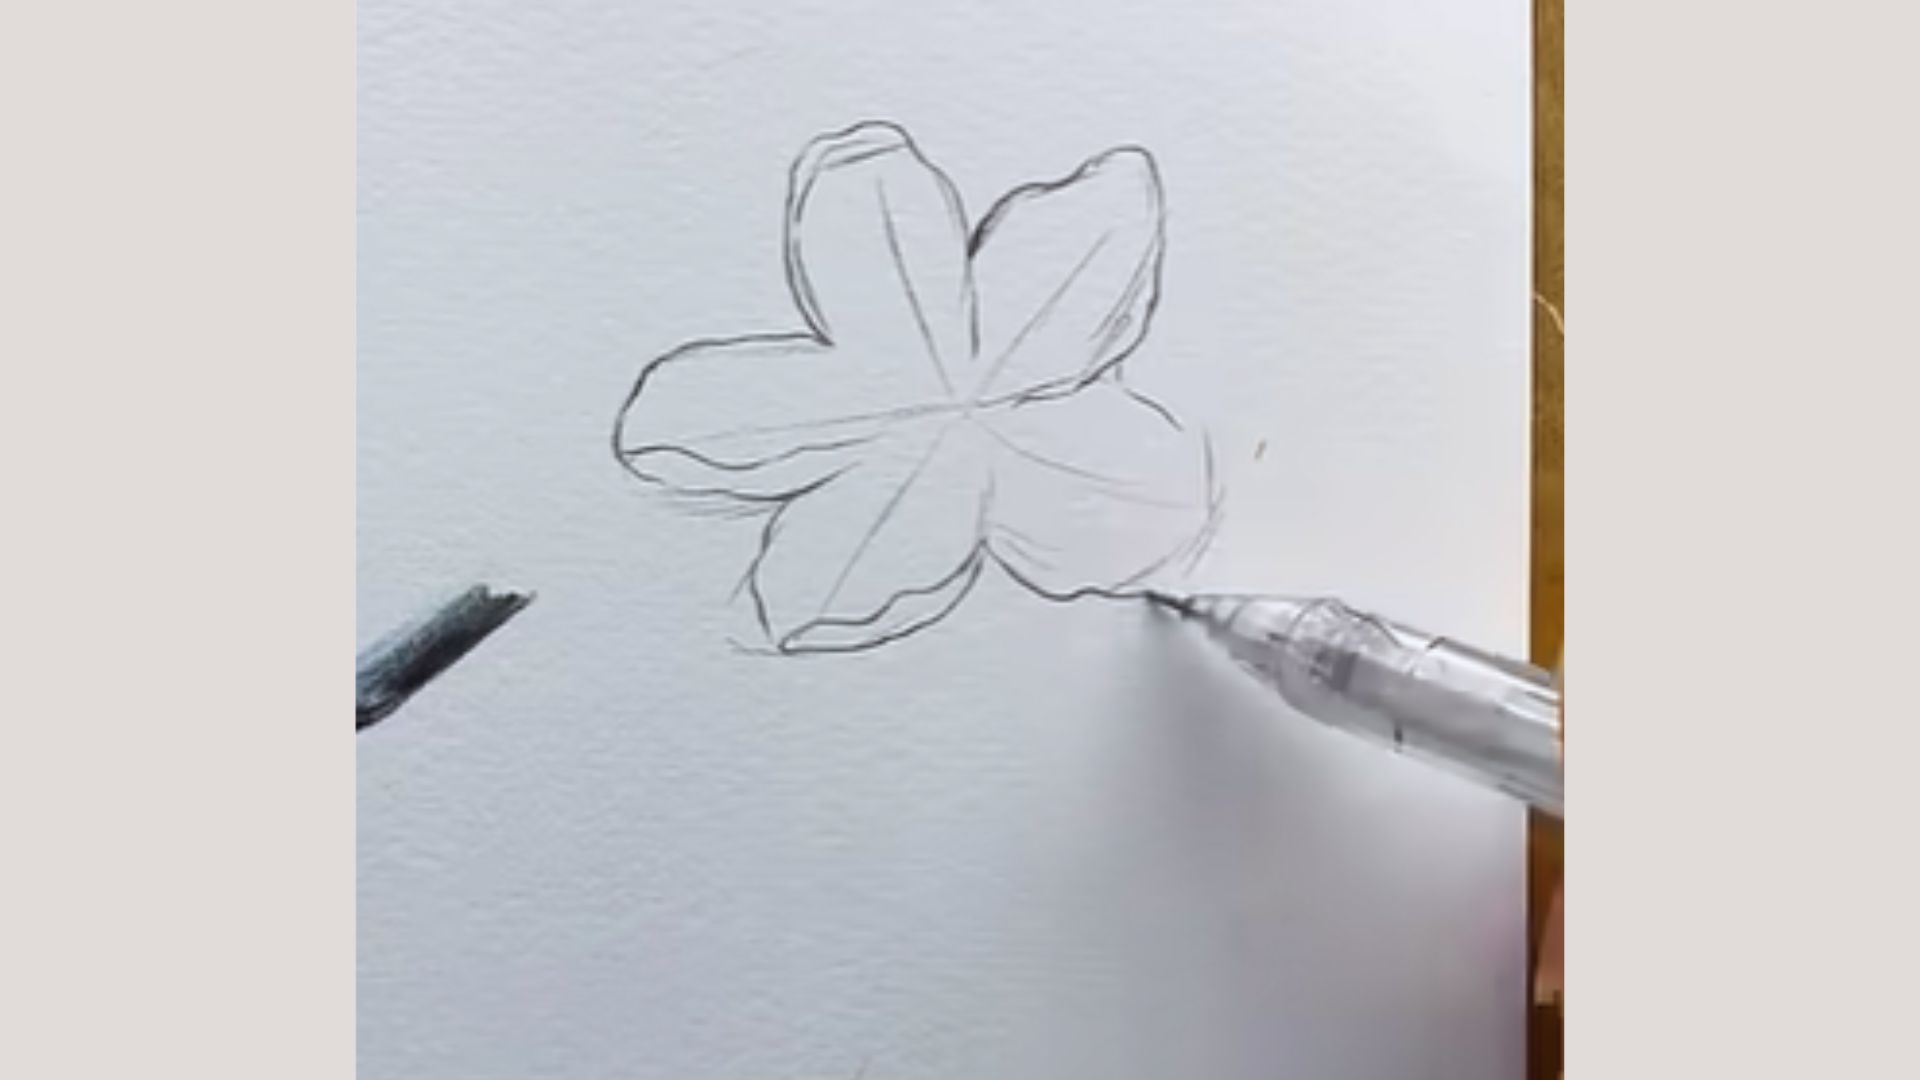
Go over the petal outlines and refine their shape. Add slight curves, folds, and natural imperfections to make them realistic.
Smooth uneven areas and slightly darken important lines. This step makes your flower look more defined and less like a rough sketch, bringing it closer to a final form.
Step 4: Clean the Sketch with Eraser
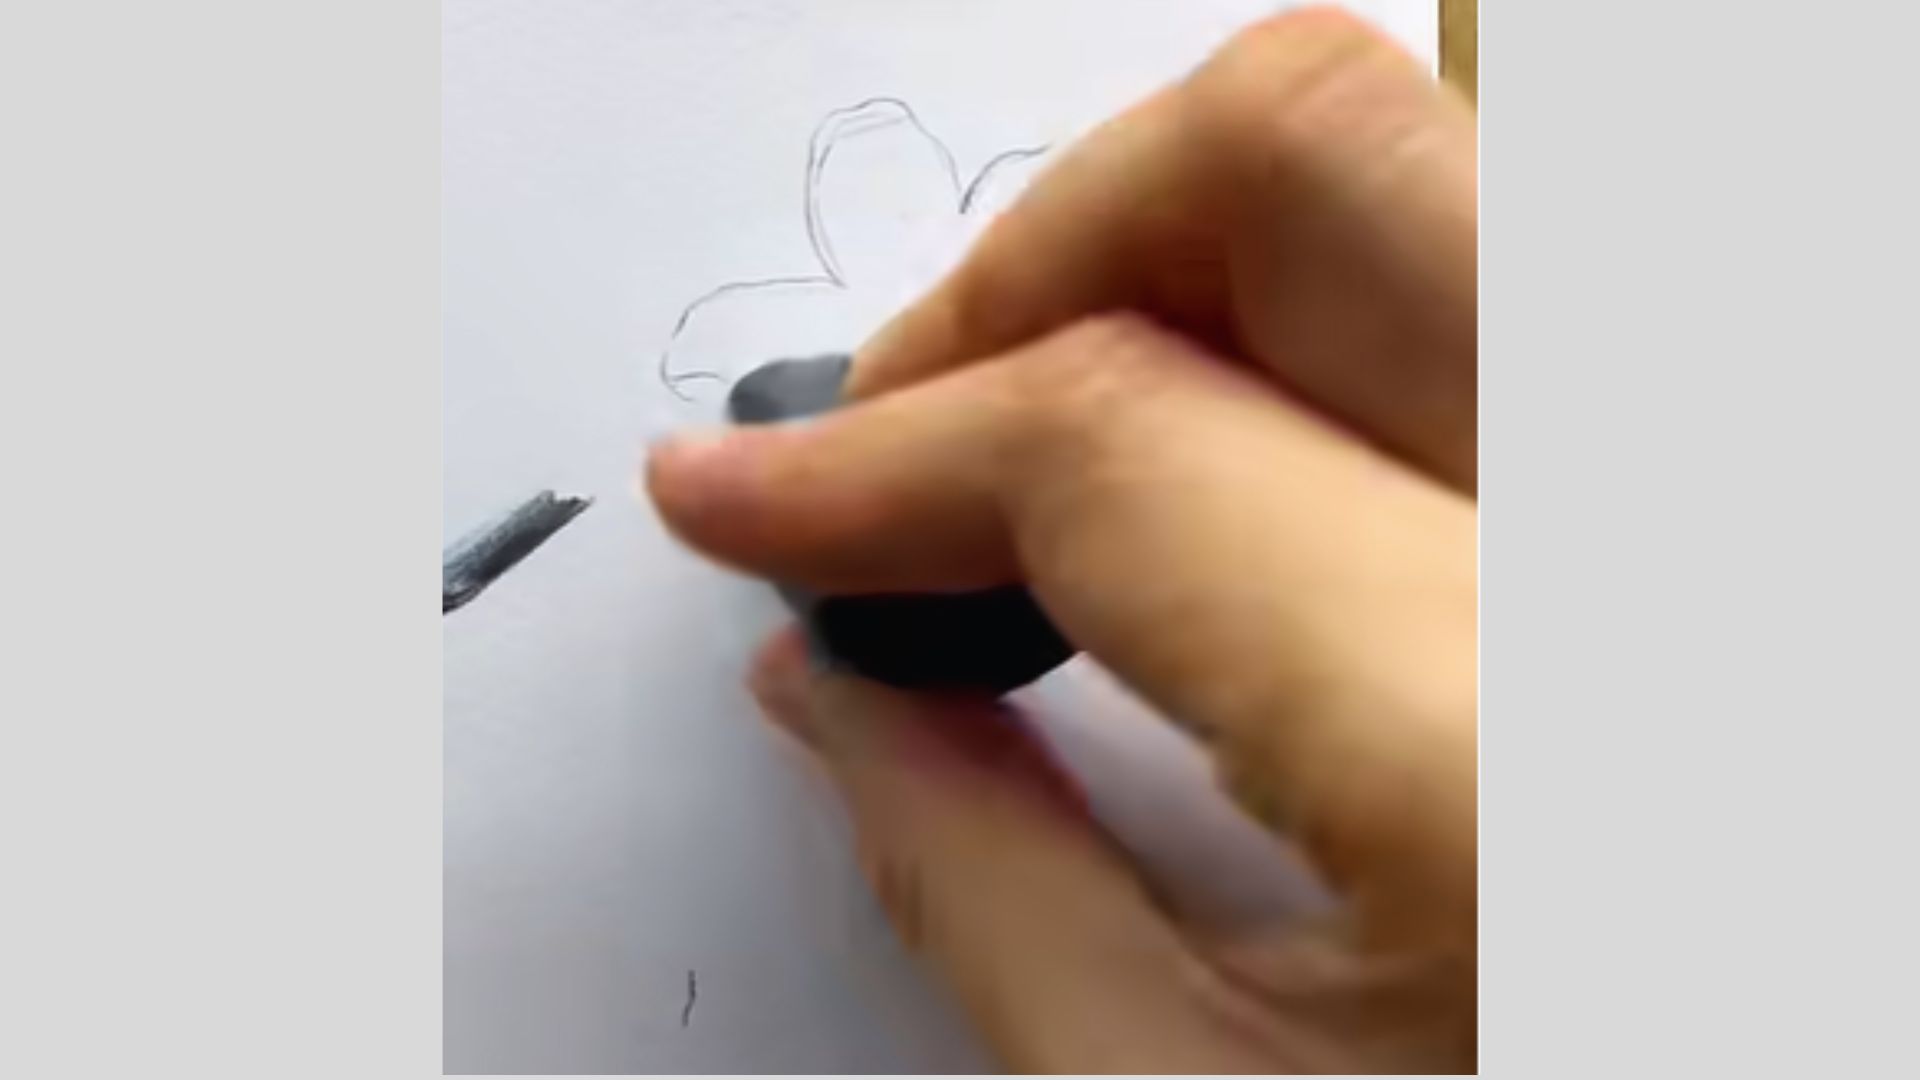
Gently erase extra guidelines and unwanted lines. Keep only the clean petal outlines visible. Use a soft eraser to avoid damaging the paper.
This step improves neatness and makes your flower stand out clearly, preparing it for the next stage like shading or coloring.
Step 5: Add Color to the Center
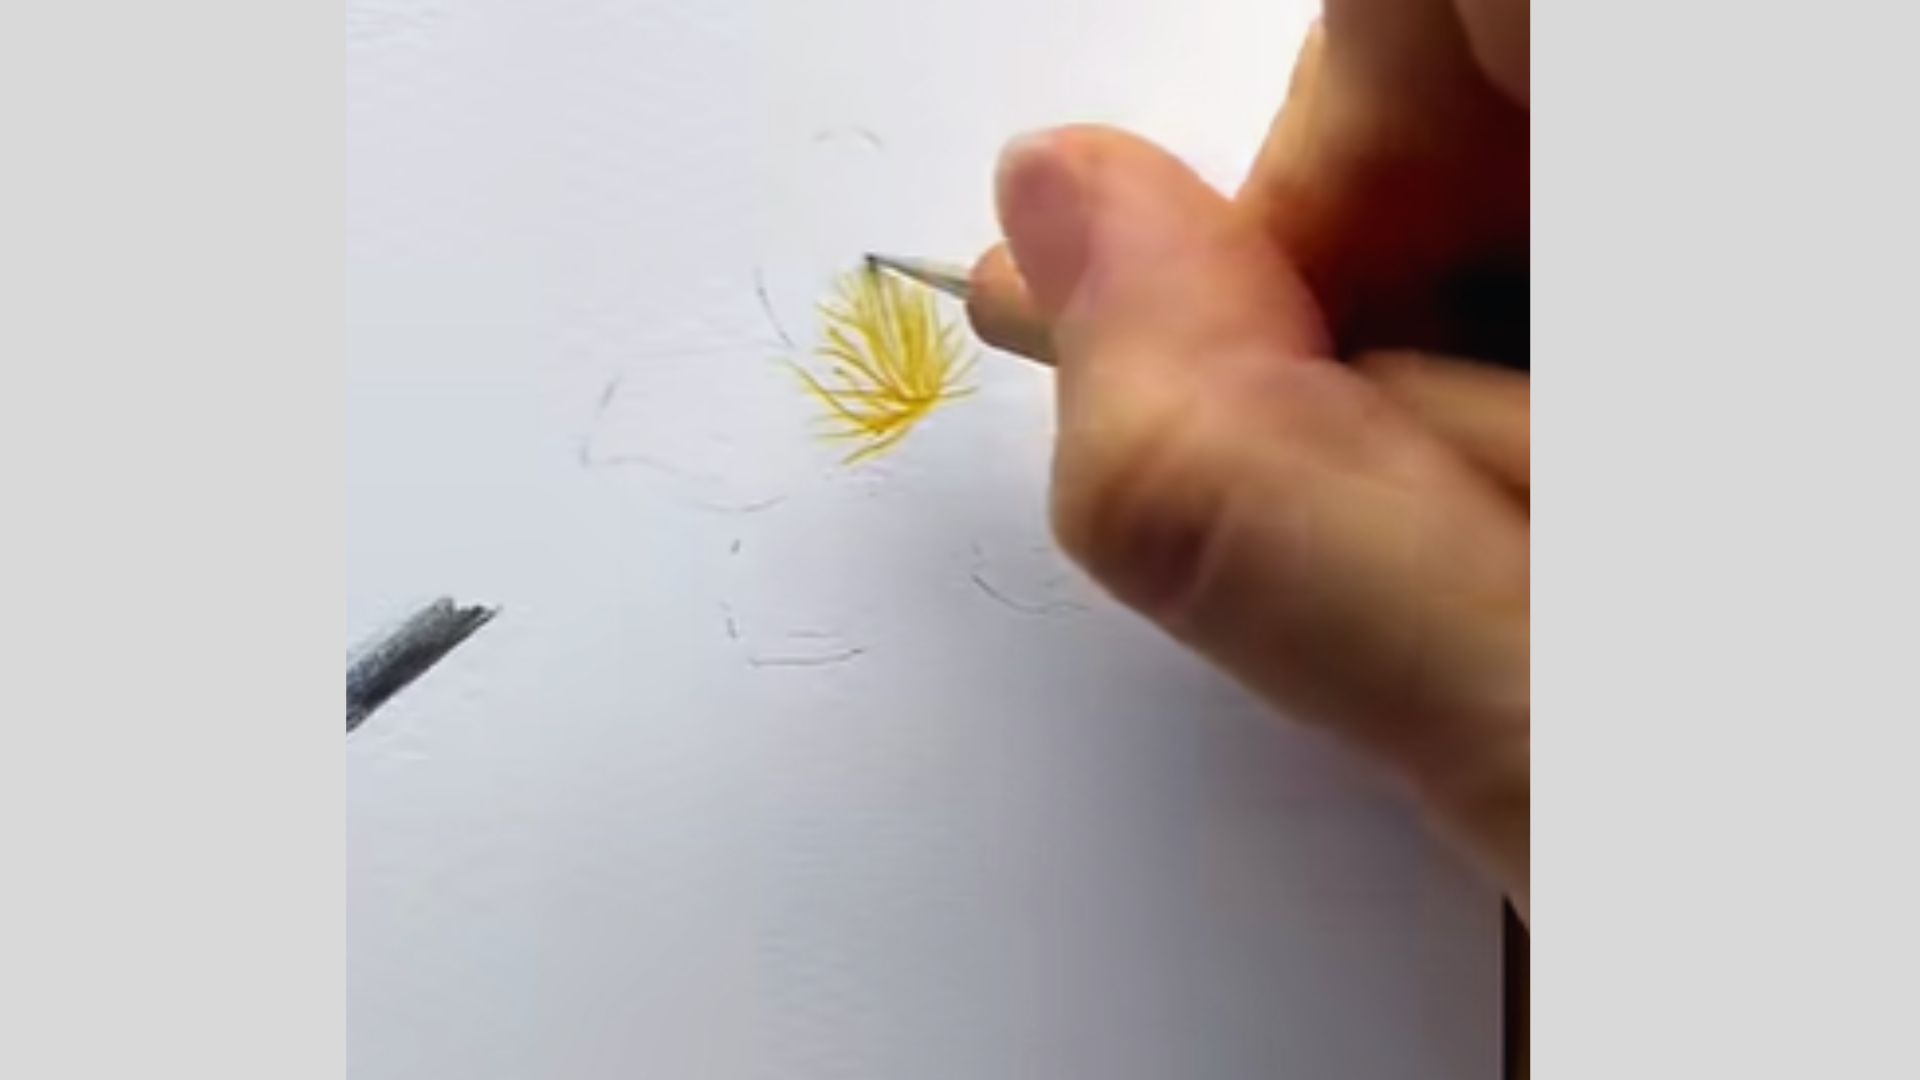
Start coloring the center using a light yellow shade. Apply soft strokes radiating outward to create texture.
Keep the middle slightly darker and blend it outward. This adds depth and makes the flower look more natural, lively, and visually appealing.
Step 6: Adding Highlights & Final Details
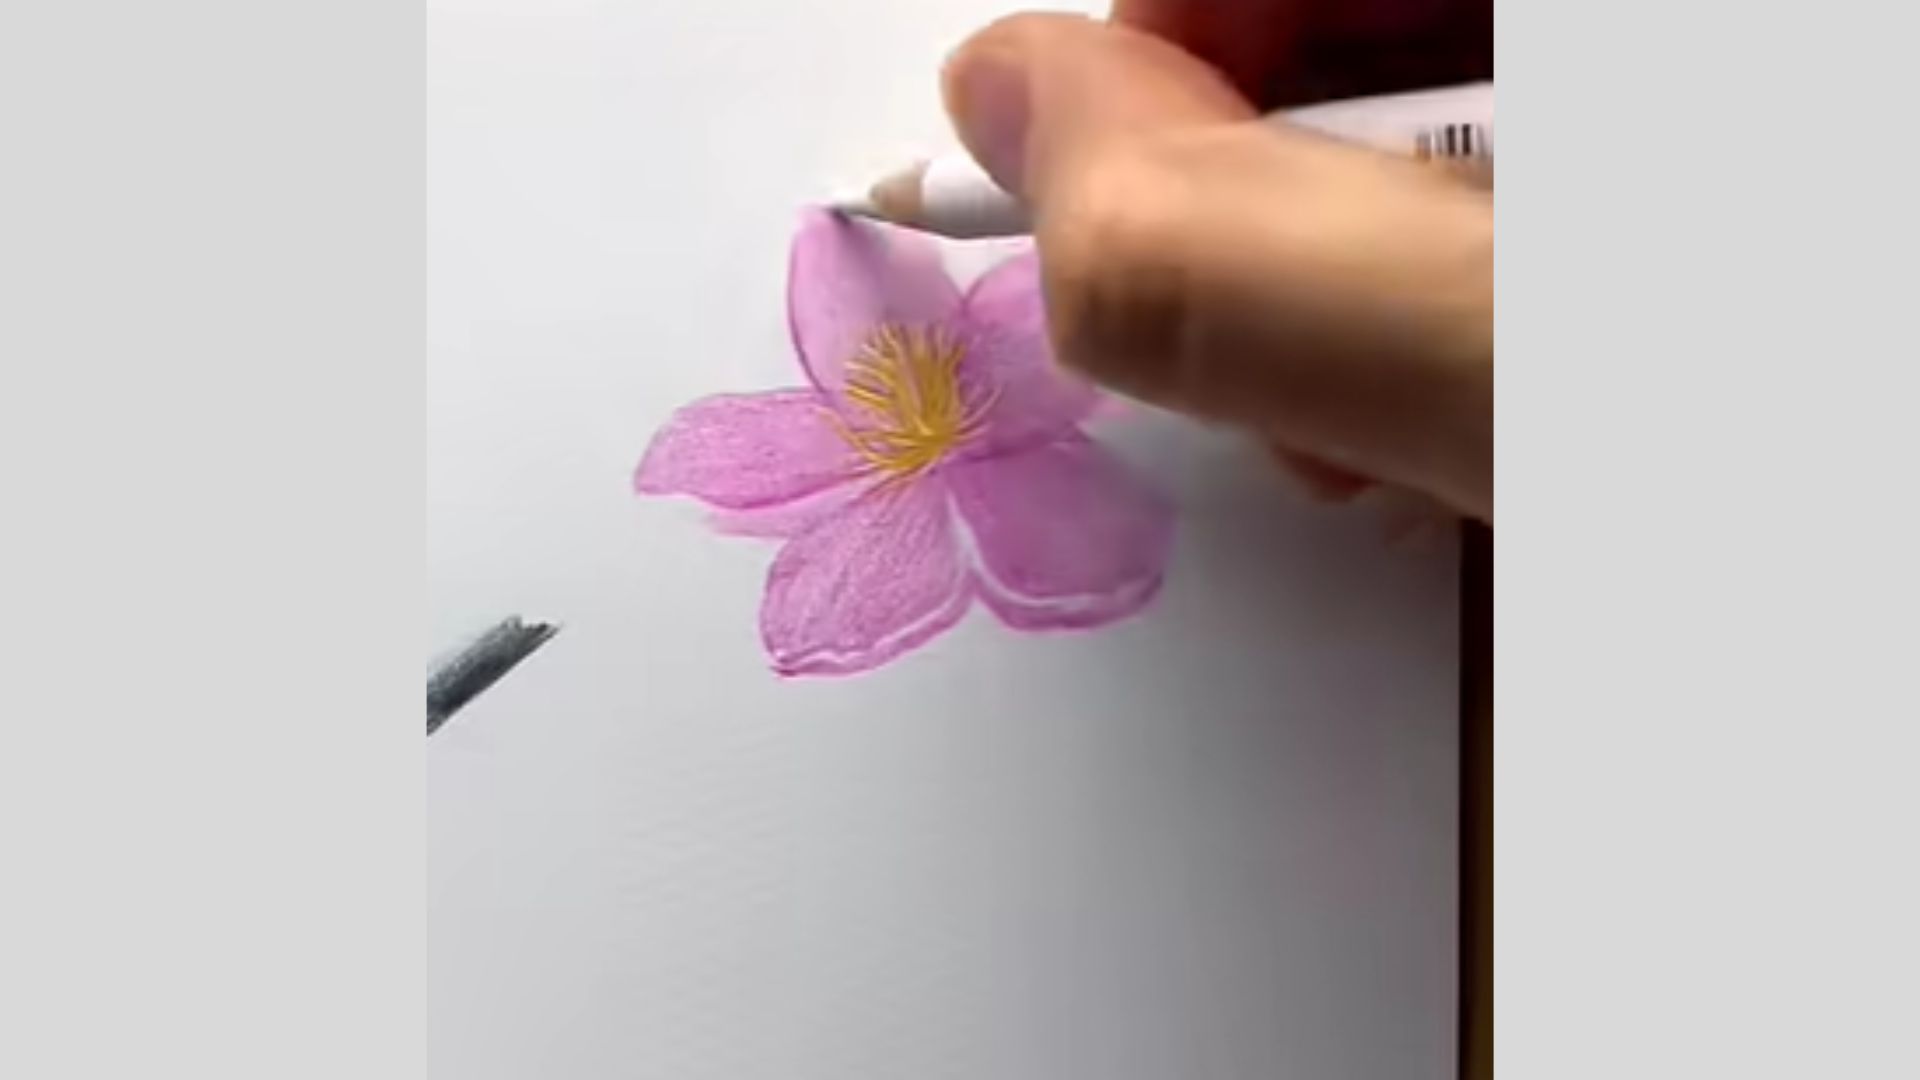
Use a white pencil or gel pen to add soft highlights on the petals, focusing on edges and light-catching areas.
Gently refine the center details and smooth any harsh lines. This step enhances realism, giving the flower a fresh, vibrant, and slightly glossy finish.
Step 7: Enhancing Depth with Highlight
s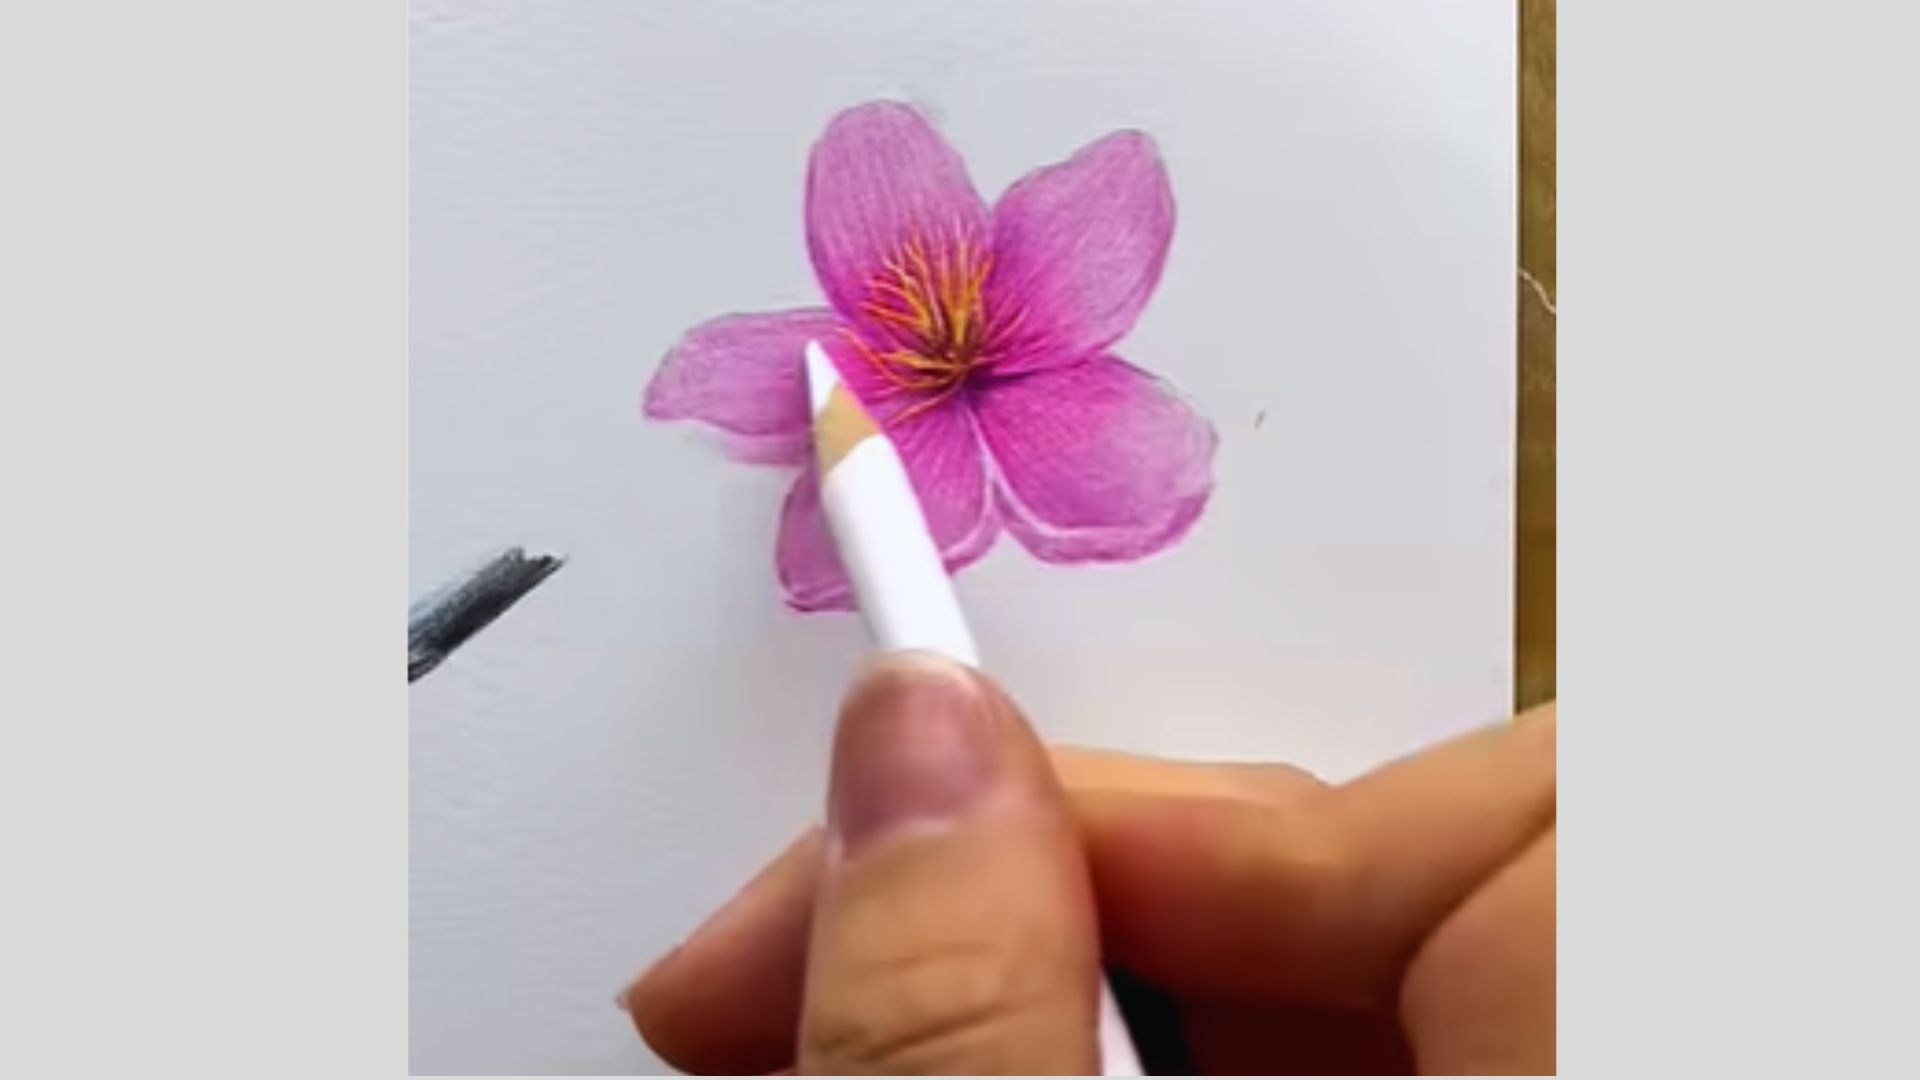
Use a white colored pencil to softly blend and lighten the inner areas of the petals. Focus near the center and along natural curves to create depth and dimension.
Apply light pressure to avoid overpowering the base color, giving the flower a smooth, realistic glow.
Step 8: Refining Details & Final Touch
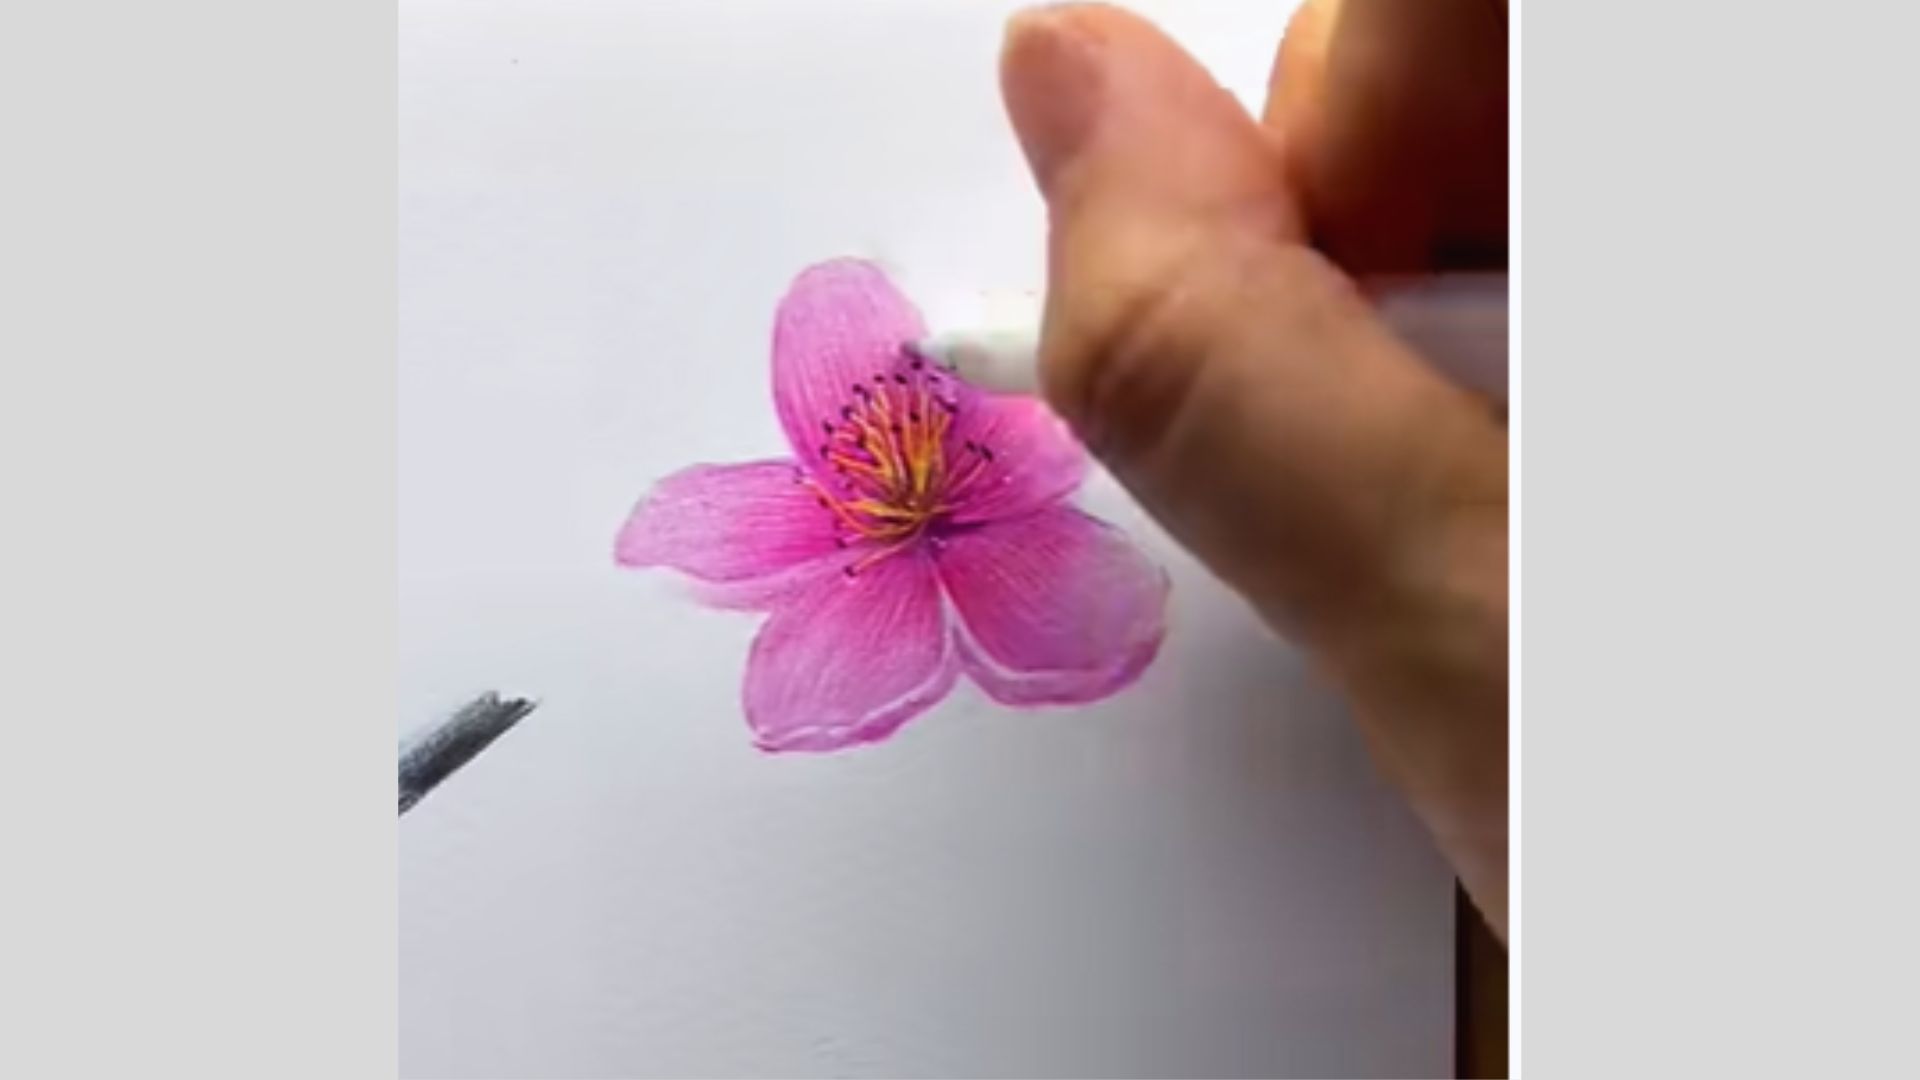
Lightly adjust the petals and center using an eraser or soft strokes to clean any excess color. Enhance tiny details like stamens and edges for clarity.
This final refinement step sharpens the overall look, making the flower appear neat, polished, and more realistic.
Watch Video: Realistic Flower Drawing Tutorial
If you’re more of a visual learner, I’ve got you covered. Watch this step-by-step video tutorial that walks through the entire realistic flower drawing process in real time.
It’s easy to follow and perfect for all levels. [Realistic Flower Drawing Tutorial]
Tips to Improve Your Realistic Flower Drawing
Small habits make a big difference when it comes to realistic drawing.
- Work from general to specific: Start with big shapes first, then add details.
- Compare values frequently: Step back and check if your darks and lights look right.
- Use light pencil pressure: Build marks in light layers so you can adjust easily.
- Practice with reference photos: Real photos show you detailed memories never will.
The more you practice these, the faster your drawings will improve.
Conclusion
I hope this guide made realistic flower drawing feel less scary. I was once exactly where you are, unsure where to start.
But step by step, it clicked for me and it will for you too. Now it’s your turn. Pick up a pencil and give it a go.
Did this help? Drop a comment below and tell me how it went. I’d love to see your work.
Share this post with a friend who loves drawing too.
Frequently Asked Questions
What pencil is best for realistic flower drawing?
HB, 2B, and 4B pencils work best. They cover everything from light sketching to dark shading.
Do I need to know how to draw to follow this tutorial?
No. This guide starts from scratch and walks you through each step slowly.
How long does it take to draw a realistic flower?
Most beginners finish in 30 to 60 minutes, depending on the detail level.
Can I use regular copy paper for this drawing?
You can, but sketch paper works better as it handles pencil strokes and erasing more smoothly.
How do I make petals look more three-dimensional?
Use shading and highlights. Dark at the base, light at the tips creates natural depth.
