


I still remember the first time I made a beanstalk craft with my kids. Green paper everywhere. Glue on the table. And big, happy smiles.
This guide walks you through every step of making a Jack and the Beanstalk craft at home or in class.
You will learn how to build the beanstalk, add leaves and beans, create fun puppets, and display your work. I have kept it simple, clear, and tested with real kids.
I have worked with children on craft projects for years, and I know what works. We will cover materials, building the base, cutting and decorating, adding characters, and display ideas.
Let us get started.
Why Kids Love Jack and the Beanstalk Crafts

There is something about this story that pulls kids in every time. The giant, the magic beans, the climbing beanstalk. It fires up their imagination fast.
When kids make a craft based on a story they love, it feels personal. They are not just cutting paper. They are building something from a world they already care about.
Crafts also do more than keep kids busy. Cutting builds fine motor skills. Counting leaves adds a math moment. Every beanstalk looks different, and kids love that.
Materials Needed for Jack and the Beanstalk Craft
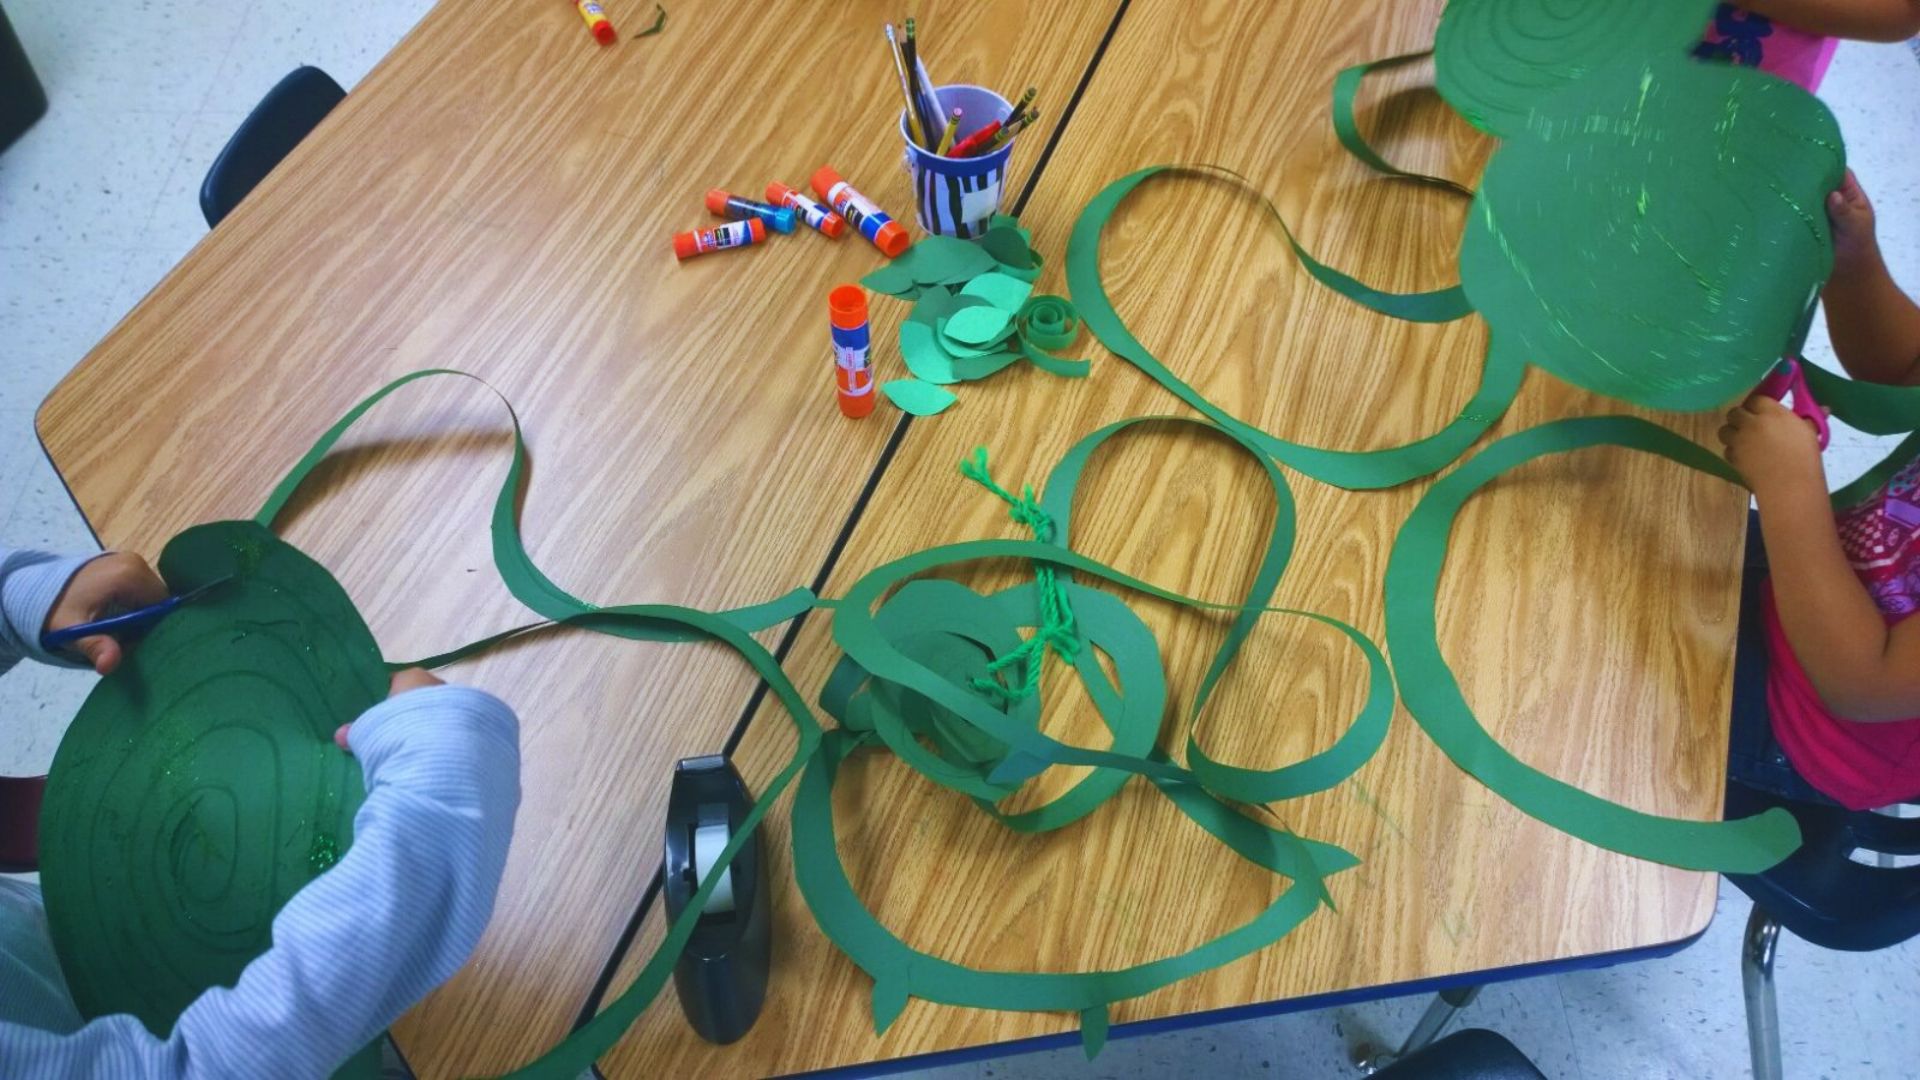
Gather these before you begin. Having everything ready saves time and keeps kids focused.
- Green paper plates (one or two per child)
- Large green construction paper sheets
- Green and brown paint
- Scissors (child-safe for younger kids)
- Glue sticks or craft glue
- Green and brown felt scraps
- Thin paper strips in green
- Pencils (for curling)
- Glitter or sequins (optional)
- String or yarn
- Popsicle sticks
- Printable Jack and the Beanstalk characters (optional)
- Markers or crayons
Step 1: Preparing the Beanstalk Base
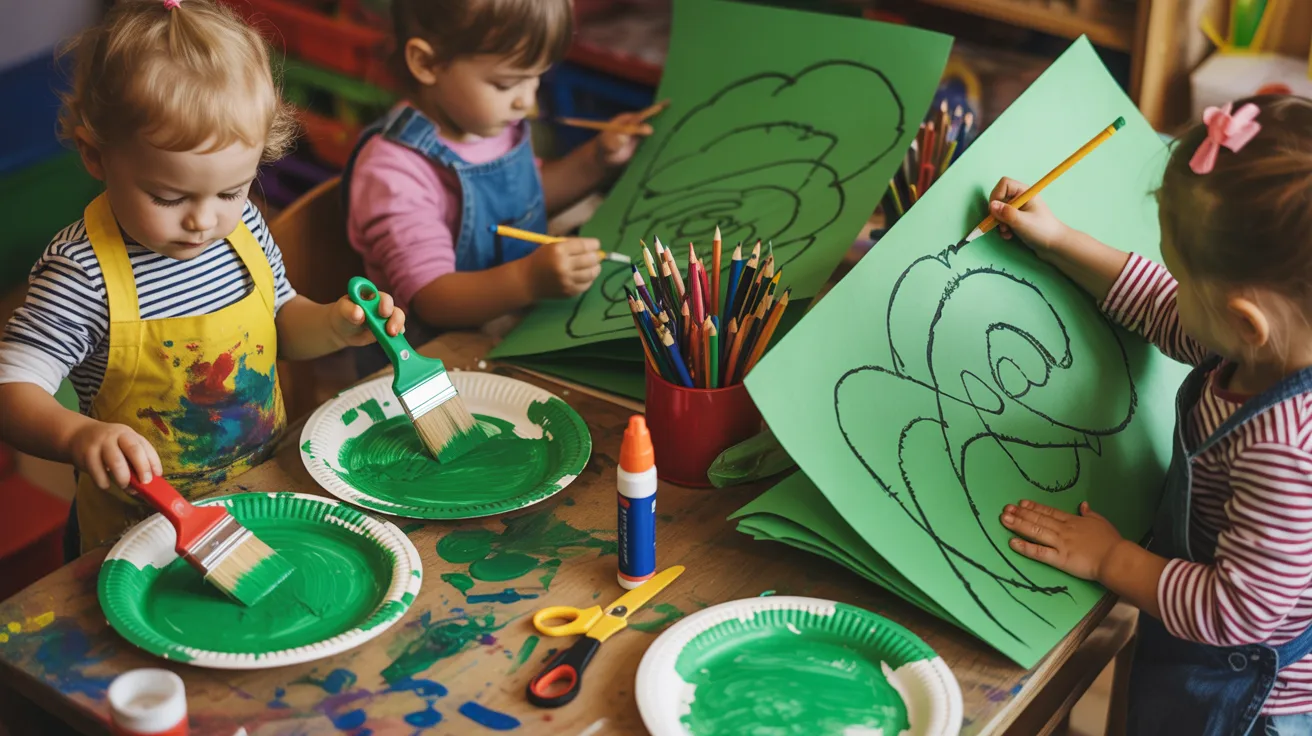
Start with the base. This is the foundation of the whole craft.
Paper Plate Version for Toddlers and Preschoolers
Paint the paper plate green on both sides if you want a fuller look. One side works fine for a flat display. Let the plate dry fully before moving to the next step.
Rushing this causes smudging, so give it time. Use a sponge brush for younger kids. It is easier to hold and makes less mess.
Construction Paper Version for Kids and Classroom Activities
Use large green sheets for a taller beanstalk. Draw a spiral or vine outline before cutting. A loose, wavy spiral gives a more natural look.
Thicker paper holds up better, especially for hanging.
Step 2: Cutting the Beanstalk

Now comes the fun part. The cutting creates the spiral shape that makes the beanstalk look like it is growing.
Spiral Paper Plate Craft
Cut along the spiral line from the outer edge toward the center. Keep your cuts smooth and even.
You can punch a small hole in the center for hanging with string. Hold the center and let the spiral fall open. It looks like it is growing right in front of you.
Construction Paper Beanstalk
Cut a long, curvy spiral from your green sheet. Keep the curves loose and flowing. Trim the edges to make it look neat and clean.
A longer beanstalk looks more dramatic when hung up.
Step 3: Creating Leaves, Beans, and Sprigs
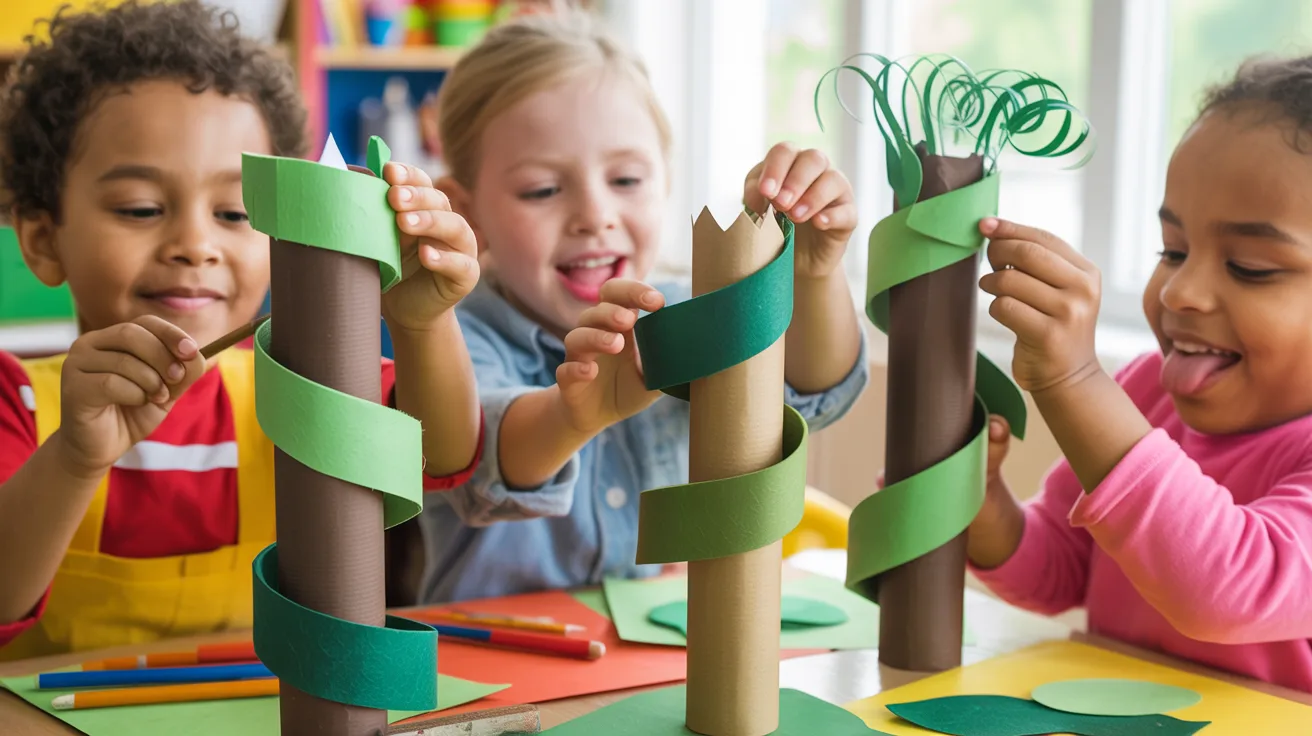
These small details make the beanstalk look full and real. Kids love this part.
Leaves
Cut football-shaped leaves from green felt or paper. Make different sizes for variety. Curl each leaf slightly by wrapping it around a pencil.
This gives a 3D effect that looks great on the finished beanstalk.
Beans and Sprigs
Cut elongated football shapes for the beans. Use brown, tan, or speckled paper for a realistic look.
Make curly sprigs by wrapping thin paper strips tightly around a pencil. Slide them off gently and they hold their curl beautifully.
Preschool-Friendly Tips
Younger kids need a little more support here. Precut the leaves and beans ahead of time and let kids glue them on independently.
Count the leaves together as you go. It turns craft time into learning time and keeps little ones engaged.
Step 4: Decorating the Beanstalk
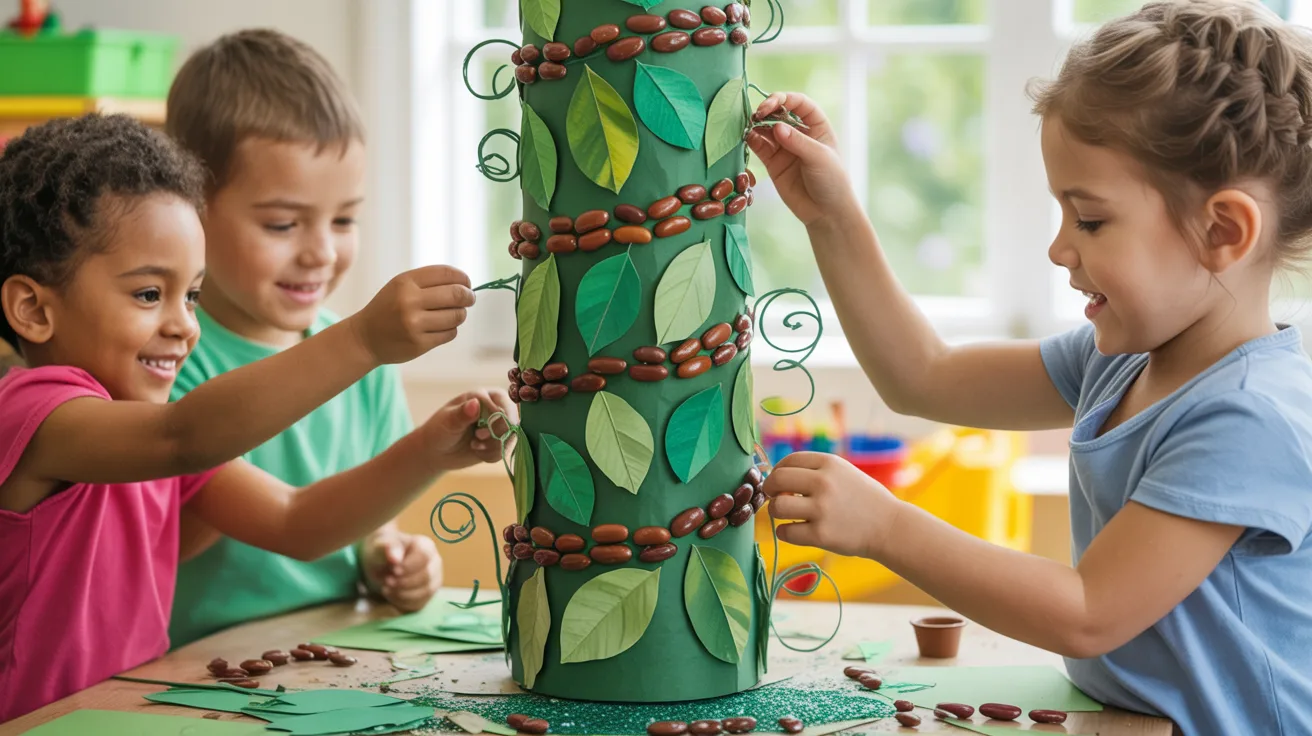
Now the beanstalk comes to life. This step is all about creativity.
Adding Leaves, Beans, and Sprigs
Glue leaves along the spiral and space them out evenly. Add beans between the leaves and tuck in the curly sprigs for a wild, growing look.
Let kids choose where to place each piece. There is no wrong answer here. Mixing colors and sizes gives the beanstalk a more natural feel.
This works perfectly for an easy Jack and the Beanstalk craft setup at home or in school.
Finishing Touches for a Magical Effect
Sprinkle glitter or sequins along the spiral for extra sparkle. Add a thin layer of glue first so everything sticks well.
Let the beanstalk dry fully before handling or hanging. This small step makes the whole craft look more polished and complete.
Step 5: Adding Characters and Puppets

The beanstalk is ready. Now let us bring the story to life.
Printable Jack and the Beanstalk Craft Puppets
Print or draw characters like Jack, the Giant, the Cow, and the Golden Goose. Color them with crayons or markers and cut them out carefully.
Attach each one to a popsicle stick with strong glue and let them dry before using.
Playing and Retelling the Story
Hold the spiral from the center and pull gently. It looks like the beanstalk is growing right in your hands. Use the puppets to retell the original story or let kids make up their own endings.
They always surprise you. This works brilliantly for classroom Jack and the Beanstalk craft activities and storytime sessions.
Step 6: Displaying and Using the Craft
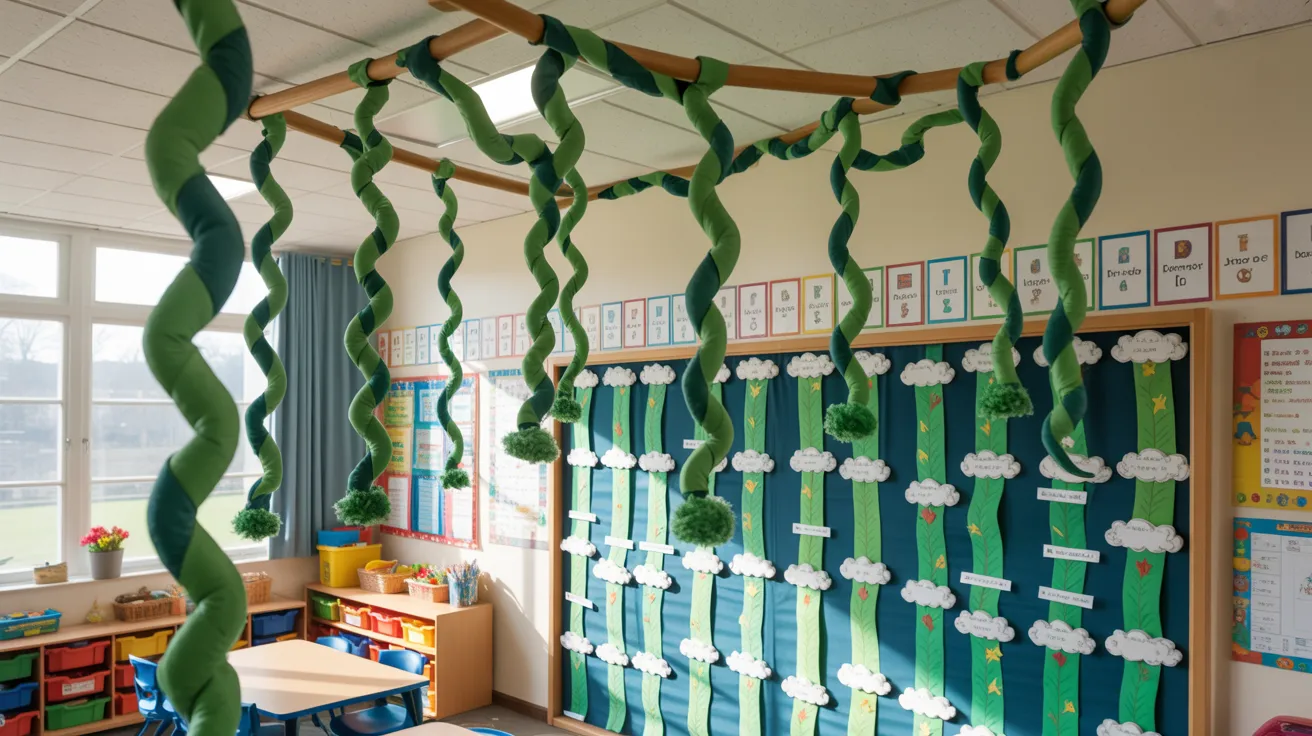
Do not let the hard work sit in a folder. Show it off.
Hanging Your Beanstalk for Maximum Impact
Attach string or yarn to the top of the spiral. Hang it from ceiling tiles, a curtain rod, or a classroom rafter.
The spiral naturally stretches down and looks like it is growing. Use tape or a small hook for secure hanging. Group multiple spirals together for a full beanstalk forest effect.
Group and Classroom Jack and the Beanstalk Craft Activities
Combine each child’s beanstalk into one big display and arrange them across a bulletin board or wall. Add name labels so every child sees their contribution.
This works great for kids Jack and the Beanstalk craft projects, preschool Jack and the Beanstalk craft setups, and Jack and the Beanstalk craft EYFS activities.
Tips for Making a Successful Jack and the Beanstalk Craft
Keep these in mind before, during, and after the craft.
- Prep before you start. Cut, print, and lay out all materials first. This keeps kids focused and reduces interruptions.
- Use the right scissors. Child-safe scissors work for older kids. For toddlers, precut the tricky shapes ahead of time.
- Let glue dry between steps. Rushing the drying process causes pieces to fall off. Give each step a few minutes to set.
- Make it a group activity. Crafts are more fun together. Assign roles, one child glues, one holds, one decorates.
- Keep it relaxed. There is no perfect beanstalk. If a leaf goes in the wrong spot or a spring falls off, that is fine. The process matters more than the outcome.
Conclusion
I hope this Jack and the Beanstalk craft guide made the whole process feel easy and fun.
I have done this craft many times with kids of different ages, and every single time, the growing spiral moment gets a big reaction.
Now it is your turn. Grab your paper plates, cut that spiral, and watch little faces light up.Try it out and let me know how it went in the comments below.
I would love to see your versions. Share this post with a teacher or parent who needs a fun activity this week.
Frequently Asked Questions
What age group is the Jack and the Beanstalk craft best for?
This craft works well for kids ages 3 and up. Toddlers can do the paper plate version with adult help, while older kids can handle construction paper and puppets on their own.
Can I do this Jack and the Beanstalk craft without glitter?
Yes, absolutely. Glitter is optional. You can use stickers, dot markers, or simply colored paper cutouts to add detail without the mess.
How long does the Jack and the Beanstalk craft take to complete?
Most kids finish in 30 to 45 minutes. If you add characters and puppets, budget around 60 minutes total, including drying time.
What materials can I use if I do not feel it?
Regular construction paper works just as well. Cut the same leaf and bean shapes from paper. It is easier to cut and still looks great when glued on.
Can this craft be used in a classroom setting?
Yes, it is a great classroom activity. You can set it up as a group project, use it during a fairy tale unit, or pair it with storytelling for Jack and the Beanstalk craft EYFS and preschool lessons.
