

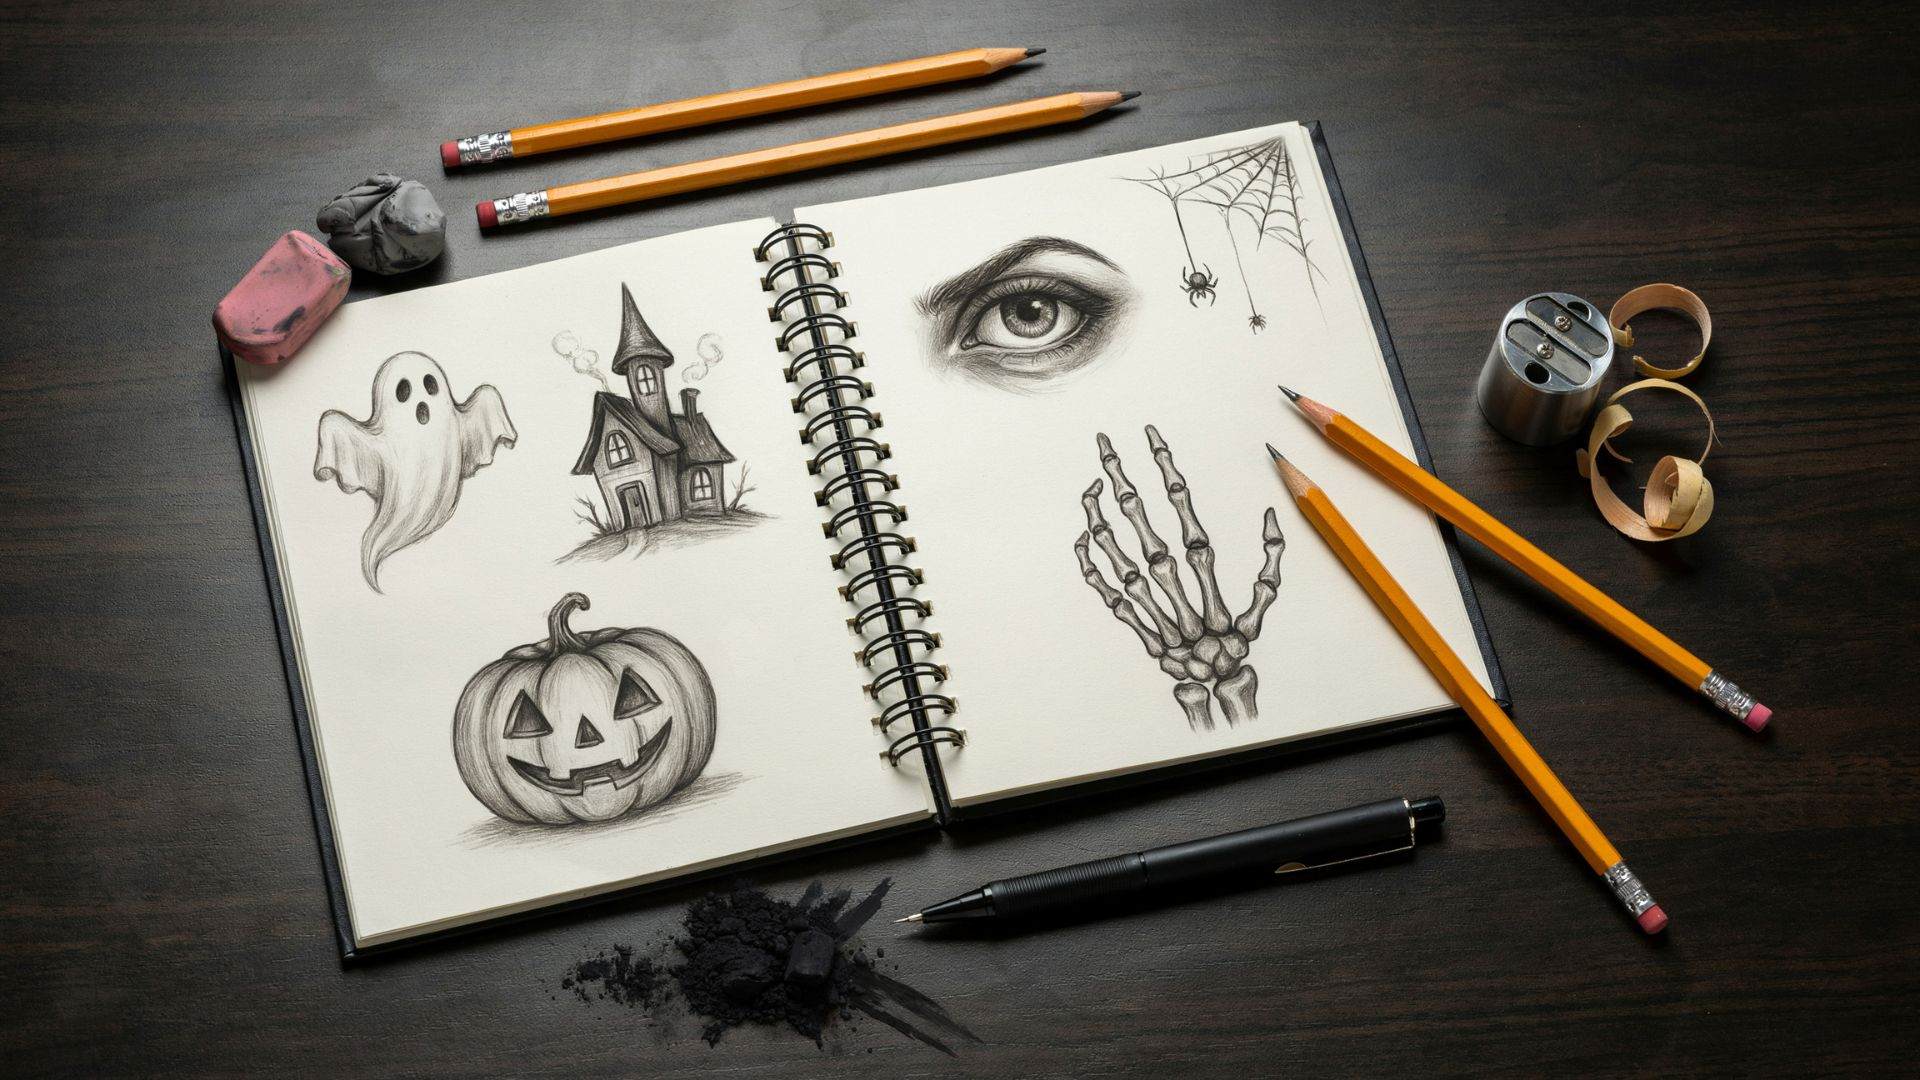
Want to draw something scary but don't know where to start? You're in the right place.
This guide covers everything a beginner needs to create horror-themed art, from the basic supplies to step-by-step techniques.
We'll walk through 10 easy scary drawing ideas, shading tips, common mistakes, and how to get better over time. No art degree needed. Just a pencil and some paper.
I've spent years sketching horror subjects and breaking down what actually works for beginners.
By the end of this, you'll know exactly how to make your drawings look dark, creepy, and convincing.
Why Draw Scary Artwork?
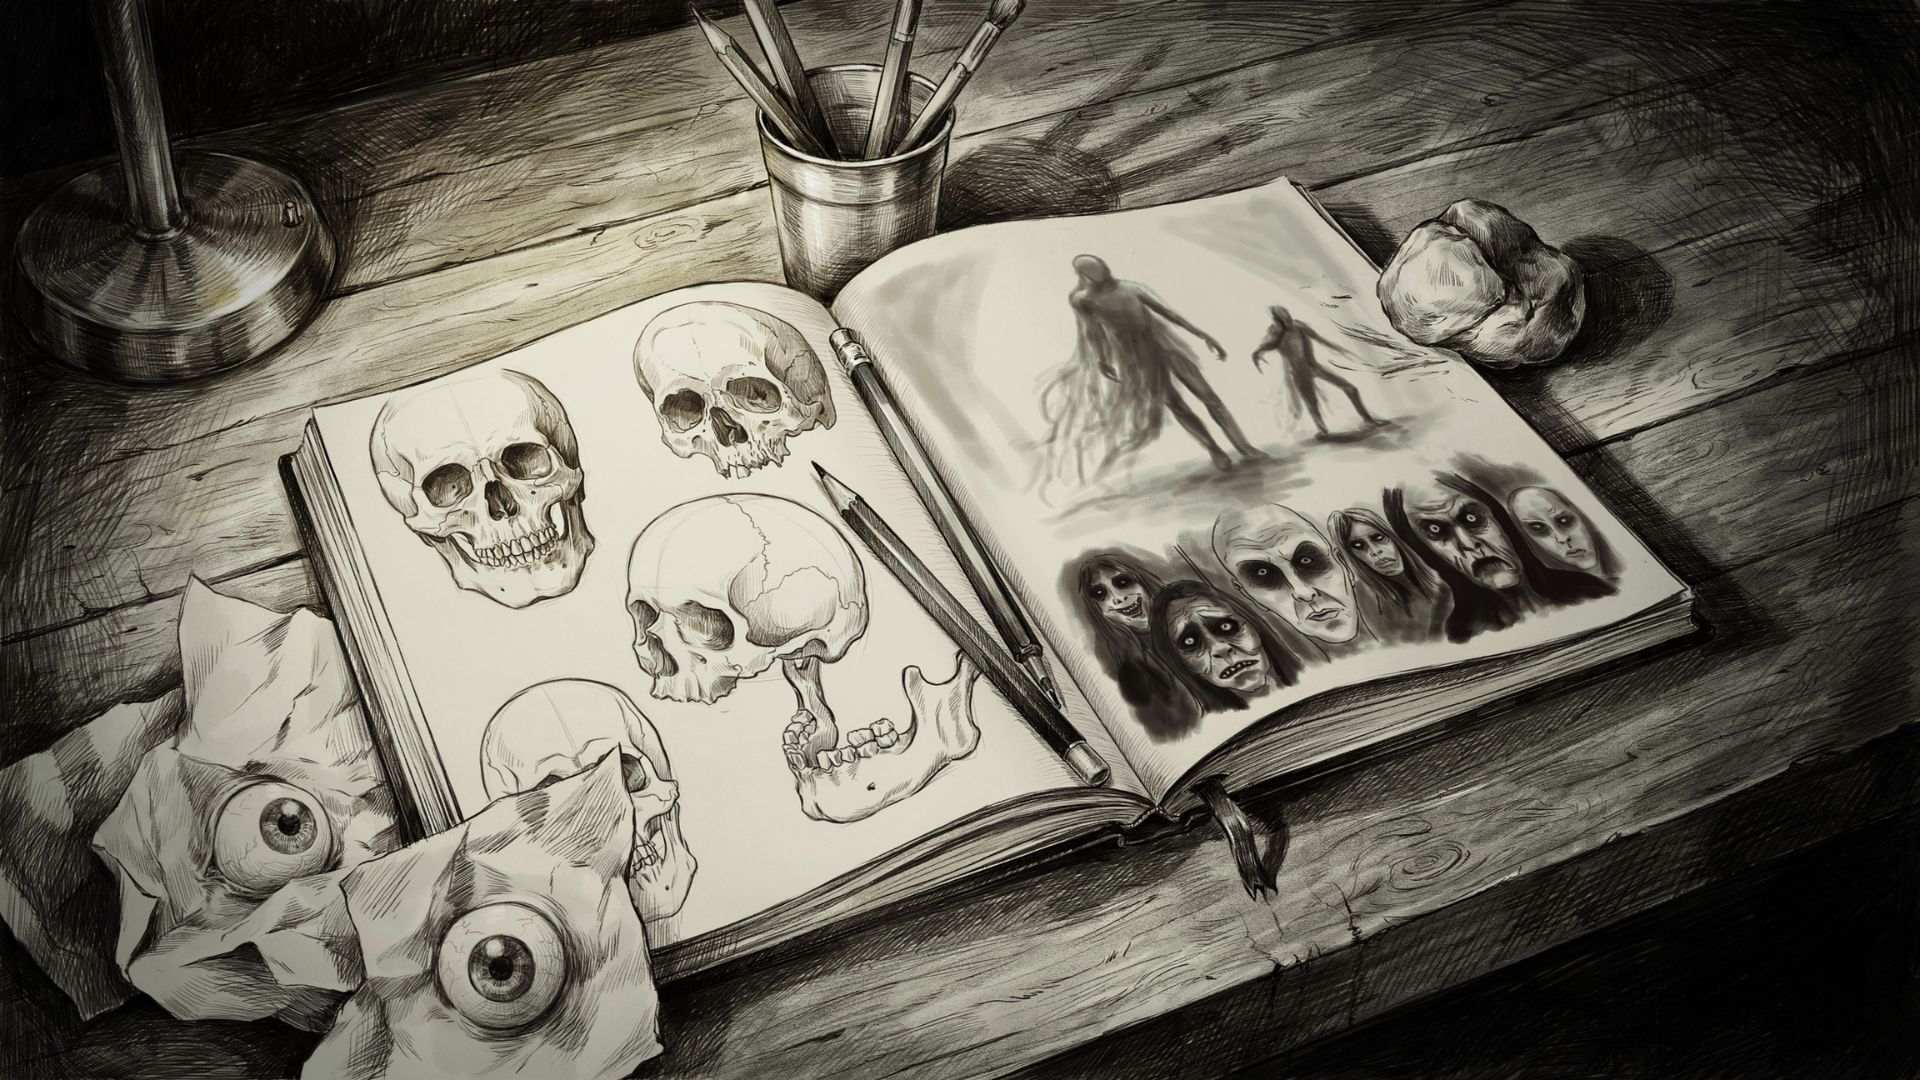
Most people think horror drawings are just for fun, and they are. But they also teach you real skills that carry over into all types of drawing.
When you draw scary subjects, you're forced to think about light, shadow, and emotion all at once.
A skull isn't just a skull. It has depth, texture, and contrast. Getting that right pushes your skills forward fast.
How Scary Drawings Help Develop Creativity, Shading, and Storytelling Skills
Horror art lives in the details. A ghost looks boring if it's just a white blob.
But add hollow eyes, a trailing shadow, and a dark background, and it comes alive. That process of thinking through the details is what builds real drawing skill.
Scary drawings also push you to experiment. You try different pencil pressures, different shading methods, and different compositions.
All of that experimentation makes you a more flexible and confident artist.
Supplies for Scary Drawings
A few basic tools are all it takes to create solid scary artwork. You can add more later, but start simple.
Basic Drawing Tools
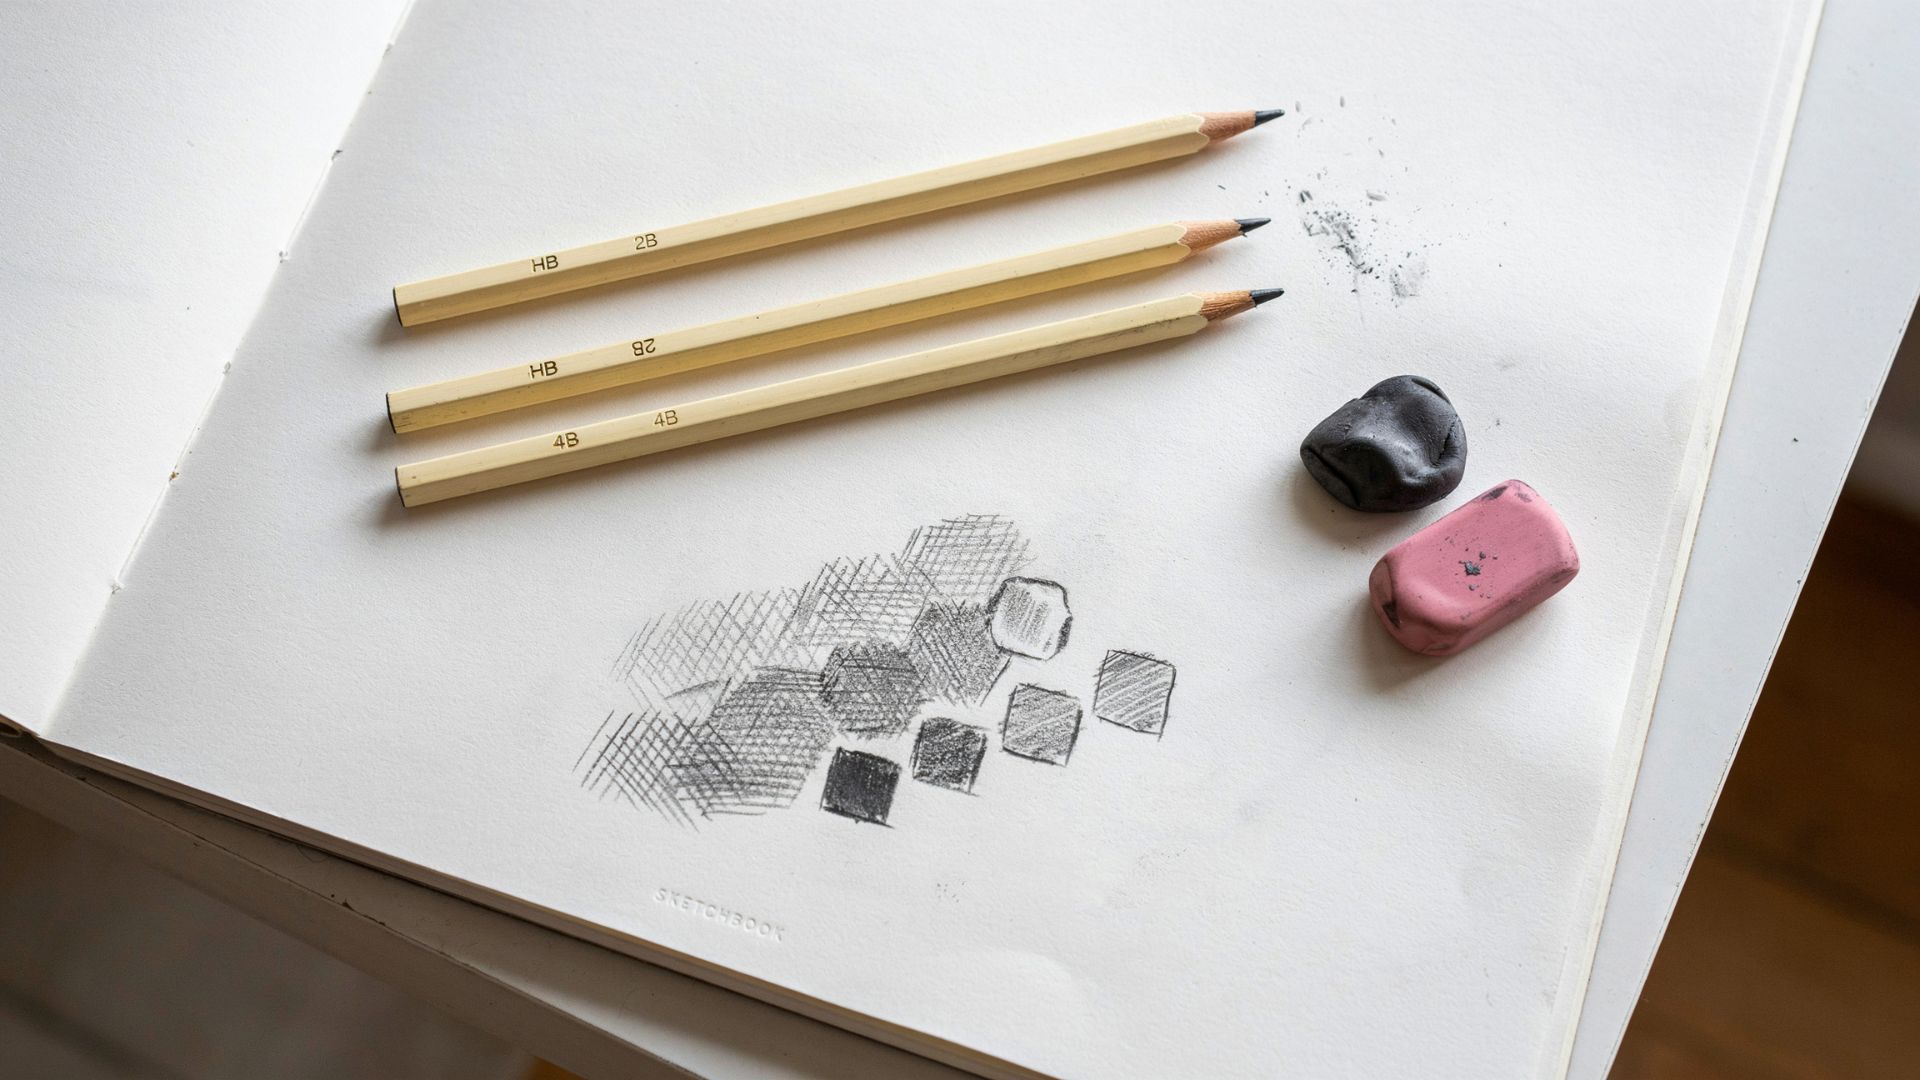
HB, 2B, and 4B pencils with a kneaded eraser and pink eraser displayed on a sketchbook showing shading and highlighting examples.
Pencils:A standard HB pencil works for sketching. Add a 2B or 4B for darker, heavier lines and shadows. The softer the pencil (higher B number), the darker and easier it is to smudge.
Erasers:Get a kneaded eraser. It lets you lift graphite gently, which is perfect for creating highlights in dark areas. A standard pink eraser works for clean removal.
Sketchbook or Drawing Paper
Use smooth or slightly textured paper. Smooth paper works well with pencil and markers. Textured paper is better for charcoal. A basic 80-100 gsm sketchbook is fine for practice.
Optional Coloring and Shading Tools
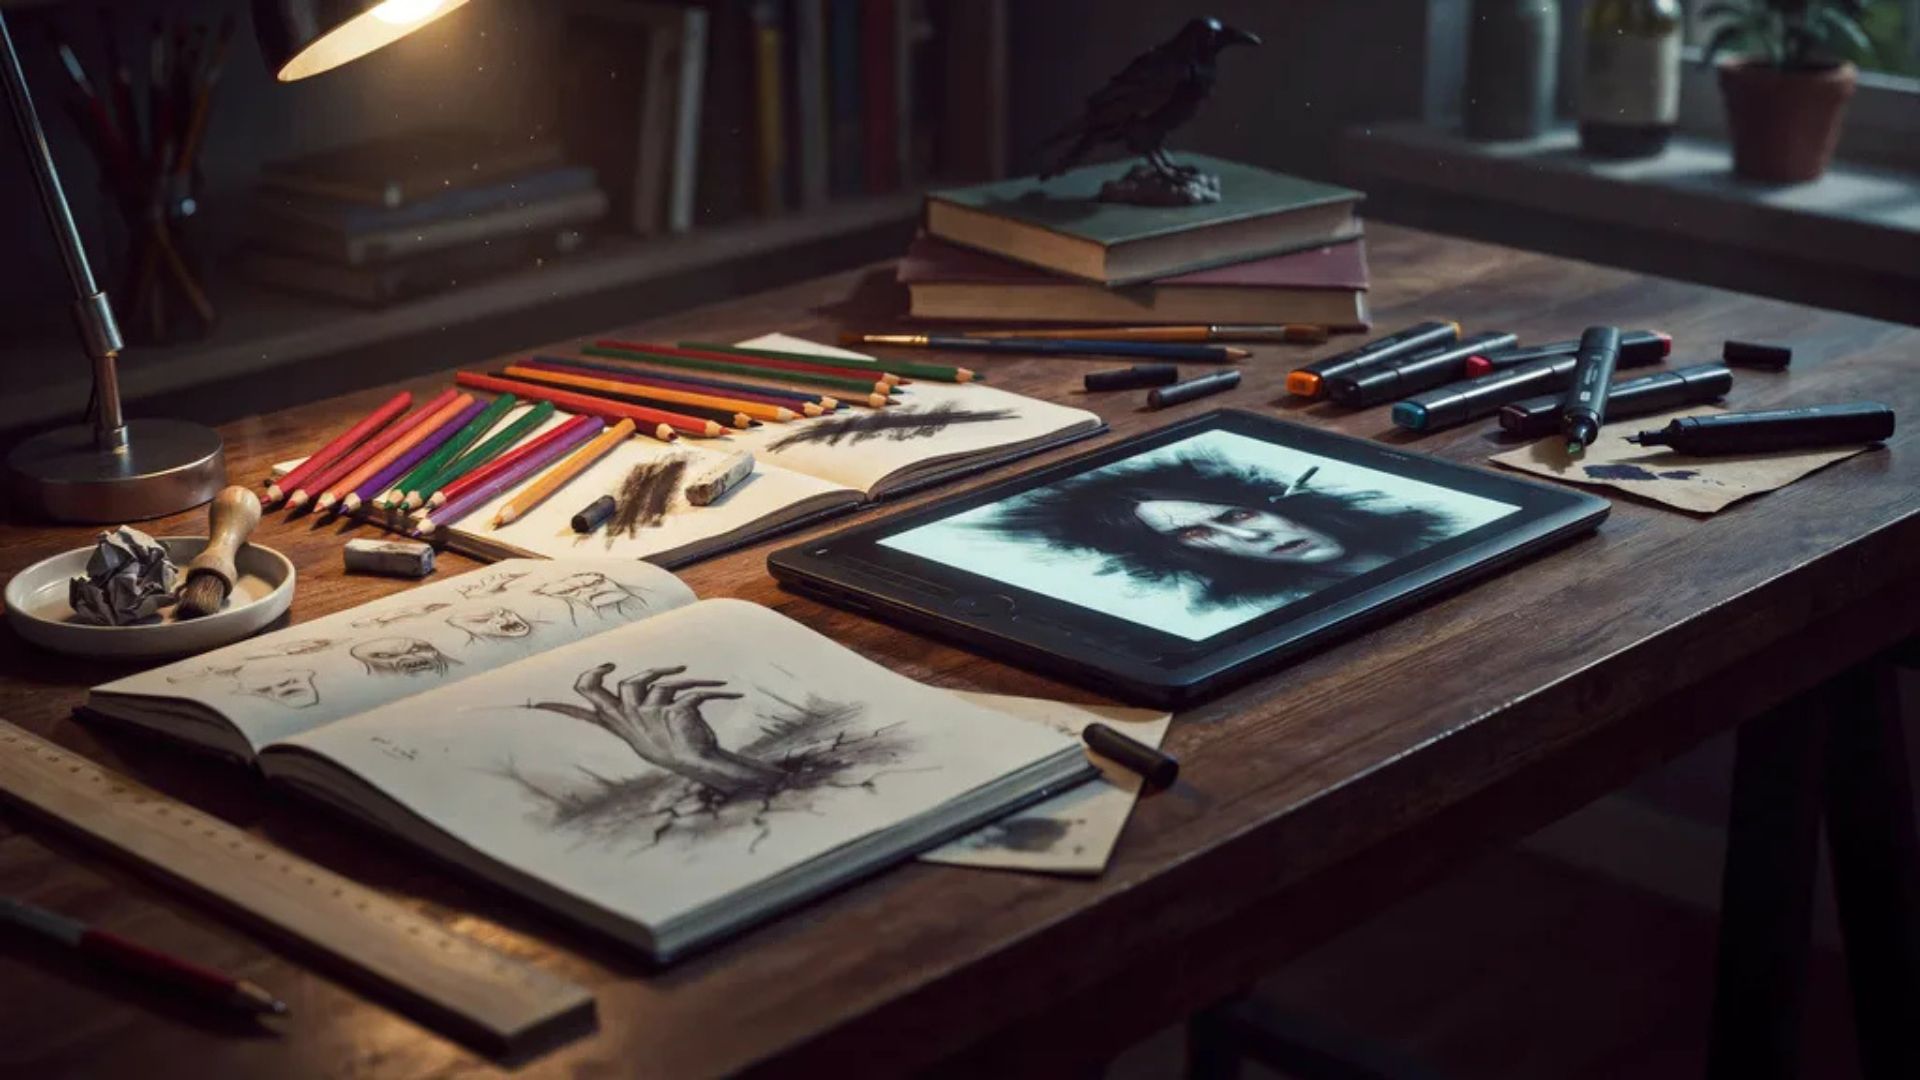
These tools can help add depth, texture, and atmosphere to your scary drawings, making them look more dramatic and realistic.
Colored Pencils:Great for adding deep reds, greens, or purples to your horror drawings without going too heavy. They layer well over graphite.
Markers:Alcohol-based markers give bold, dark fills. Good for silhouettes and backgrounds.
Charcoal:Charcoal creates soft, smoky shadows that feel naturally eerie. It's messy but gives horror art a raw, dramatic look.
Digital Drawing Tools:Apps like Procreate or Adobe Fresco let you undo mistakes and experiment freely. Good for beginners who want to try without wasting paper.
Understanding the Elements of Scary Drawing
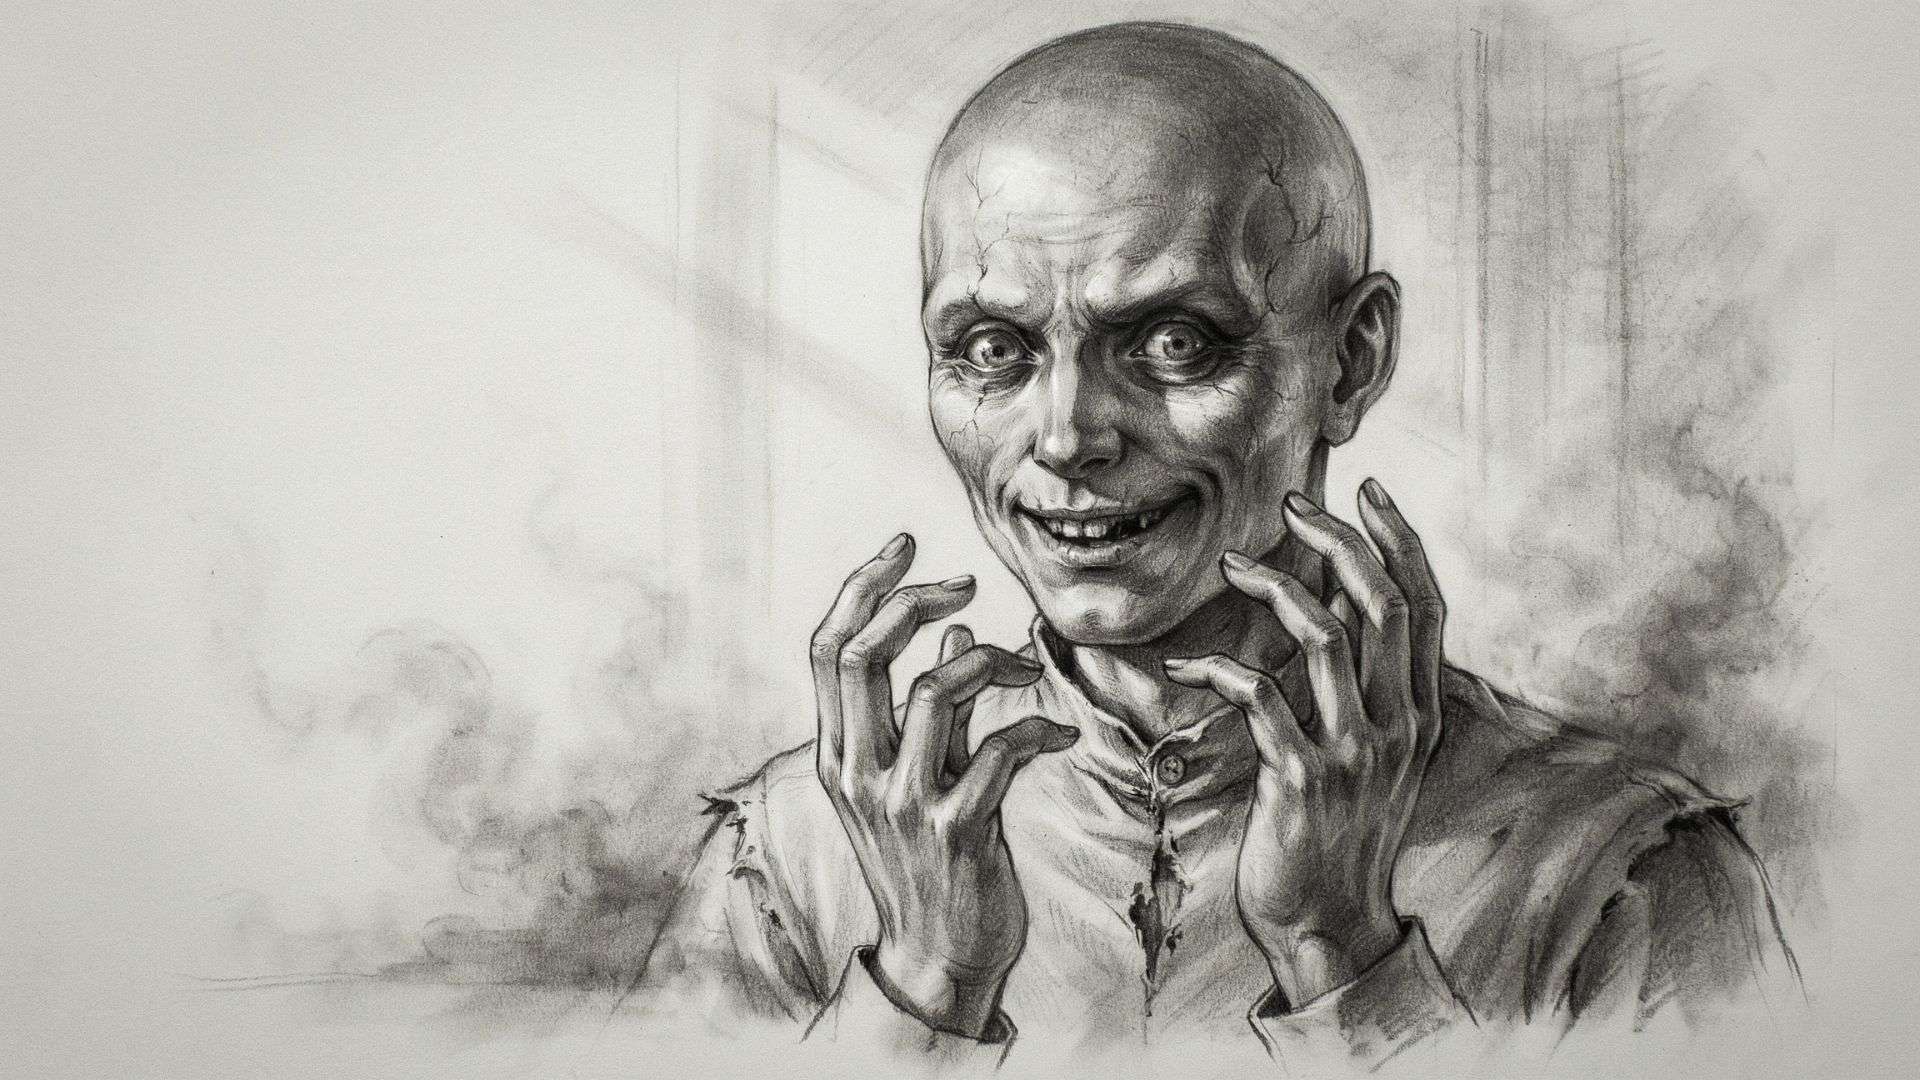
Before you draw, know what makes an image feel frightening. These five elements are what separate a spooky drawing from a flat one.
Facial Expressions
The face is the most powerful tool in horror art. Widened eyes, a twisted mouth, or a blank stare all signal danger to the viewer. Exaggeration is your friend. Stretch the features slightly beyond what's natural.
Dark Shadows and Contrast
High contrast (very dark darks next to bright lights) creates visual tension. Think of how a flashlight under someone's chin makes them look terrifying. Use deep shadows to hide parts of a figure and suggest what isn't shown.
Unusual Proportions
Real anatomy is comforting. Distorted anatomy is disturbing. Limbs that are too long, heads that are too large, or fingers that don't match create unease. Use this intentionally.
Creepy Details and Textures
Cracks in skin, torn clothing, wet surfaces, or decayed textures make a drawing feel real and unsettling. These details pull the viewer in and hold their attention.
Mood and Atmosphere
The background matters as much as the subject. A dark mist, a single light source, or an empty landscape builds mood. Don't leave the background blank if you want a truly scary effect.
Scary Drawings: Easy Ideas for Beginners
Here are 11 ideas you can start with today.
1. Haunted House Drawing
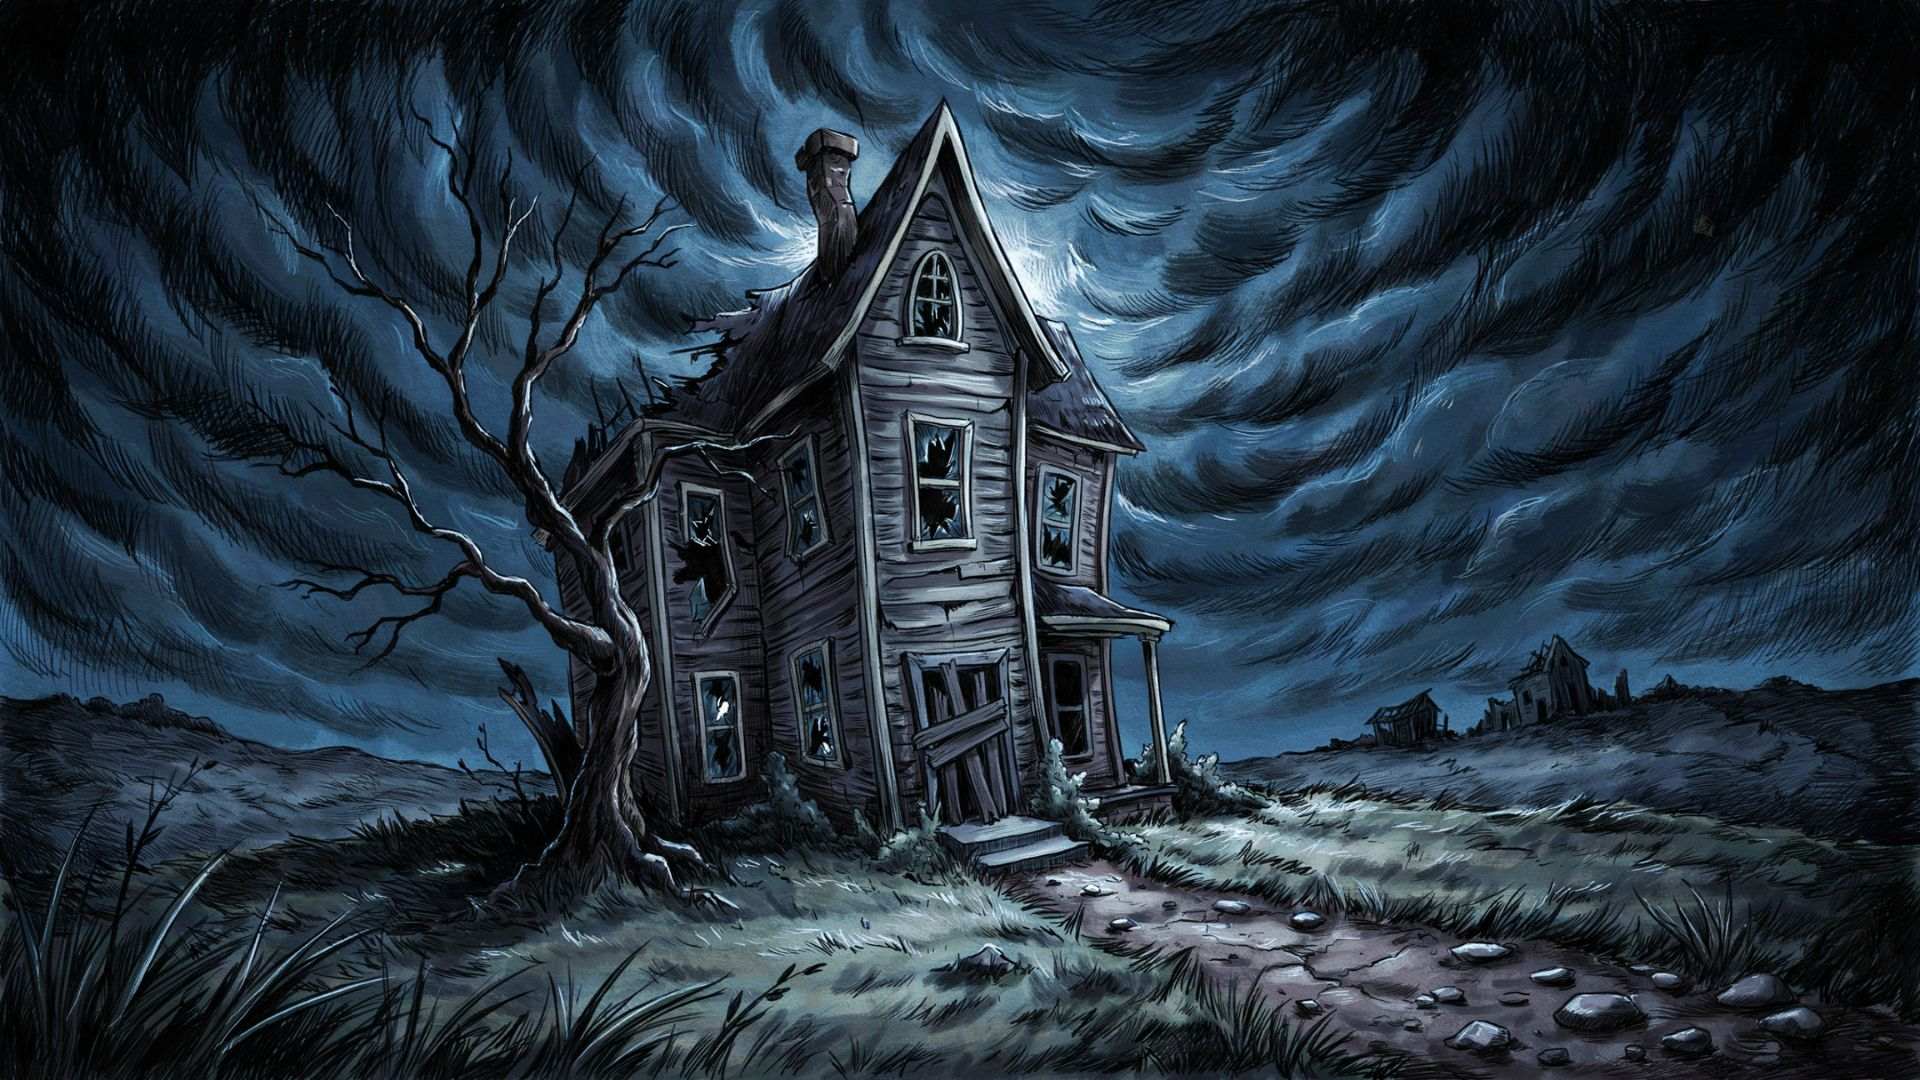
Draw a tall, crooked house with broken windows and a dark sky behind it. Add a dead tree to one side. Use heavy shading on the walls and leave only small areas of light.
This is one of the most forgiving beginner subjects because the imperfections actually add to the feel.
2. Creepy Eye Drawing
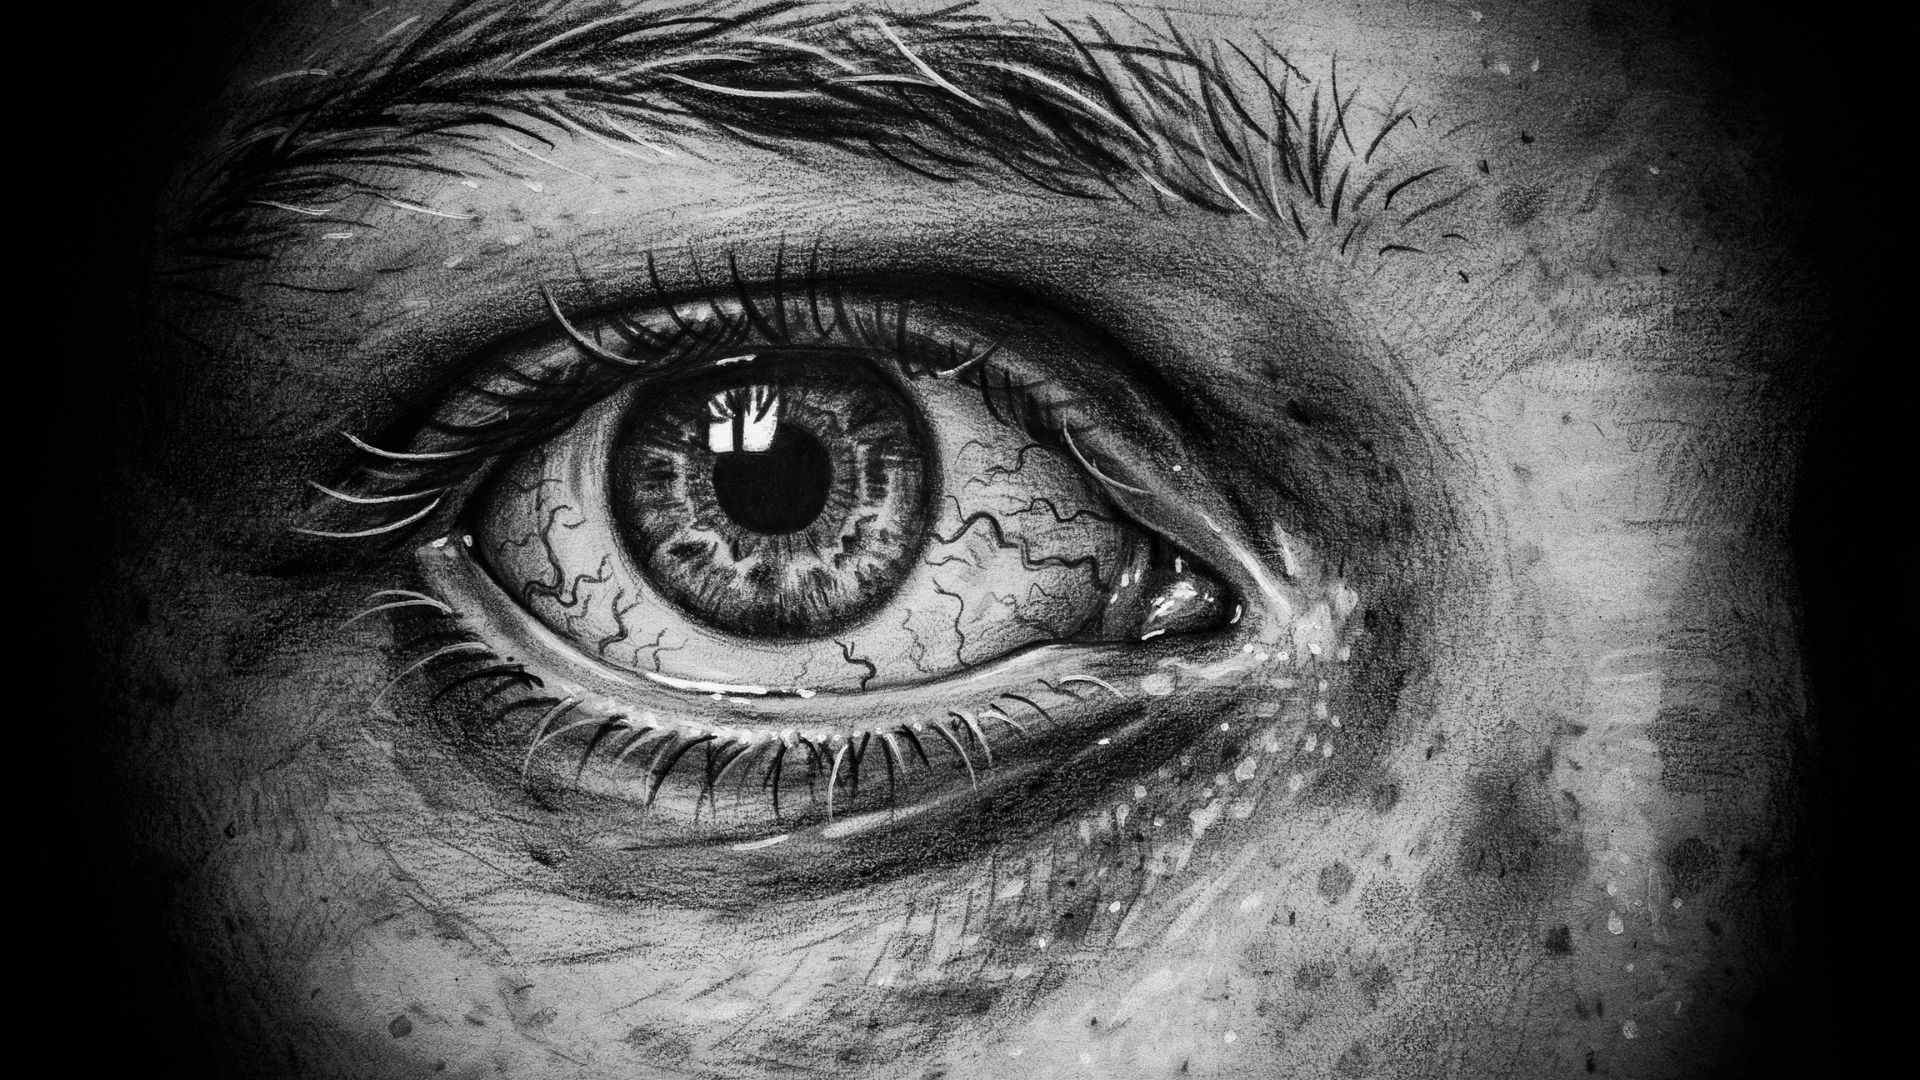
A single large eye with dark circles, broken veins, and a dilated pupil can be deeply unsettling. Start with an oval, add detail to the iris, then build shadows around the eye socket.
Less is more here.
3. Ghost Floating in the Dark

Sketch a flowing, transparent figure with hollow eyes. Use light pencil pressure for the body and heavy pressure for the eyes and shadow beneath.
Smudge the edges to give it a floating quality.
4. Scary Pumpkin Face

Not just a standard jack-o-lantern. Make the eyes uneven, the mouth jagged and wide, and add deep shadows inside the cutouts.
Use black marker or heavy graphite for the inside of the carved areas.
5. Zombie Character Sketch

Focus on the face. Sunken eyes, torn skin, exposed teeth. Keep the proportions slightly off.
Use cross-hatching to show rotting texture on the skin.
6. Evil Clown Drawing

Exaggerate the smile. Make the eyes too wide or too narrow. Add dark circles and sharp teeth.
Clowns are already on the edge of unsettling, so small changes in expression push them into full horror territory.
7. Skeleton Hand Emerging from the Ground
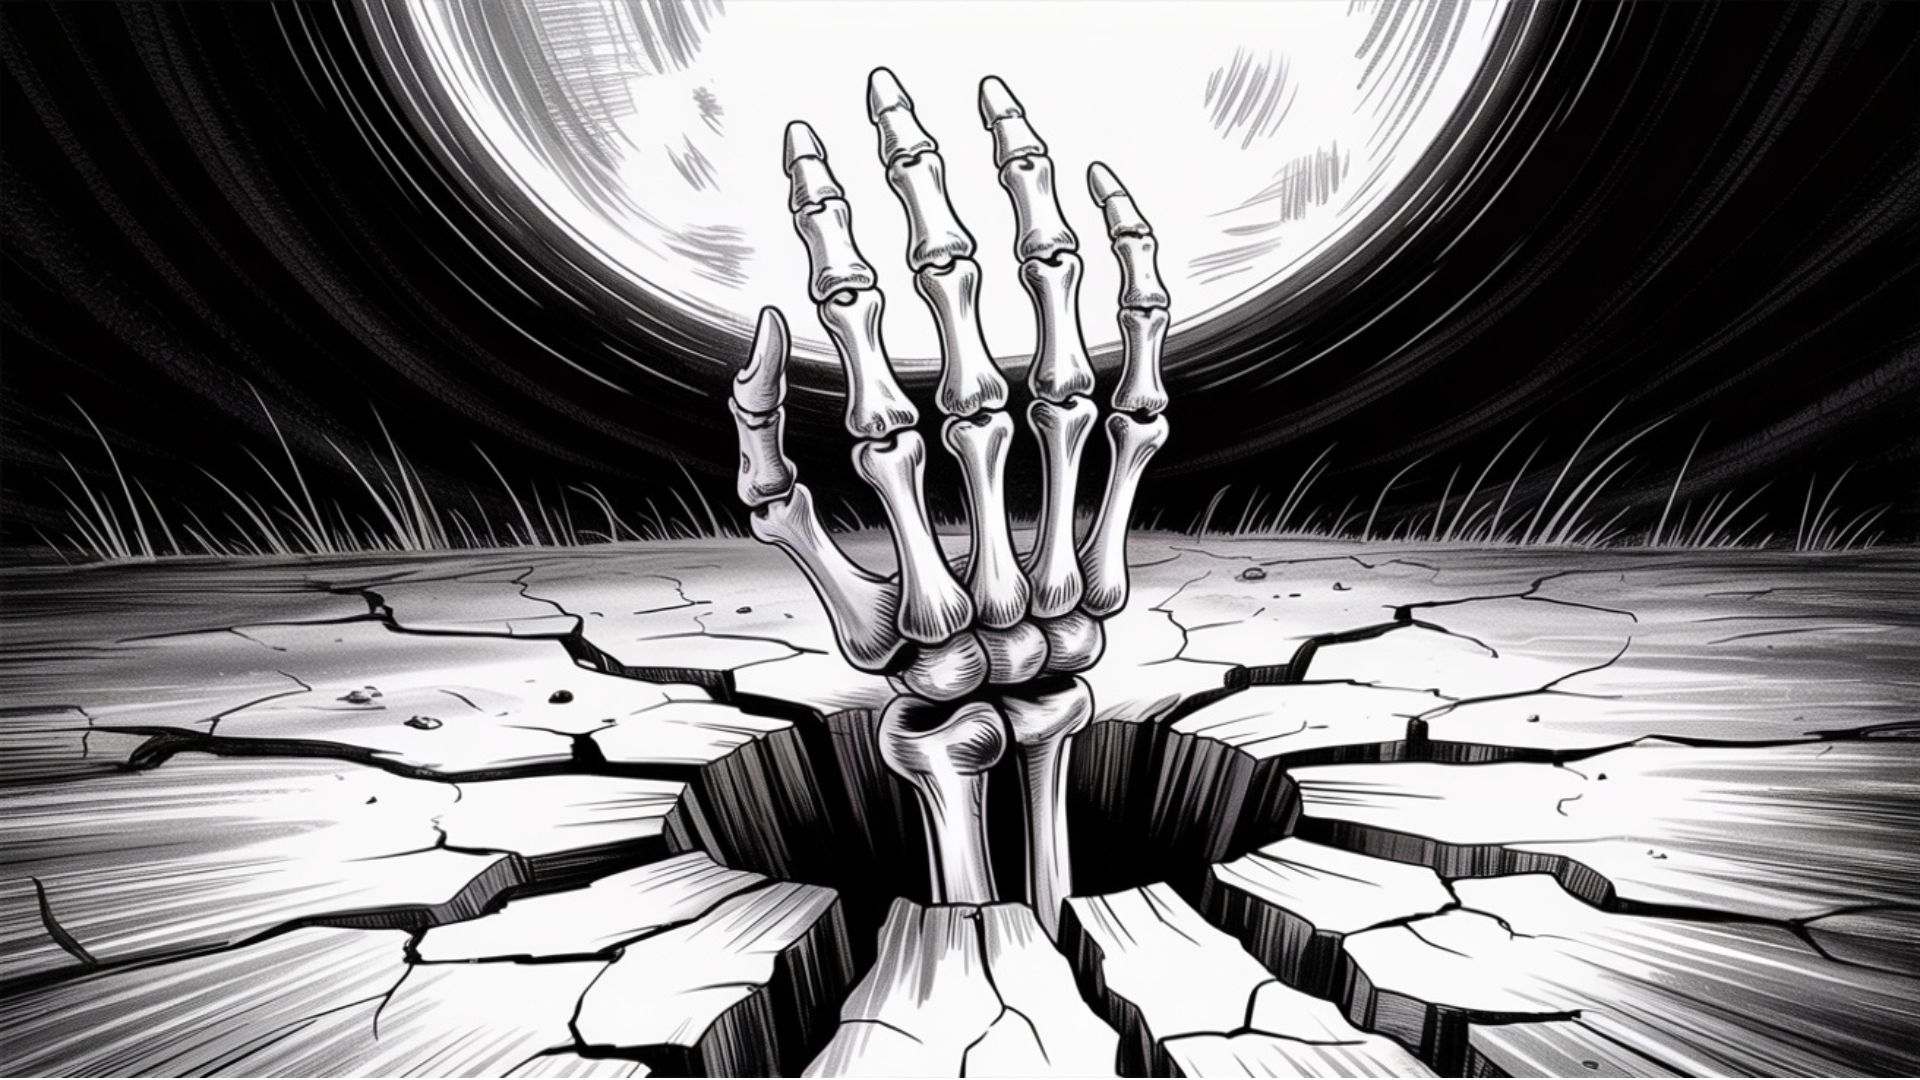
Draw a forearm and hand with defined bones pushing up through cracked earth. Use thick lines for the bones and fine lines for the cracks in the ground.
Add shadows around the base where the hand meets the dirt.
8. Haunted Tree with Twisted Branches

Draw a bare tree with gnarled, curling branches. Add a face hidden in the bark if you want.
Use rough, scratchy strokes for the texture. Place a full moon behind it for contrast.
9. Spider and Web Illustration
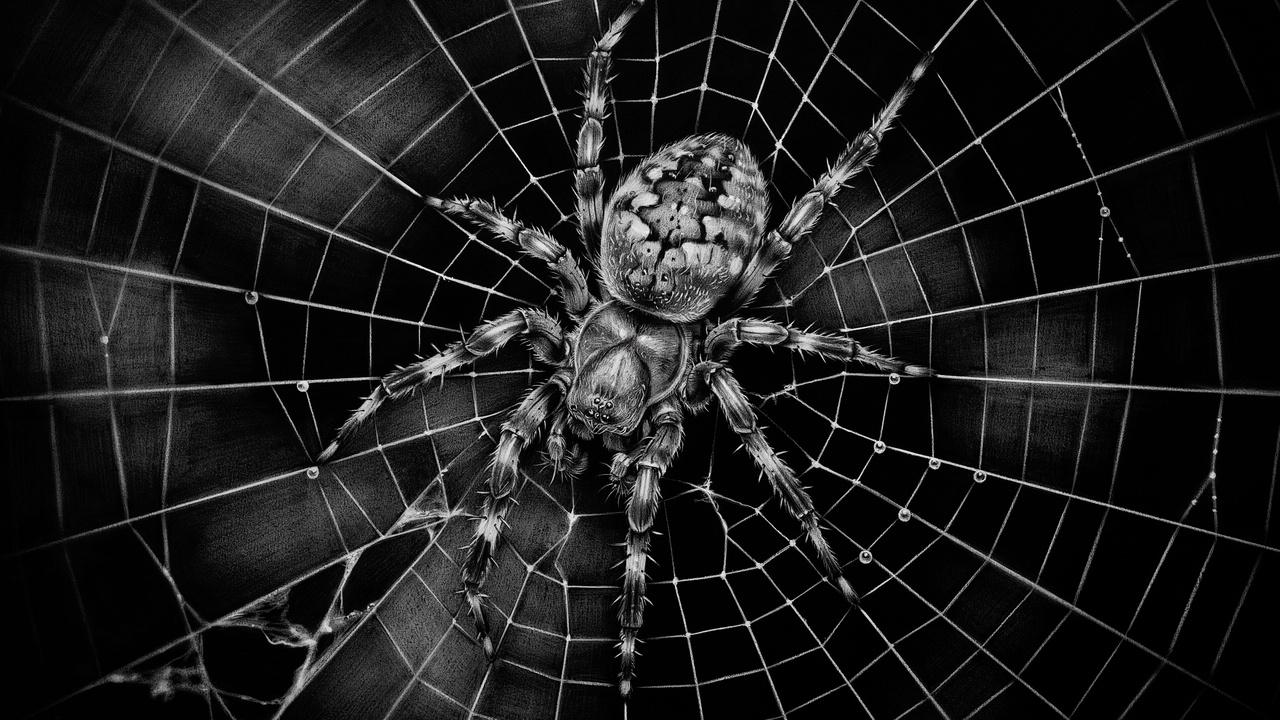
A large, detailed spider centered on a geometric web. Focus on the spider's body texture and legs.
Add small drops on the web to make it feel real and fresh.
10. Shadow Figure Silhouette

A simple black shape in human form, standing in a doorway or hallway. The power is in the contrast between the total darkness of the figure and the light behind it.
This one is fast to draw and very effective.
11. Creepy Doll Drawing
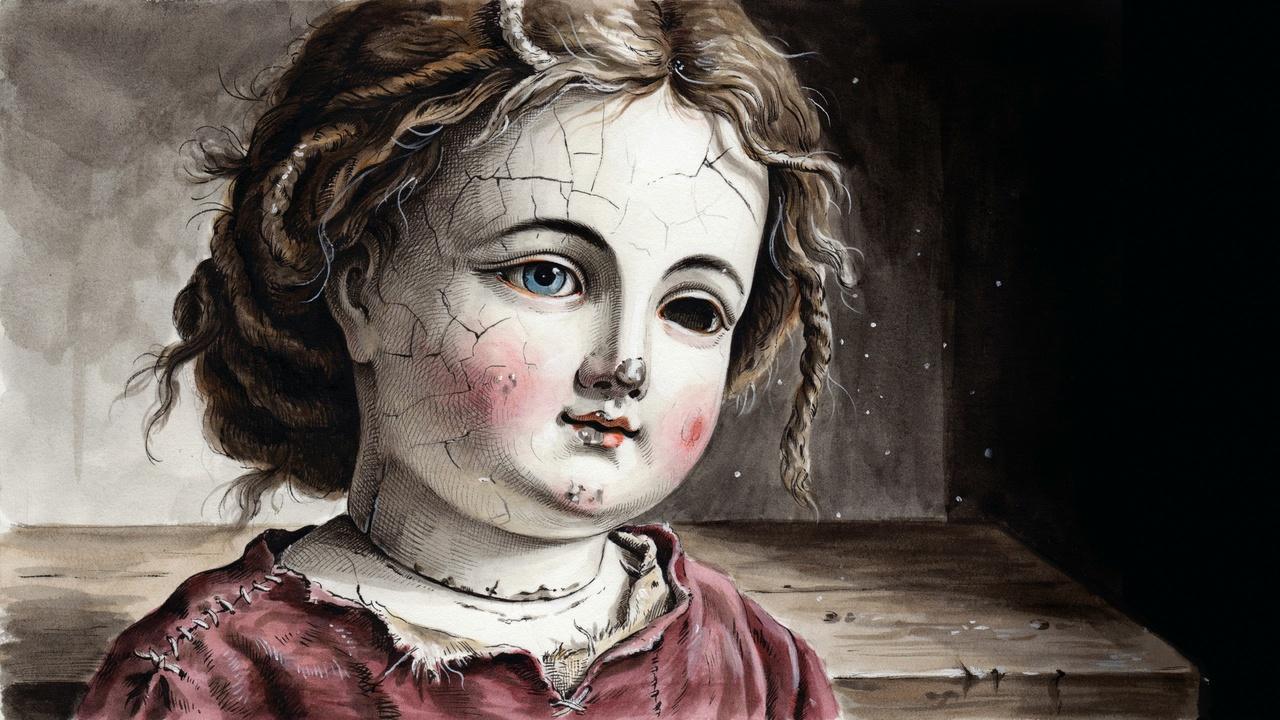
An old creepy doll with cracked porcelain skin, missing patches of hair, and one eye slightly larger than the other.
How to Draw a Simple Scary Face Step by Step
Follow these steps and you'll have a solid horror face in under an hour.
Step 1: Sketch the Basic Head Shape
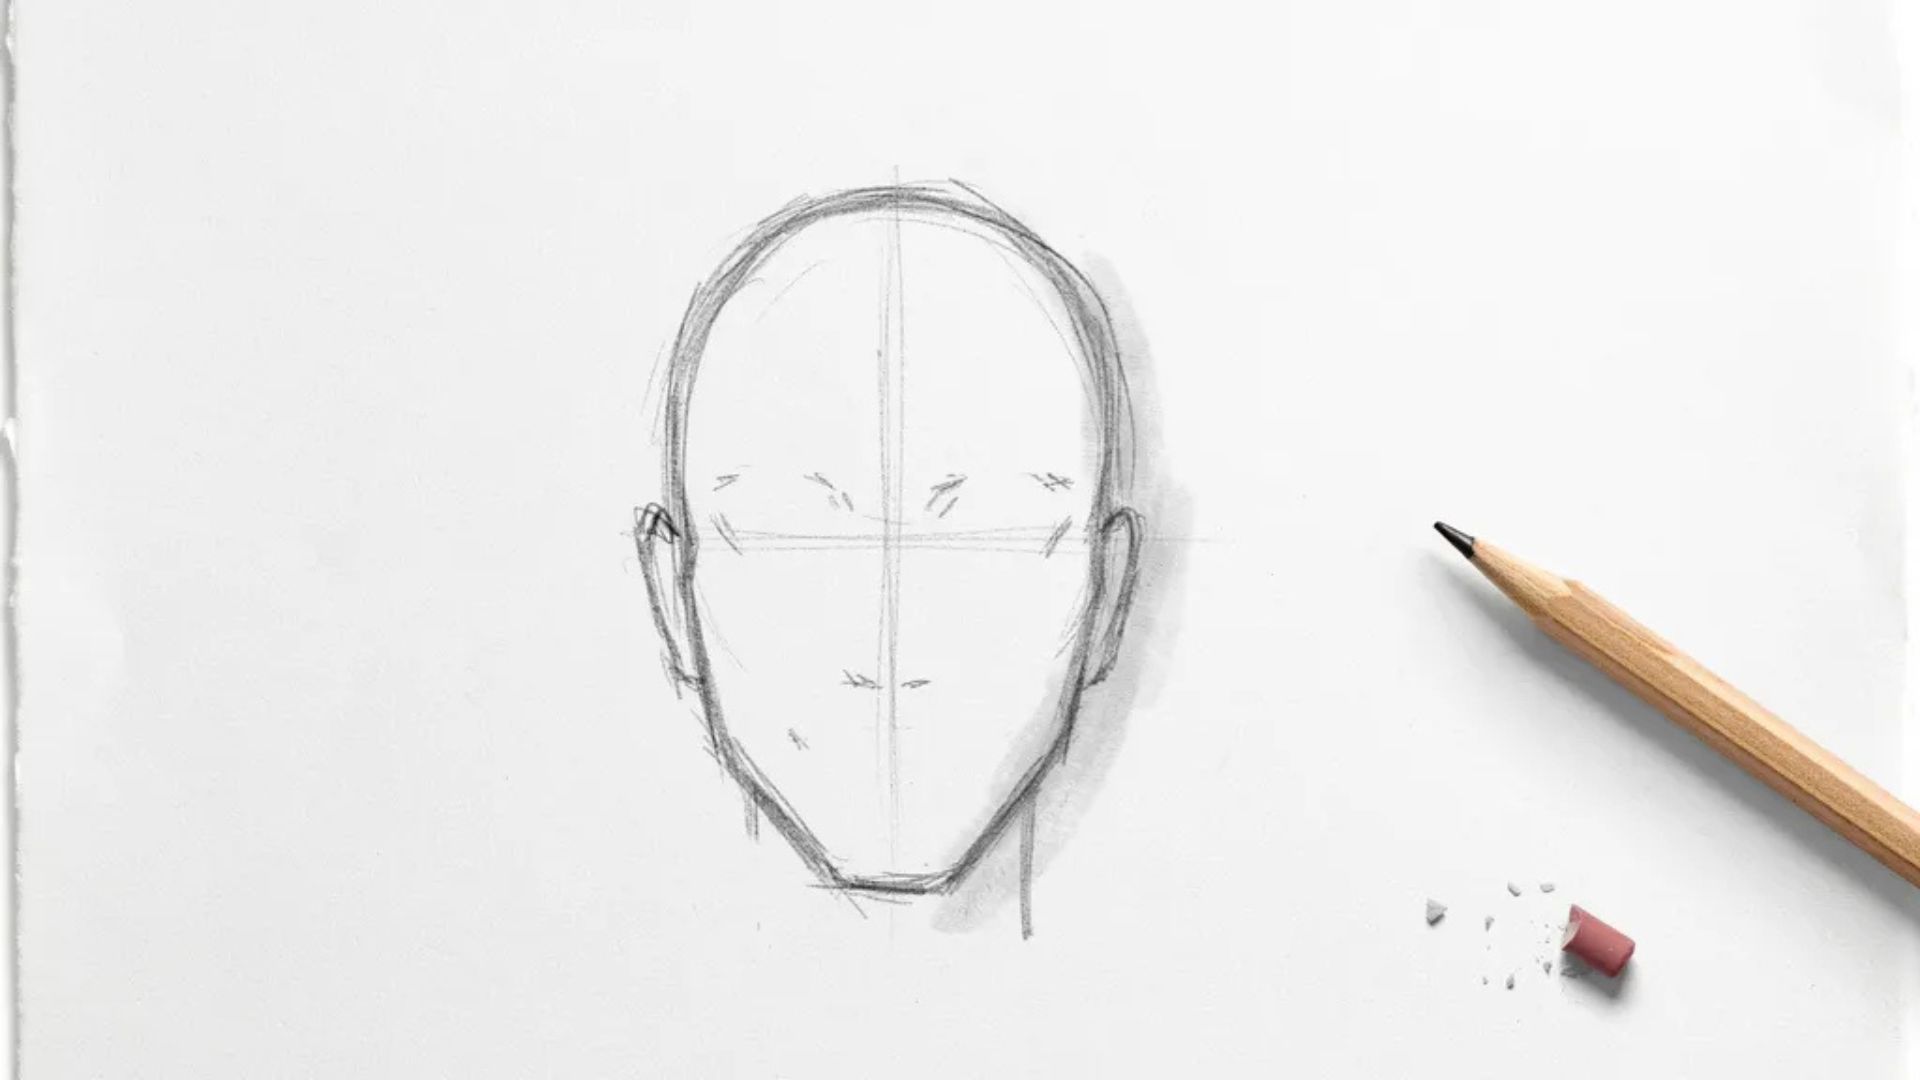
Draw a light oval or slightly elongated circle. This is your guide shape. Don't press hard. Keep it loose.
Step 2: Draw the Eyes and Eyebrows
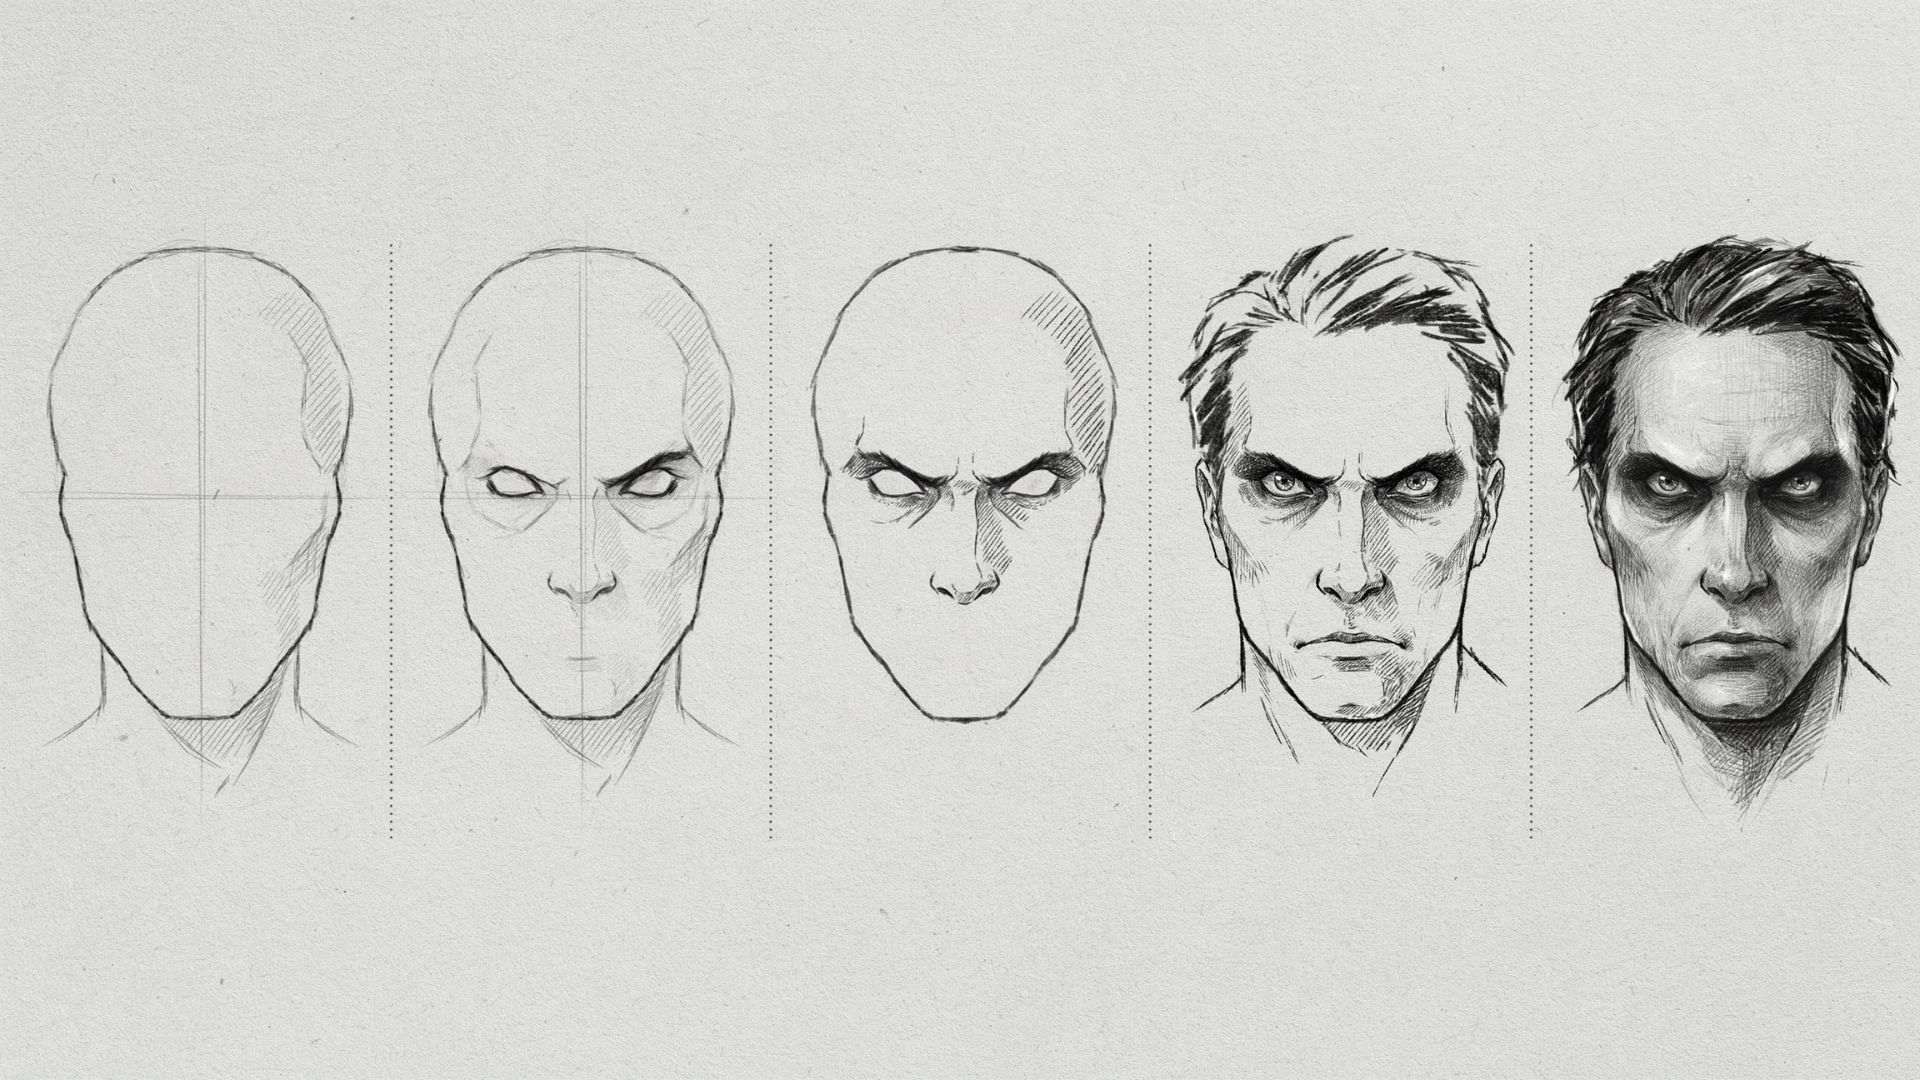
Place the eyes slightly lower than the center of the oval for a more menacing look. Make them wide and asymmetrical. Draw heavy, downward-angled eyebrows to add anger or dread.
Step 3: Add the Nose and Mouth
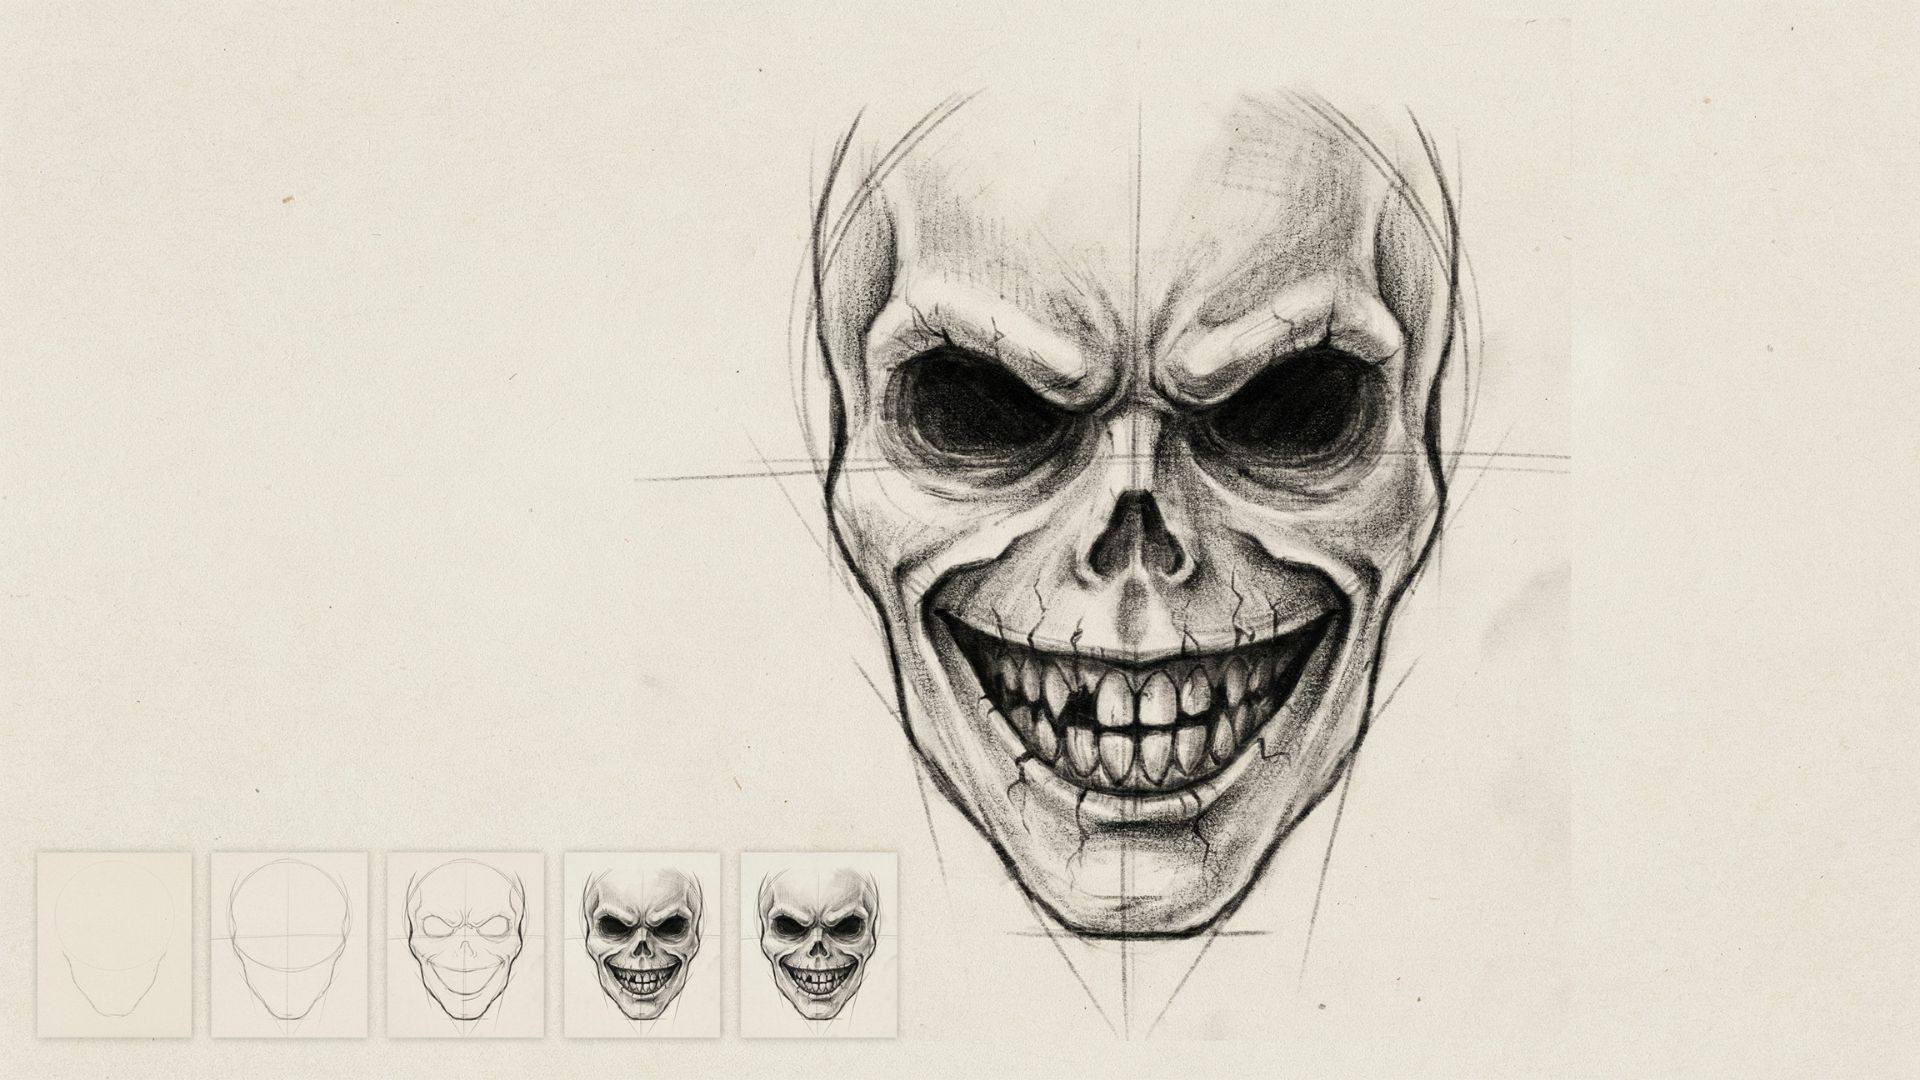
Keep the nose simple, two small lines or a triangular shape. For the mouth, stretch it wide or drop it open. Add uneven teeth. Let the lips curl or crack at the edges.
Step 4: Create Shadows and Dark Areas

Shade under the eyes, under the nose, and around the jaw. The darker the shadows, the more unsettling the face looks. Use a blending stump or your finger to soften edges.
Step 5: Add Final Details and Texture
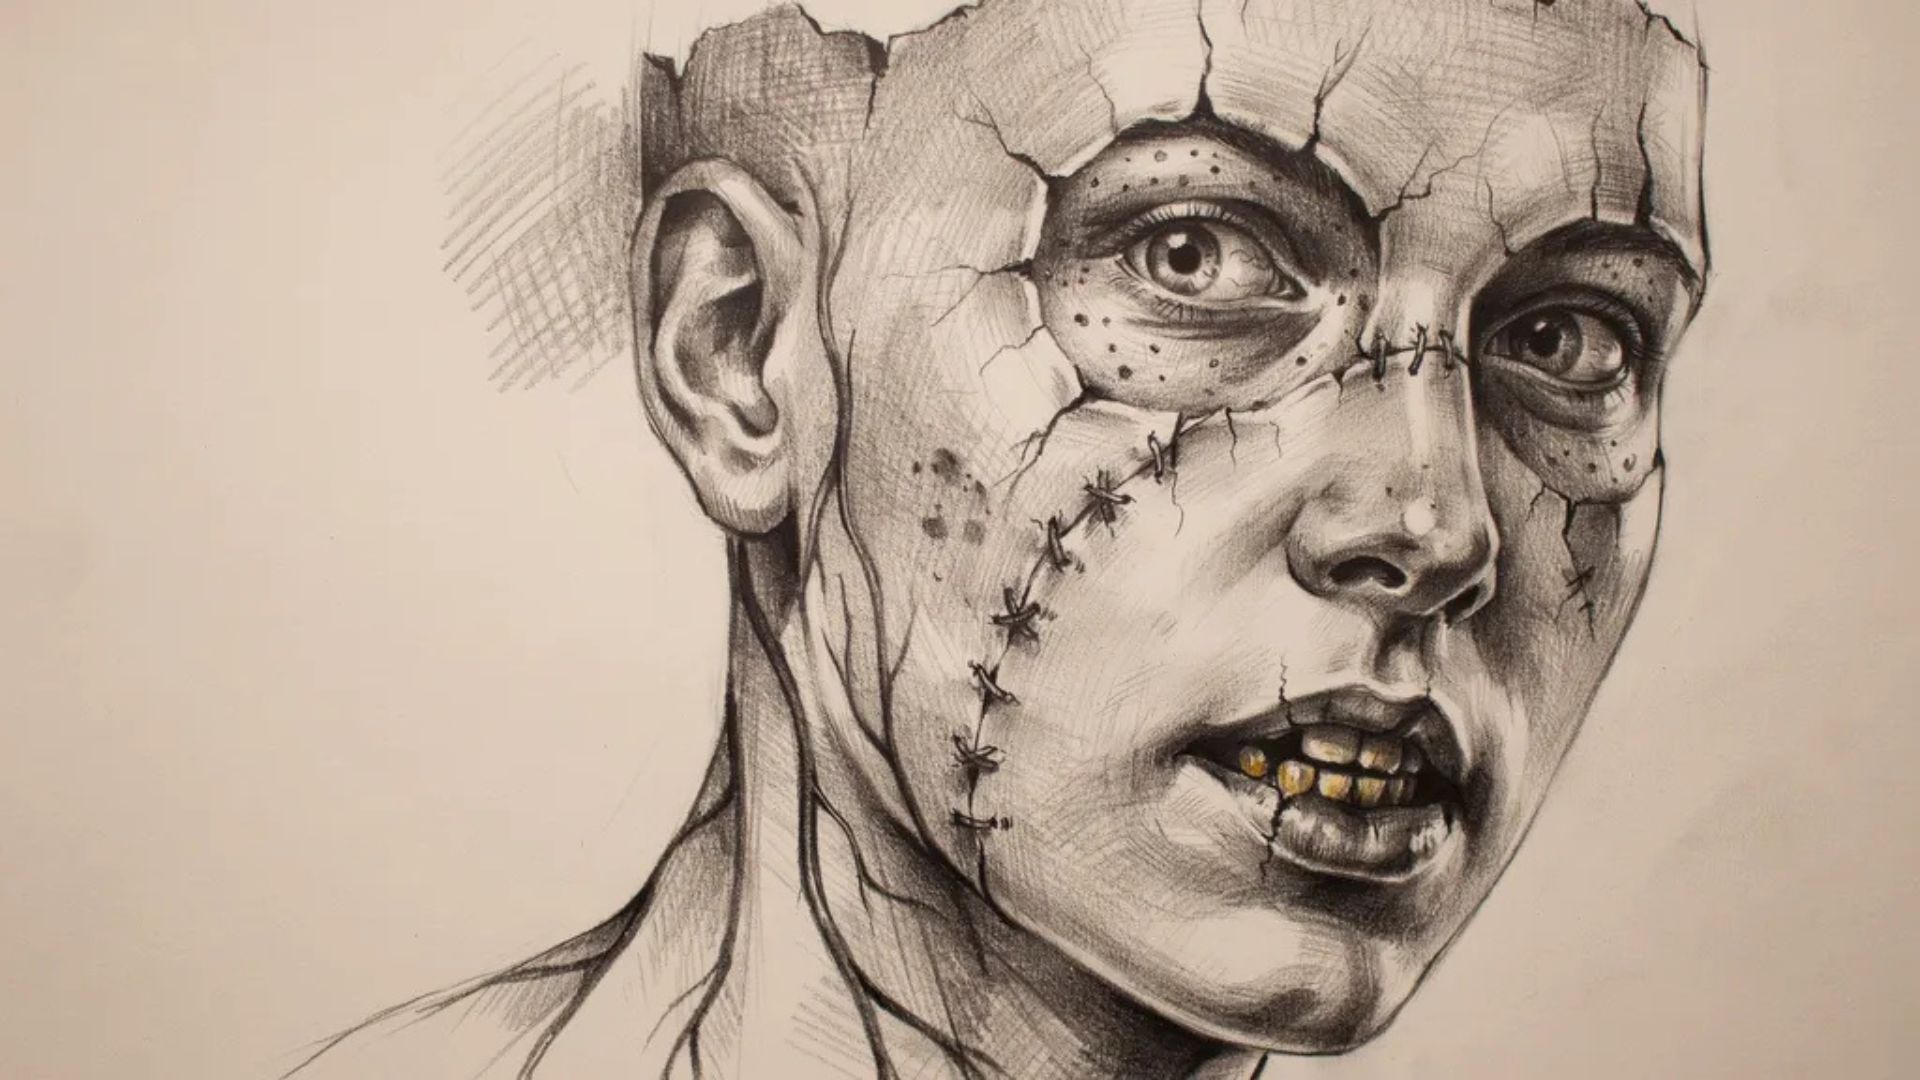
Add cracks in the skin, dark veins, or stitches. Make the edges of the face irregular. These last touches are what take a face from "spooky sketch" to genuinely creepy.
Shading Techniques for Scary Drawings
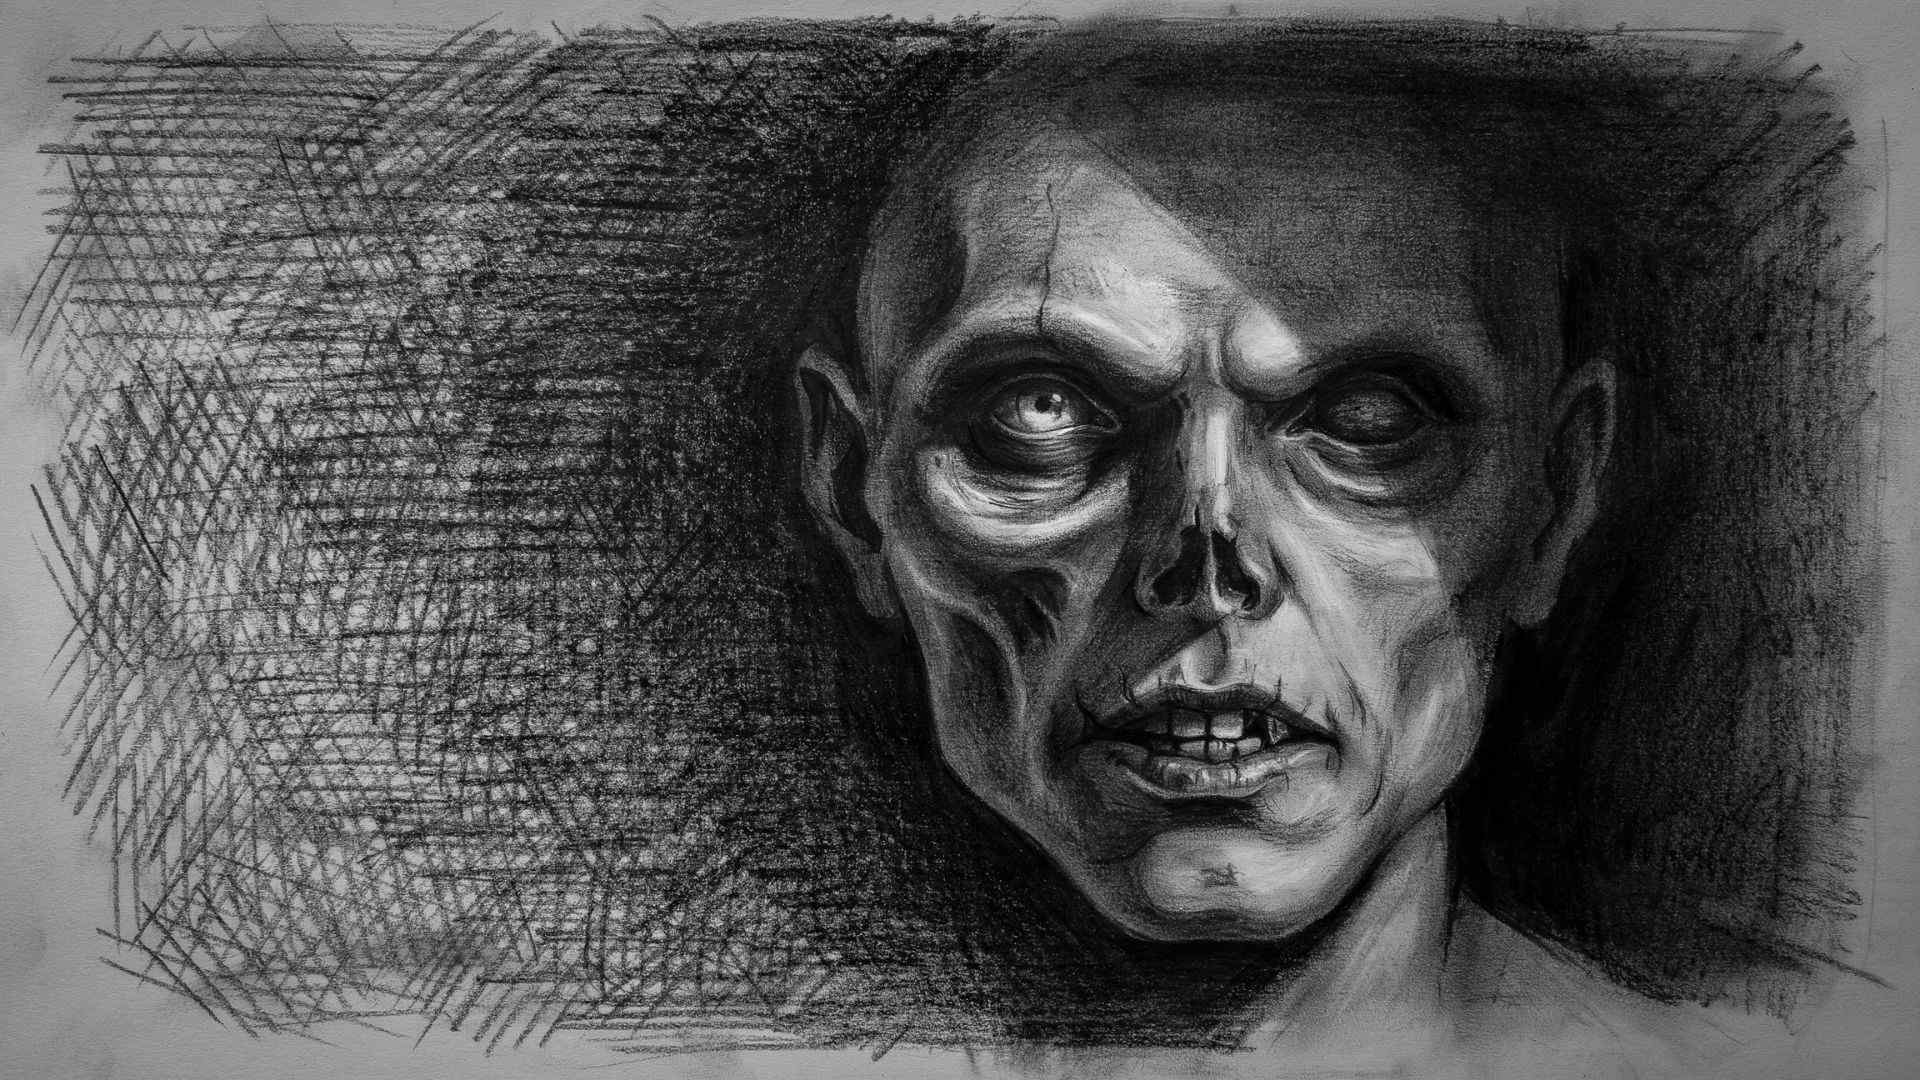
Shading is where horror drawings come alive.
Using Contrast to Create Fear
Keep the lightest area and darkest area close together. The sharper the contrast, the more dramatic the effect.
A white sclera next to a jet-black pupil is disturbing. Use this principle across the whole drawing.
Cross-Hatching and Blending
Cross-hatching (layers of crossed lines) builds up dark areas gradually. It also adds texture.
Blending smooths out transitions for softer shadows. Use both in the same drawing for variety.
Adding Dramatic Shadows
Pick one light source. Then shade everything on the opposite side. Be bold.
Push the dark areas darker than feels comfortable. Horror art usually needs more contrast than you think.
Creating a Dark Background
Fill in the background with graphite or marker, then bring out your subject by leaving it slightly lighter.
This creates a vignette effect that pulls focus to the scary element.
Tips to Make Your Scary Drawings More Realistic
Small changes make a big difference.
- Focus on lighting direction. Decide where your light is coming from before you start shading. Lighting from below is traditionally unsettling. Lighting from one side creates strong, defined shadows. Stick to one source.
- Add texture to skin and clothing. Real skin has pores, lines, and imperfections. Real fabric wrinkles and folds. Adding these small details makes your figures feel three-dimensional and real.
- Use imperfections and distortions. Straight lines and perfect symmetry look safe. Break that symmetry slightly. Add a crooked eye, a mismatched jawline, or an off-center feature. Imperfections create discomfort.
- Include atmospheric elements. Mist, rain, falling leaves, or cracks in a wall all add to the feeling of a scene. Even a single dead leaf in the foreground adds mood to an otherwise simple drawing.
- Keep your shading consistent. Pick one light source and stick to it across the whole drawing. Inconsistent shadows make a drawing feel flat and confusing rather than scary.
Common Mistakes to Avoid
These are the most common traps beginners fall into.
Going too dark everywhere flattens the image. If everything is the same dark value, nothing stands out. Keep some areas light to make the dark areas mean something.
Even in horror art, basic anatomy matters. A figure with randomly placed features looks unintentional rather than scary. Study basic proportions first, then distort them on purpose.
Beginners often rush to add details before the main shapes are solid. Build the big shapes first. Get the proportions right. Then add texture and fine detail on top.
A scary figure floating on white paper loses half its impact. Even a simple dark gradient or a rough texture in the background frames the subject and adds mood.
Easy Scary Drawings for Different Skill Levels
Whether you're just starting out or looking for a bigger challenge, these scary drawing ideas offer something for every skill level.
Beginner-Friendly Ideas
- Shadow figure silhouette
- Scary pumpkin face
- Ghost floating in the dark
- Creepy eye drawing
These subjects have simple shapes and don't require detailed anatomy knowledge.
Intermediate Horror Sketches
- Zombie character sketch
- Evil clown drawing
- Skeleton hand emerging from the ground
- Haunted house drawing
These require more attention to texture and shading but are very manageable with practice.
Advanced Creepy Scene Concepts
- A full graveyard scene at night
- A dark forest with multiple figures
- A detailed monster portrait with layered textures
- An interior room with a hidden figure in the shadows
These demand composition planning, value control, and strong detail work.
Drawing Inspiration for Scary Artwork
Not sure what to draw? Pull from these sources.
Horror Movies and Stories
Classic monsters, iconic scenes, and villain designs are all rich material. Study how filmmakers use shadow and framing to create fear. Apply those same ideas to your drawings.
Urban Legends and Folklore
Folklore from different cultures is full of terrifying creatures. The specifics of each legend give you built-in details to work with.
Gothic Architecture
Pointed arches, gargoyles, crumbling stonework, and narrow windows are all visually compelling. Draw buildings or architectural details as background elements or subjects.
Nature-Inspired Creepy Subjects
Dead trees, caves, fog over water, swamps at night. Nature has plenty of unsettling imagery. Study photos for reference and use them in your drawings.
Benefits of Practicing Scary Drawings
This type of art builds real skills, not just a spooky portfolio.
Improves Observation Skills
Horror art requires you to look closely at how light falls, how skin folds, how decay looks. That close observation carries over to every other subject you draw.
Enhances Shading Techniques
Darkness is the core of horror art. The more you practice shading for scary subjects, the better your shading gets across all subjects.
Develops Creative Thinking
There's no one right way to make something scary. You're constantly problem-solving. That creative flexibility strengthens your overall artistic thinking.
Builds Artistic Confidence
Every completed drawing proves to you that you can handle a difficult subject. Over time, you stop being afraid of complex drawings and start seeing them as puzzles to solve.
Conclusion
Scary drawings are one of the best ways to grow as an artist.
You now have 10 starter ideas, shading tips, and a step-by-step face tutorial to work from. Start simple. Practice often. Don't overthink it.
In horror art, rough edges and dark shadows work in your favor. Just pick one idea from this list and start today.
Ready to draw? Bookmark this page and come back whenever you need a new idea or a quick technique reminder. More step-by-step guides are waiting on our blog.
Frequently Asked Questions
What are the easiest scary drawings for beginners?
Shadow silhouettes, creepy eyes, and ghost figures are the easiest starting points. They rely on simple shapes and heavy contrast rather than detailed anatomy.
How do I make a drawing look scarier?
Add more contrast. Darken the shadows. Make one feature slightly asymmetrical. A dark, detailed background also immediately raises the tension in any drawing.
What pencil is best for scary drawings?
A 2B pencil is a solid all-around choice. Use an HB for sketching and a 4B or 6B for deep, dark shadows and heavy shading.
Can I create scary drawings without coloring?
Absolutely. Graphite alone is incredibly powerful for horror art. Some of the most effective scary drawings are done entirely in pencil. Color is optional.
How can I improve my horror drawing skills?
Draw regularly. Study horror movie stills and classic horror illustrations. Practice shading exercises separately from full drawings. The more you repeat the fundamental skills, the faster your horror art improves.
