

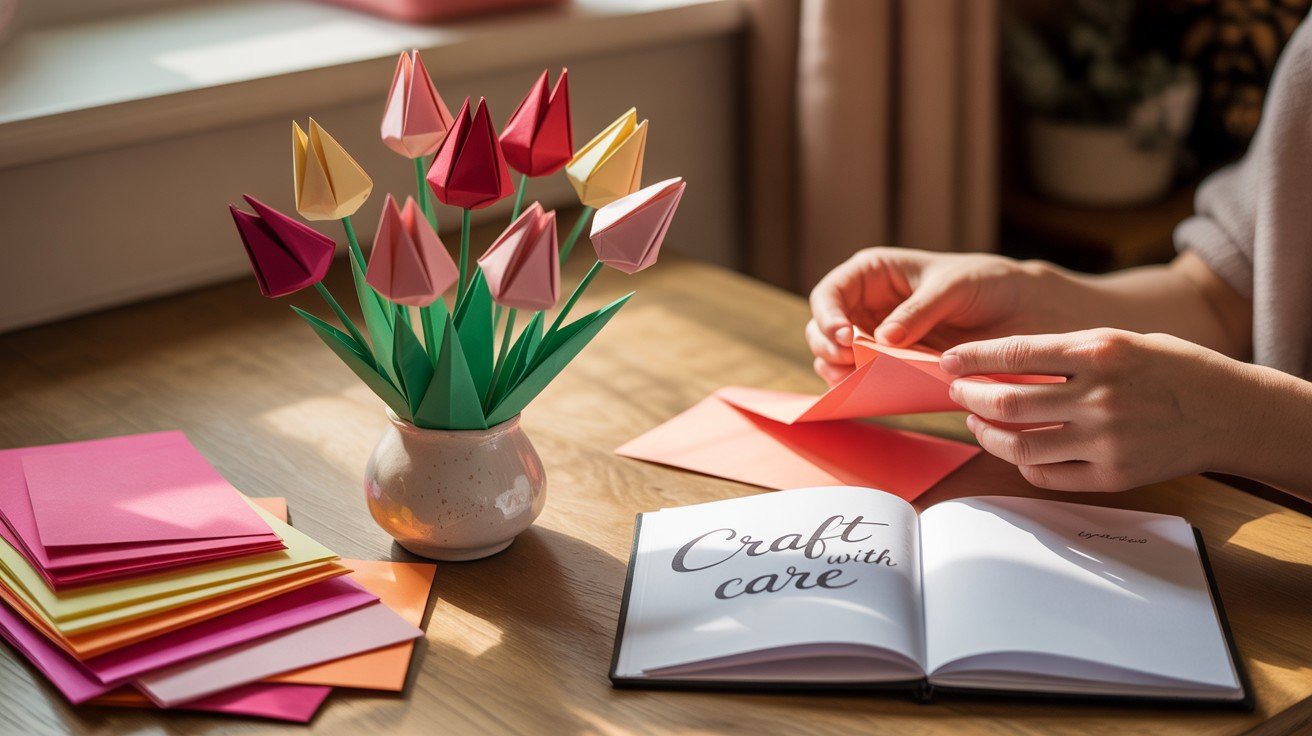
Spring brings fresh flowers, but what if you could create beautiful blooms that last forever?
Learning how to make an origami tulip is a delightful way to bring nature’s beauty indoors using just a simple piece of paper. This ancient Japanese art form changed ordinary paper into beautiful tulips that never wilt or fade.
Whether you’re looking for a fun activity with kids, a thoughtful handmade gift, or a peaceful way to unwind after a busy day, origami tulips offer the perfect solution. You don’t need any special tools or expensive materials, just paper and your hands.
In this step-by-step guide, you’ll master the simple folds needed to create these charming paper flowers.
By the end, you’ll have a gorgeous origami tulip and the confidence to make many more.
Why Make Origami Tulips

Origami tulips are perfect for many reasons. They’re easy to learn and fun to make. You only need one piece of paper – no glue, scissors, or fancy tools required.
These paper flowers make great gifts that show you care. Unlike real flowers, they last forever and never need water. Kids love making them for Mother’s Day, birthdays, or just because.
Folding origami helps you relax and focus your mind. It’s like meditation with your hands. Plus, you can make tulips in any color paper you want – bright yellow, soft pink, or rainbow colors.
Whether you’re a beginner or want to teach someone else, origami tulips are the perfect starting project. They look beautiful and impressive, but they’re actually quite simple once you know the steps.
Materials Needed

Creating beautiful origami tulips requires minimal supplies, making this craft accessible and budget-friendly for everyone, regardless of age or experience level.
What You’ll Need
- Square paper: 6×6 inch colored paper works best (origami paper, construction paper, or any thin paper)
- Clean, flat surface: A table or desk to work on for precise folding
- Your hands: No tools required, just careful finger movements
- Optional: Ruler: For measuring and creating crisp, straight folds
- Optional: Bone folder: To make extra sharp creases (not essential for beginners)
Paper Tips
- Choose bright colors like red, pink, yellow, or purple for realistic tulips
- Avoid thick cardstock as it’s harder to fold
- Tissue paper works but tears easily
- Gift wrapping paper is too slippery for beginners
Getting Started: Make sure your workspace has good lighting and enough room to move your arms freely. Having multiple sheets of paper nearby lets you practice or make several tulips at once.
Step-by-Step Instructions
Learning how to make an origami tulip becomes simple when you break it down into clear steps. This complete guide shows you how to create both the flower and stem.
Step 1: Prepare Your Materials
- Get two square pieces of paper, same size (15cm x 15cm or 6 inches works well)
- Choose one paper for the flower (bright colors like red, pink, or yellow)
- Pick green paper for the stem and leaf
- Find a clean, flat workspace with good lighting
Step 2: Create Basic Creases for the Flower
- Take your flower paper and fold it in half vertically (right side to left)
- Make a sharp crease, then unfold completely
- Fold it in half horizontally (bottom to top) and unfold
- Turn the paper over and fold diagonally both ways to make an X shape
Step 3: Form the Preliminary Base
- Using all the crease lines you made, push the four sides toward the center
- The paper should collapse into a triangle shape with multiple layers
- Make sure all edges are aligned and the point faces down
- This creates the foundation for your tulip flower
Step 4: Shape the Tulip Petals
- Starting on the right side, take the first flap and fold the bottom edge to the middle
- Align the edge with the top corner and make a strong crease
- Repeat this fold on the left side, then flip over
- Do the same folding process on the back two flaps
Step 5: Create the Tulip Lock
- Close the front and back parts, leaving the unfolded layers visible
- Take the top diagonal edges and fold them slightly past the middle line
- This creates small triangular flaps that will lock the tulip together
- Repeat on all four sides for a secure flower shape
Step 6: Assemble and Inflate the Flower
- Open one layer and tuck the right side inside the left layer
- Do this on both sides to lock the tulip securely
- Find the small hole at the bottom of the flower
- Gently blow air into this hole to puff out the tulip like a balloon
Step 7: Open the Petals
- Once inflated, carefully pull the four tips outward
- Shape them gently to look like real tulip petals
- Adjust the curves until your flower looks natural
- Be gentle to avoid tearing the paper
Step 8: Make the Stem Base
- Take your green square paper and fold it diagonally in half
- Unfold and rotate the paper to diamond position
- Bring the top edges to the middle line, creating two diagonal folds
- Repeat this step to make the paper narrower
Step 9: Complete the Stem
- Fold the bottom edges to the middle line as well
- Turn the paper over and fold it in half lengthwise
- Close the larger side over the smaller side
- Reverse-fold the larger part in the middle to create a leaf shape
Step 10: Attach Flower to Stem
- Insert the pointed tip of the stem into the small hole in the flower bottom
- Push gently until the connection feels secure
- Adjust the leaf position for the most natural look
- Your beautiful origami tulip is now complete and ready to display
Tips for Beginners
- Start with larger paper (6-8 inches) as it’s easier to fold than small pieces.
- Use thin origami paper or gift wrap instead of thick cardstock for cleaner folds.
- Make sharp, precise creases by running your fingernail along each fold line.
- Work slowly and double-check each step before moving to the next one.
- Practice the basic folds on scrap paper before using your good colored paper.
- Keep your hands clean and dry to avoid smudging or tearing the paper.
- Choose bright, solid colors for your first tulip rather than patterned paper.
- Don’t worry if your first tulip isn’t perfect – it gets easier with practice.
- Watch your finger placement to avoid accidentally creasing the wrong areas.
- If you make a mistake, gently unfold and start that step over again.
- Use a flat, hard surface like a table instead of working on soft surfaces.
Conclusion
Creating beautiful paper flowers has never been easier! You’ve learned how to make an origami tulip using just two squares of paper and simple folding techniques.
From preparing your materials to shaping the final petals, each step builds your confidence and skills in this relaxing craft.
These timeless paper tulips make perfect gifts, classroom activities, or home decorations that last forever. Unlike real flowers, your origami creations won’t wilt or fade, bringing lasting joy to any space.
Remember, practice makes perfect. Don’t worry if your first tulip isn’t flawless – each fold teaches you something new about this ancient art form.
Ready to create your paper garden? Start folding your first origami tulip today!
Share your beautiful creations in the comments below, and don’t forget to subscribe for more easy origami tutorials and crafting inspiration.
Frequently Asked Questions
What Type of Paper Works Best for Origami Tulips?
Thin origami paper or lightweight gift wrap works perfectly. Avoid thick cardstock as it’s hard to fold. Standard copy paper also works well for beginners.
How Long does It Take to Make an Origami Tulip?
Most beginners can complete their first origami tulip in 10-15 minutes. With practice, you’ll be able to make one in just 5 minutes or less.
Can Kids Learn How to Make Origami Tulips Easily?
Yes! Children ages 6 and up can learn this craft with adult guidance. Start with larger paper and be patient as they develop their folding skills.
Do I Need Special Tools to Make Origami Tulips?
No special tools required! You only need square paper and your hands. A ruler helps measure paper, but it’s completely optional for this simple project.